Unbloated Network – Replacing your ISP router: Installing OpenWRT on an x86 PC (part 3)

Project: Replacing the ISP router with OpenWRT
In the previous two articles, I introduced my project: replacing my aging Vodafone router with custom hardware running the open-source OpenWRT operating system. The Vodafone box will remain in use only as a basic modem, while a Zimaboard (or another mini PC) will handle routing duties. A dedicated access point will provide better Wi-Fi coverage than the ISP’s built-in solution.
Downloading OpenWRT for x86
Today, I’ll install OpenWRT on my x86 PC—specifically, a Zimaboard 1. Unfortunately, the process is far from intuitive. Even the OpenWRT download section can feel overwhelming for beginners, and the installation itself isn’t straightforward either. But don’t worry—we’ll go through it step by step.
Which image do you need for mini PCs and other x86 systems?
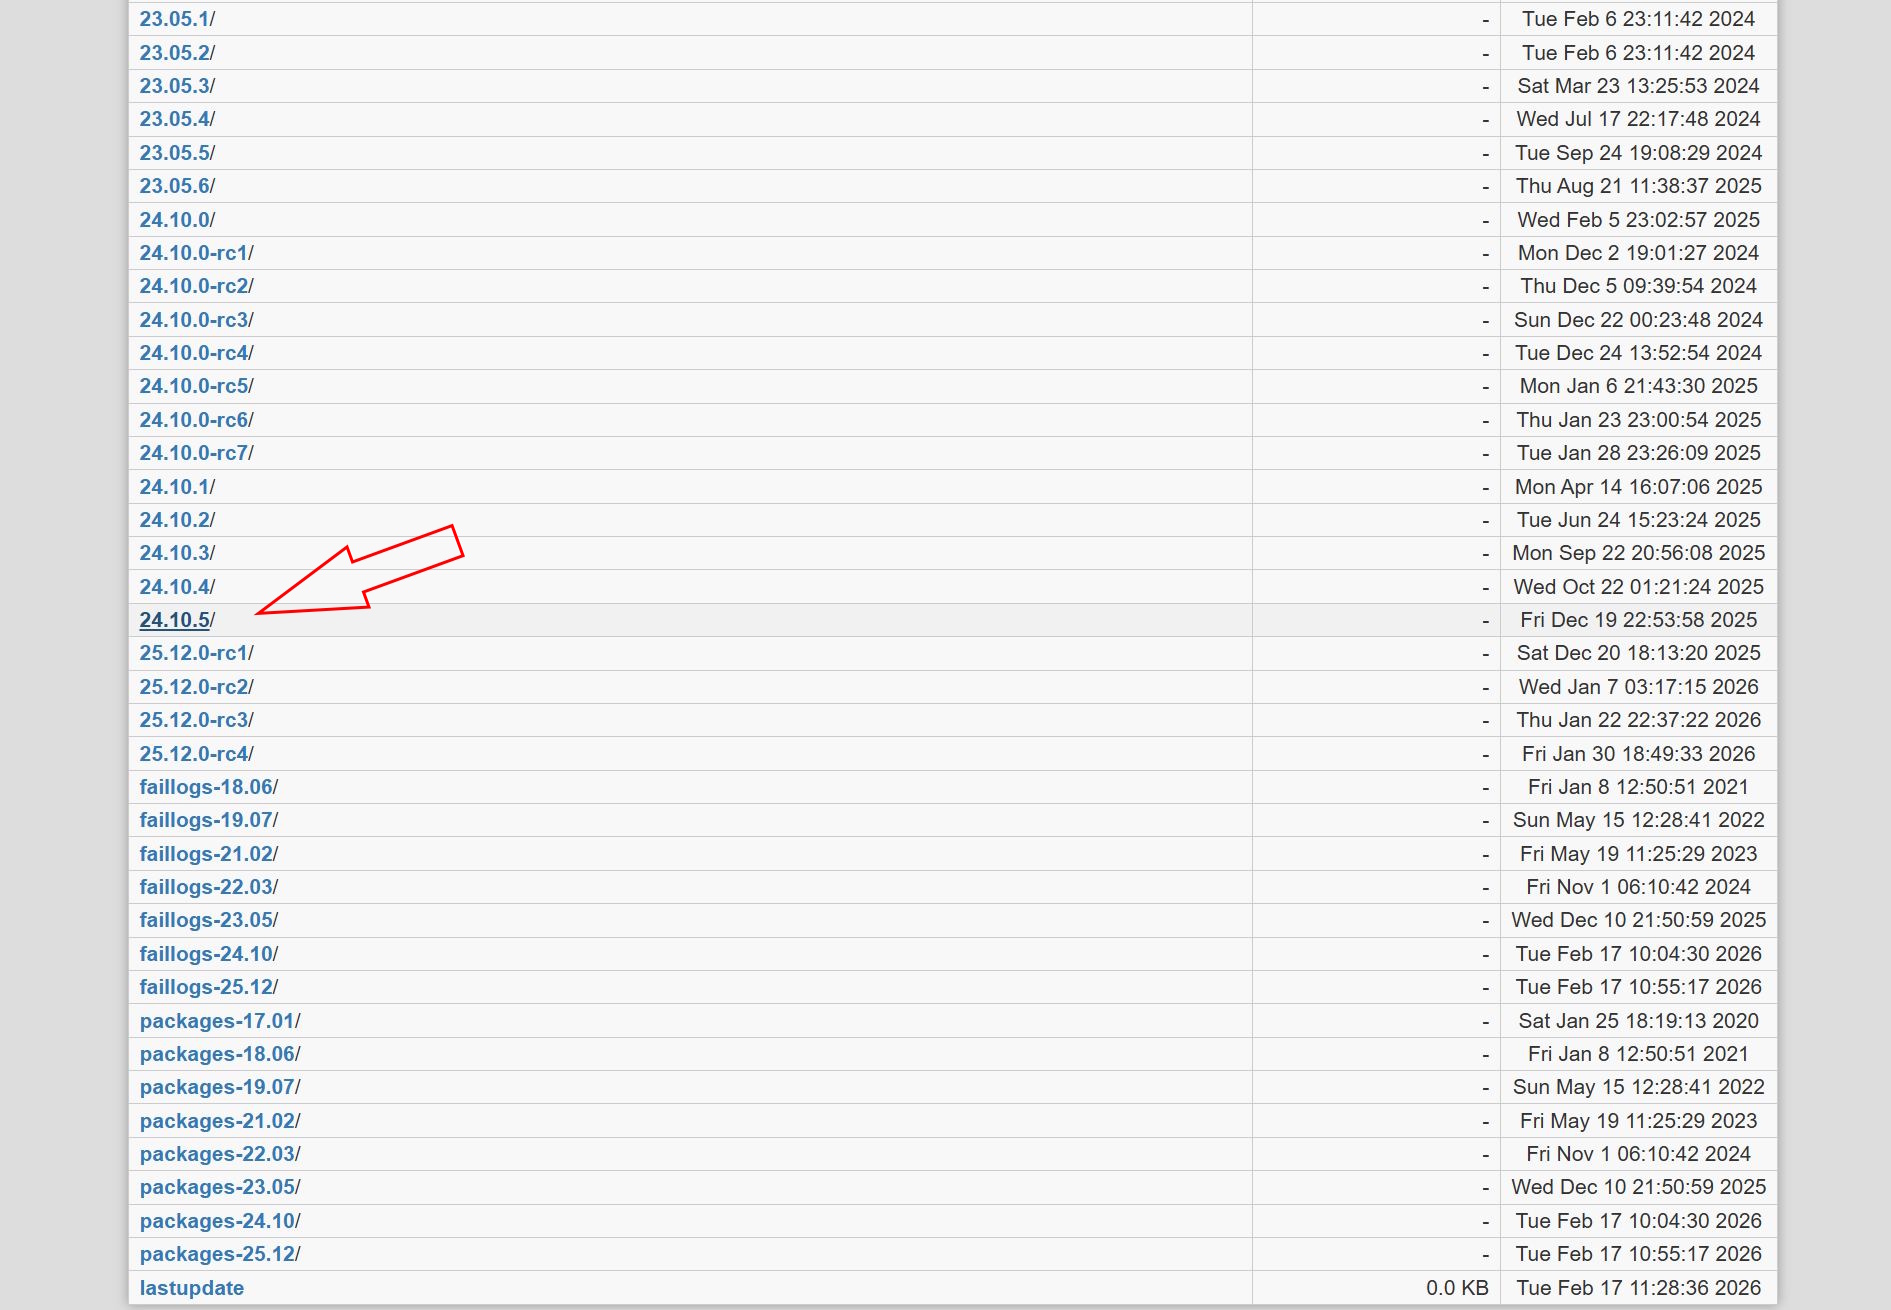
First, you’ll need to download the OpenWRT image. As of February 2026, the latest stable release is version 24.10.5.
Go to the OpenWRT downloads page, click on “Stable Release builds,” then navigate to:
24.10.5 → targets → x86 → 64 (or use this direct link)
Download the second file named: generic-ext4-combined.img.gz
This version already includes the LuCi web interface, which allows you to access and configure OpenWRT from another PC on the same network via a browser.
After downloading, extract the file—for example, using 7-Zip.
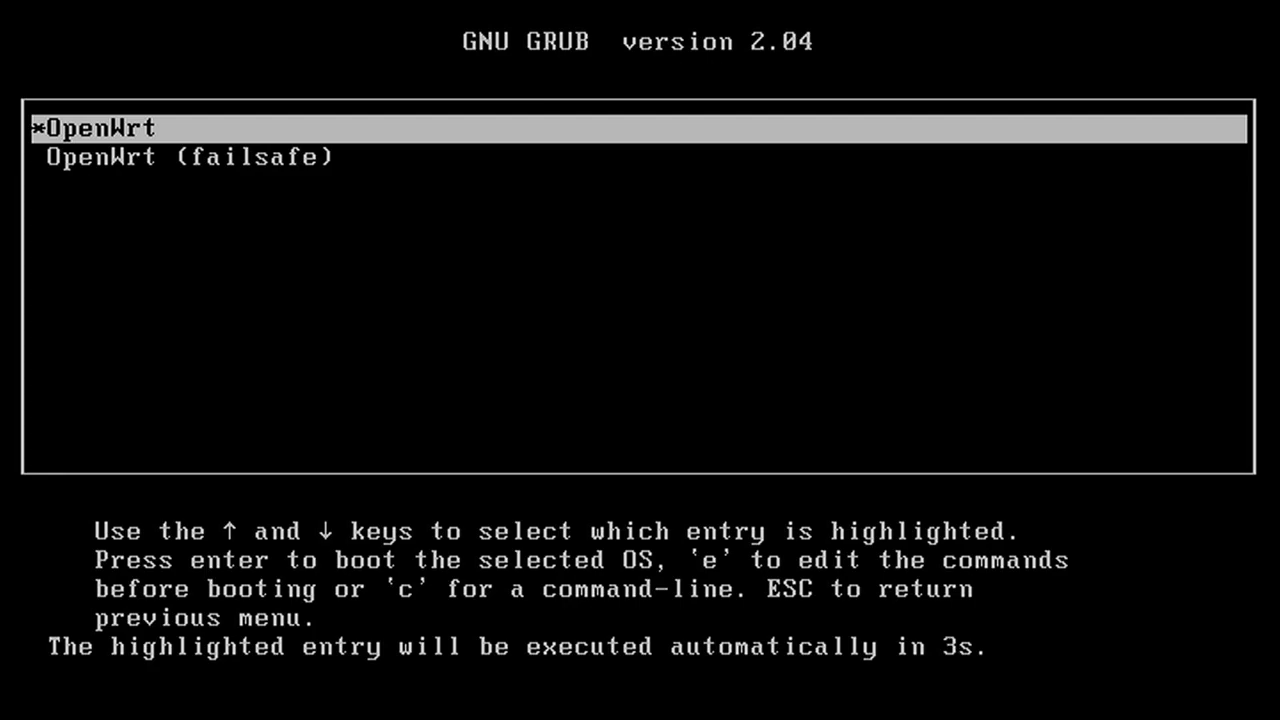
If you think you can just create a bootable USB installer from this image—unfortunately, that won’t work. The image only contains a live system. While you can boot OpenWRT from a USB stick, it doesn’t include any installer at all.
Writing the OpenWRT image to eMMC (using Linux Mint or Ubuntu)
So what now? There are several ways to install OpenWRT.
I created a bootable USB stick with Linux Mint (Ubuntu works as well). I copied the OpenWRT image onto a second USB stick.
First, boot the Zimaboard using the Mint USB stick. Then insert the second USB stick containing the OpenWRT image.
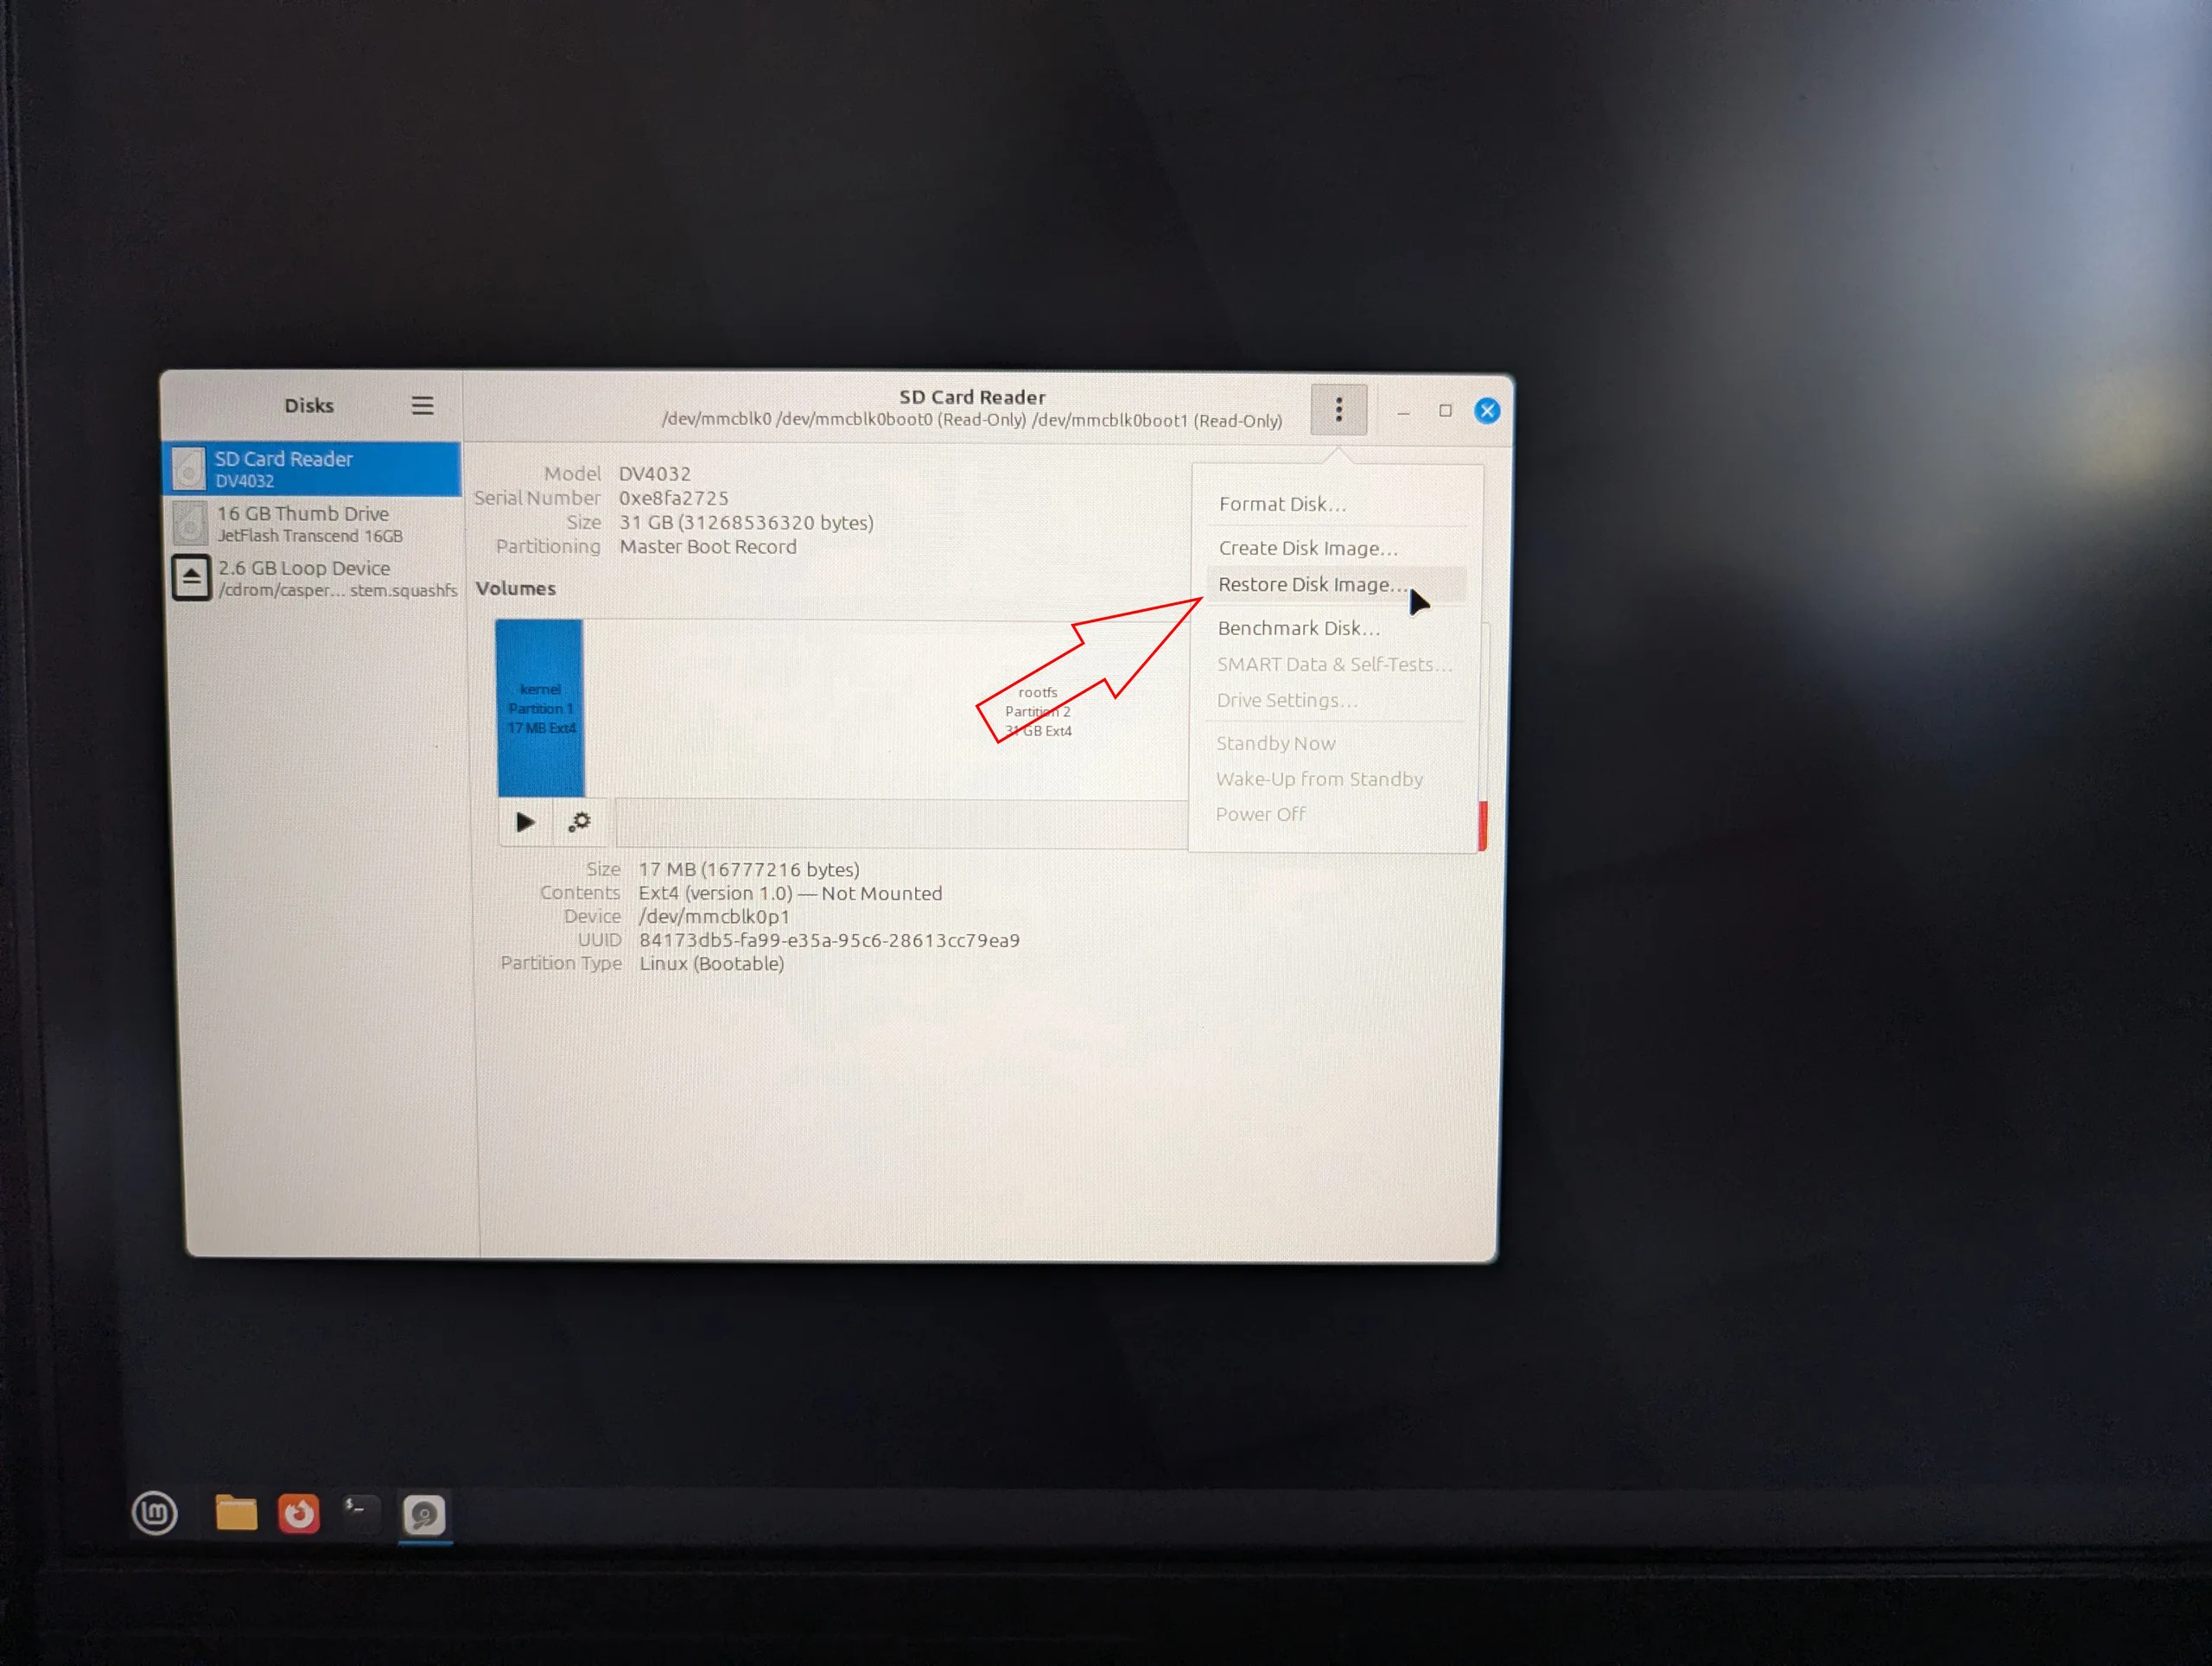
Open the Disks utility (search for “Disks” in the start menu), select the internal storage (on my Zimaboard, it appears as “SD Card”), click the menu button (3 dots), and choose:
Restore Disk Image
Select the OpenWRT image from your second USB stick, and the tool will write it to the internal eMMC storage.

Installation via dd command or download: alternative methods
There are several alternative installation methods that I did not personally test. These include downloading the OpenWRT image directly from within the live system, copying it via the Linux terminal using the dd command, or booting into the OpenWRT live environment and performing the installation from there.
However, I ran into various issues with the live system, including unmounted drives and other complications. For me, the Linux Mint approach was the most reliable
Expanding the partition after installation
Even after successfully copying the image, there’s still one major issue.
The partition table only recognizes the original image size of about 120 MB. The remaining space—roughly 32 GB on the eMMC—is marked as unallocated and unused.
To make full use of the storage for future updates and modifications, we need to expand the partition.
This step took quite some time to figure out. While GParted seemed like an option, it ultimately led nowhere. The most reliable method was using fdisk.
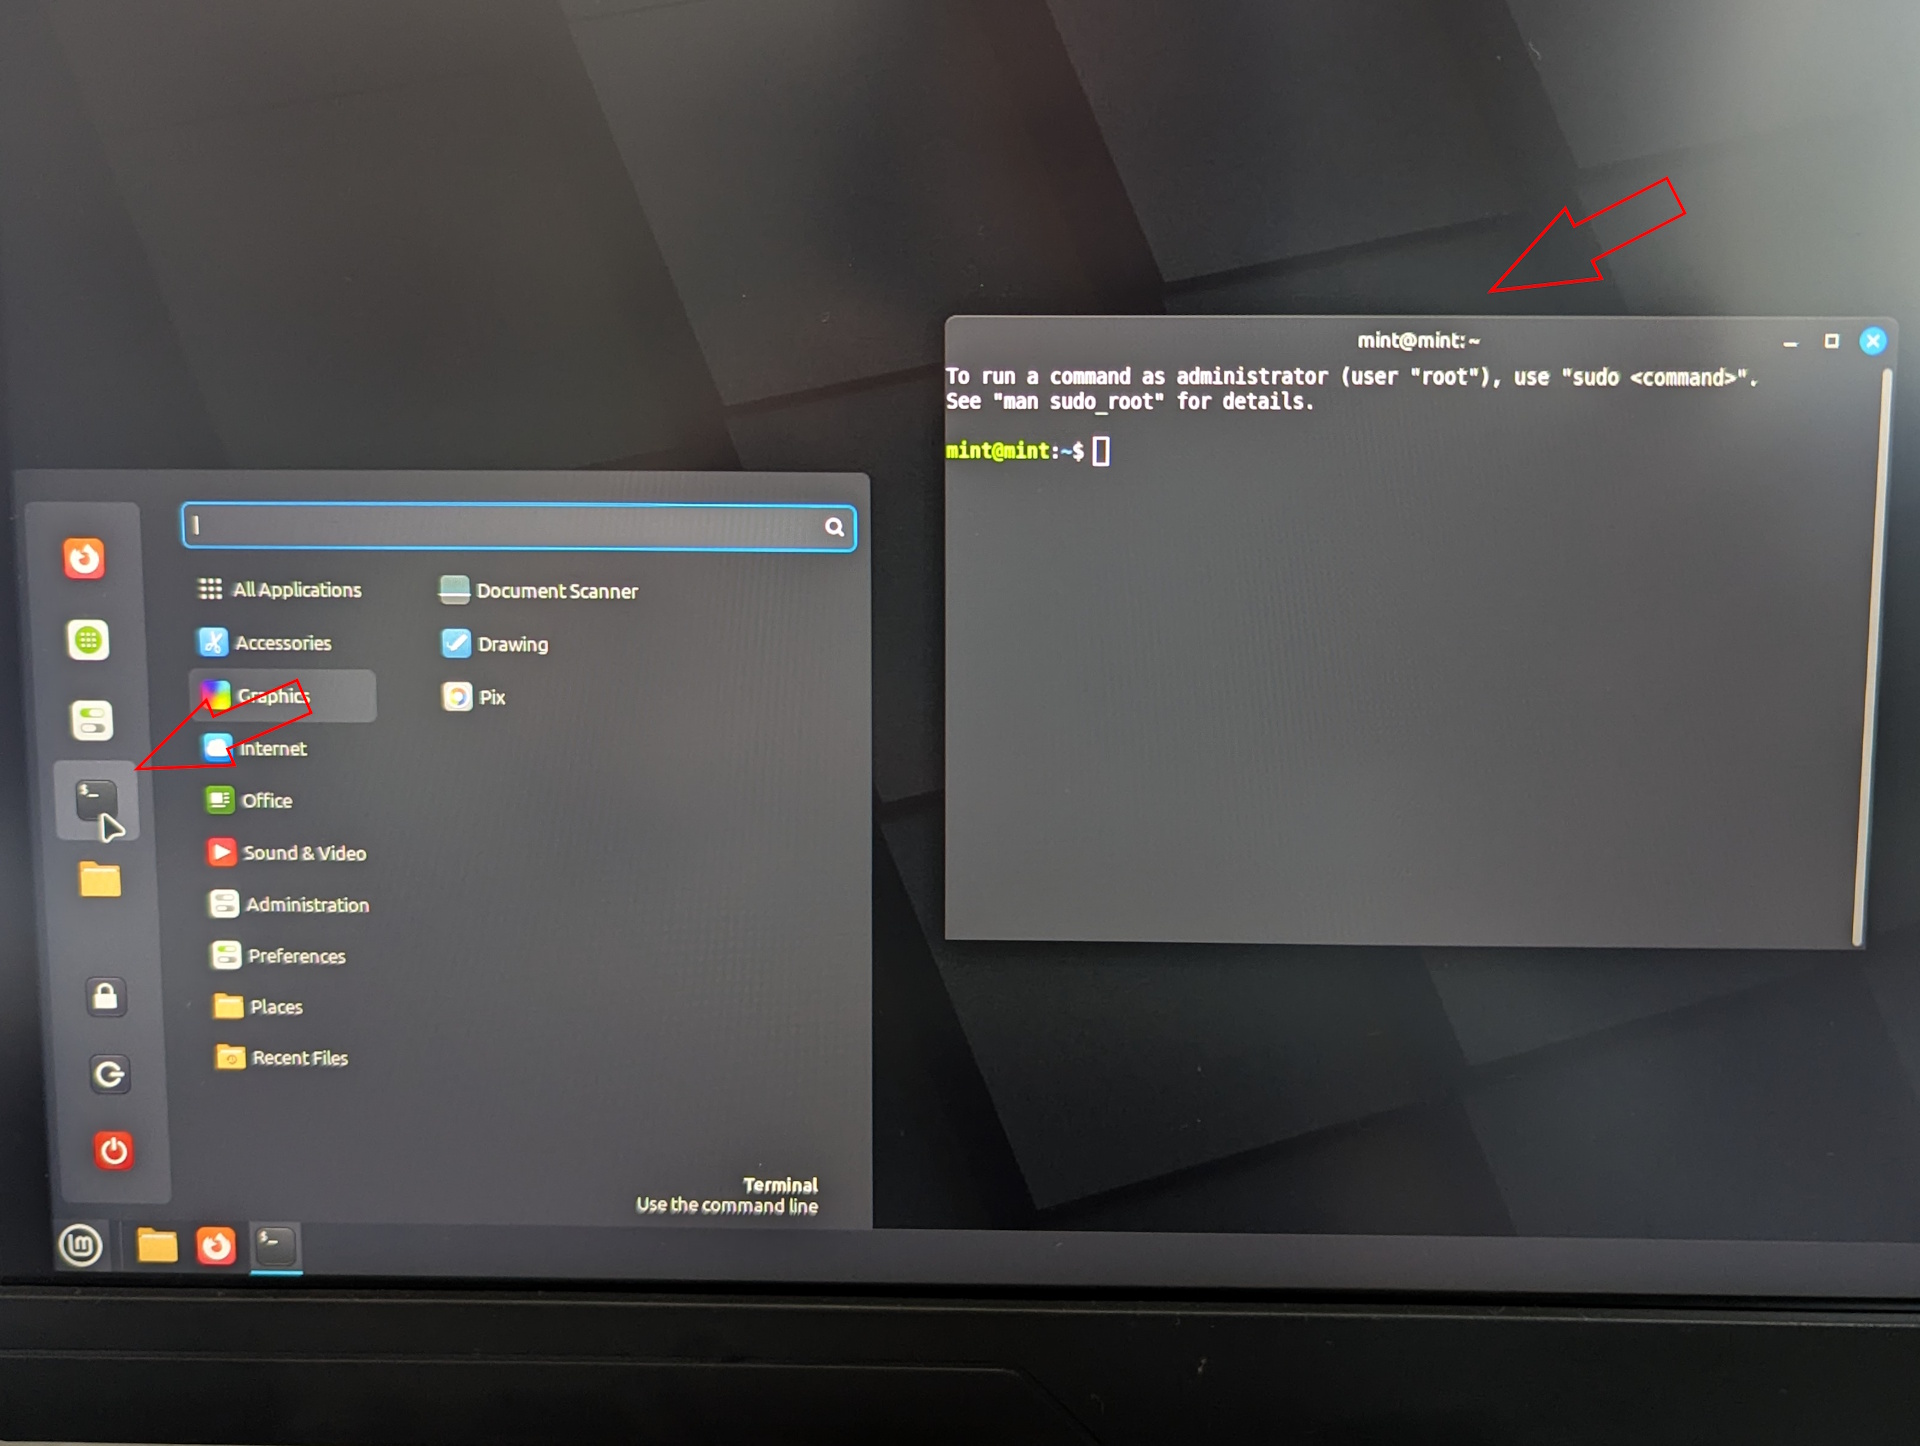
Open the terminal in Mint and type:
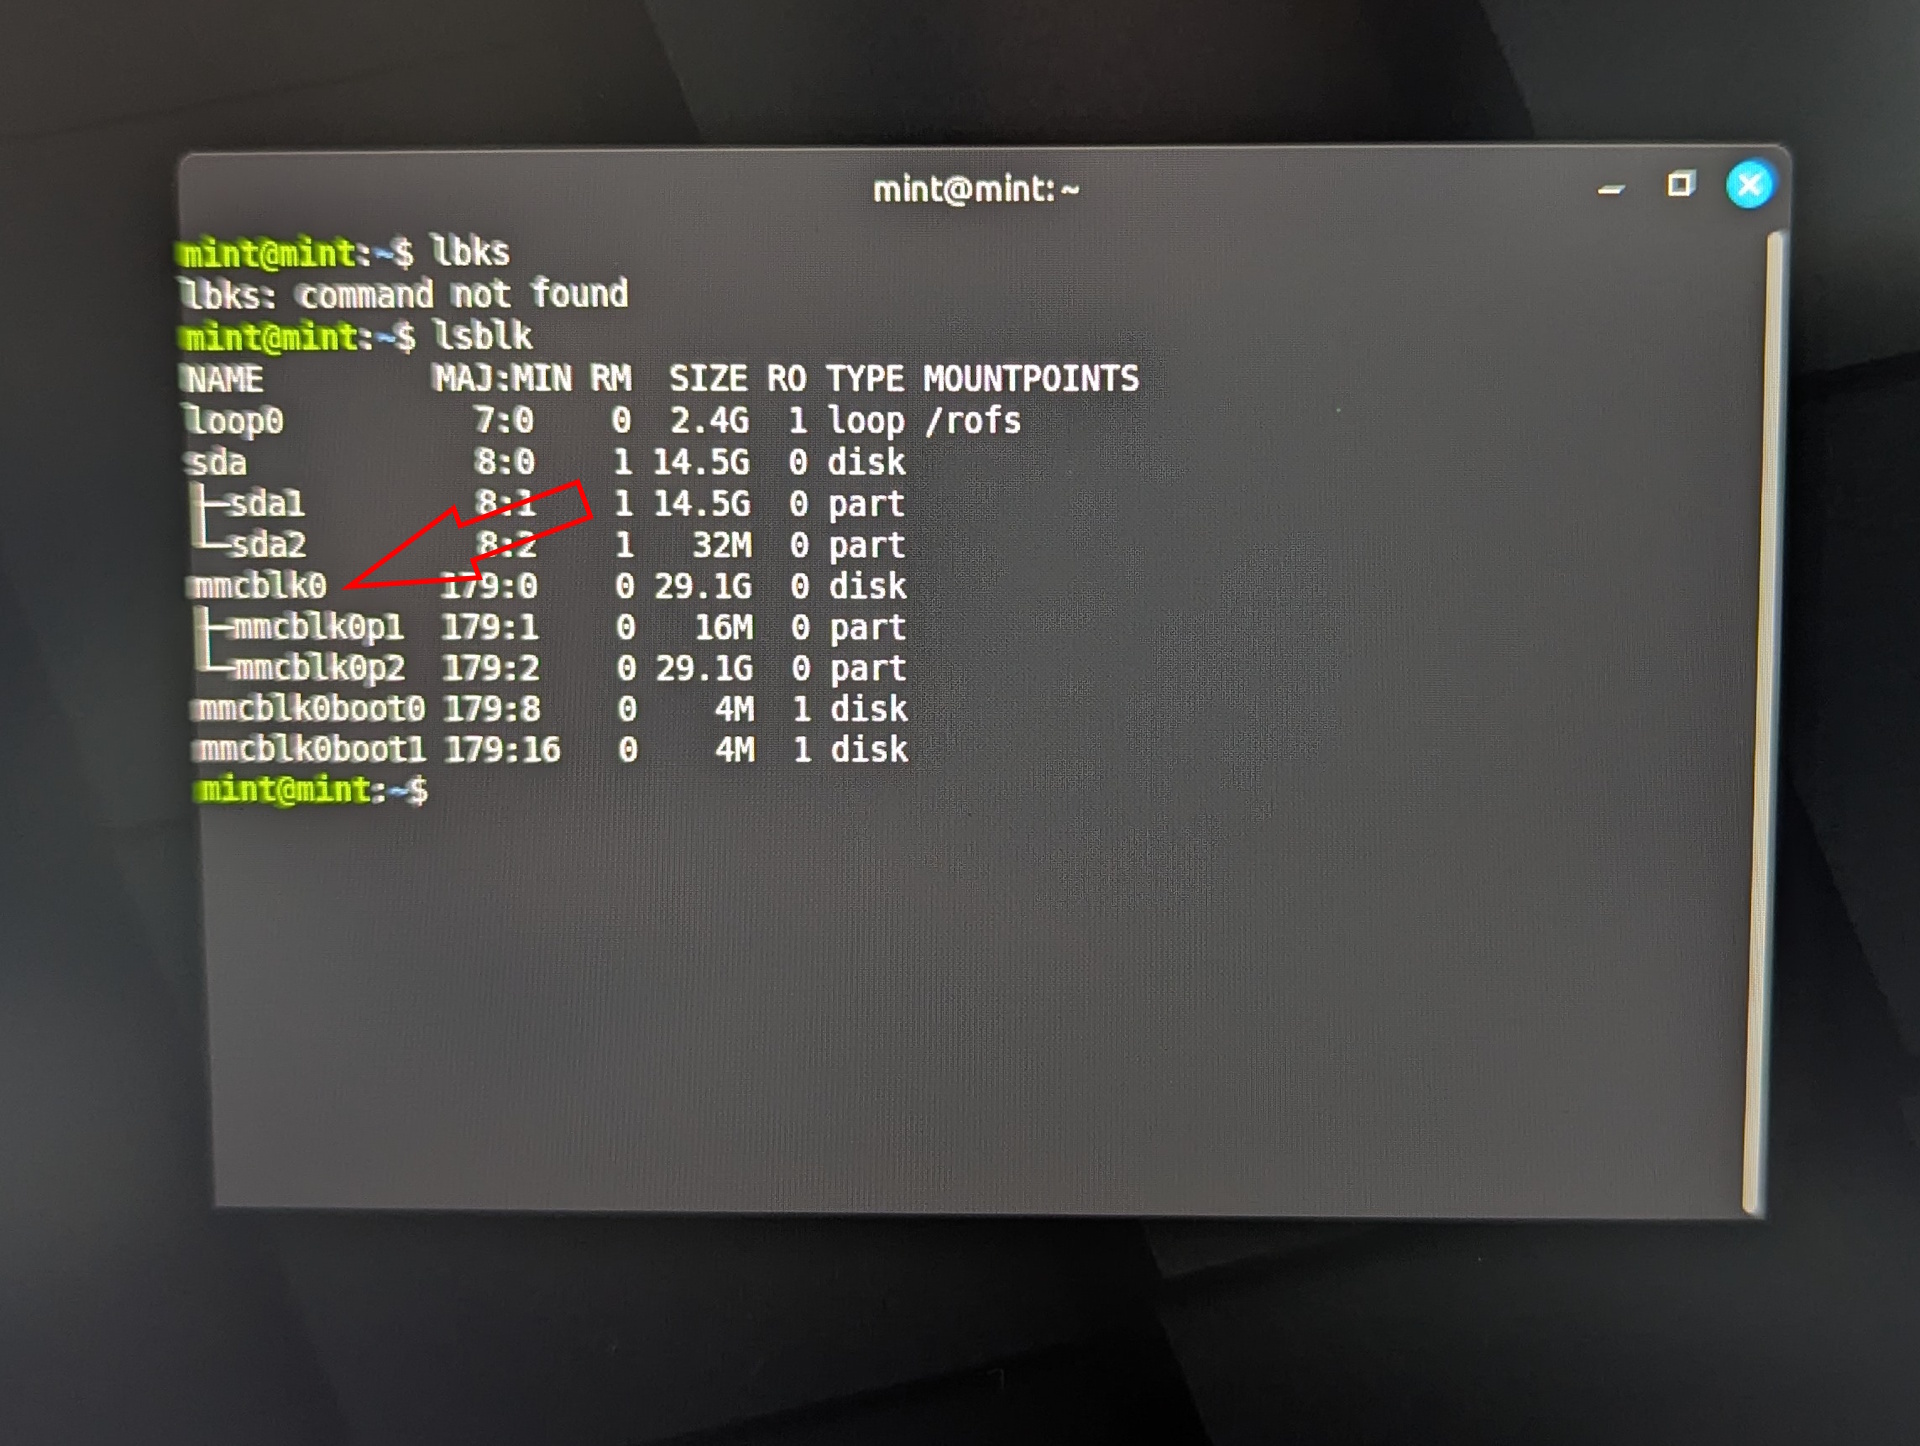
lsblk
This command lists all storage devices. The internal eMMC storage appears as mmcblk. On other x86 systems, the name may differ. USB drives usually appear as sda, sdb, and so on.
Next, enter:
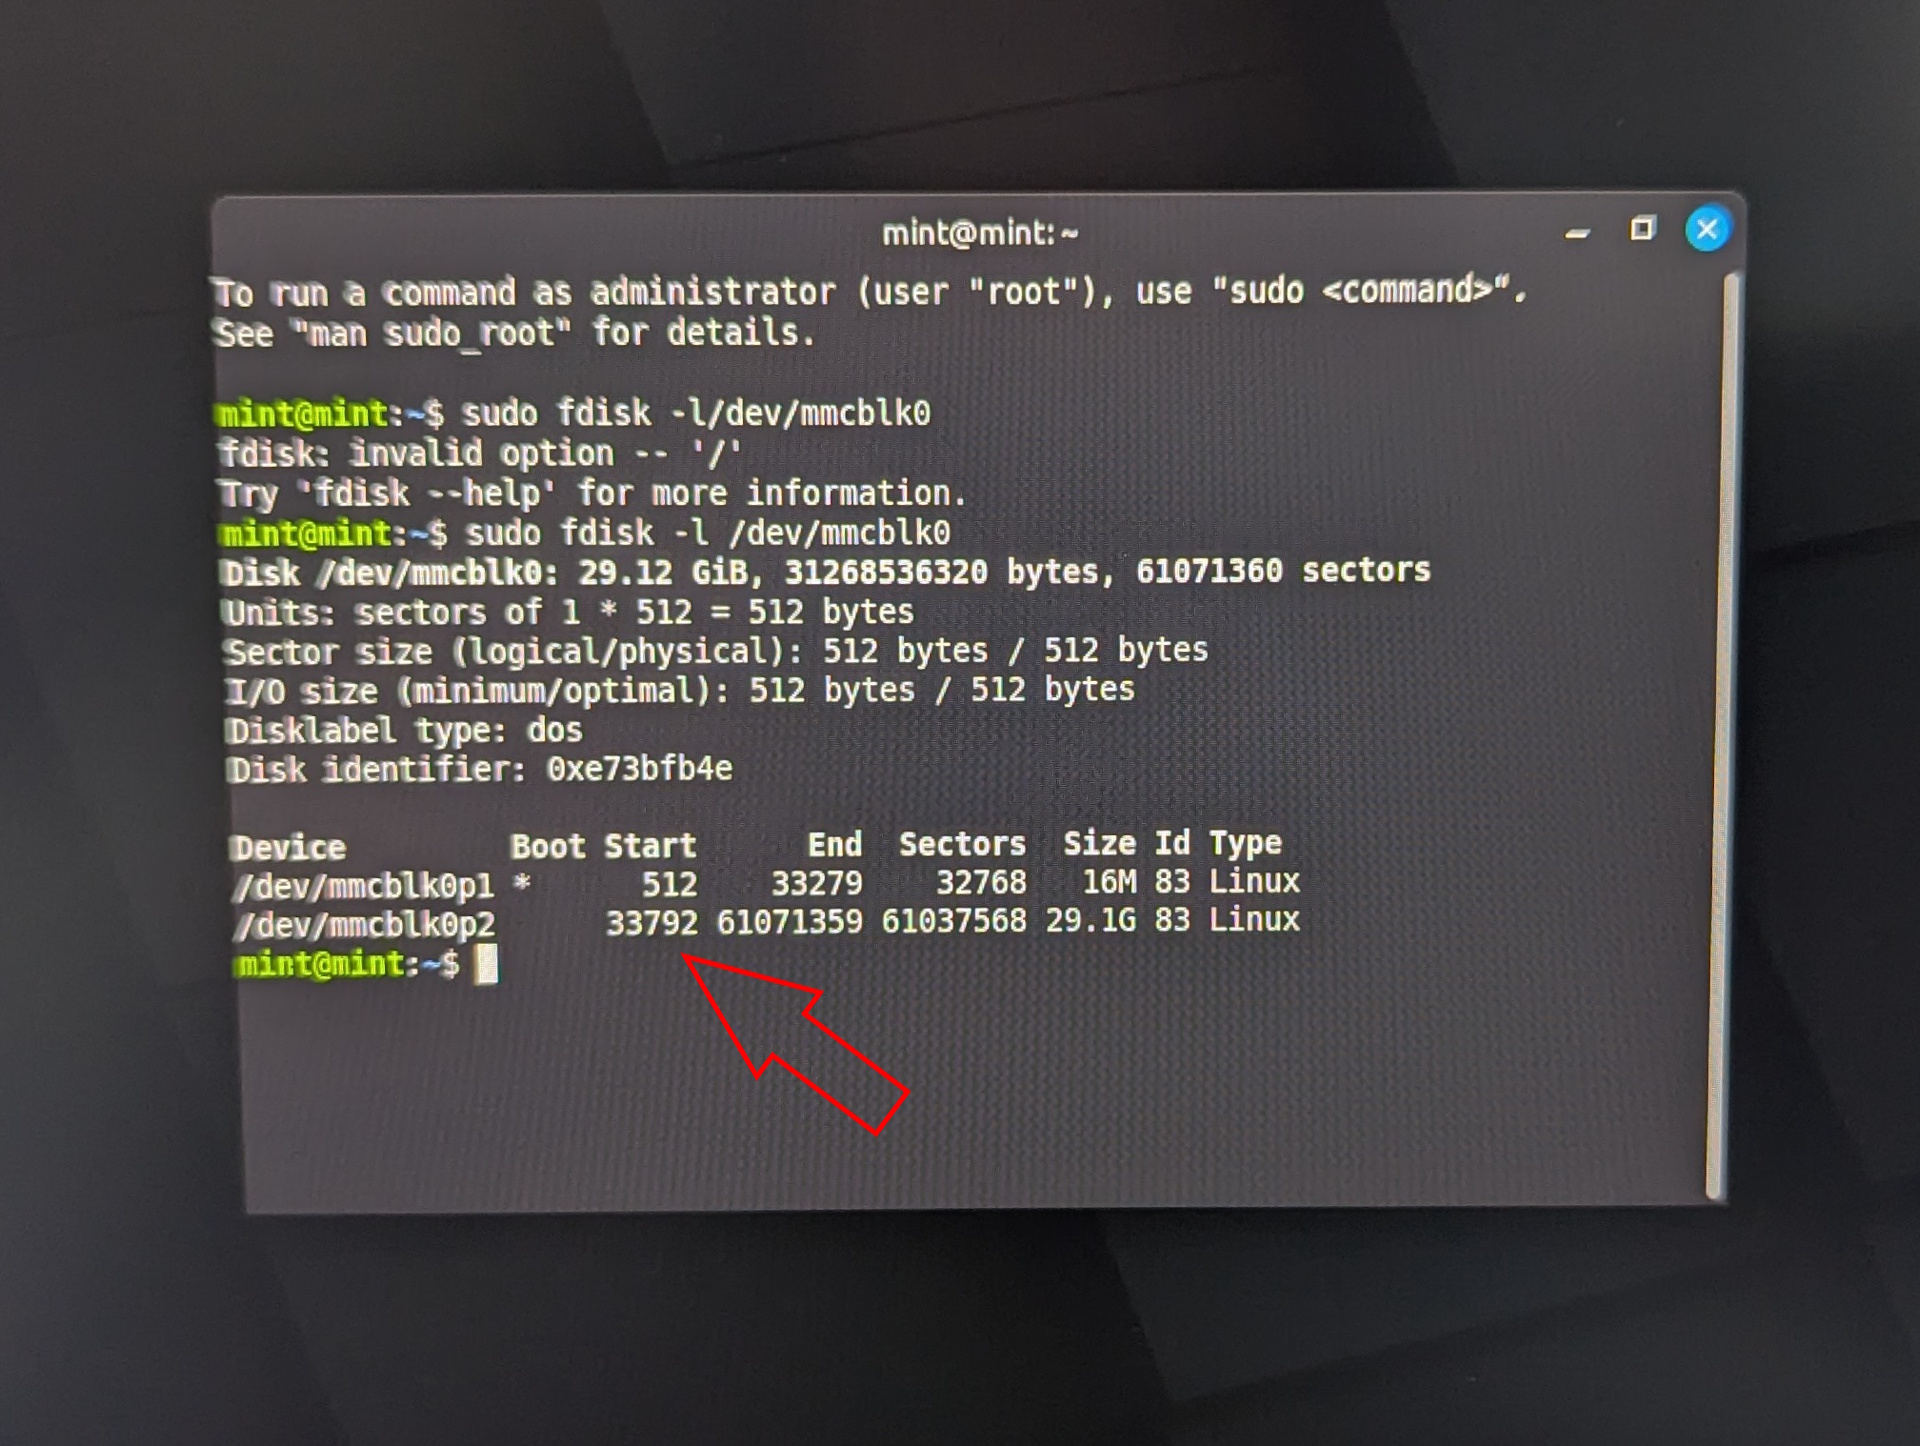
sudo fdisk -l /dev/mmcblk0
Find the entry for: mmcblk0p2. This is the second partition. Note the Start sector value (default: 33792). This is critical, because entering the wrong value could destroy the boot partition.
Now perform the following steps:
- sudo fdisk /dev/mmcblk0
- Press d, then 2 (delete partition 2)
- Press n (create new partition)
- Press p (primary partition)
- Press 2 (partition number 2)
- Enter the exact start sector you noted earlier (e.g., 33792)
- Press Enter for the last sector (use remaining space)
- When asked about removing the signature, press N (No), otherwise the OpenWRT data will be destroyed
- Press w to write changes
Now resize the filesystem:
sudo e2fsck -f /dev/mmcblk0p2
Confirm all prompts with Y. Then run:
sudo resize2fs /dev/mmcblk0p2
This expands the filesystem to use the full available storage. Verify the result with:
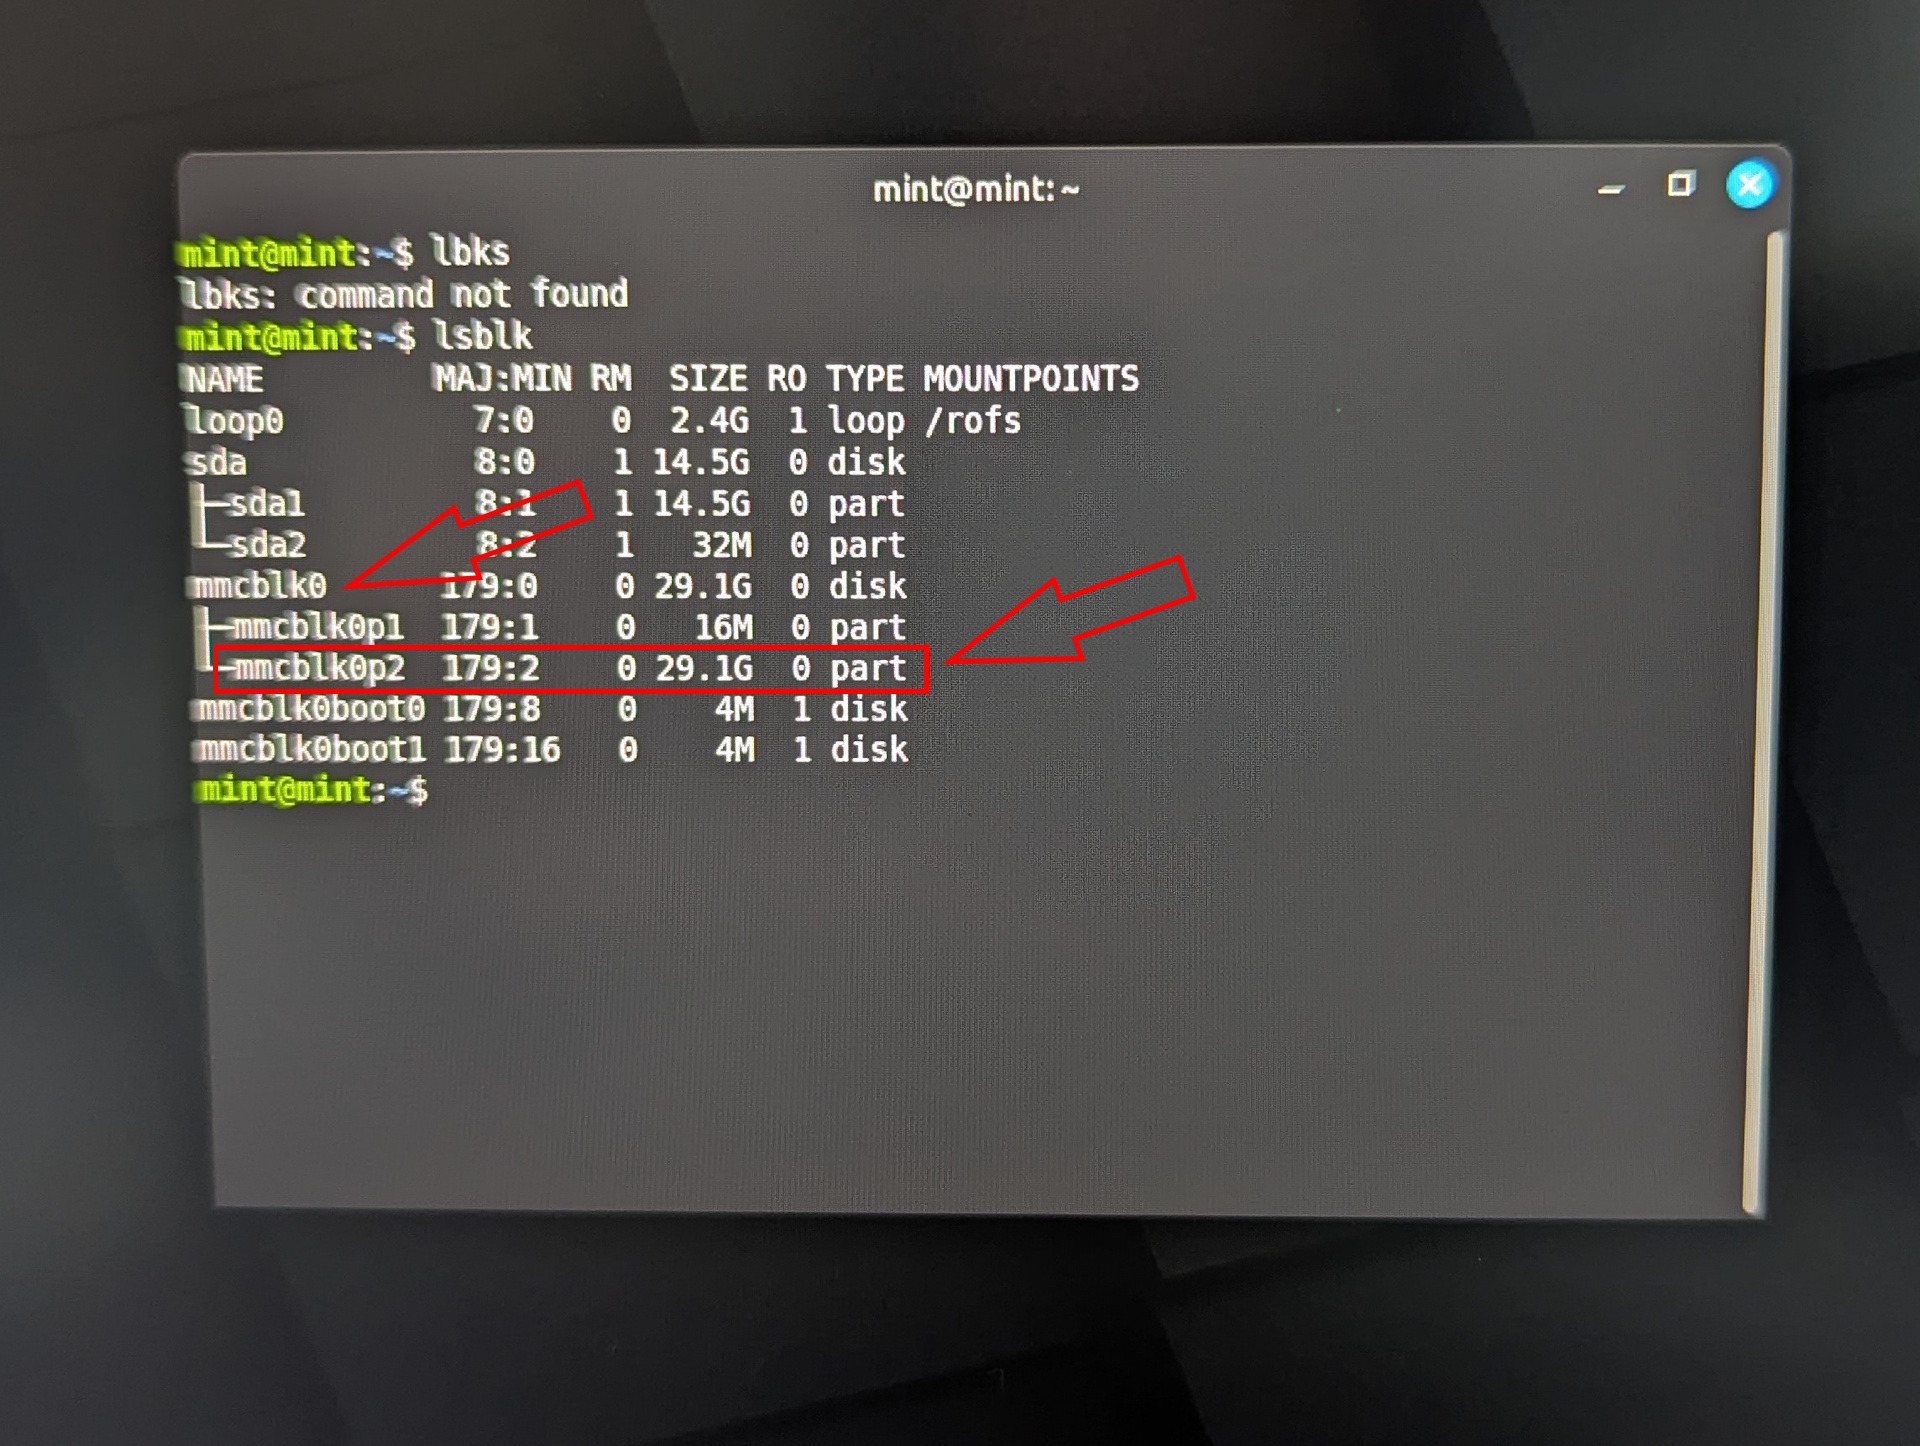
lsblk
If the size of mmcblk0p2 is now around 29 GB, the process was successful. You can now reboot the system.
Accessing OpenWRT for the first time
To test the setup, connect the x86 router PC (Zimaboard) to another computer via Ethernet. Open a browser and navigate to:
192.168.1.1
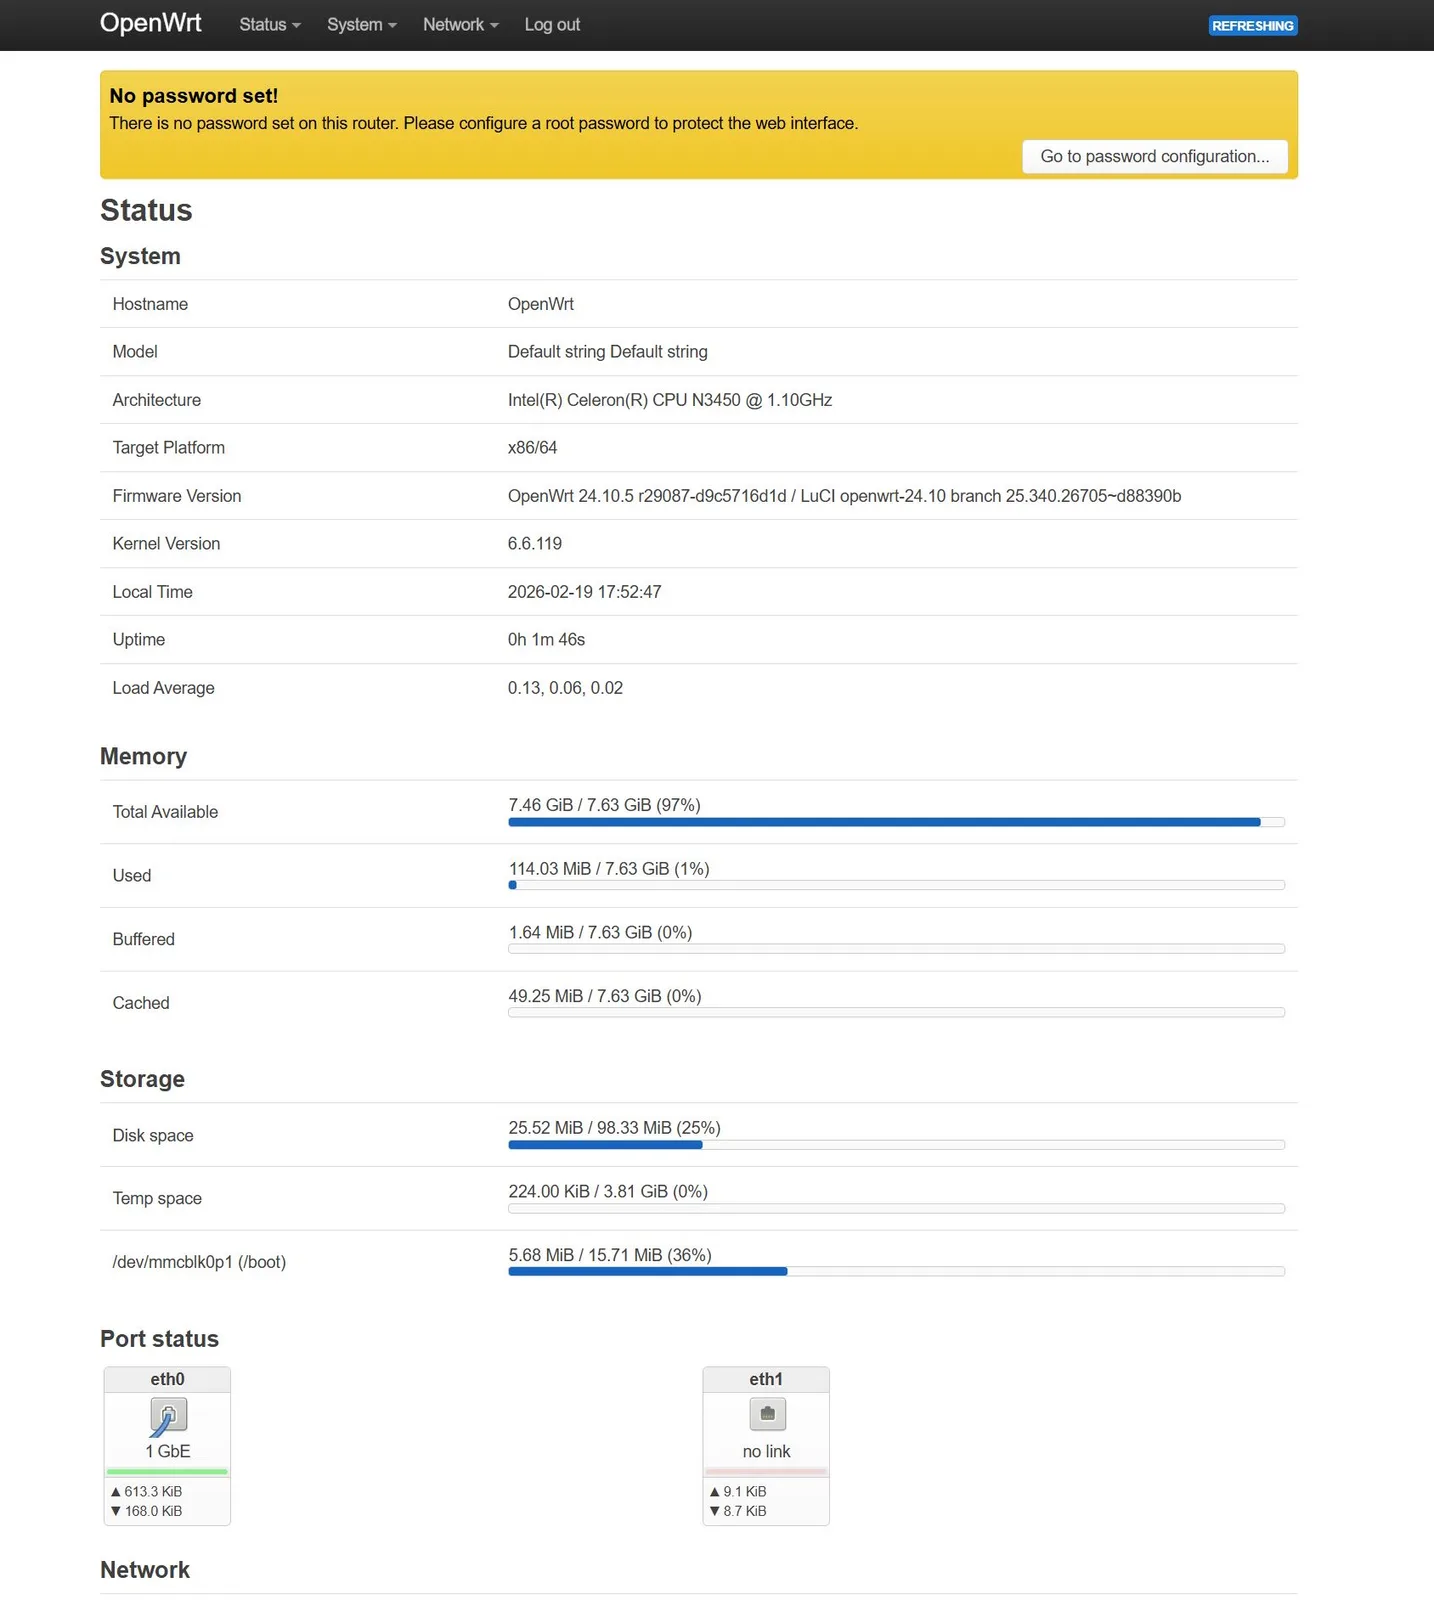
If your ISP router uses the same IP address, temporarily disconnect it to avoid conflicts. Initially, no password is set. Simply log in and create a secure password.
Summary: Process overview
Here’s a quick recap of the installation process:
- Use a Linux live system (Mint or Ubuntu) to write the OpenWRT image to internal storage
- Expand the OpenWRT partition to utilize full storage capacity
- Reboot the router system
- Access OpenWRT via its default IP address (192.168.1.1)
At this point, OpenWRT is fully operational, and the firewall is already active.
Outlook: Enabling bridge mode on the Vodafone router
OpenWRT is now installed and already running, but could use additional configuration.
But my next step is to convert the Vodafone router into a pure modem by enabling bridge mode.
Therefore, in the next part of this series, we’ll explore the Vodafone router’s bridge mode and begin configuring OpenWRT’s core network settings.
Overview
- Unbloated network – Project overview (part 1) ✅
- Unbloated network – Which hardware actually makes sense? (part 2) ✅
- Unbloated network – Install OpenWRT on the ZimaBoard or any other PC (part 3) ✅
- Unbloated network – Activate Bridge Mode on your Vodafone router (part 4)
