Unbloated Network – Activating Vodafone bridge mode: Using your router as a pure modem (part 4)
Why the Vodafone router needs bridge mode
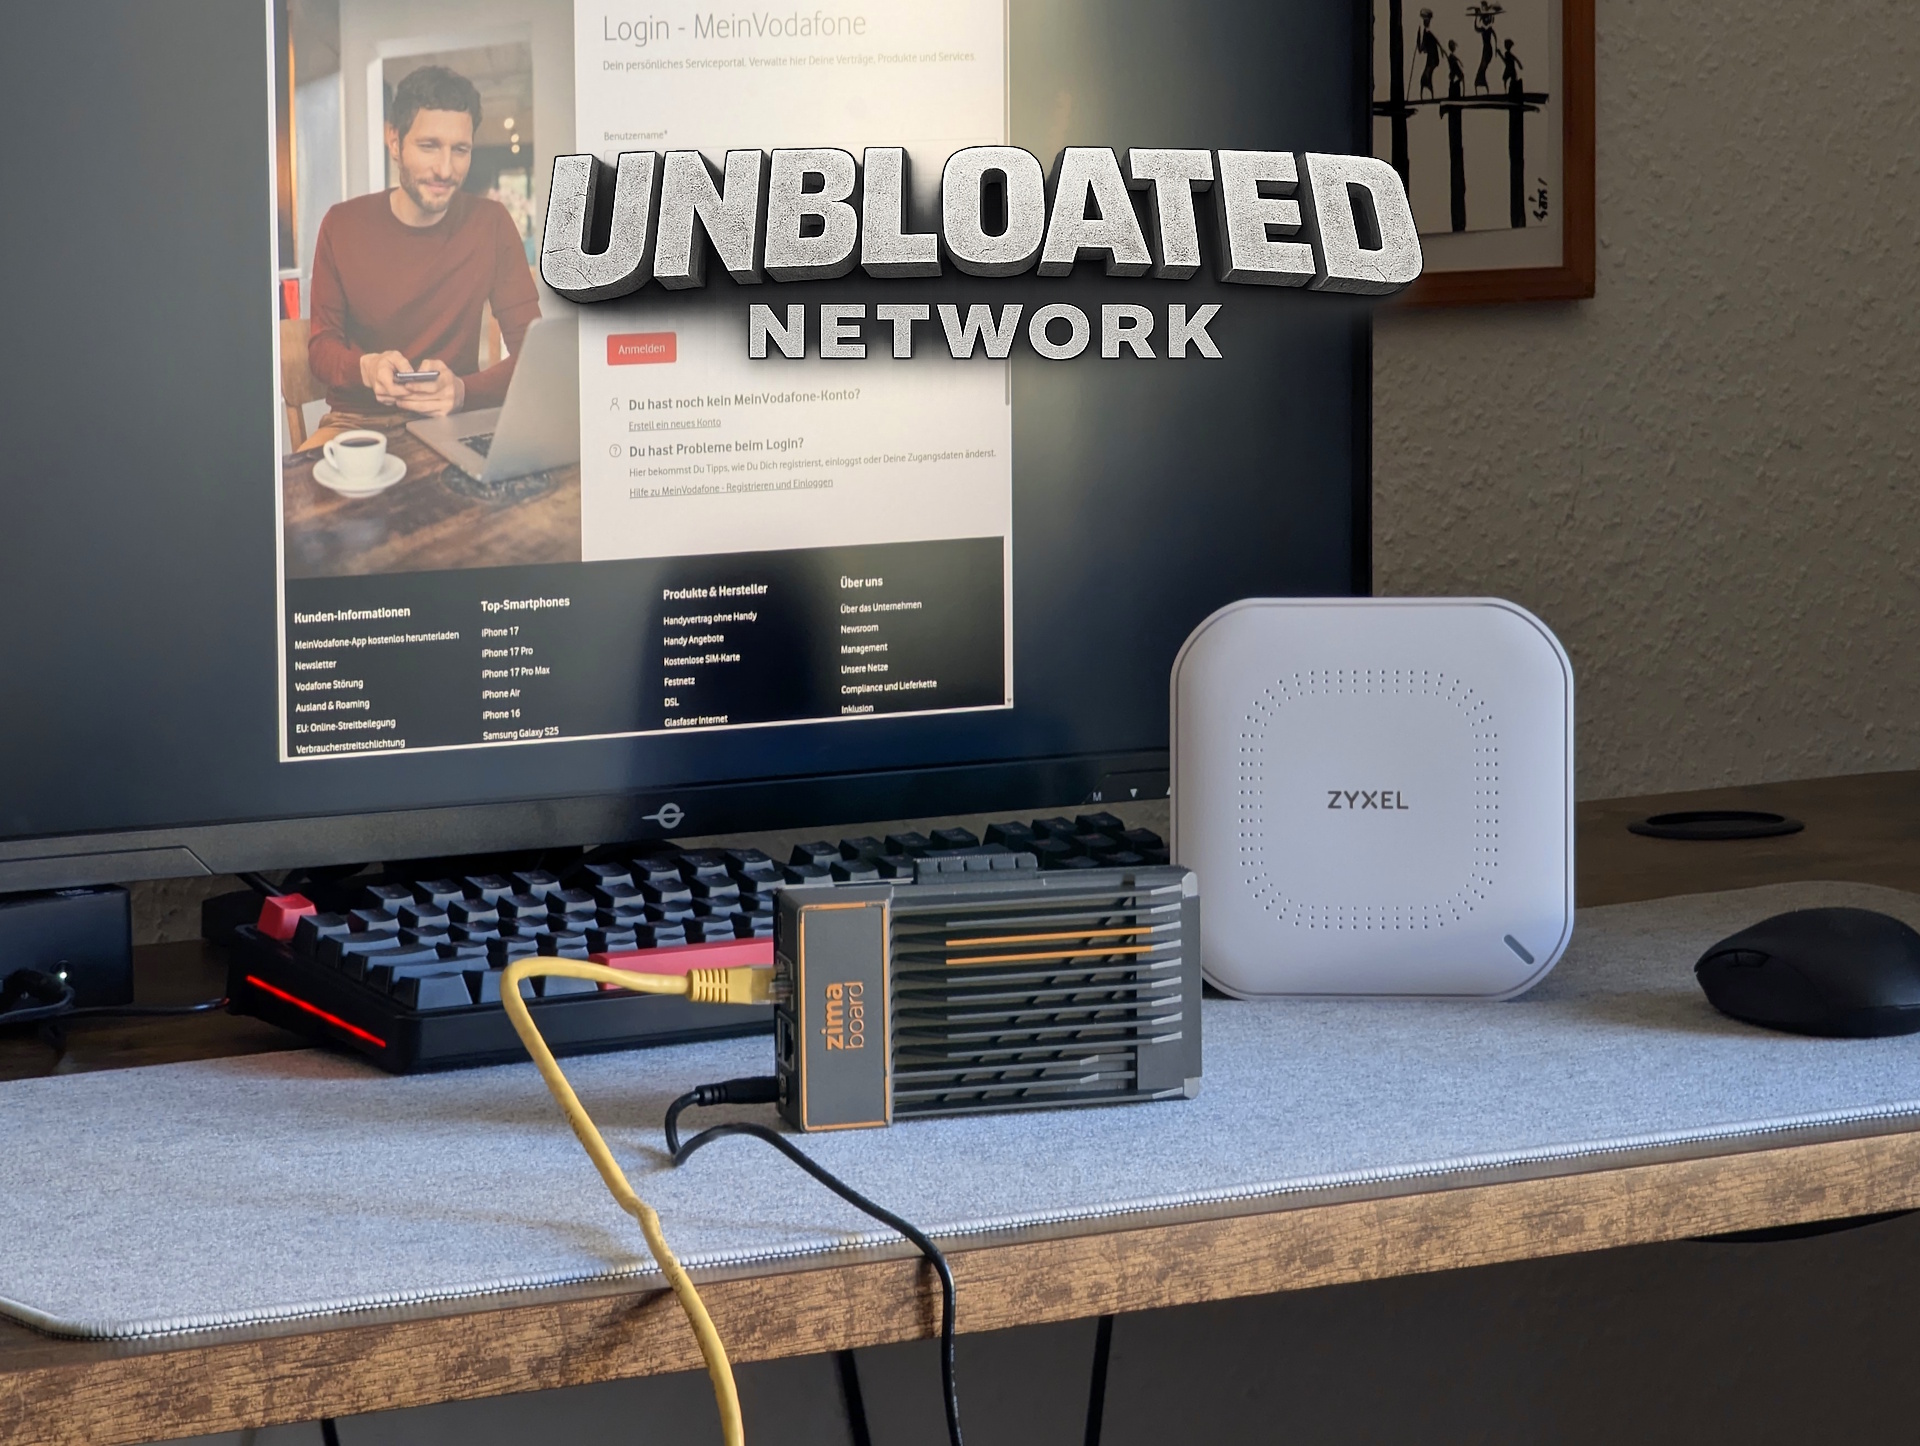
In the previous part of this series, I installed OpenWRT on an x86 PC—in my case, a Zimaboard (prices are crazy right now: $376 for the Zimaboard 2 on Amazon).
However, before the new open-source router can take over, the Vodafone router needs to stop acting as a router.
As long as both devices perform routing tasks, you’ll run into double NAT and other network conflicts. To avoid that, the Vodafone Station must be switched into bridge mode so it functions purely as a modem.
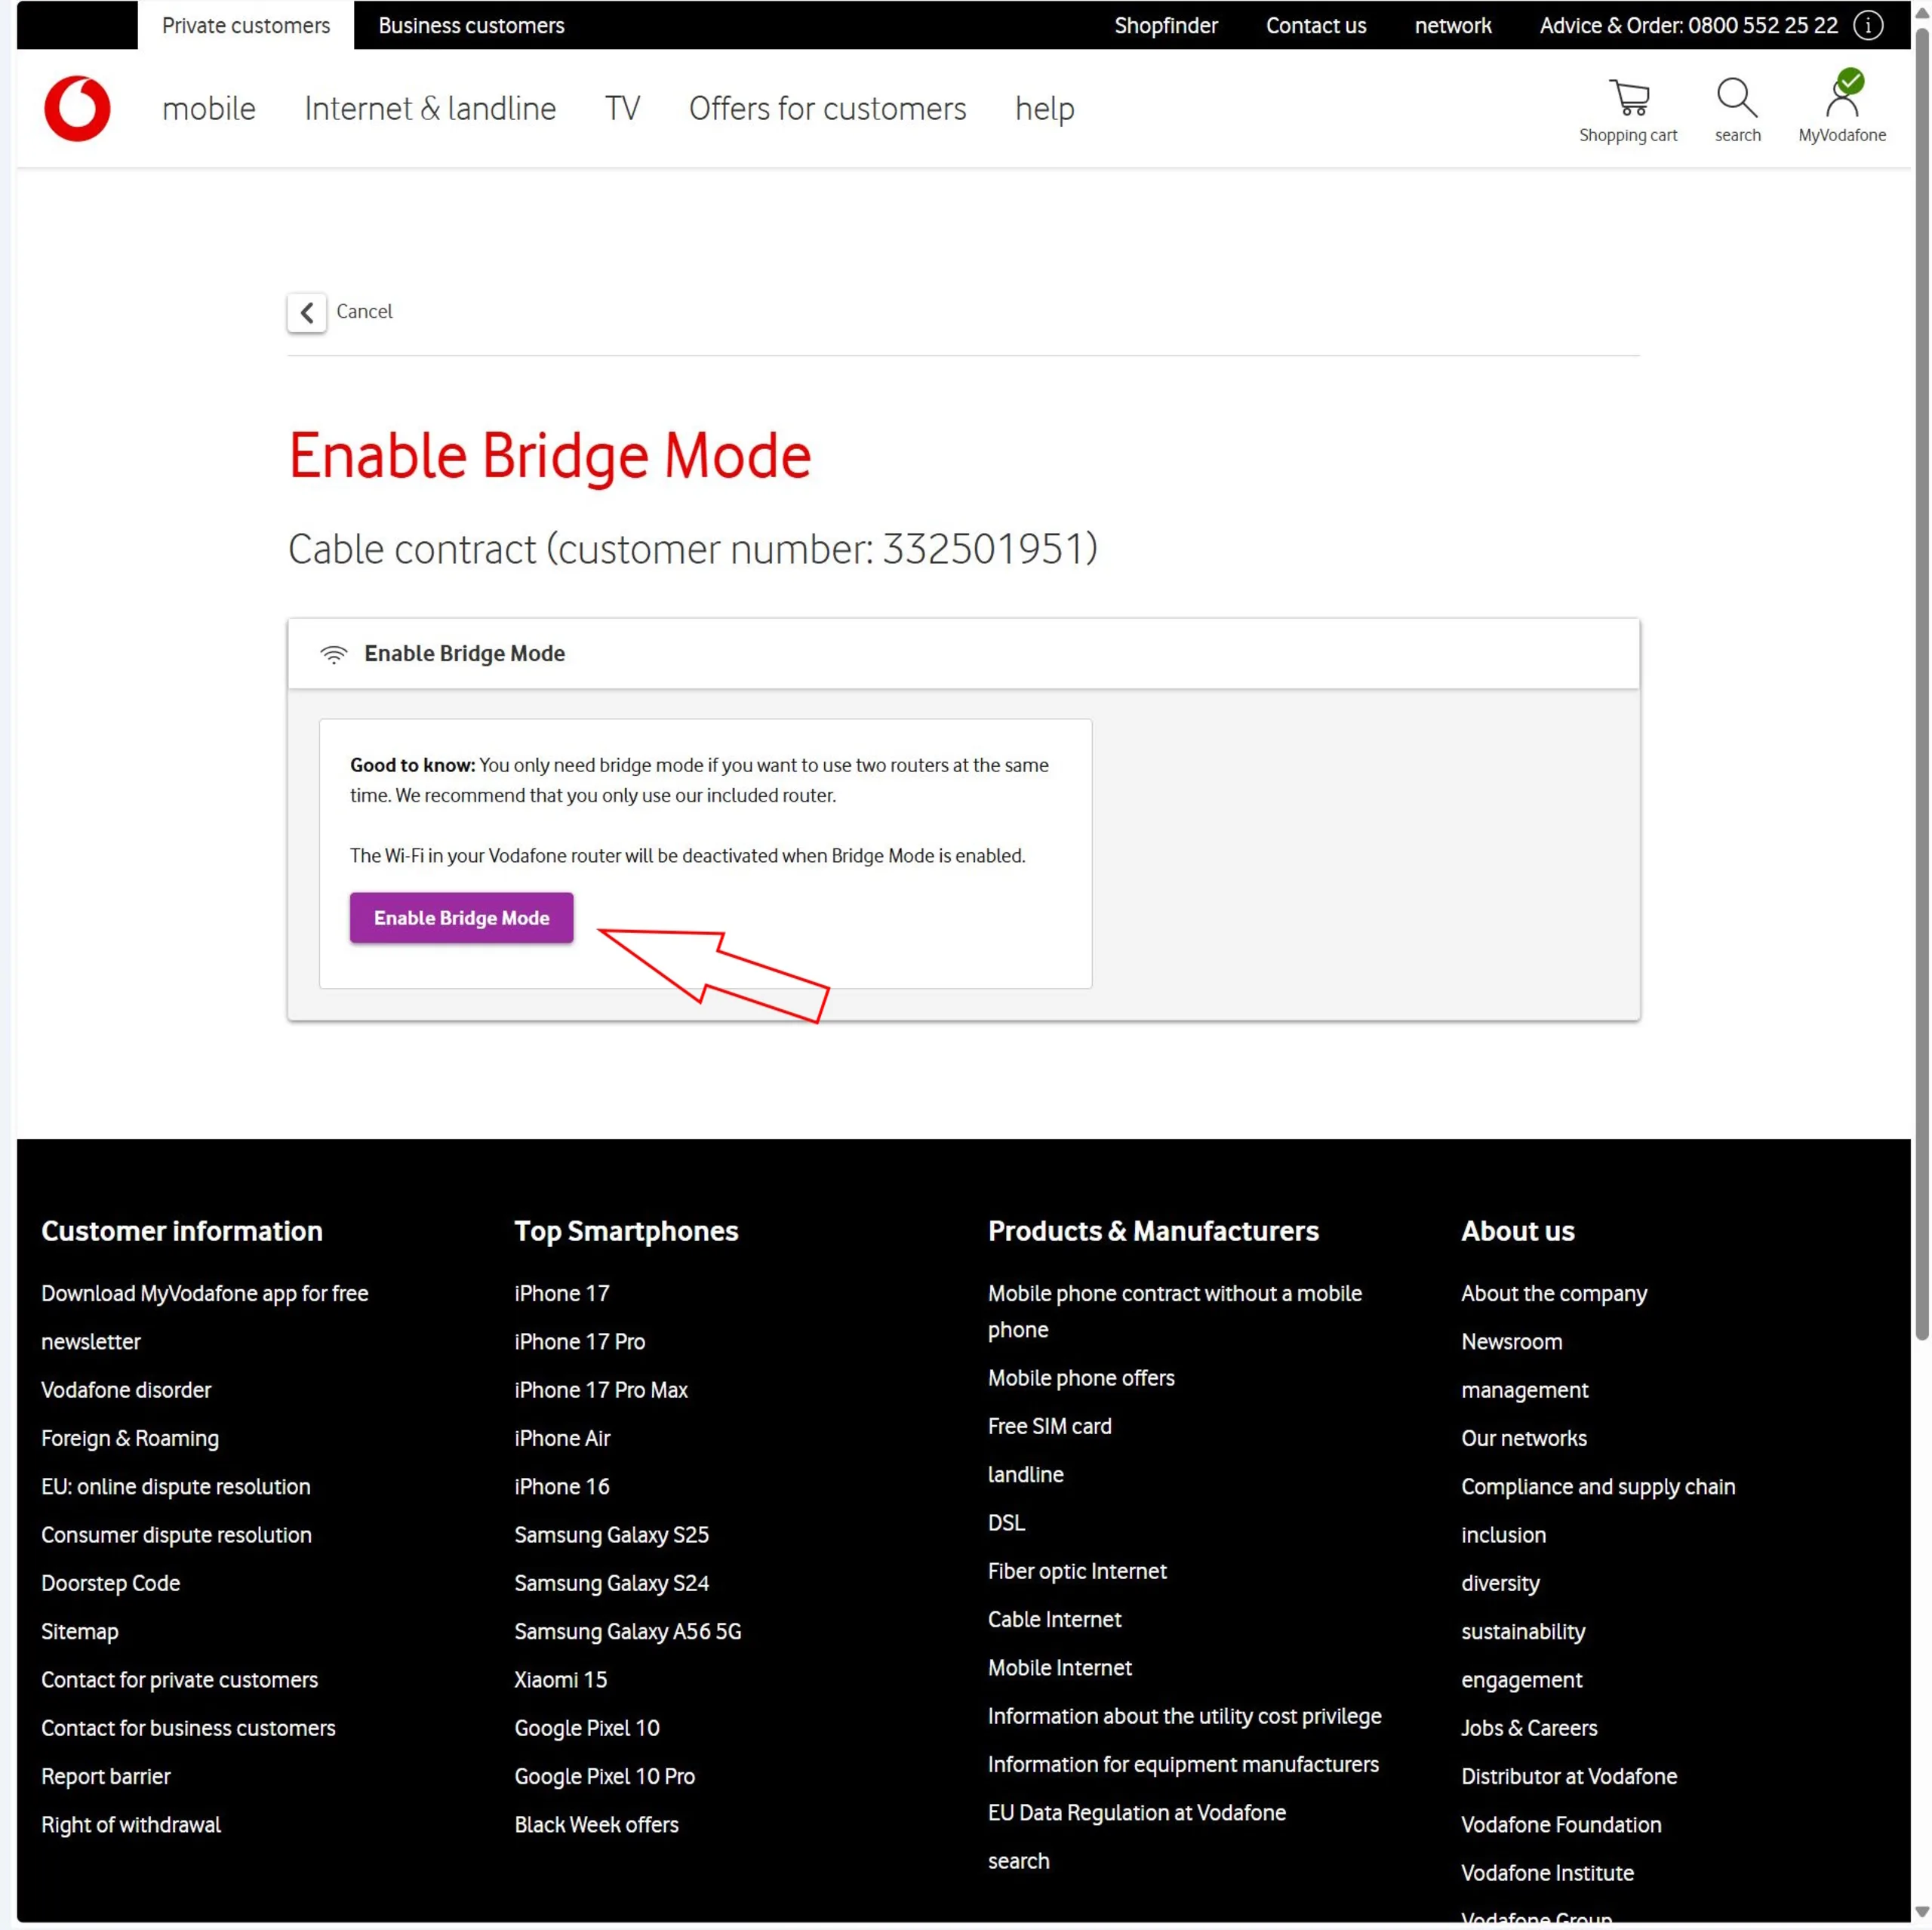
Activating bridge mode in your Vodafone account
Enabling bridge mode itself isn’t technically complicated—but it’s not done through the router’s local web interface. Instead, you need to log into your Vodafone online account.
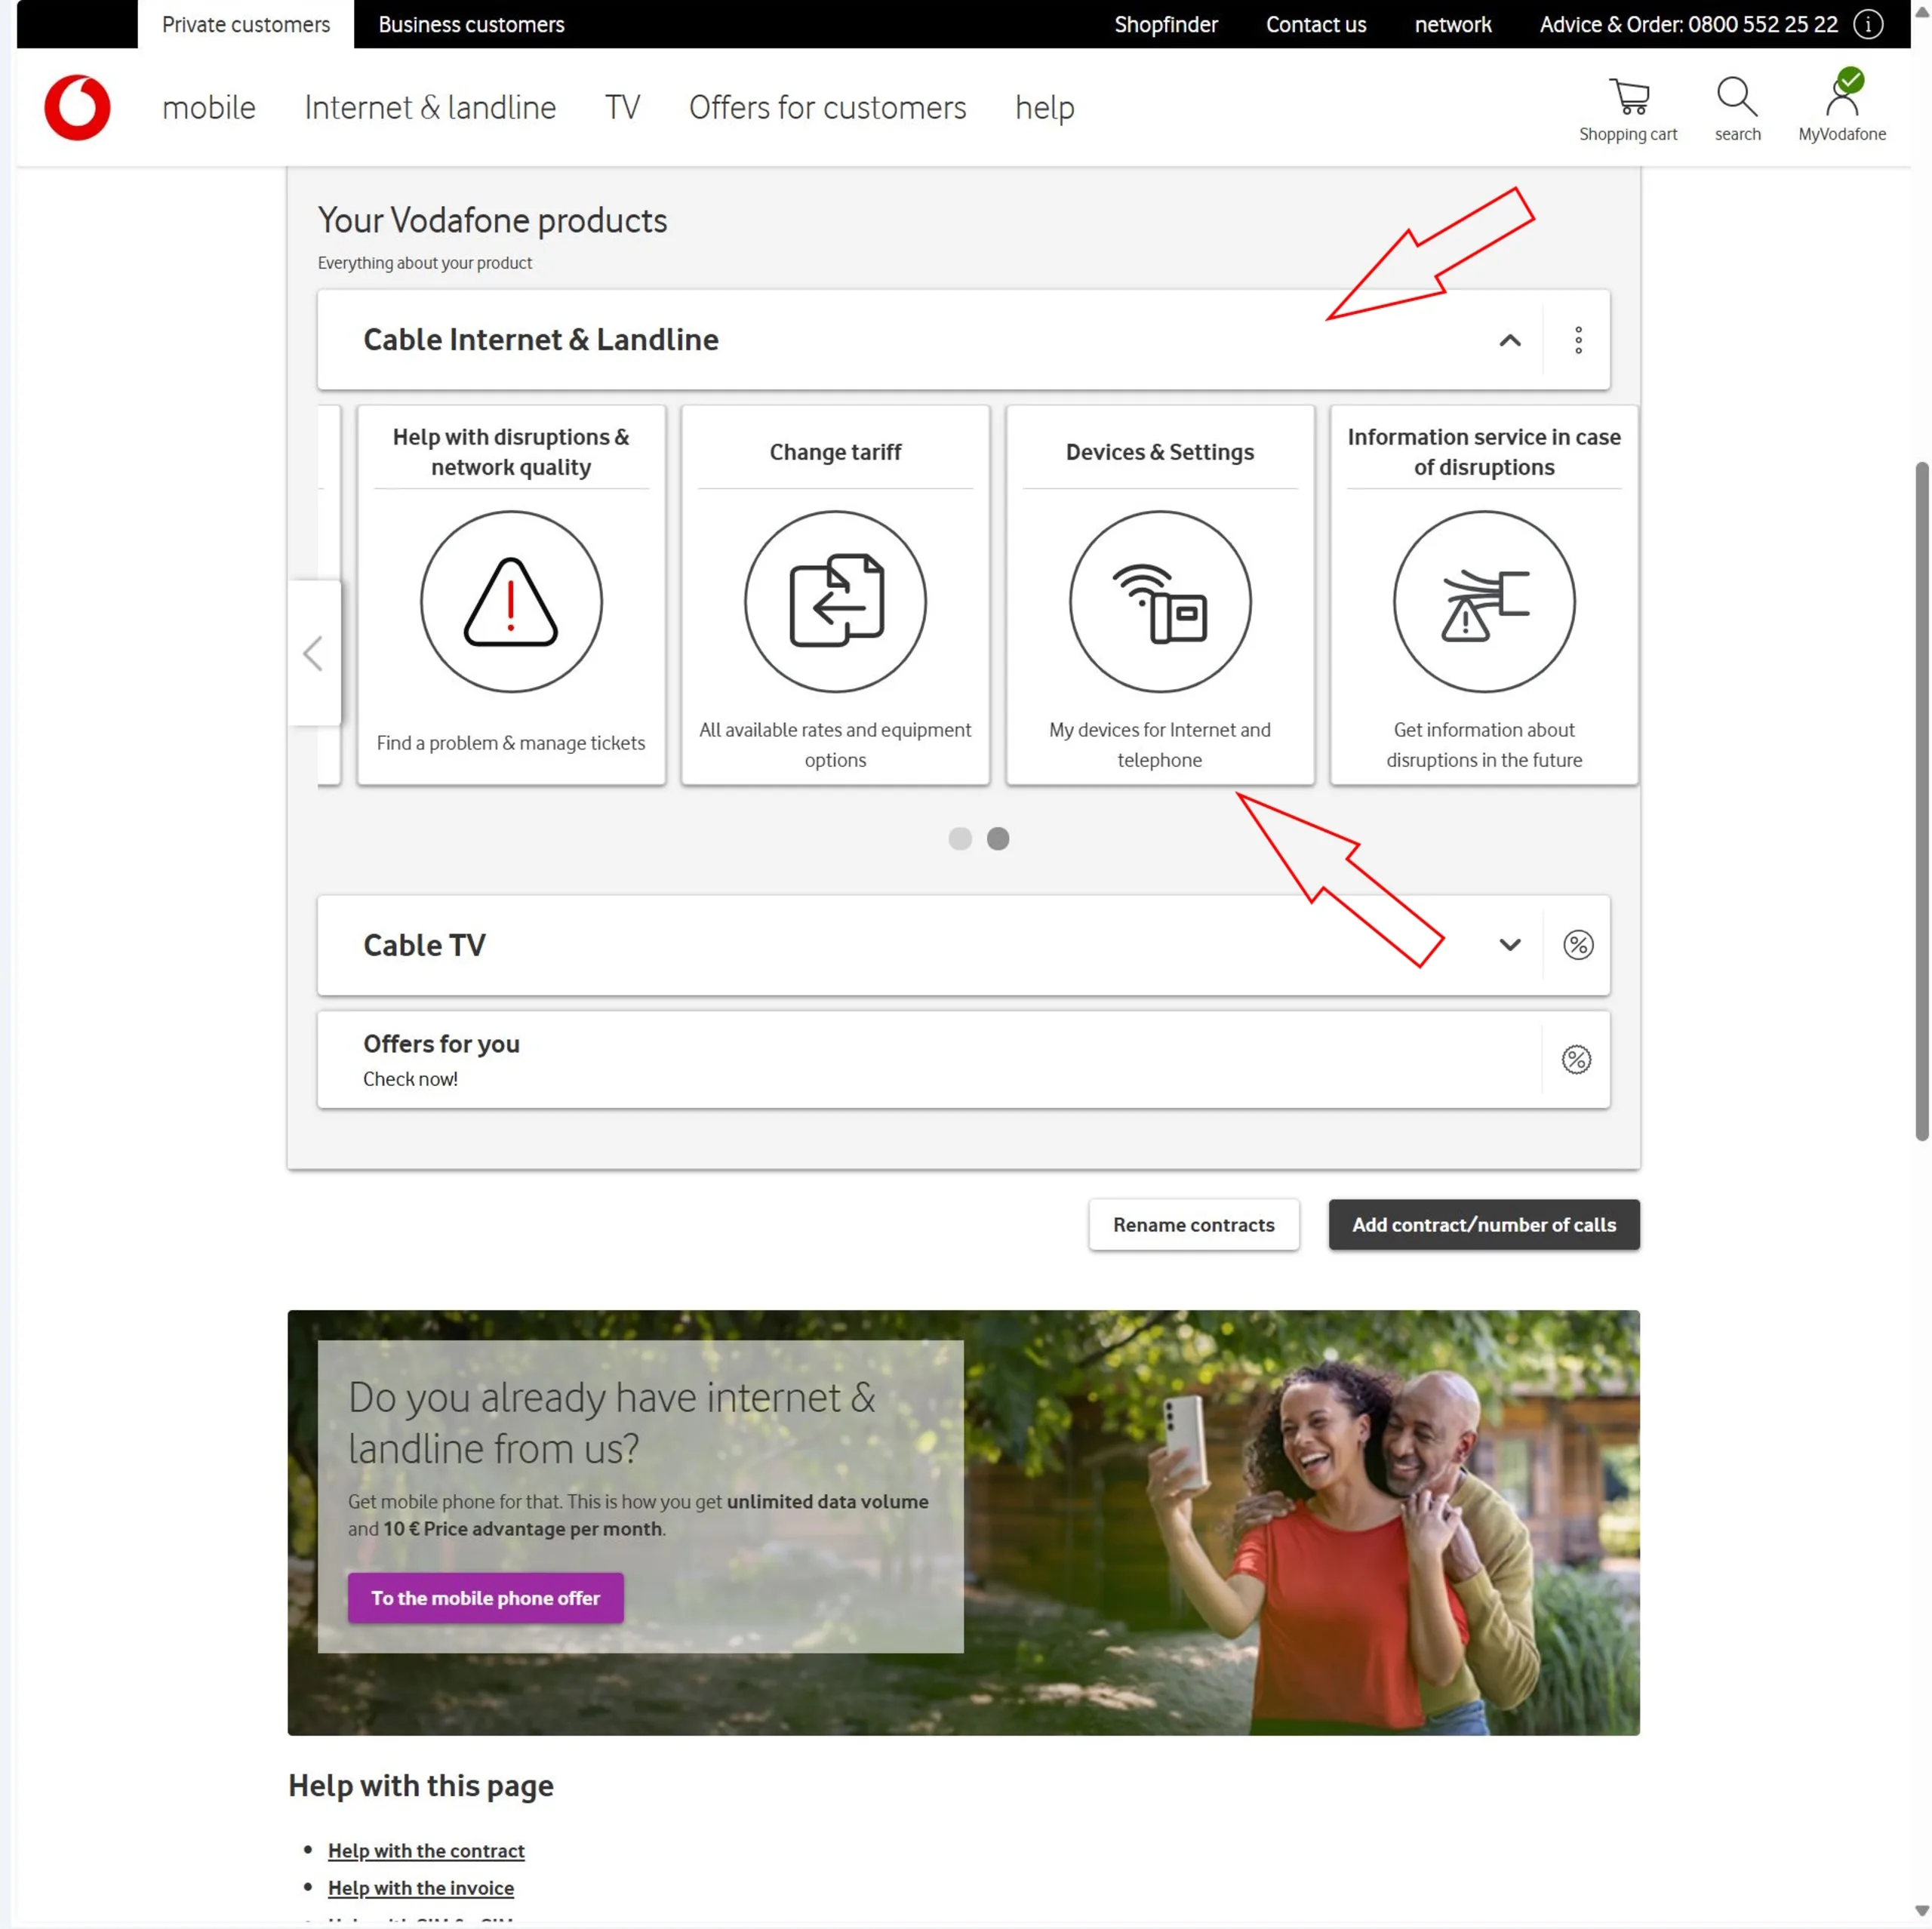
After logging in, navigate to the homepage (“My Vodafone”), then:
- Go to “Your Vodafone Products”
- Select your internet product
- Click on “My Devices”
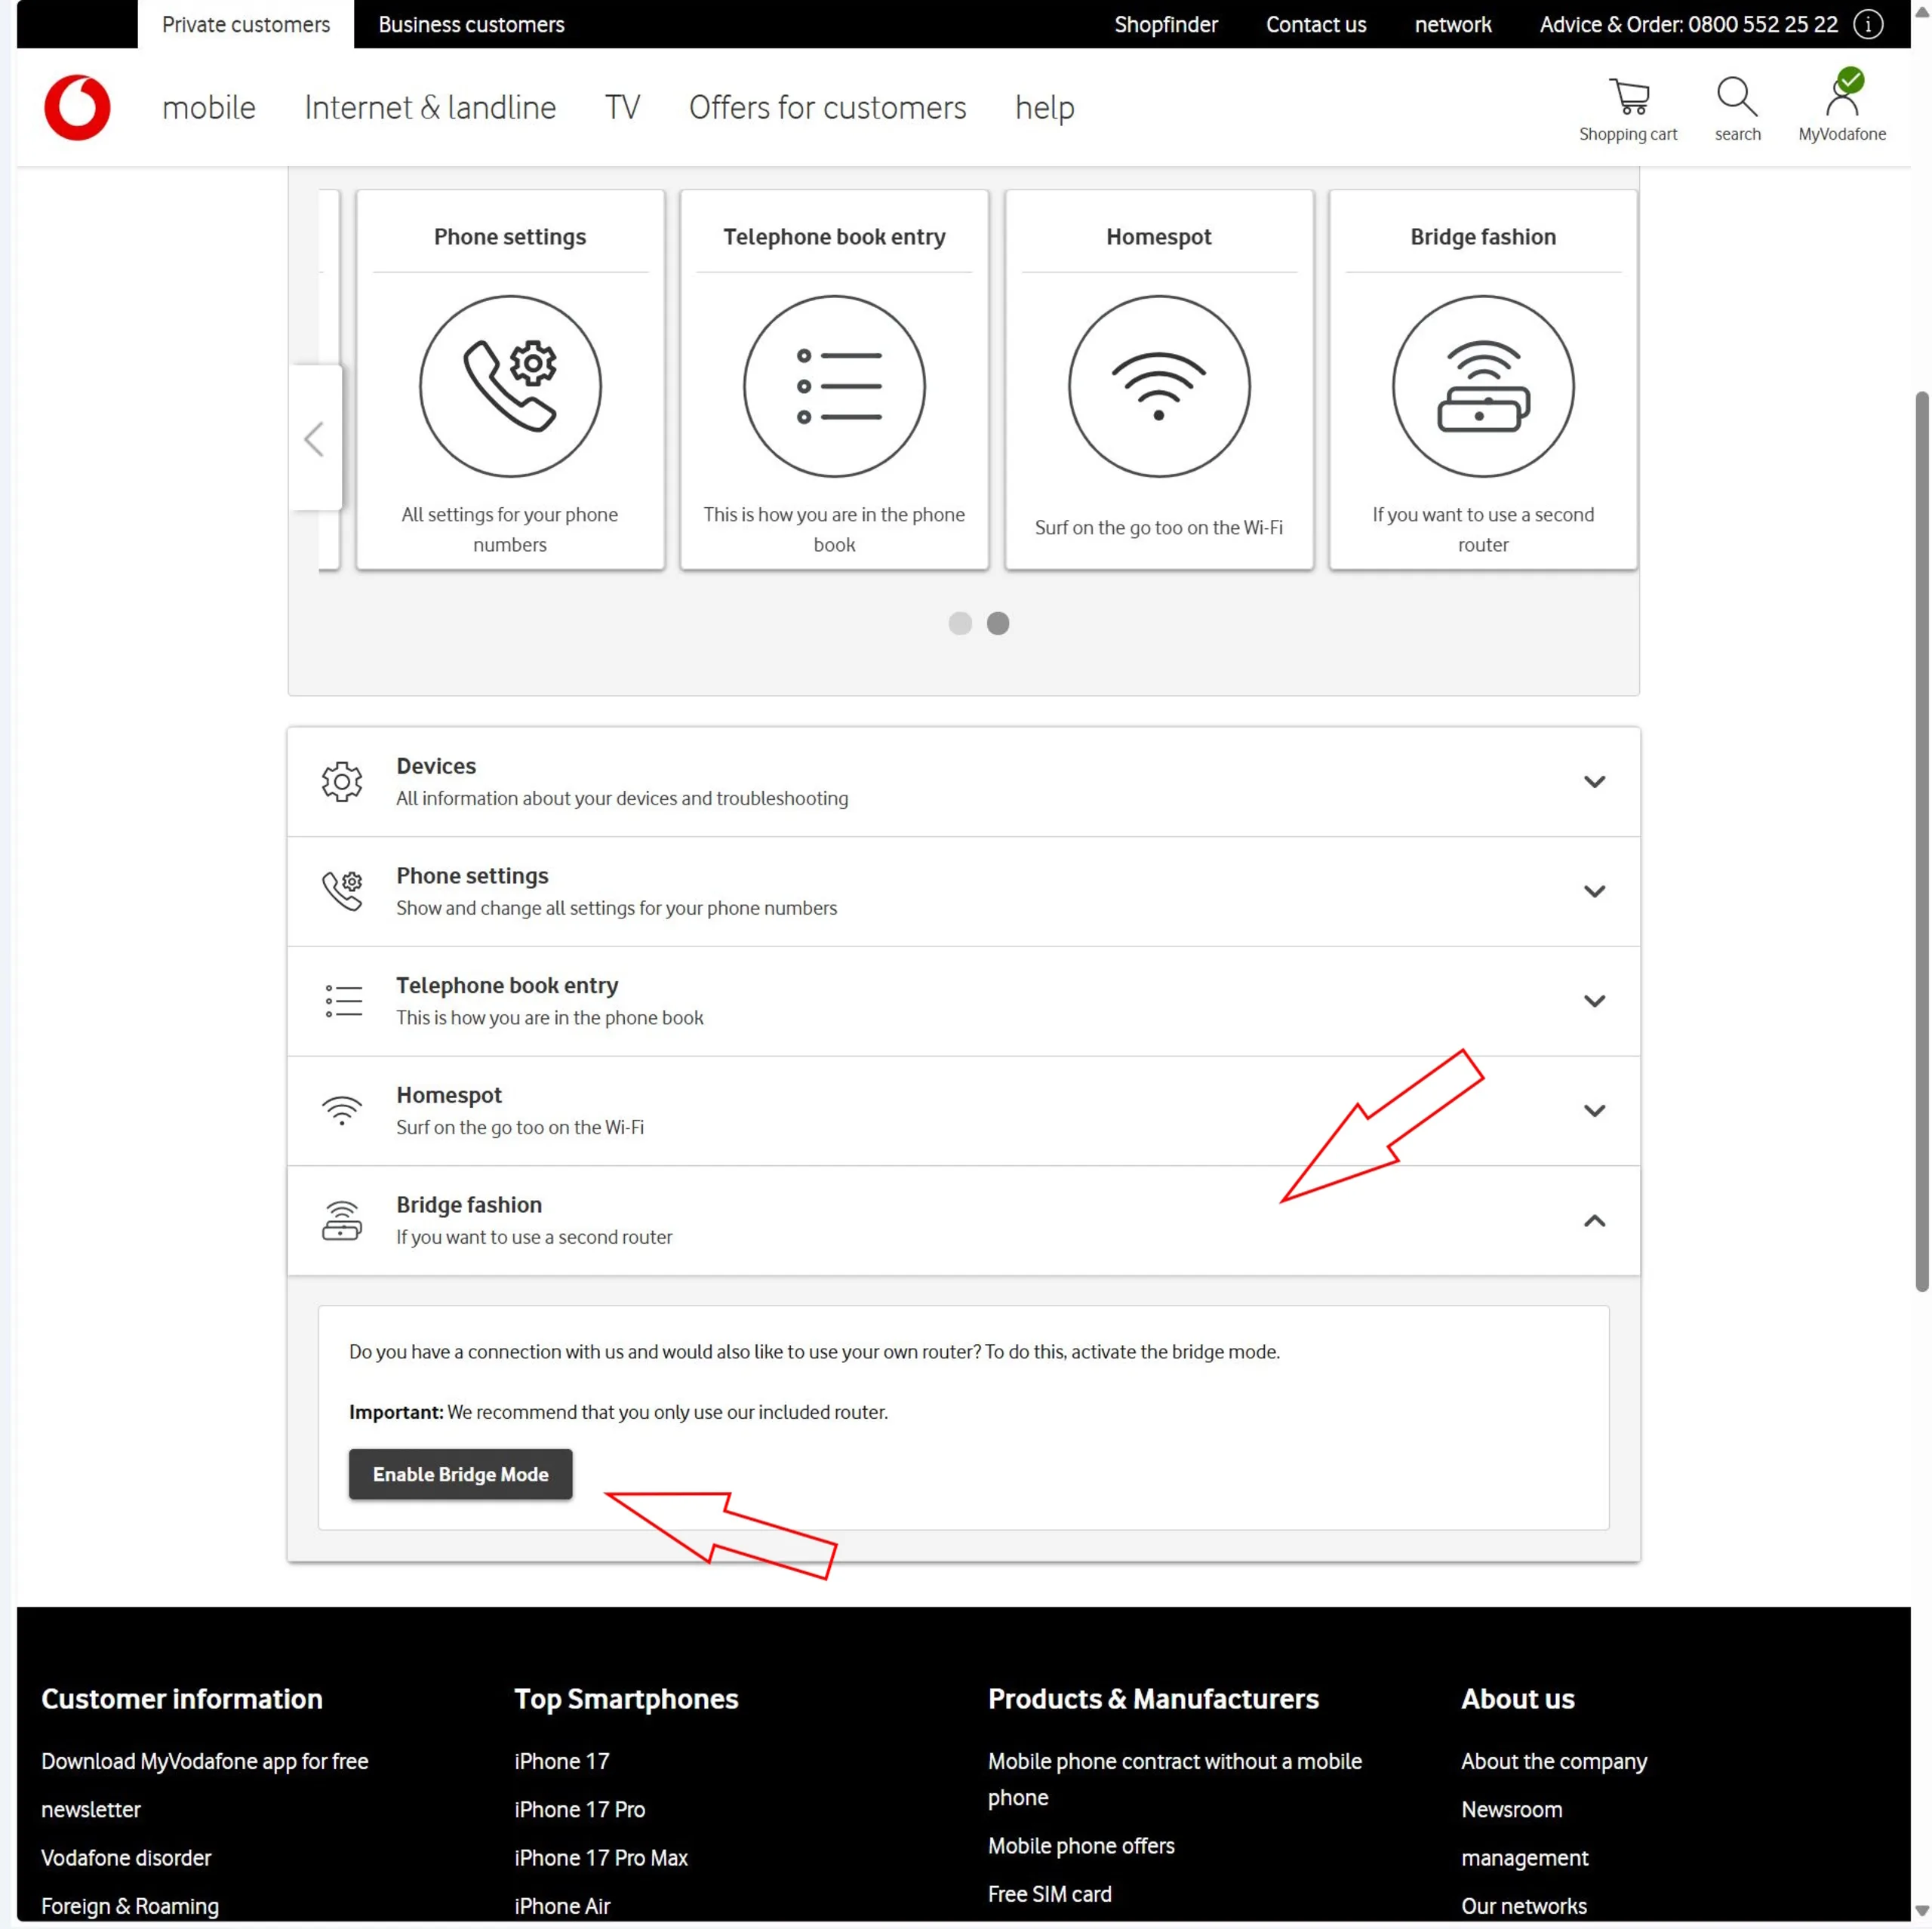
- Look for the “Bridge Mode” option
In some cases, you can activate it immediately. If the option is available and clickable, the process may be straightforward.

Why Vodafone Homespot blocks bridge mode
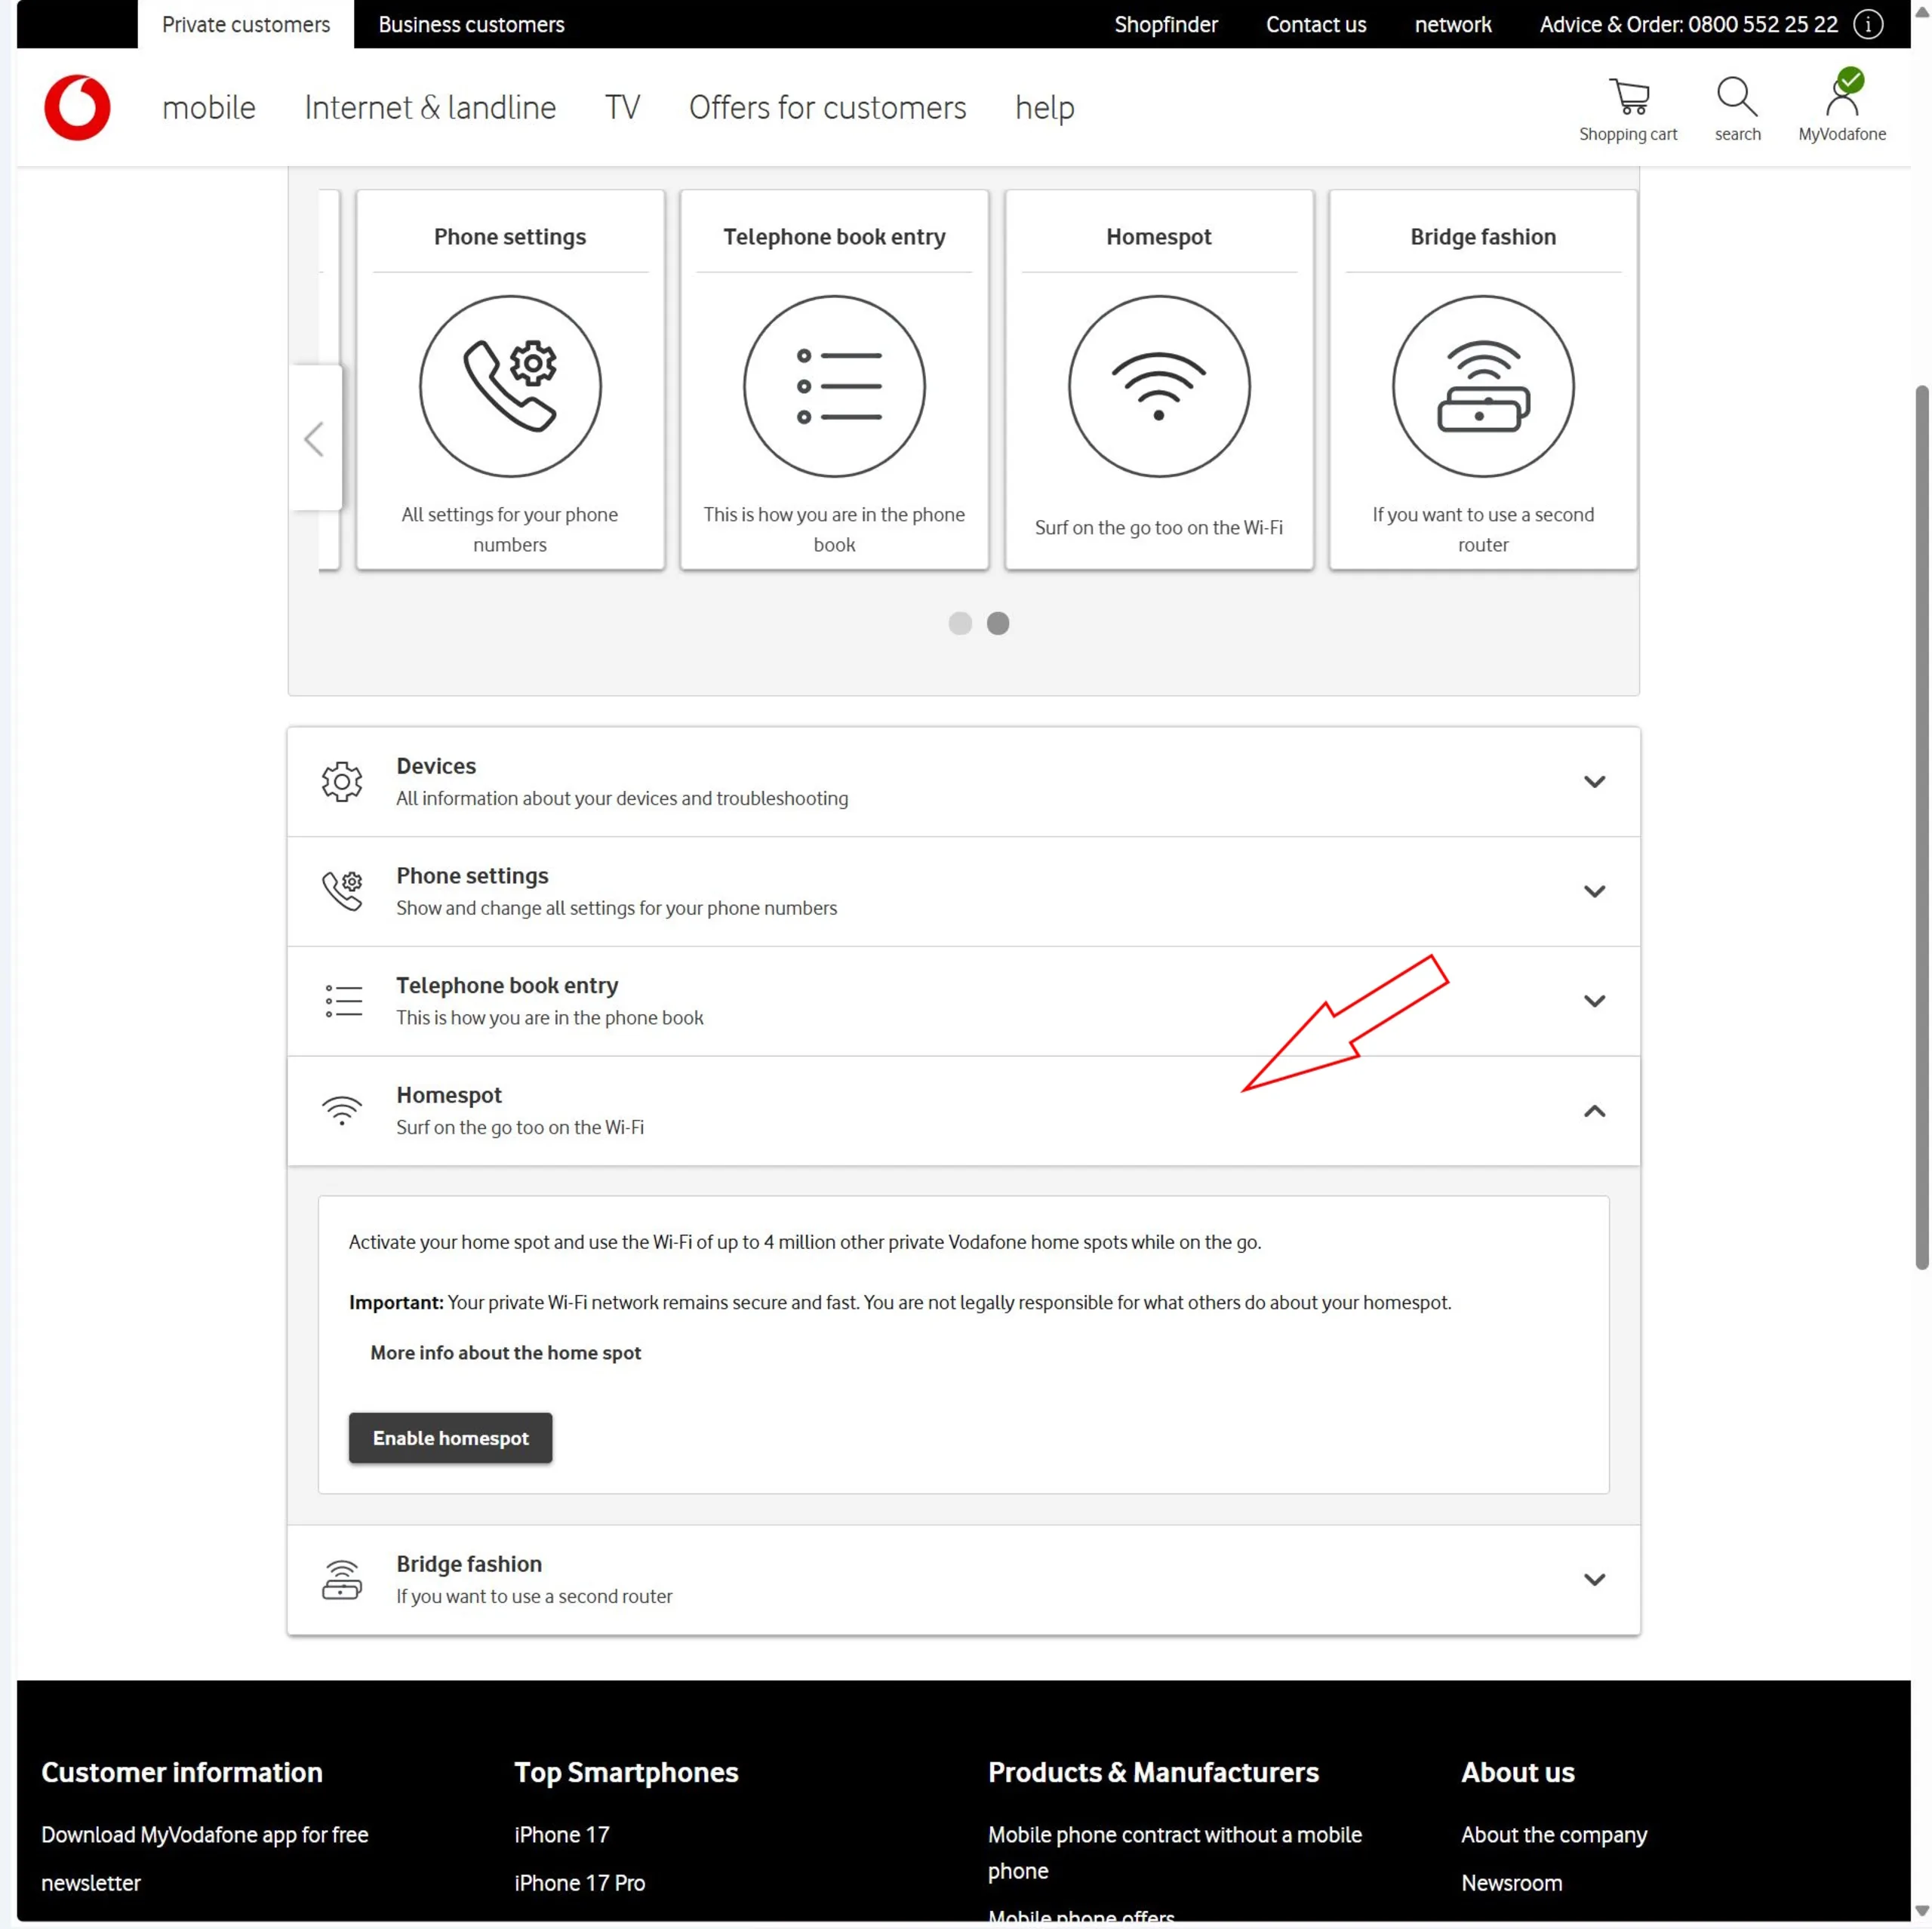
In many cases, however, bridge mode cannot be enabled right away because Vodafone Homespot is active.
Homespot allows you to share a portion of your internet connection with other Vodafone customers. In return, you gain access to millions of Vodafone hotspots worldwide.
The problem: Homespot requires the Vodafone Station to broadcast a separate public Wi-Fi network. That functionality is incompatible with bridge mode, since a modem-only setup can’t operate additional wireless networks.
To proceed, you’ll need to disable the Homespot feature. Keep in mind that doing so removes access to Vodafone’s hotspot network. Personally, I never used the feature.
Disabling Homespot: waiting period and important notes
Disabling Homespot does not take effect instantly. Vodafone states that the process can take up to one week.
After requesting deactivation, check your account periodically. Once Homespot is fully disabled, you should be able to activate bridge mode.
However, you should only switch to bridge mode after verifying that your new router works properly (see part 3 of the Unbloated Network series).
Testing your OpenWRT router before enabling bridge mode
Before committing to the change, it’s a good idea to test your new setup.
Connect your OpenWRT router behind the Vodafone Station:
- Make sure you use the correct WAN port (typically eth0) on the new router
- Connect your PC or laptop to one of the LAN ports on the OpenWRT router
- Check whether the device has internet access
If the connection works in this setup, your new router is functioning correctly and ready to take over.
Only then should you activate bridge mode.

Outlook: bringing the new router setup fully online
In the next part of the series, we’ll see whether everything works as expected.
With bridge mode enabled, the new router connected behind the modem, and the PC connected to the router—does the system run smoothly?
After that, I’ll integrate the network switch and set up the dedicated access point.
Overview
- Unbloated network – Project overview (part 1) ✅
- Unbloated network – Which hardware actually makes sense? (part 2) ✅
- Unbloated network – Install OpenWRT on the ZimaBoard or any other PC (part 3) ✅
- Unbloated network – Activating Vodafone bridge mode (part 4) ✅
- Unbloated network – Bringing the new router setup fully online (part 5)
