




ComfyUI with MiniMax H3: Better than Kling AI, Seedance and other video generators on the free tier?
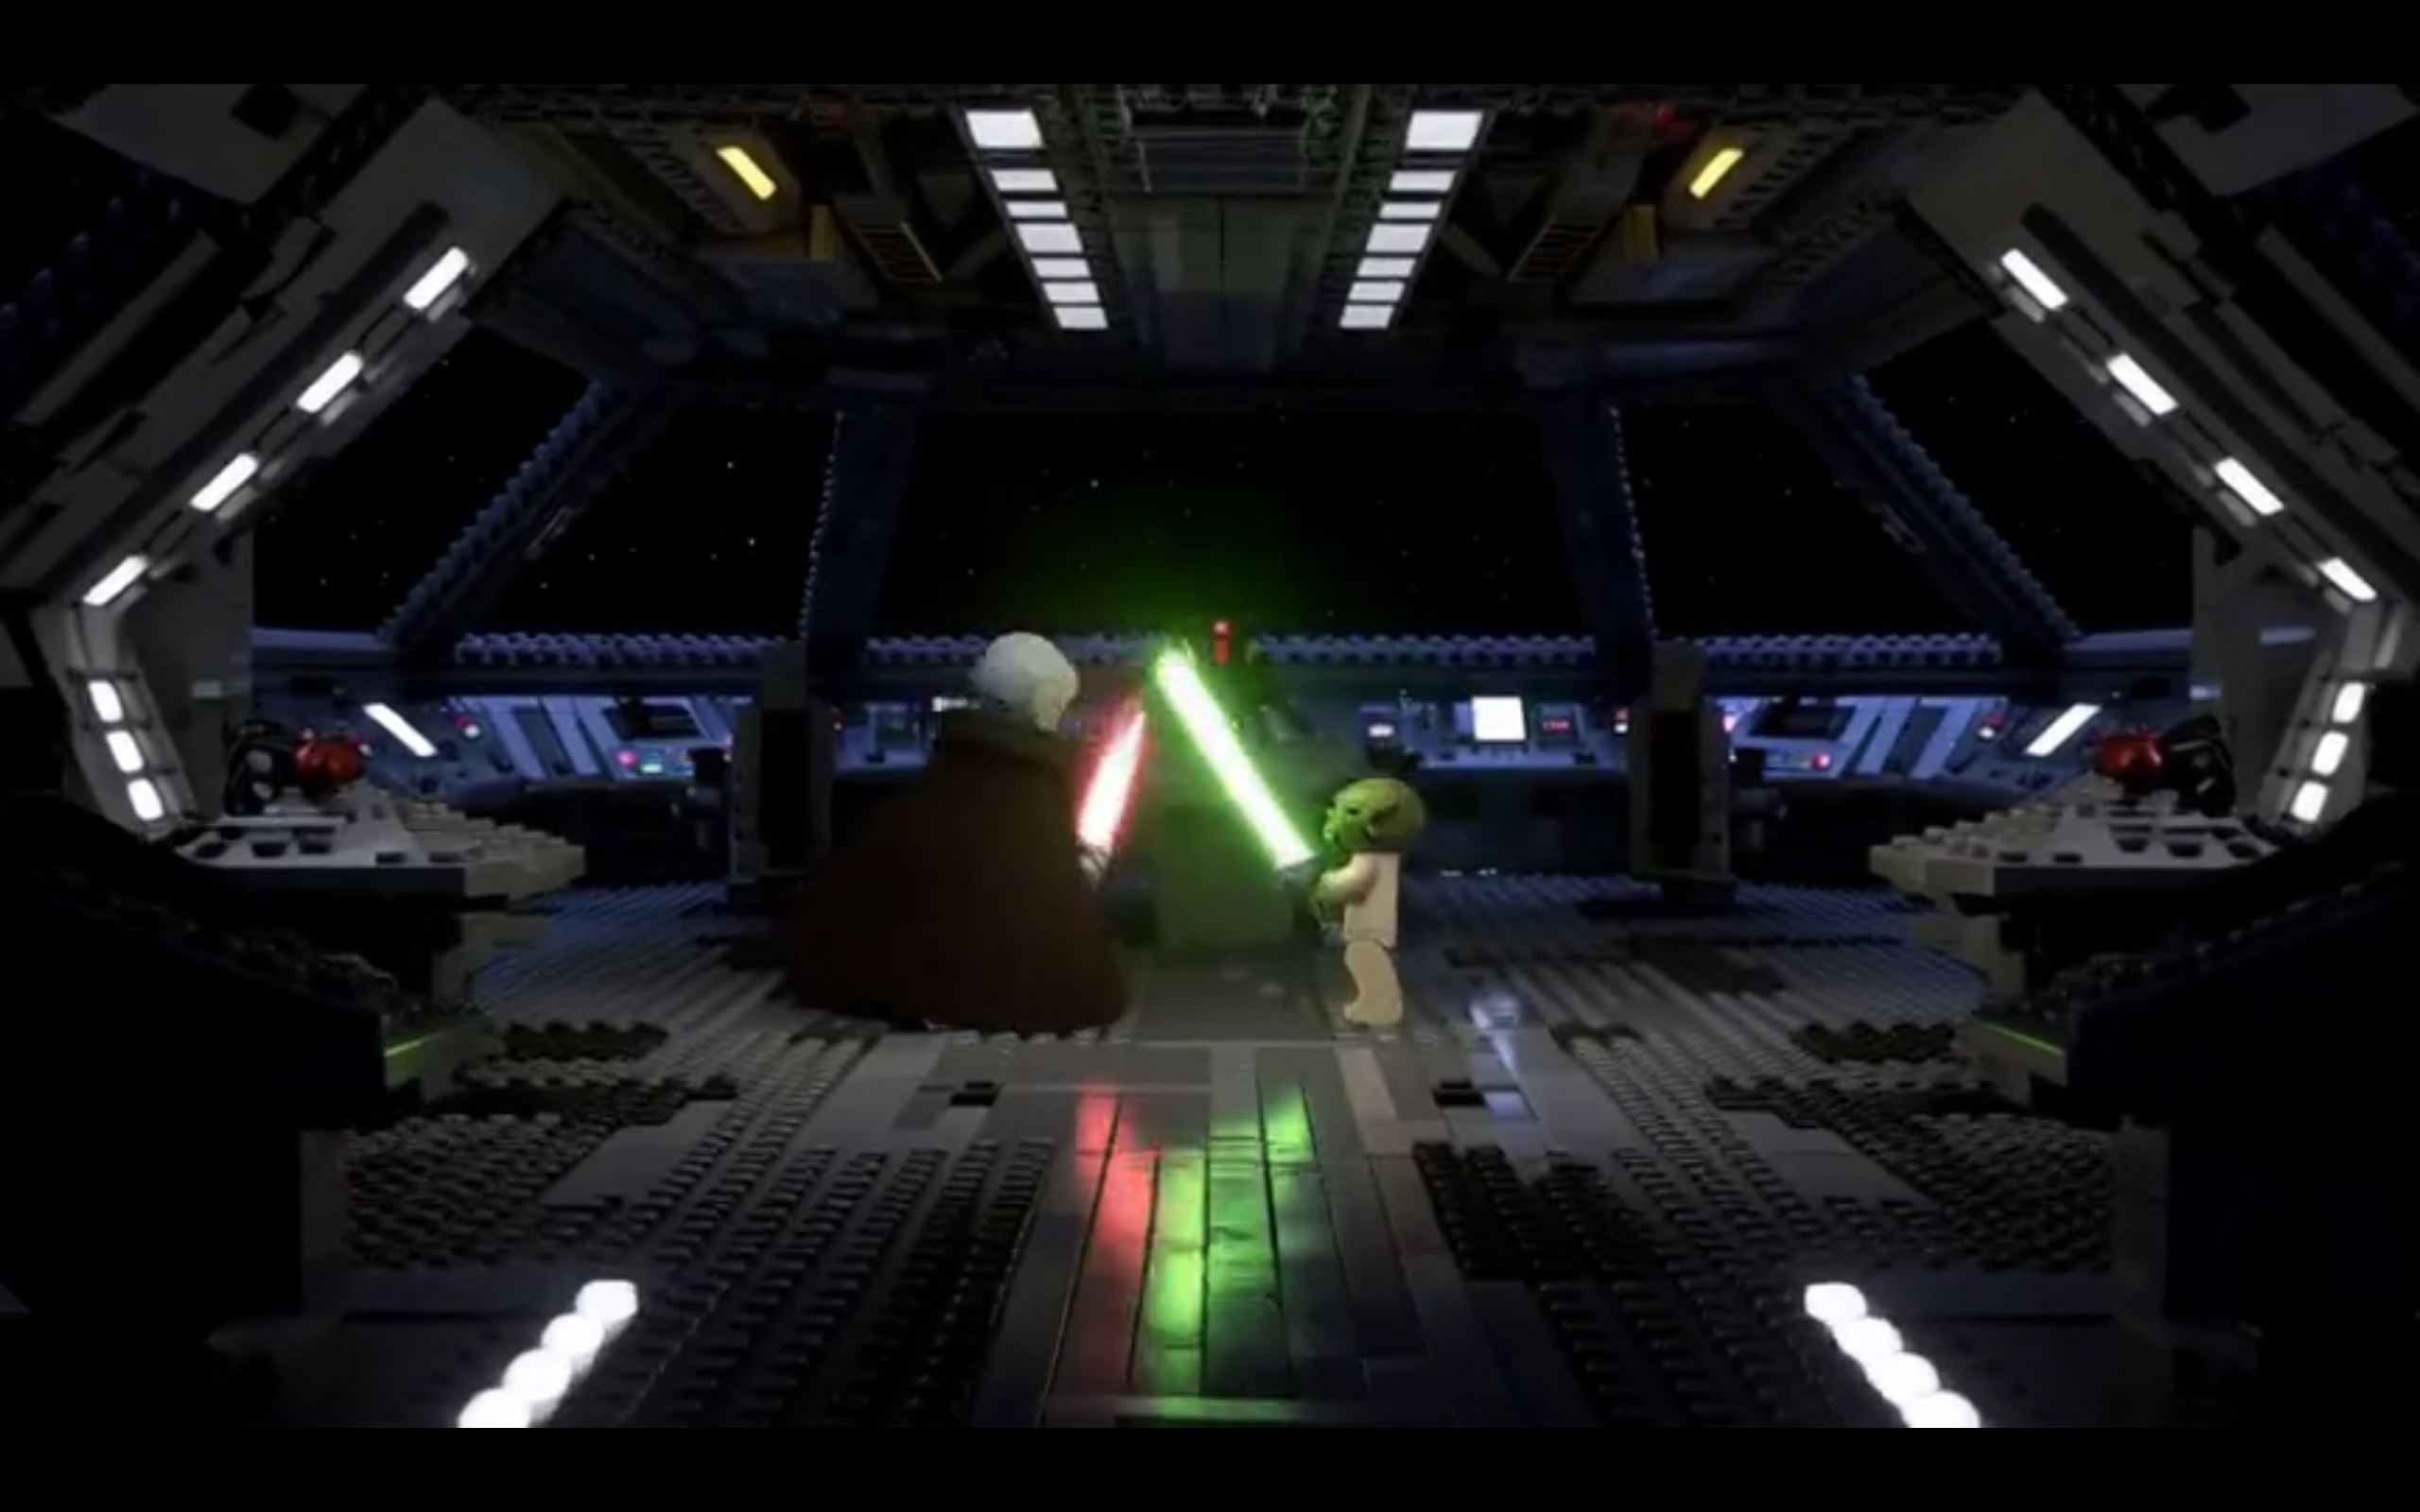
AI video generators are significantly harder to use for free than typical LLMs like ChatGPT, with most providers being stingy with free credits. Getting them to create exactly what you want — while also maintaining a good, consistent look — is even harder. So I decided to test the alternative: hosting a local model such as MiniMax H3.
My son wants to use AI to generate his own, well, brick-building video about lightsabers. He’s currently fascinated by the subject. But since I didn’t want to immediately spend a lot of money on an expensive subscription to a video AI service for his experiments, he initially tried using Kling AI and similar services for free.
Most AI video generators lure you in with a free initial allowance to get you to create an account. But the catch quickly becomes apparent: if you want to create more than one or two three-second videos per day on an ongoing basis, you’re quickly pushed toward an expensive subscription.
Even visually, though, the videos created up to that point were not particularly satisfying. Keeping environments, objects and characters consistent is also usually difficult. The disappointed kid prompted me to try out a local solution.
Local models and solutions naturally require powerful hardware. We’re running the test on a Razer Blade 16 (2025) with an RTX 5090 and 24 GB of VRAM. In general, video generation only becomes reasonably interesting once you have 8 GB of VRAM, and more really does mean more in this case.
There are many interfaces available for the model — we opted for MiniMax H3. It can run in Ollama, for example, as well as in Pinokio or Stability Matrix. The latter also includes ComfyUI, a graphical interface for AI workflows that is not limited to video generation. However, I ran into problems with that combination, so I opted for a standalone ComfyUI (ComfyUI.org), which can be downloaded as an application for Windows and other platforms.
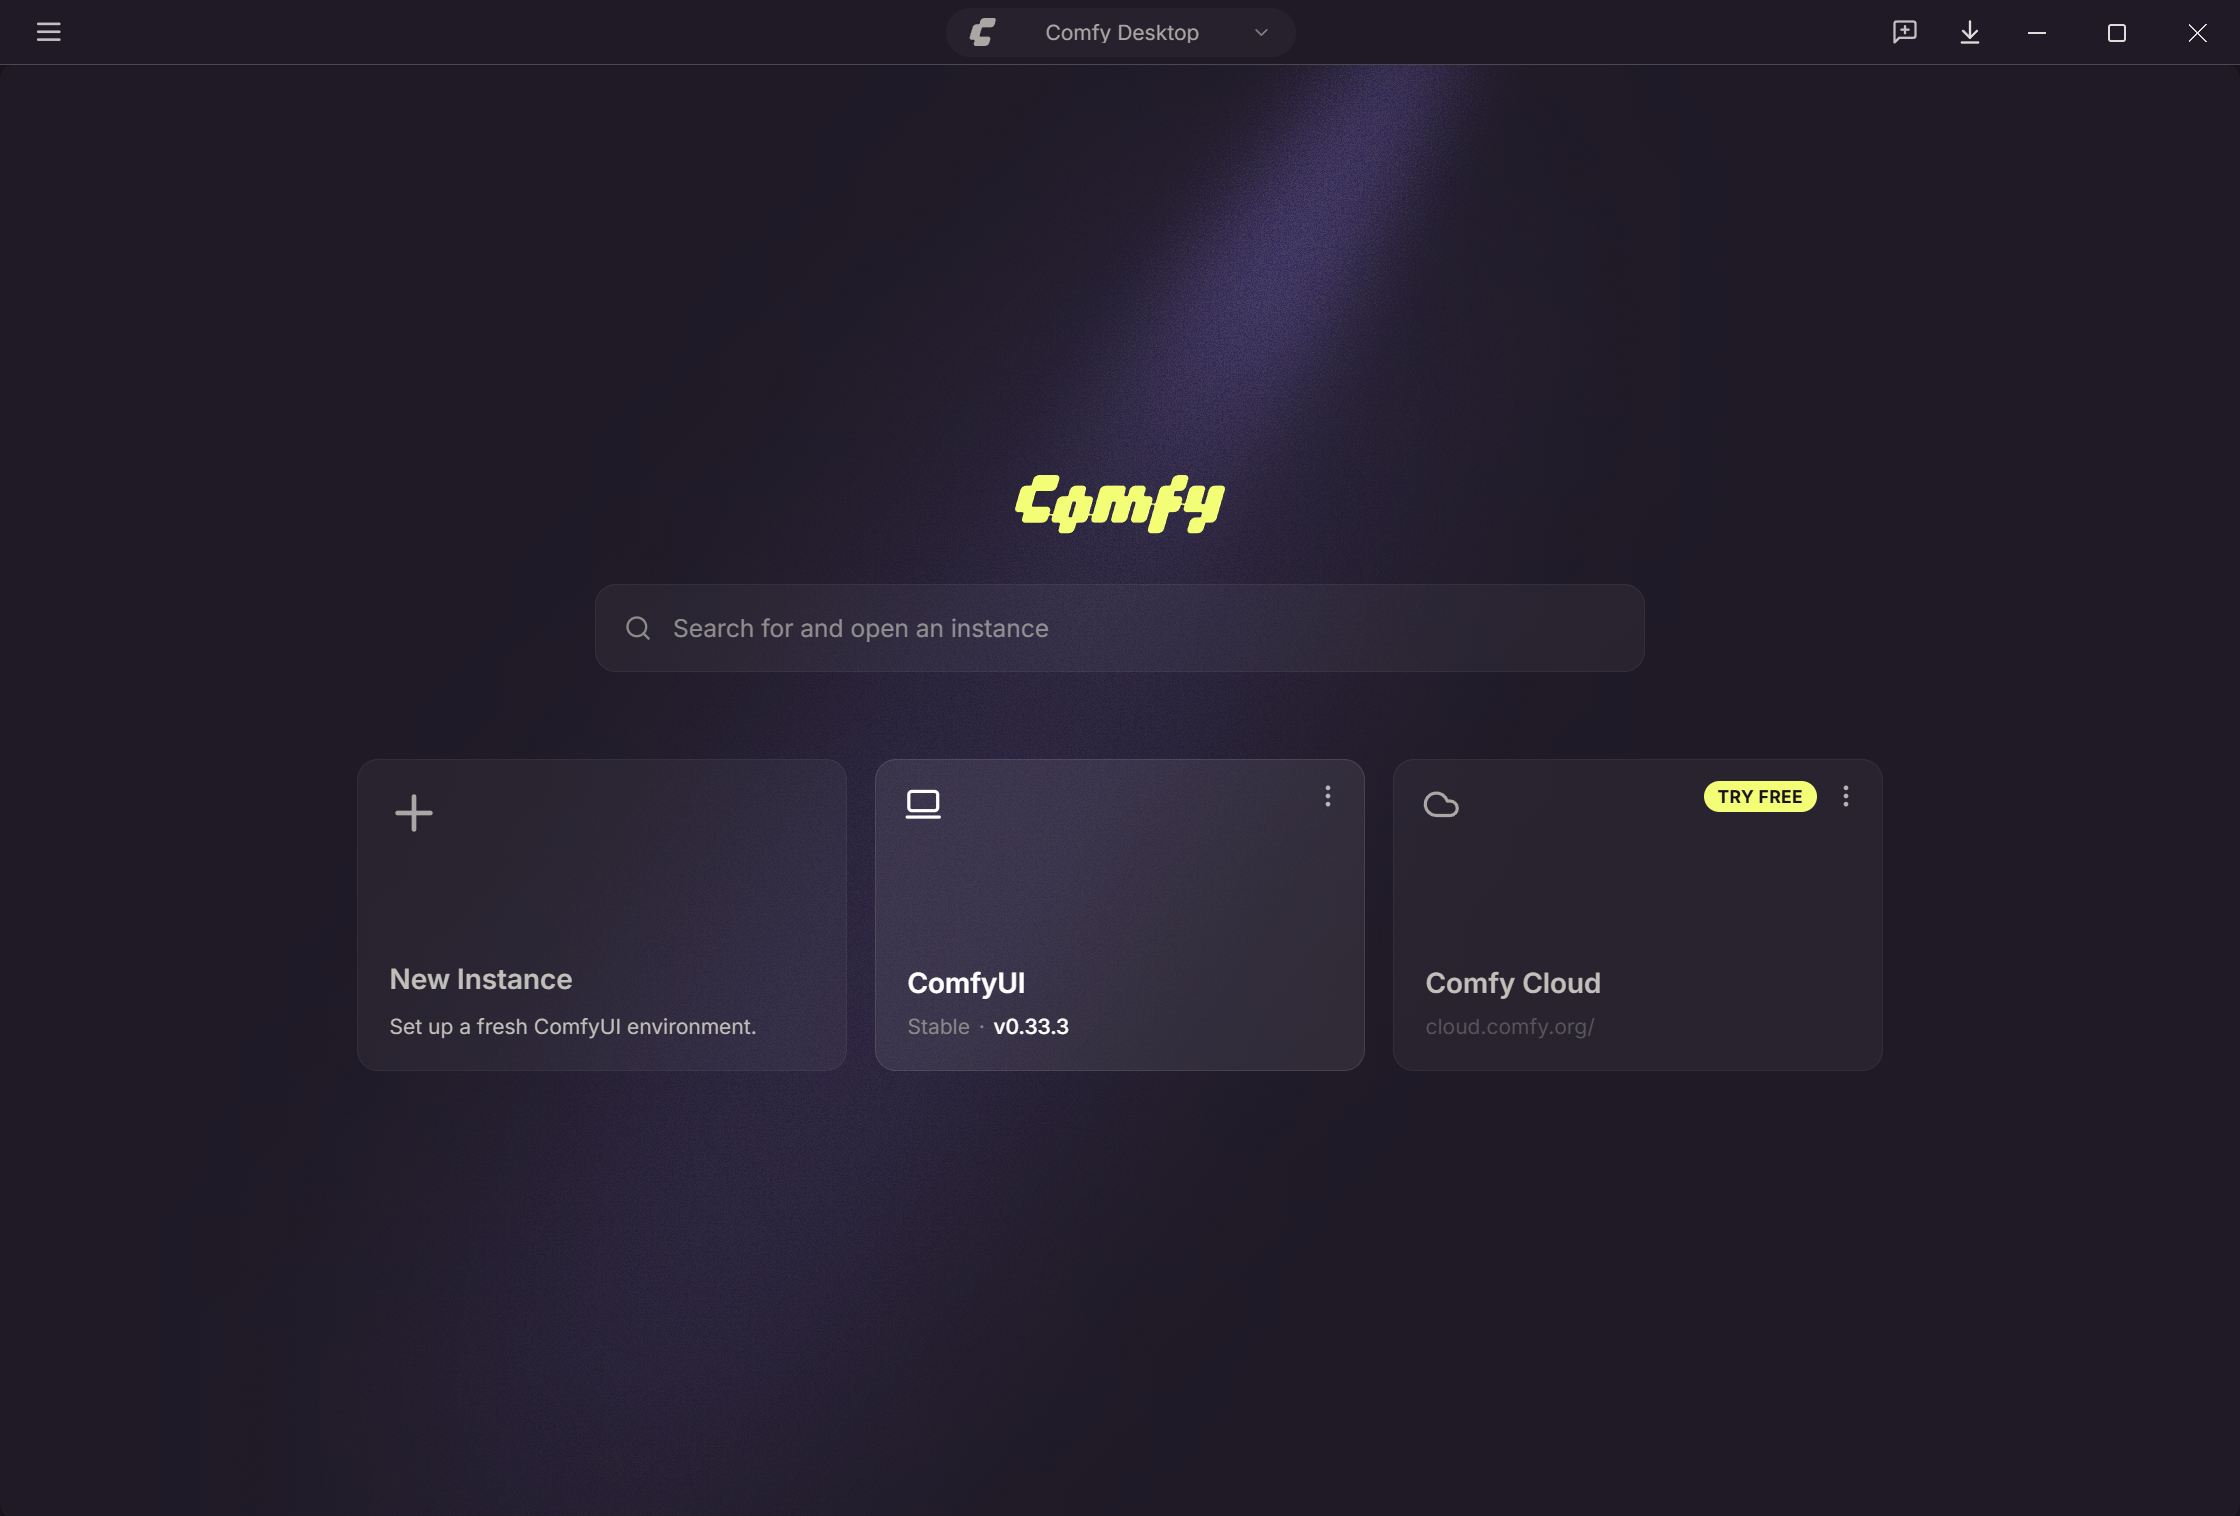
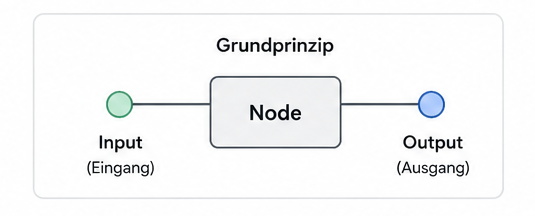
ComfyUI takes some getting used to for beginners, but it opens up a huge range of possibilities for video generation. You build workflows from individual nodes, essentially a modular toolkit made up of multiple tools/nodes. Each node has an input and an output and can be connected to other nodes.
All tools are separated into individual nodes. For example, there is a node for the text prompt, multiple image nodes that can serve as references or intermediate steps before video generation, as well as other tools. In theory, you could load a separate AI model into every node — an LLM for the text prompt, an image-generation model for the image nodes, and so on. The AI models naturally take up a lot of storage space. In the end, all the nodes feed into the video-generation node, which produces the output.
At first, we experimented with text-to-video presets, but soon shifted more toward reference-to-video.
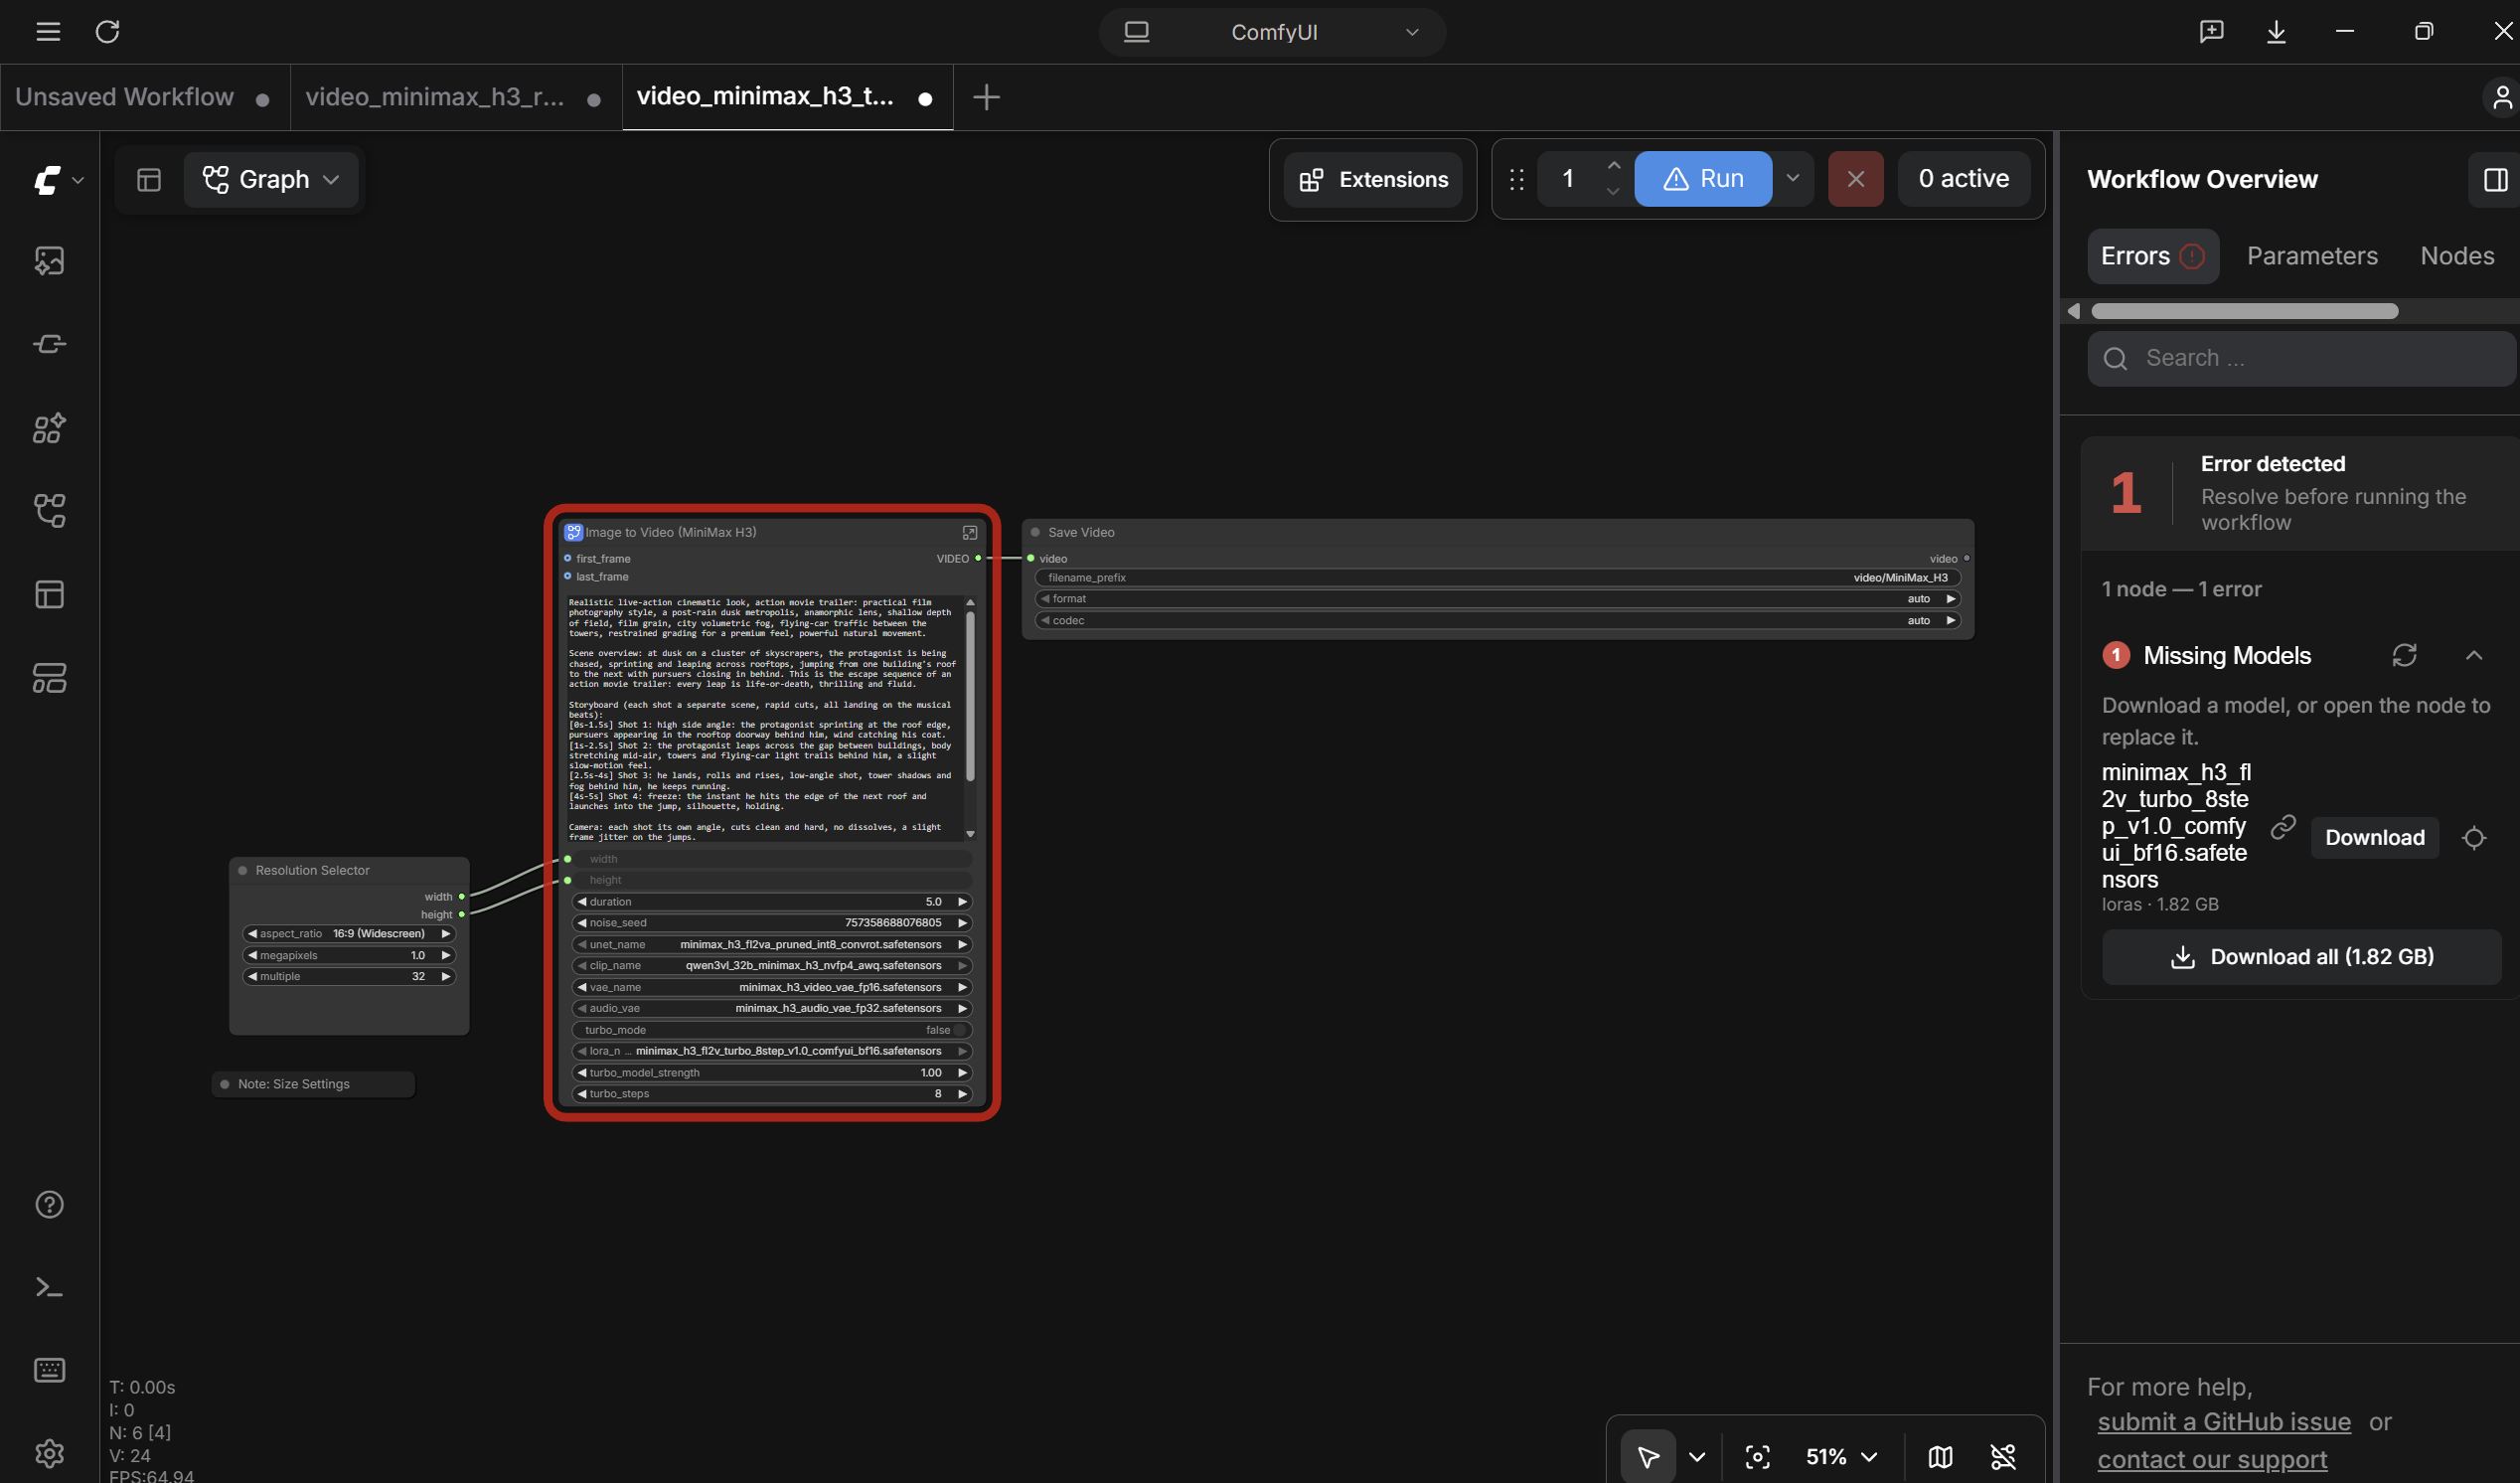
What makes this particularly useful is that it also enables consistent environments, objects and people. In our first video, for example, we created a brick-built battleship flying through the frame. At 480p resolution, it took about 5.5 minutes to generate, while higher resolutions are possible with suitable hardware. In one of the upcoming scenes, however, we wanted to use exactly the same battleship again. So we took screenshots of the front and rear views of the spaceship, imported the images, linked them as references called Ship_front and Ship_rear to the main node, and instructed the AI to use exactly this ship in another scene. Otherwise, the AI would have generated a new look.



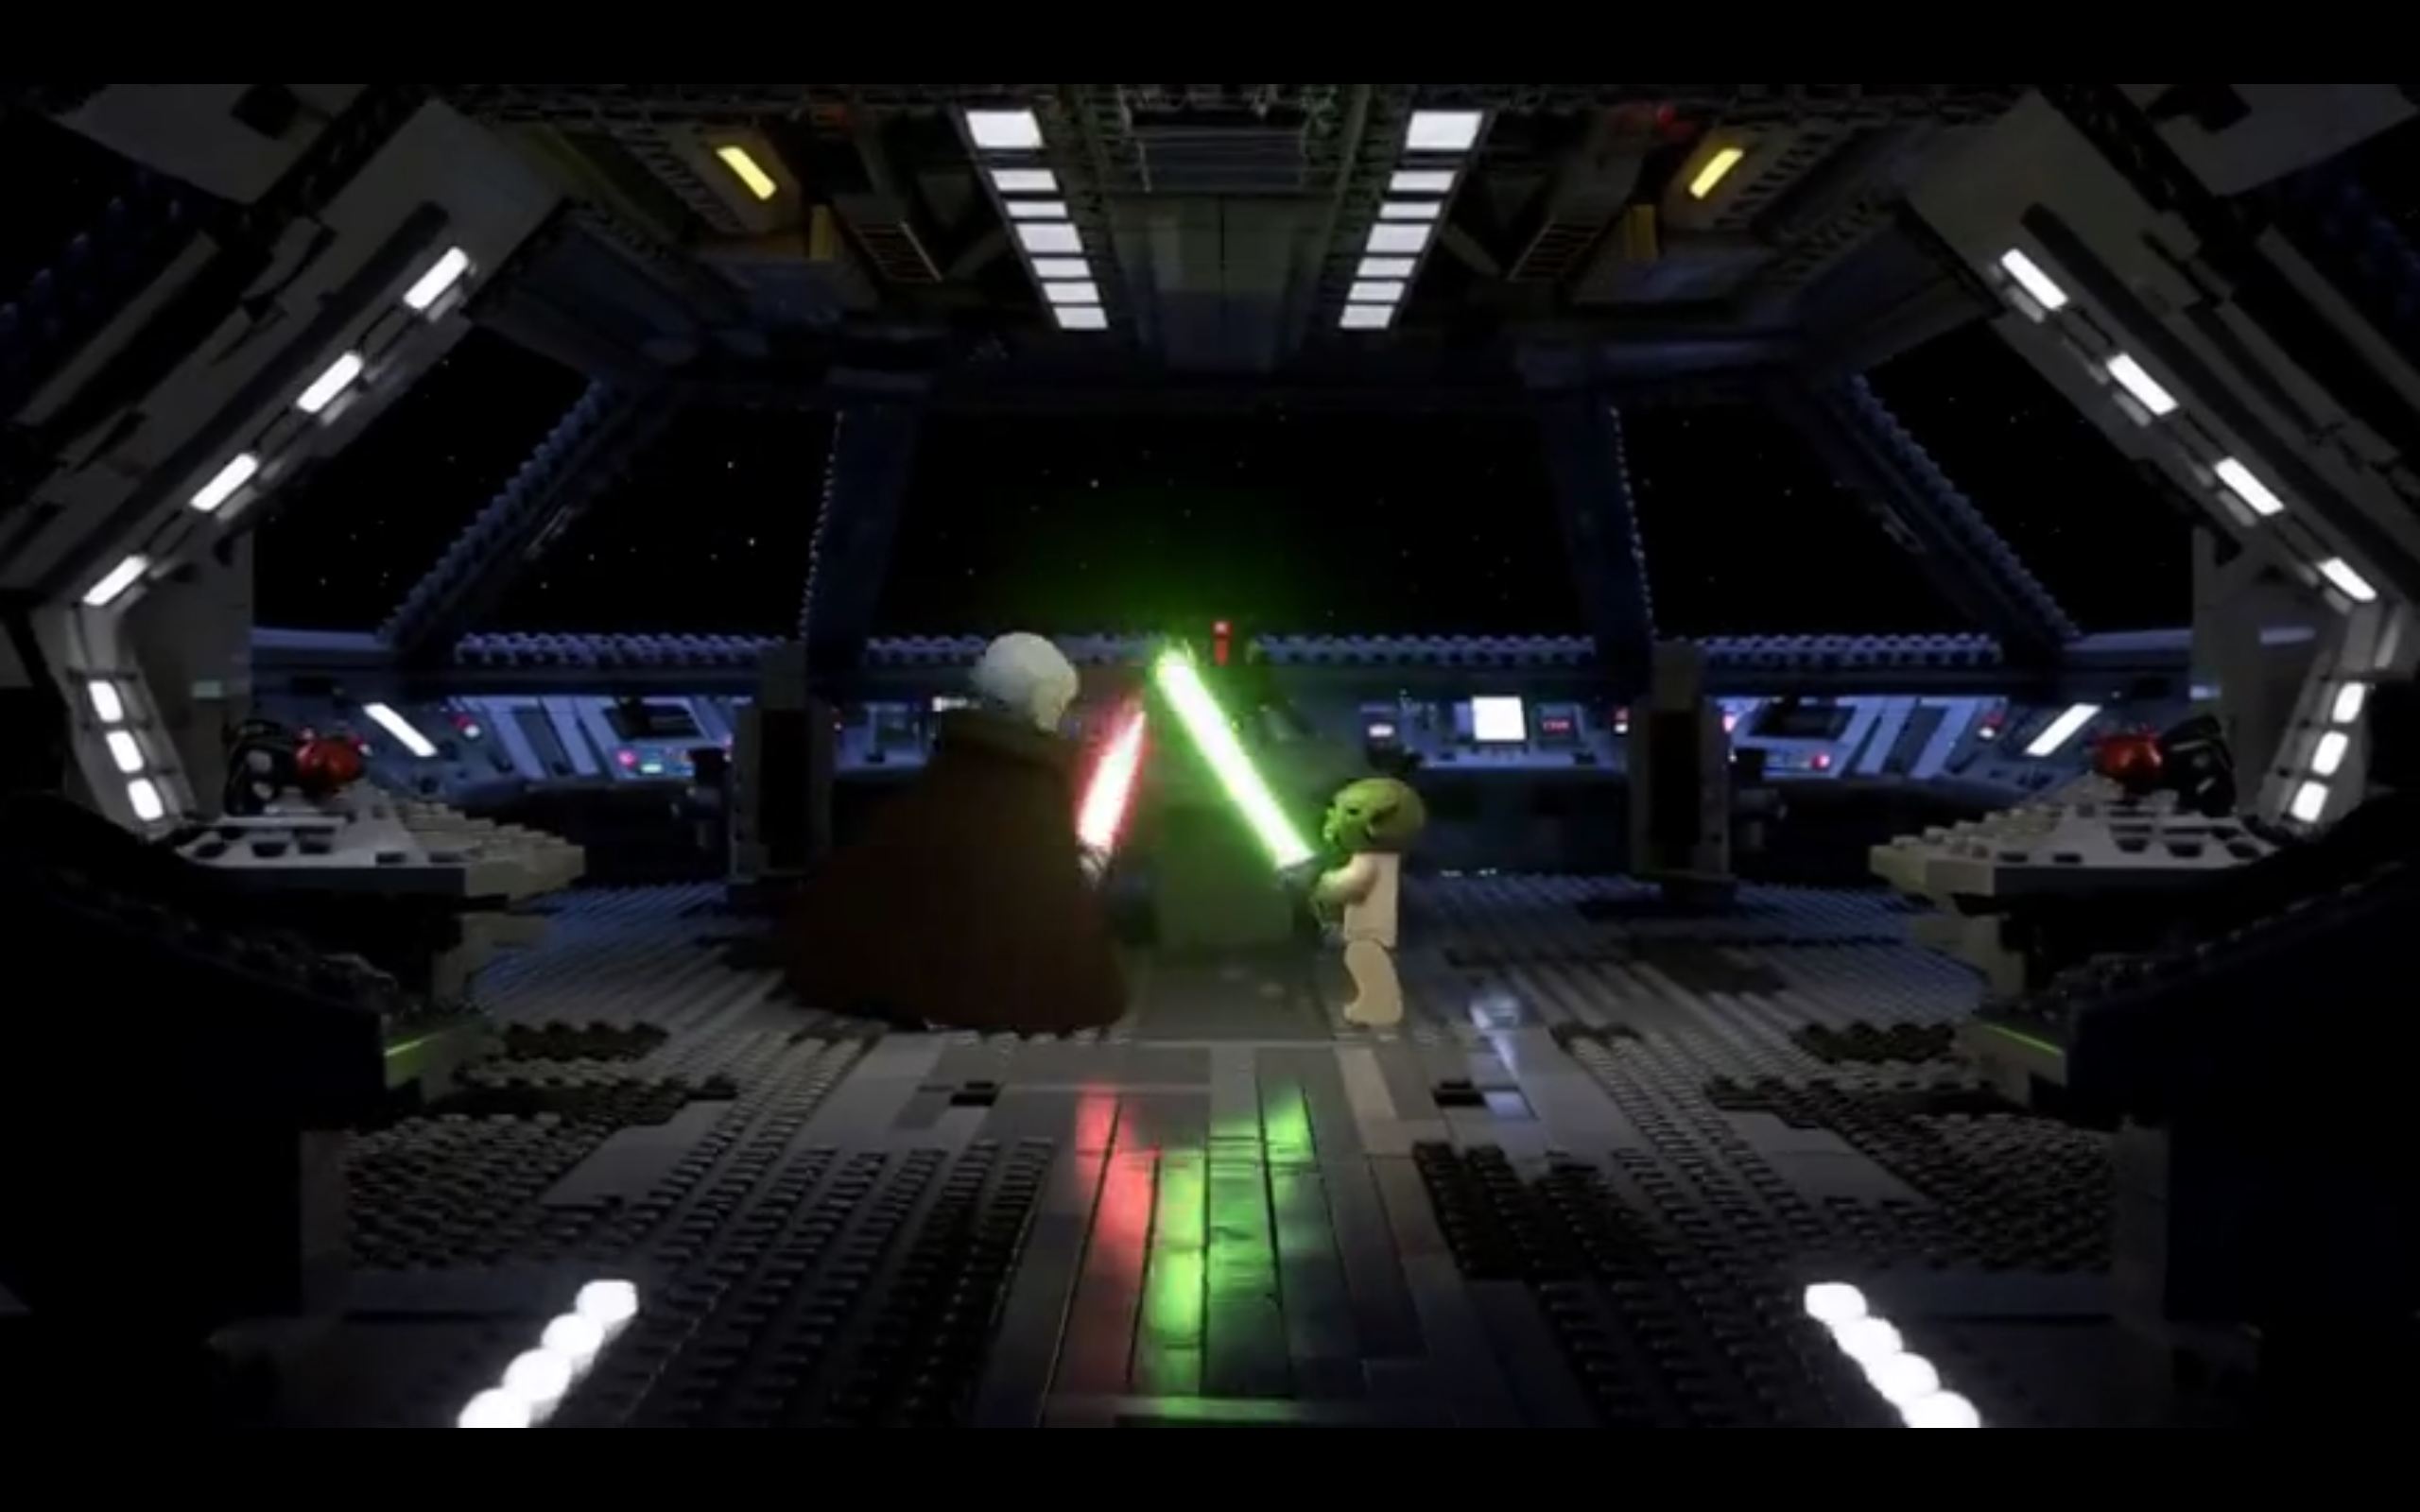
After a little time getting familiar with the system and with some help from Professor YouTube, we quickly put together a first workflow for our video scenes and generated videos that we were both very happy with. An LLM — ChatGPT in this case — helped us tailor the text prompts specifically for MiniMax H3, making them precise and detailed.
My workflow: In ChatGPT, I described the look I had in mind, specified that certain brand names should not appear while the look could still be inspired by them, explained that it should have a cinematic feel, and specified which references (such as Ship_front) should be included. Only then did I describe the scene. I pasted the prompt tailored by ChatGPT into the text node in ComfyUI, added any reference images, if necessary, and was done.
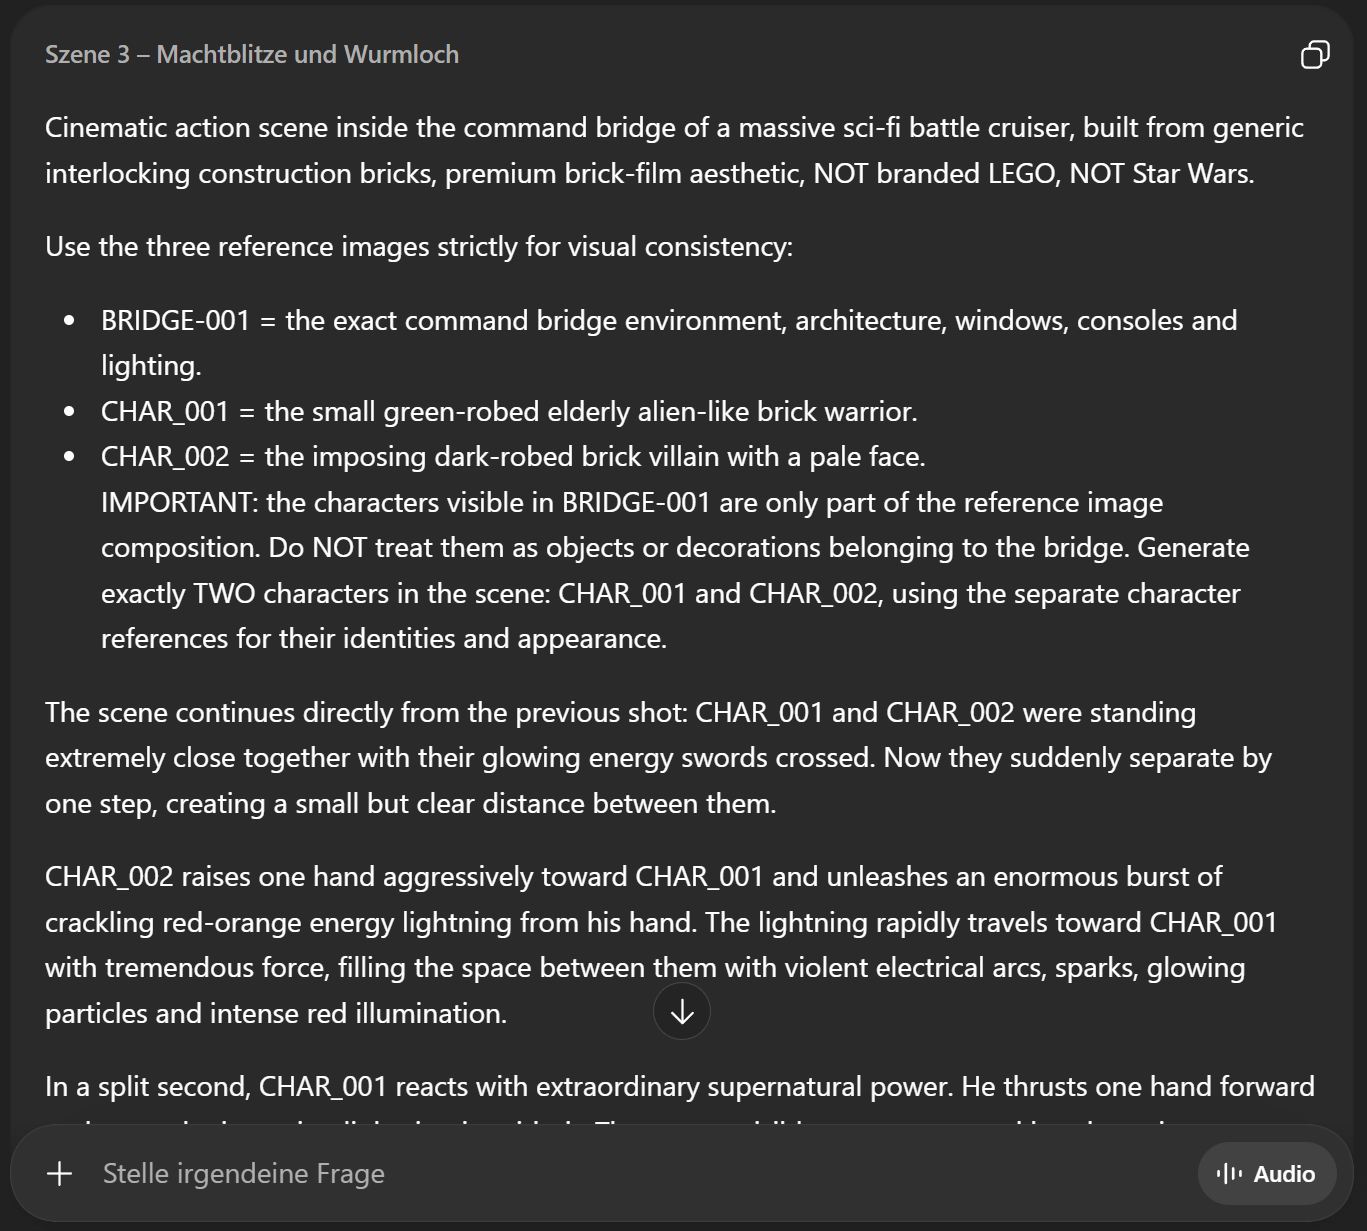
You can also ask ChatGPT to generate a universal prompt based on the desired look and other parameters, which you can save for later. If you feed that prompt into an LLM again, it has all the necessary information and you can immediately describe the next scene.
In any case, my son and I were significantly happier with the results than with the free tiers of Kling AI, Seedance and similar services. The many available options also invite experimentation, and you’re finally free from annoying credit limitations, subscription prompts, ads and data-security concerns. Resolution is still a problem, though. Full HD or higher isn’t even available as an option, presumably because the hardware requirements would be too high. Future models will likely become more efficient in this regard. For now, you can also expand your workflow with upscalers.
Anyone with the necessary hardware and an interest in film generation should take a look at ComfyUI and a good local AI model. ComfyUI in particular enables incredibly complex, layered workflows — if you actually need them. For getting started, though, the essentials are already there and can be learned quickly.
 Add as a preferred source on Google


