With this open-source tool I take all my screenshots as a tester
The open-source tool Greenshot is installed on all my personal and review machines because it saves me a ton of time and is extremely easy to use. At home, I use it to store important bits of information—like details from a subscription signup, a QR code, and plenty more.
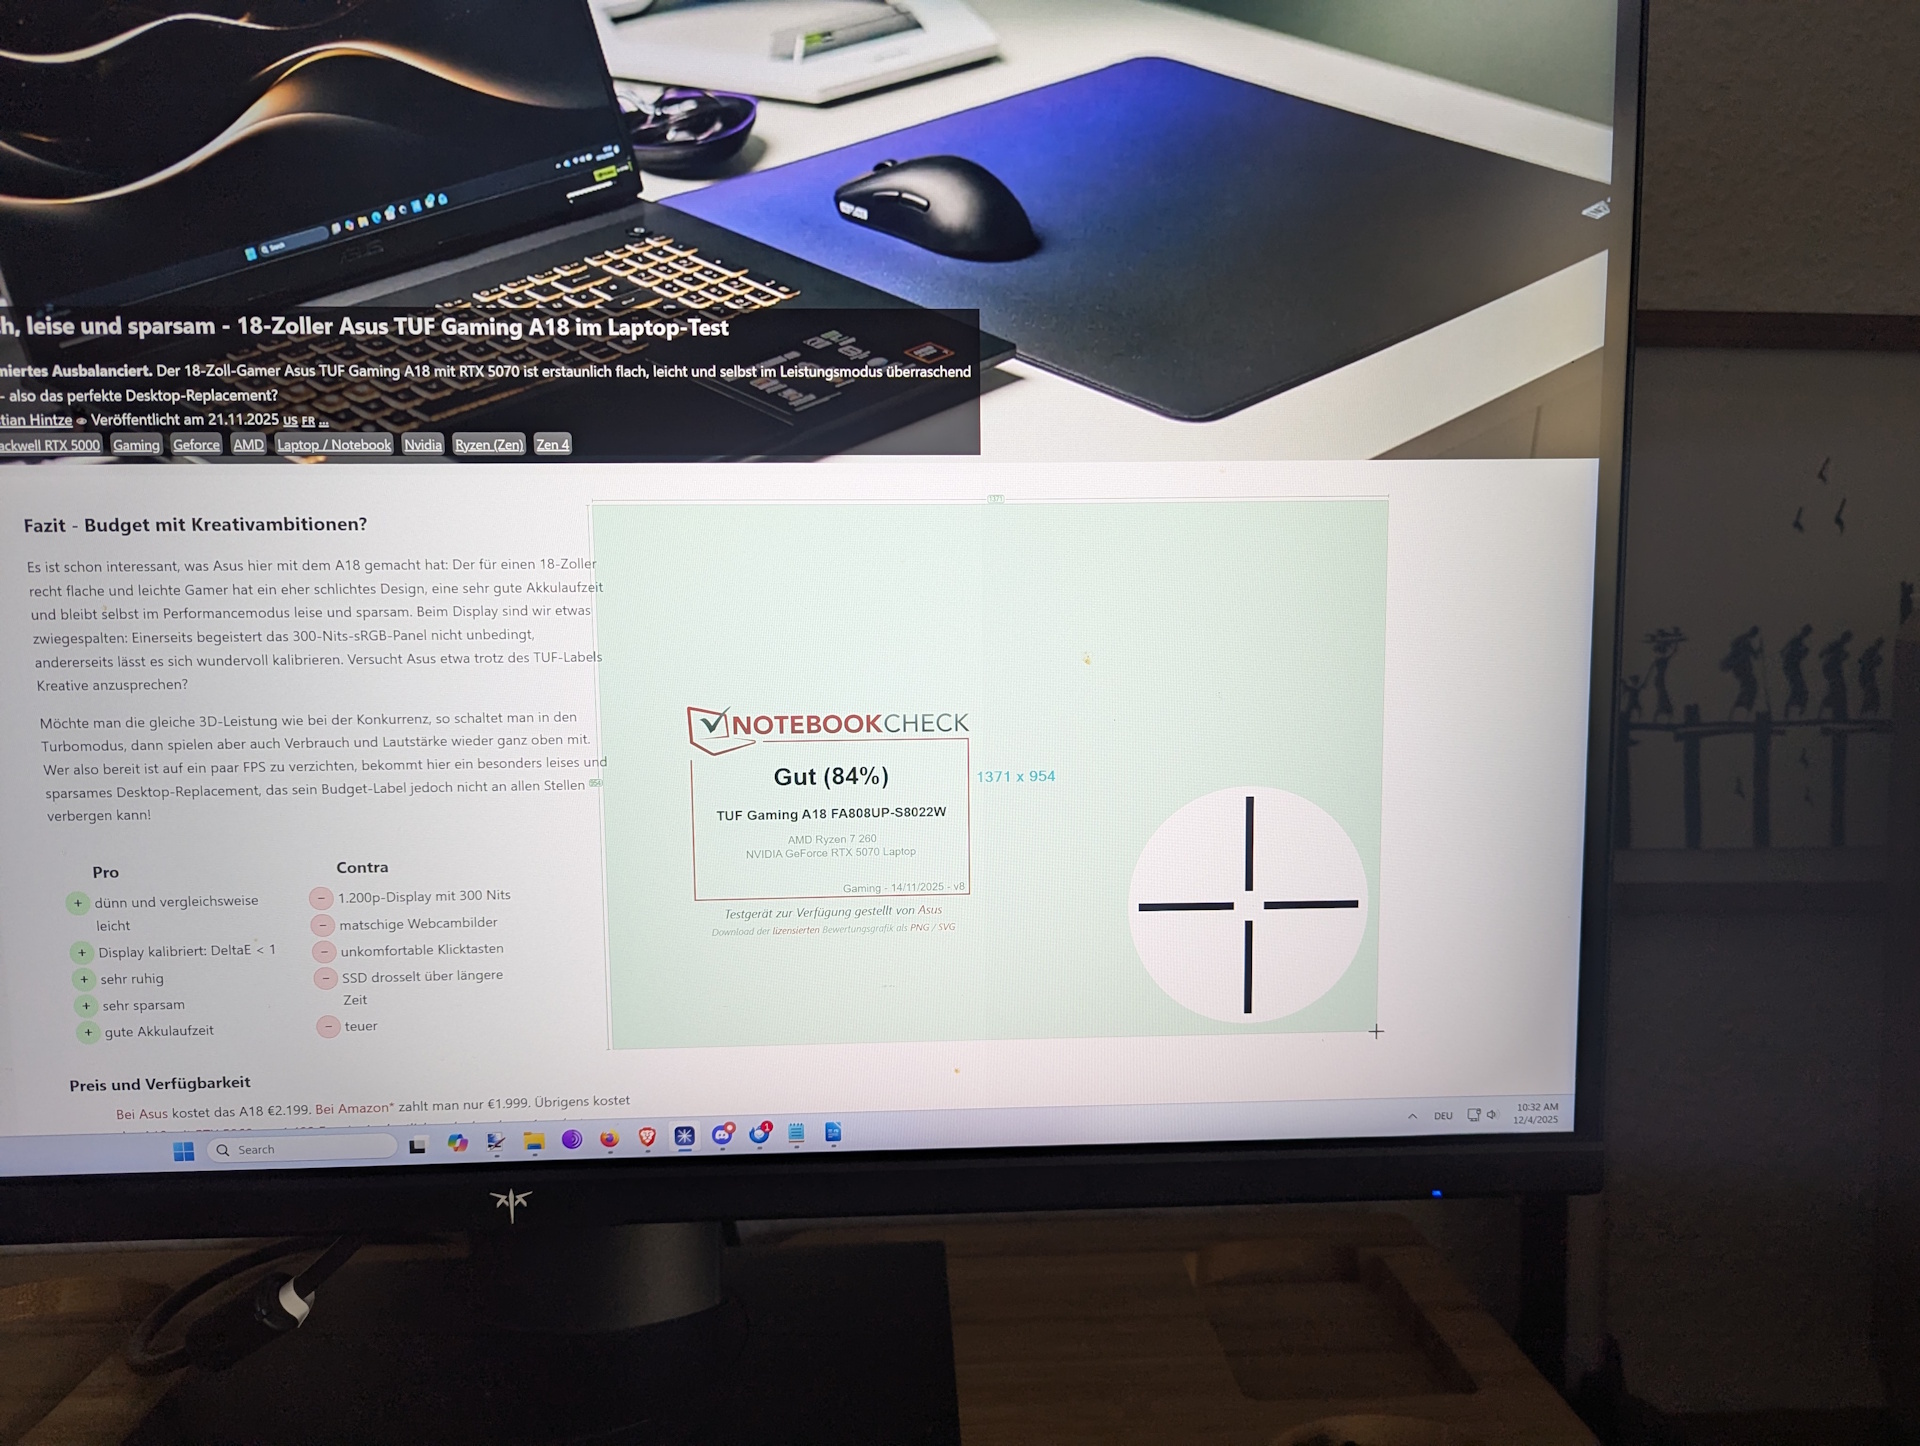
But in my work as a laptop tester, I rely on all kinds of screenshots that end up in my reviews: shots of the individual CPU-Z tabs, PCMark 10 scores, 3DMark benchmarks, our YouTube and latency tests, SSD benchmarks like CrystalDiskMark and AS SSD, and on and on. My review of the Asus TUF Gaming A18 is a good example. All the screenshots in this article here were done using Greenshot as well.
Where to get Greenshot?
There are several ways to download it. If you prefer the classic route, just head to the download section of the official website. The Windows version is free, while Mac users are asked to pay $1.99. The official Github page is another option—look for “Releases” on the right to get to the download.
The quickest way, however, is through the terminal. Even if that sounds intimidating, it has recently become my fastest method: open CMD or PowerShell via the Start menu search and enter:
winget install greenshot.greenshot
That’s it—Greenshot installs automatically, no need to visit a website or manually download an installer.


The settings I always change right after installation
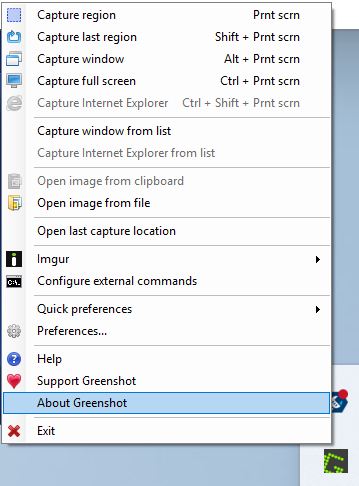
After a fresh install, I right-click the Greenshot icon in the taskbar (double-clicking opens the storage folder) and open the Preferences panel. Then I change the following:
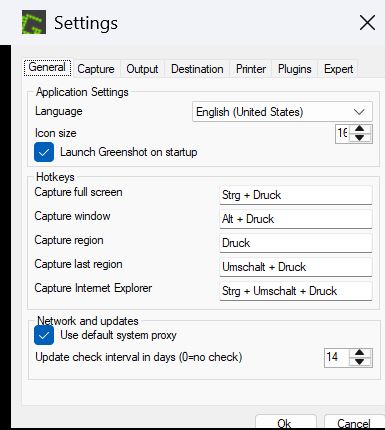
- General: Only adjust the hotkeys if you don’t have a Print Screen key (hello Asus).
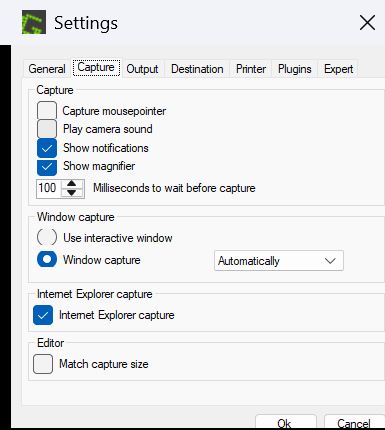
- Capture: I disable capturing the mouse cursor—it would just get in the way of my screenshots.
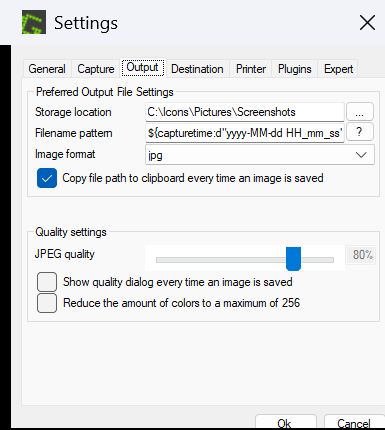
- Output: I choose a custom save location and switch the file format to JPG, since we try to avoid using PNGs.
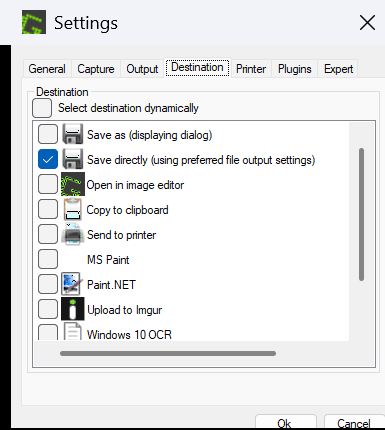
- Destination: I remove the default action and select Save directly (using preferred file output settings). That way Greenshot never asks me where to save a screenshot—everything is stored automatically.
With these settings, Greenshot runs quietly in the background and works flawlessly. If I want, I can even turn off the notification that pops up when a screenshot is taken—Greenshot will still capture everything reliably.
Games are the only exception
The only real exception is in-game screenshots. Usually, capturing the full screen still works, but some games block Greenshot entirely, and taking a screenshot might briefly impact performance. So for games, I tend to rely on the built-in tools, the GPU driver (Nvidia), or the game platforms (Steam, Ubisoft Connect, etc.).
