



eufyMake E1 UV Printer review: High quality textured printing at home
A well-executed machine with great potential.
The E1 UV printer from eufyMake allows for flat and embossed prints on pretty much any material. It can even print on objects that are 10 meters in length, as long as the width fits inside the machine.Vineet Washington Published 🇳🇱 🇫🇷 ...
Verdict - An excellent tool for creators
With the E1, eufyMake has made personal UV printing effortless. It opens up opportunities for creators to start their own small business or expand their portfolio. Creating custom artwork and personalizing items for people can turn into a money-making opportunity, and the eufyMake E1 enables just that. That said, it does come with a heavy initial investment and regular spending on ink cartridges. Unfortunately, the E1 uses only eufyMake ink cartridges, and they are quite expensive considering you need five for colored prints. There is no way to refill cartridges either, at least not without voiding warranty and damaging the cartridge.
Pros
Cons
Price and availability
The eufyMake E1 basic bundle includes the printer and an ink and cleaning cartridge kit. The deluxe bundle includes the printer, ink and cleaning cartridge kit, a rotary attachment, and a UV DTF laminating machine. The former is priced at $2,499 while the latter costs $3,299. Both are available at a discount with a coupon (at the time of publishing), so you can save $200 on the basic and $400 on the deluxe bundle when purchasing from the official website. The individual ink cartridges are $43 each, and the company has a UV Ink Subscription Plan as well. It is also working on more accessories for the E1, including a Continuous Ink Supply System (CISS).
Specifications
| Printer type | Piezo InkJet Printer |
| Print size | Mini Flatbed – 330x90 mm/ Standard Flatbed – 420x330 mm |
| Max print height | 5 mm |
| Print resolution | 1,440 DPI |
| Color profile | CMYKWG |
| Ink cartridge size | 100 ml |
| Auto leveling | Yes, height adjustment |
| Camera | Yes, 8 MP |
| Supported materials | Wood, metal, glass, plastic, etc |
| Software | eufyMake Studio |
Unboxing and accessories
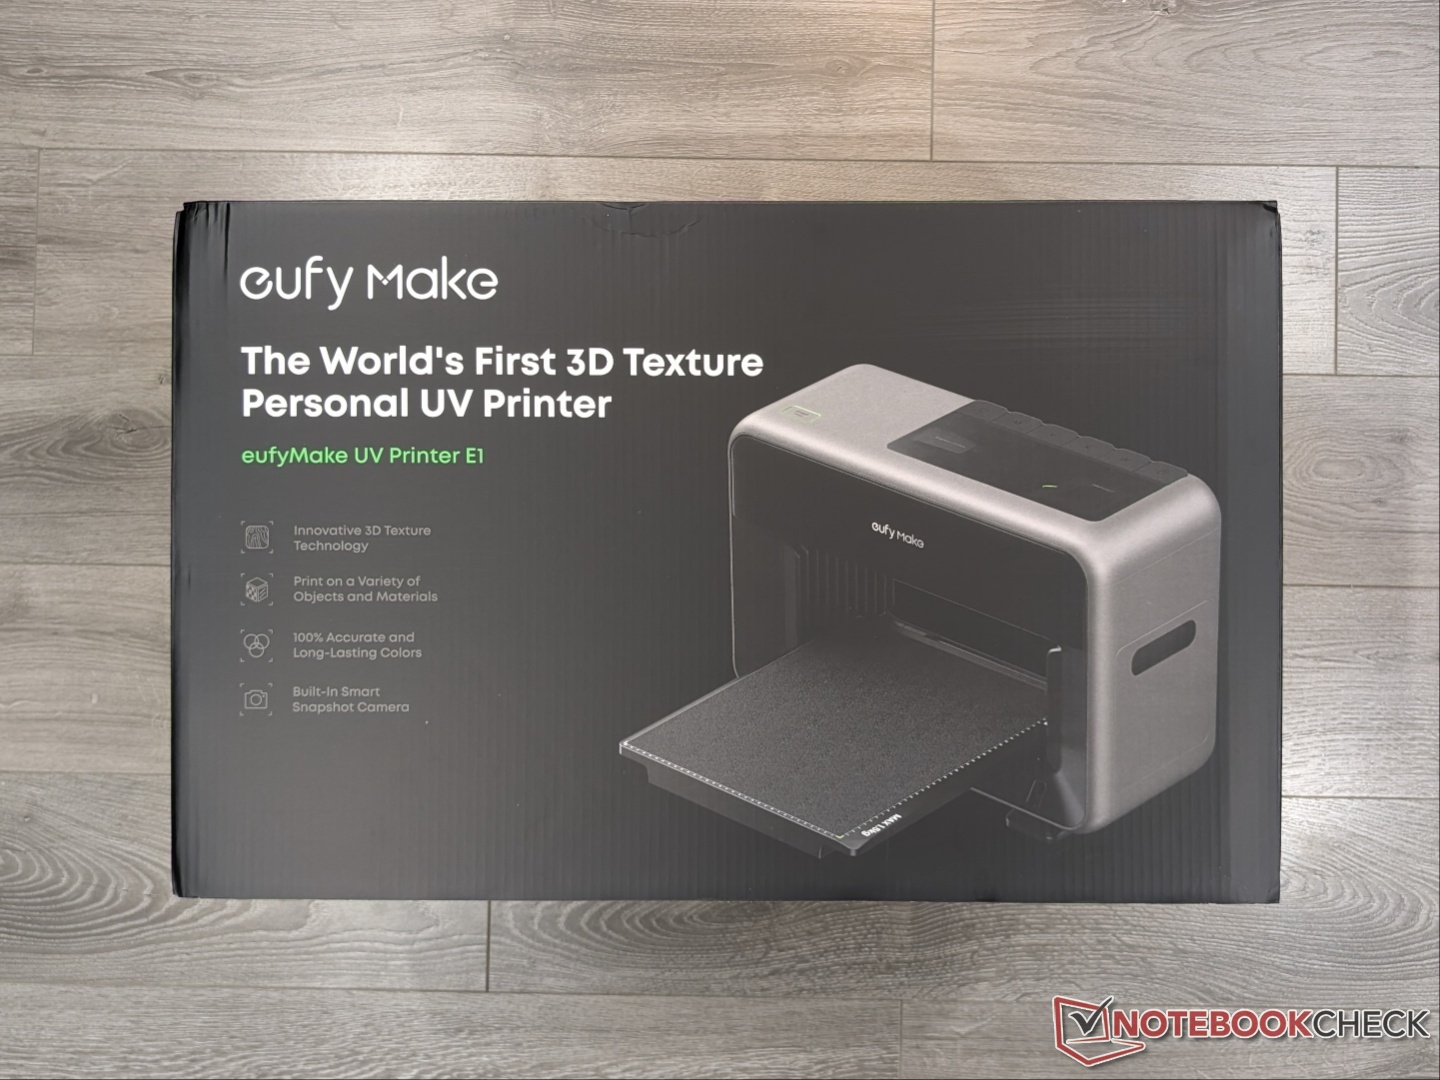
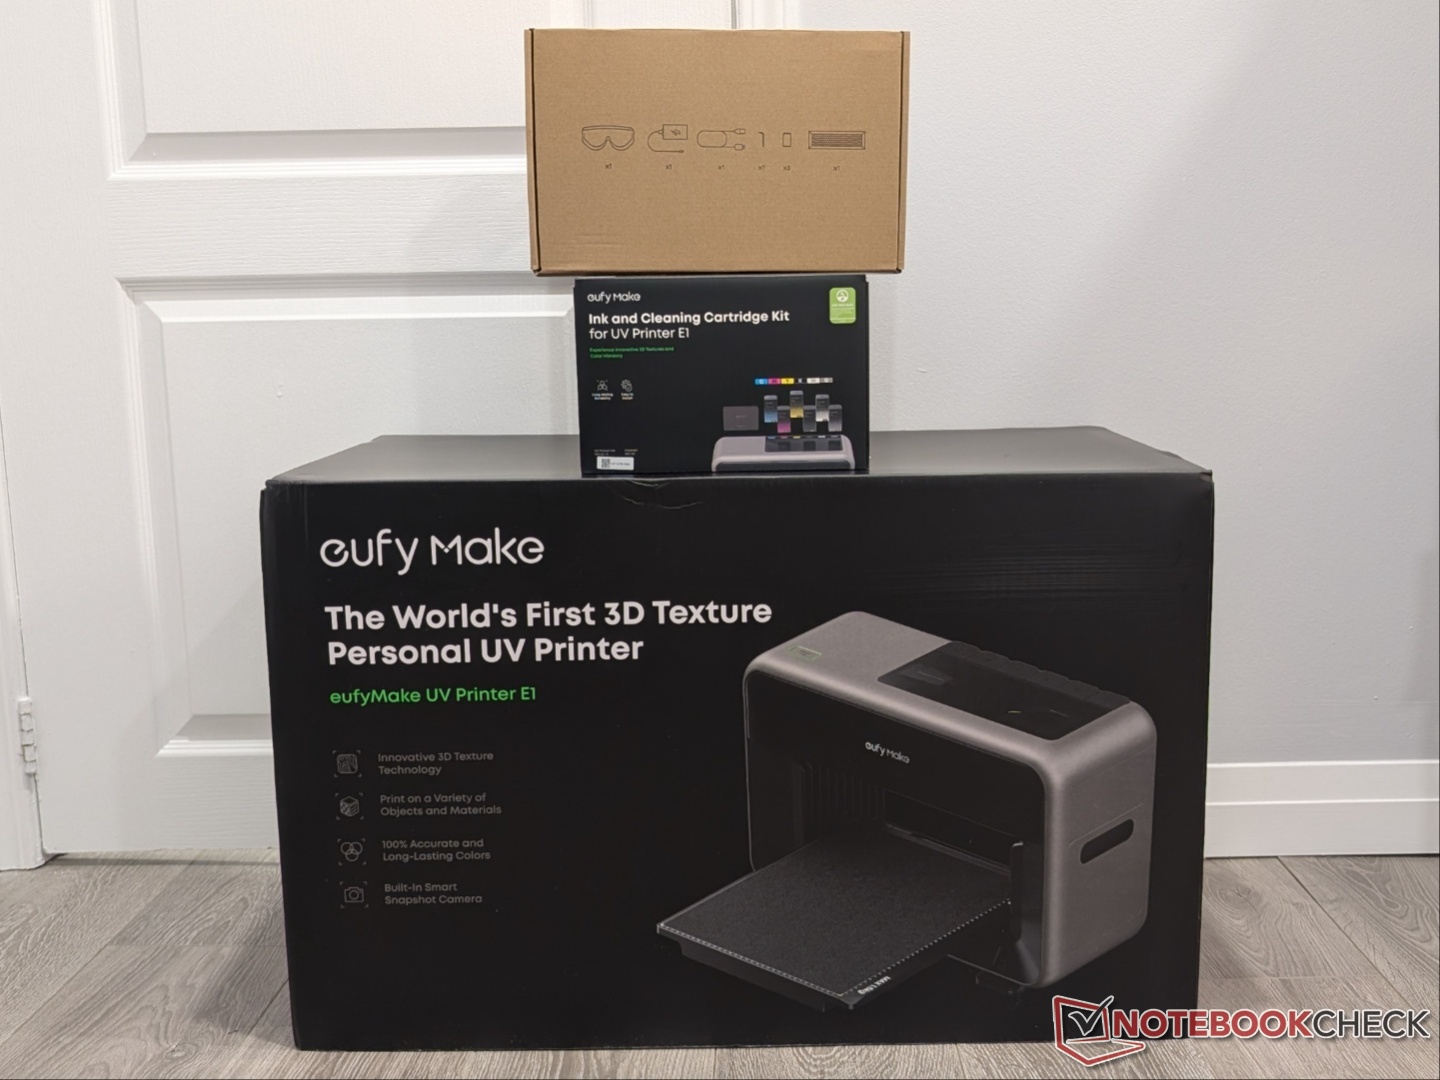
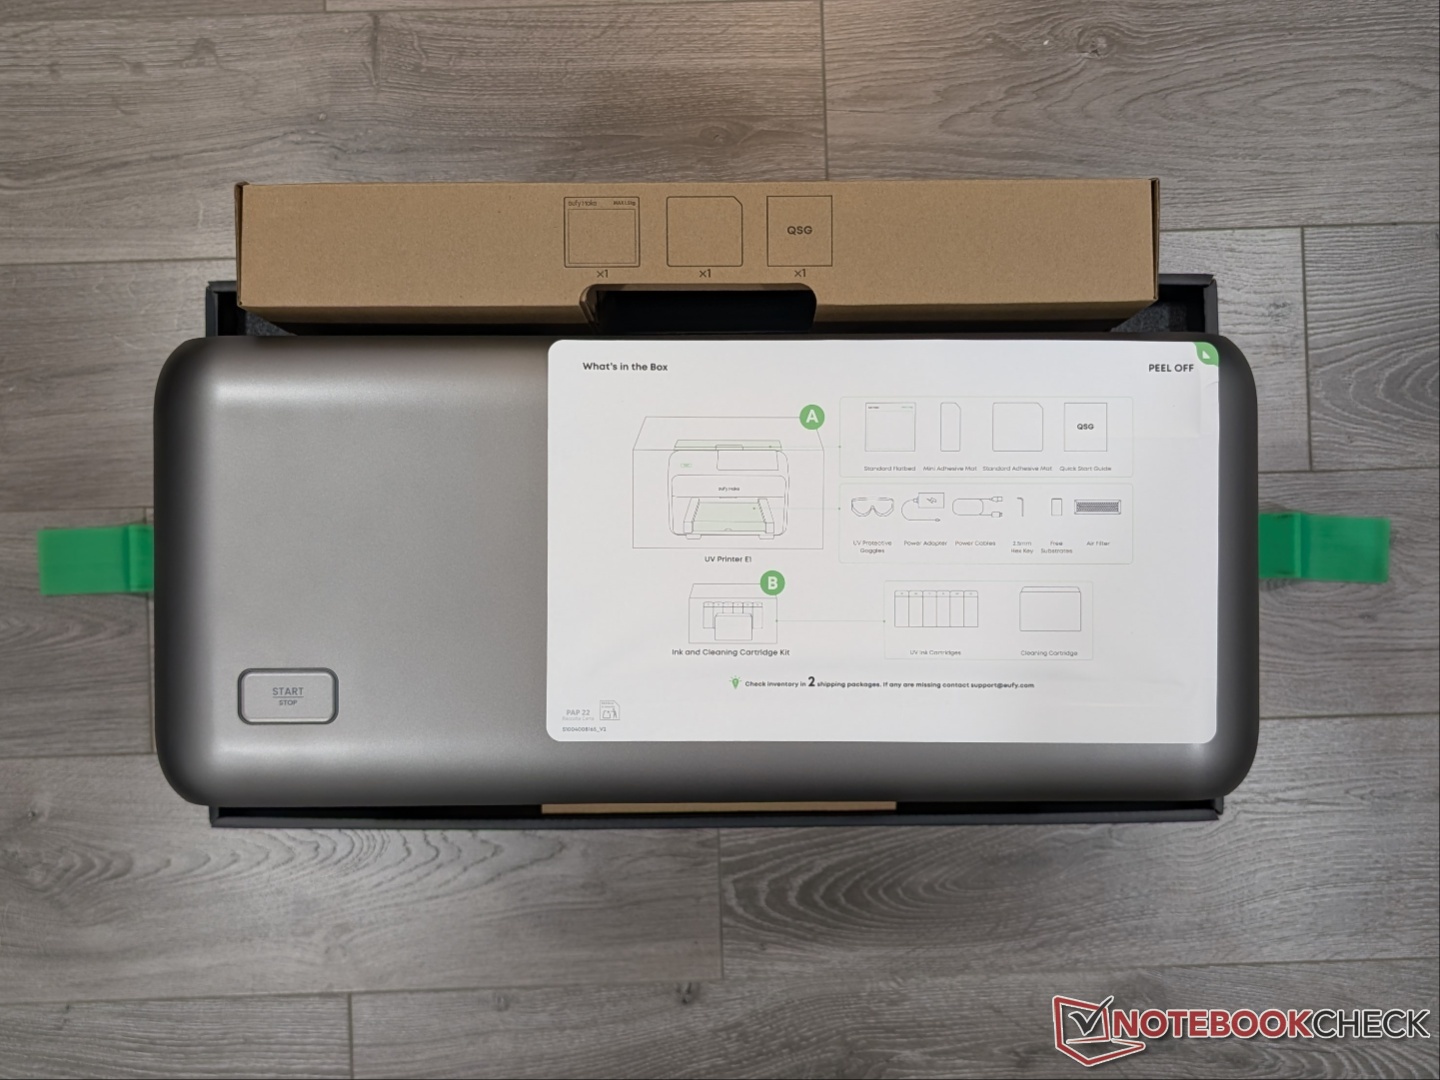
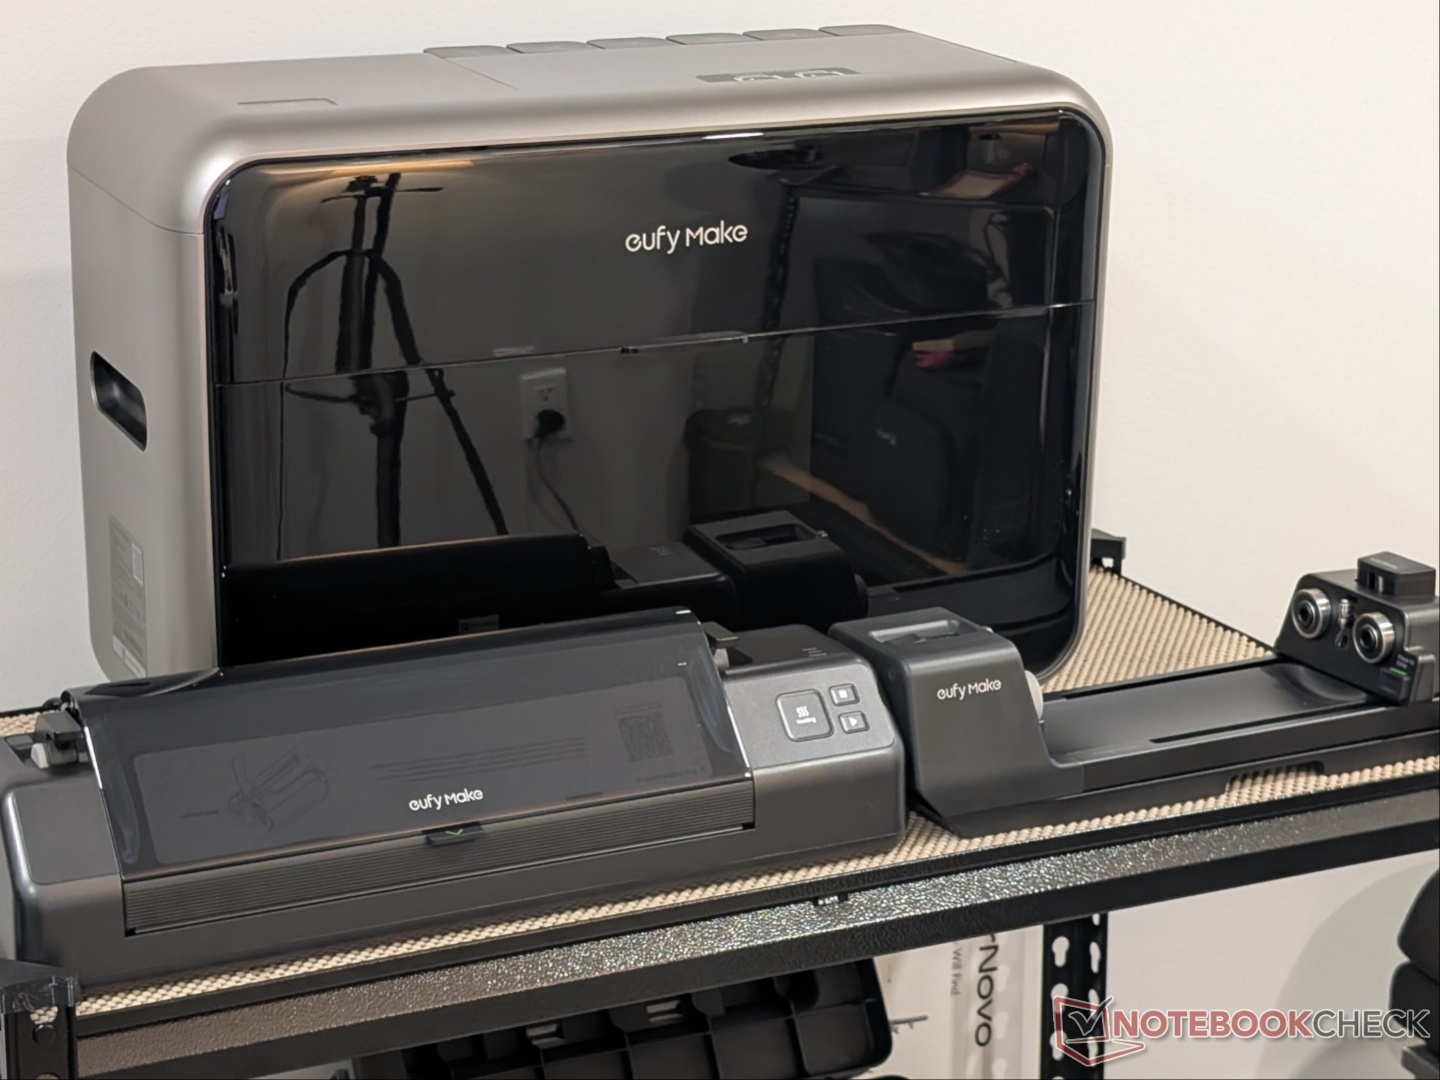
eufyMake sent us the deluxe bundle, which includes the E1 in its own packaging, and a rotary attachment and laminating machine in their own packaging. The box for the E1 has plenty of foam to keep the printer locked in, and the Velcro straps on the sides make it easy to unbox. It also includes the mini and standard Flatbeds, the ink + cleaning cartridge, the necessary tools for setup, and some free substrates.
Build quality and setup
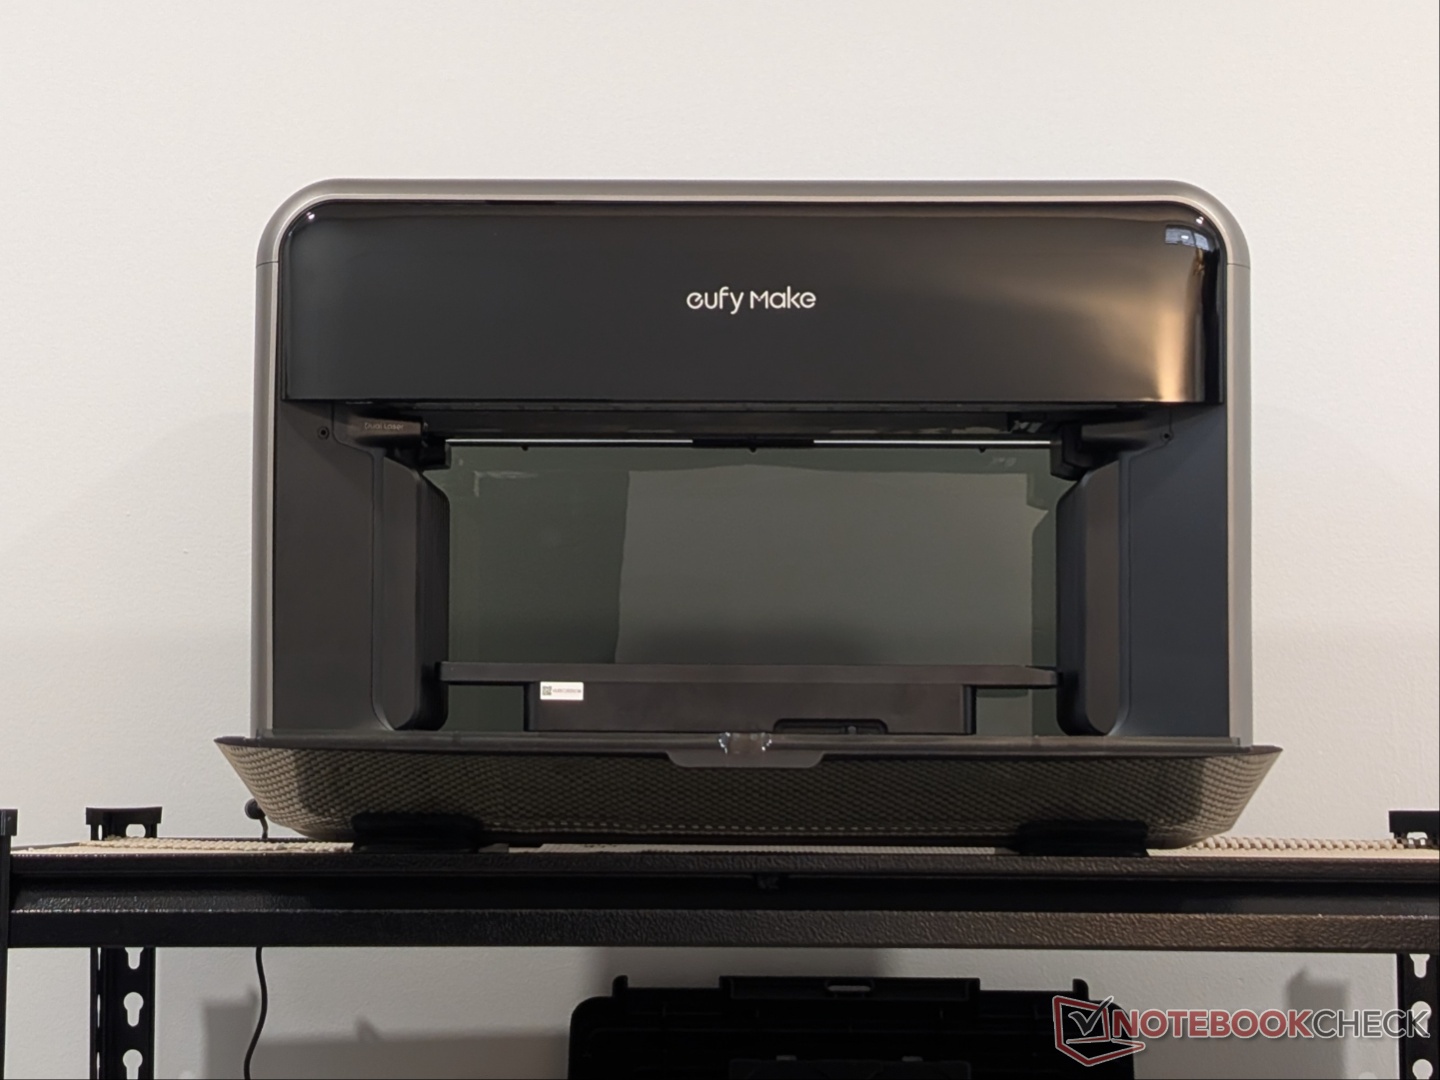
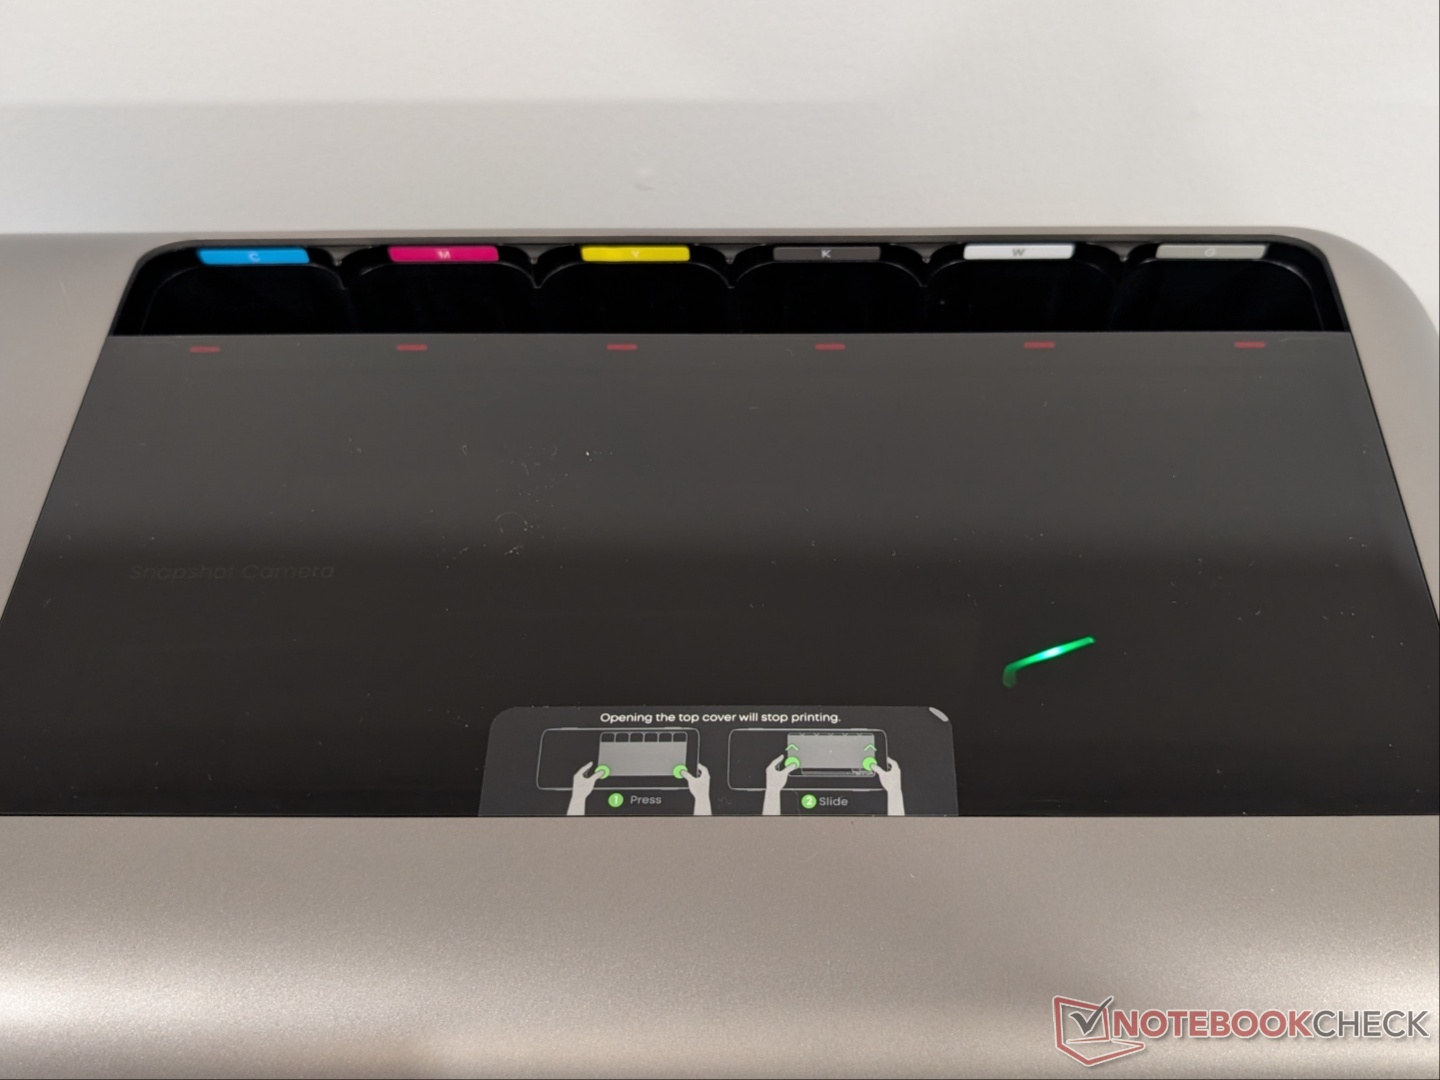
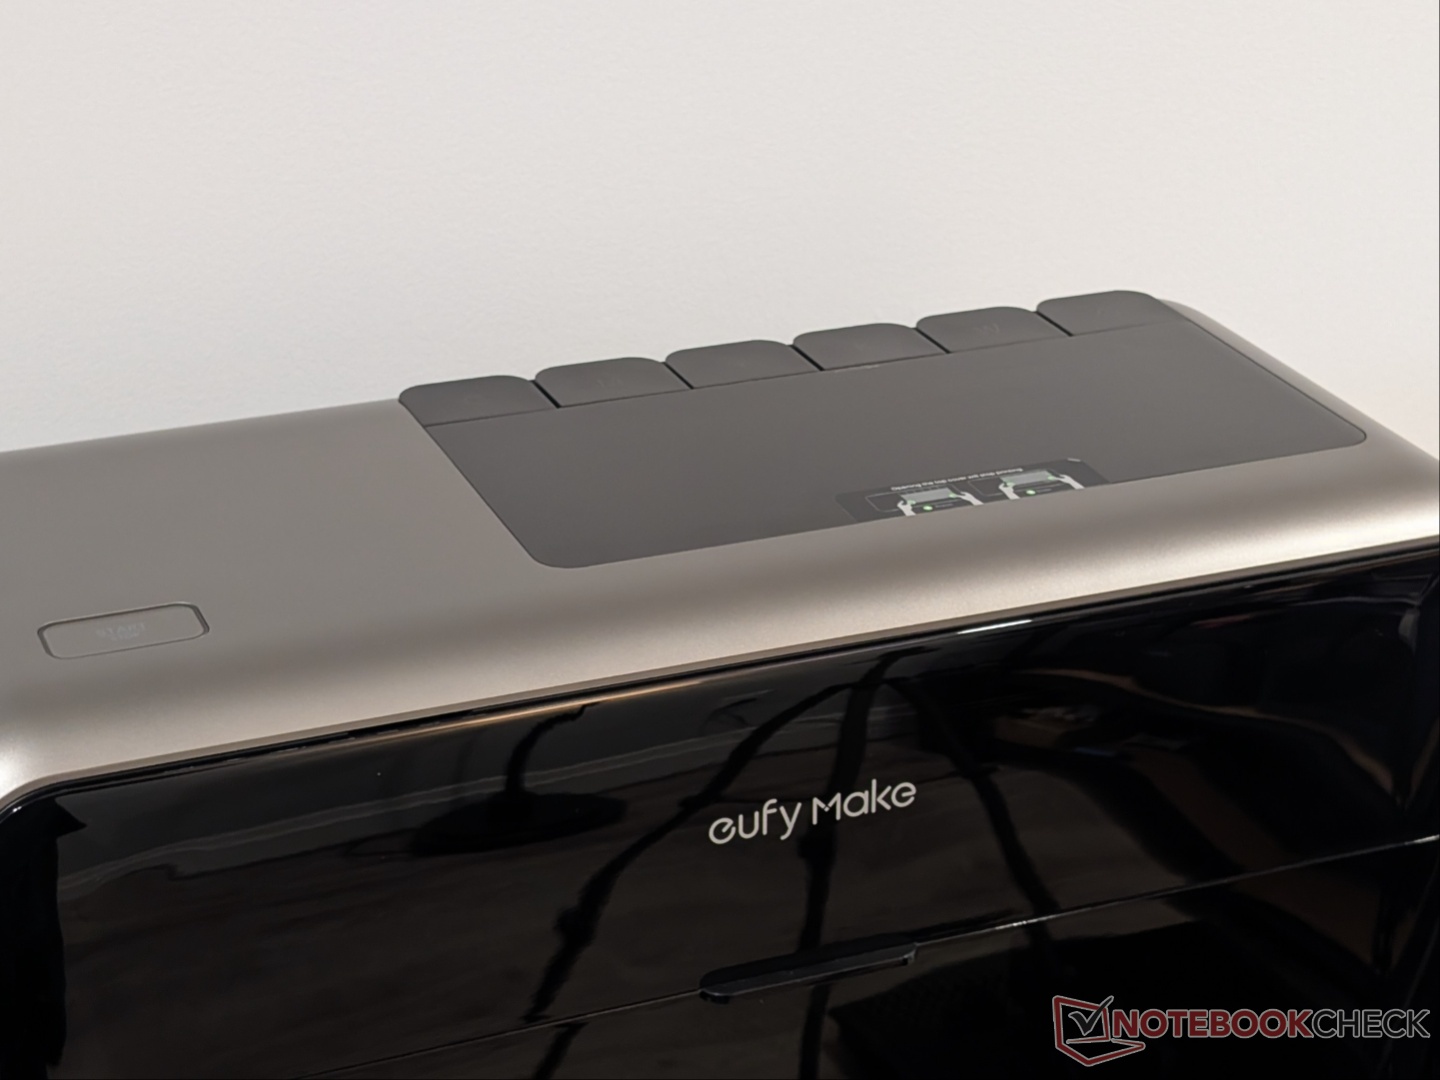
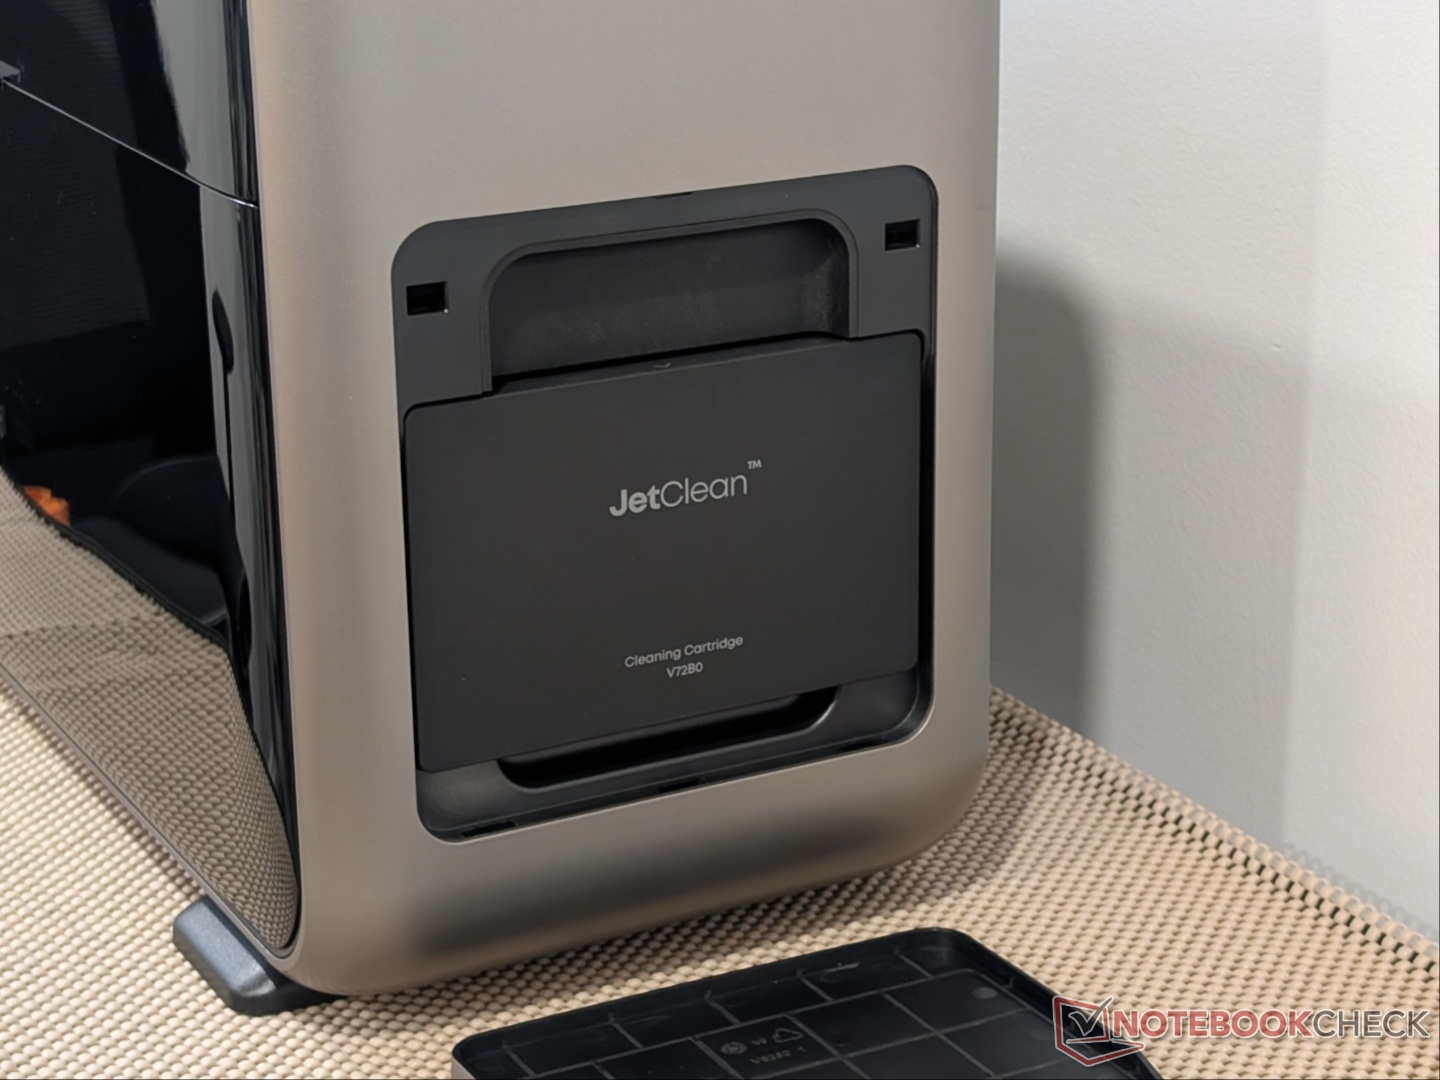
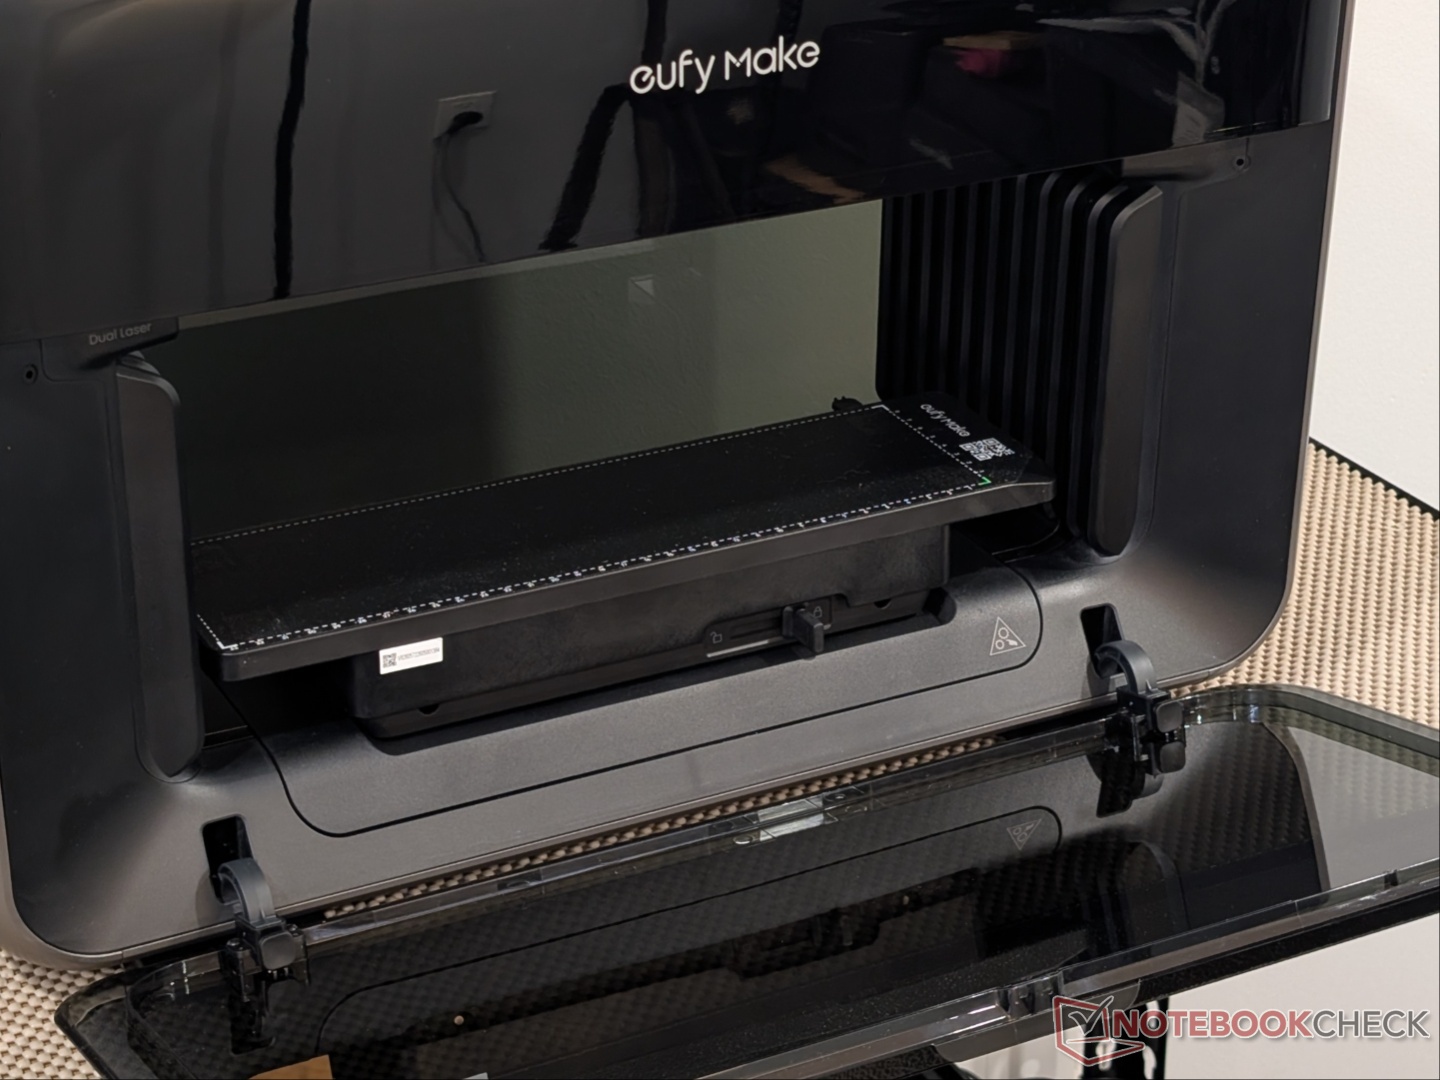
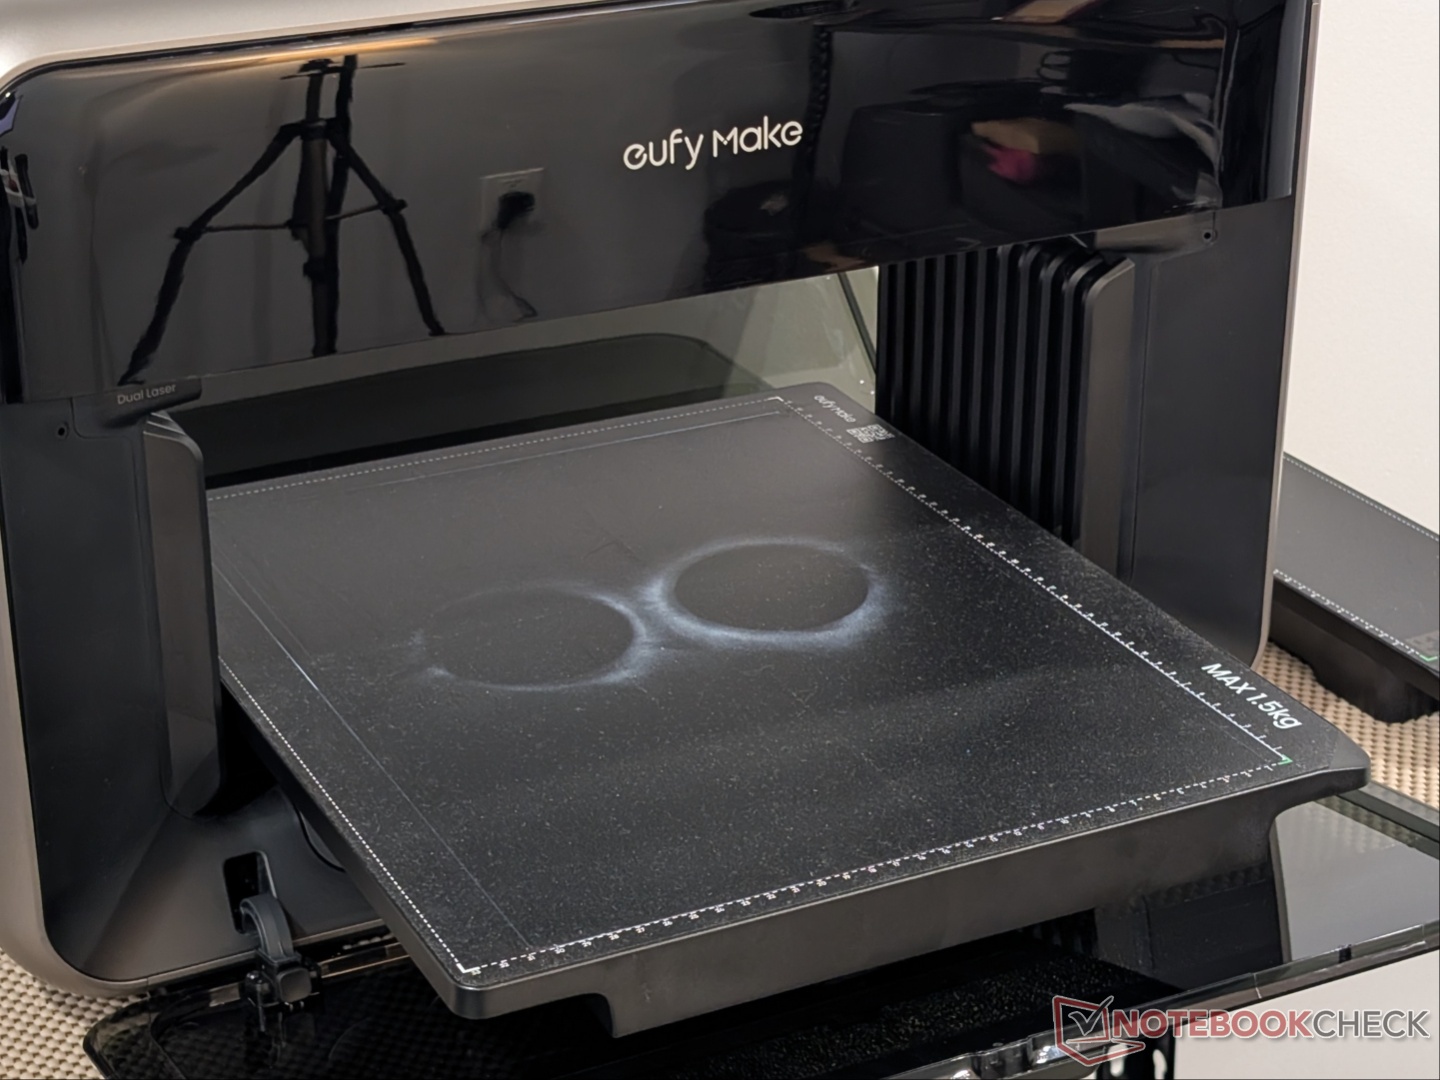
The E1, as well as all its accessories, feels premium and well-built. There are clear instructions included in the box for an easy setup process. eufyMake also has plenty of videos on its YouTube channel for the same. After setting up the machine, a calibration run is required, which prints all different colored inks on a test sheet to ensure all of them are flowing consistently. When switching to the larger standard Flatbed, calibration needs to be run again, but only once.
eufyMake Studio is available on both desktop and mobile, both of which work seamlessly. The E1 was instantly detected in the software, and establishing a connection was pretty quick. Firmware updates are quick as well, and OTA. The software also allows for monitoring ink levels, print progress, and time estimates. After sending a print to the E1, by default, the ‘Start’ button on top of the printer needs to be pressed, but that can be bypassed with a setting in the eufyMake Studio app.
Performance and capabilities
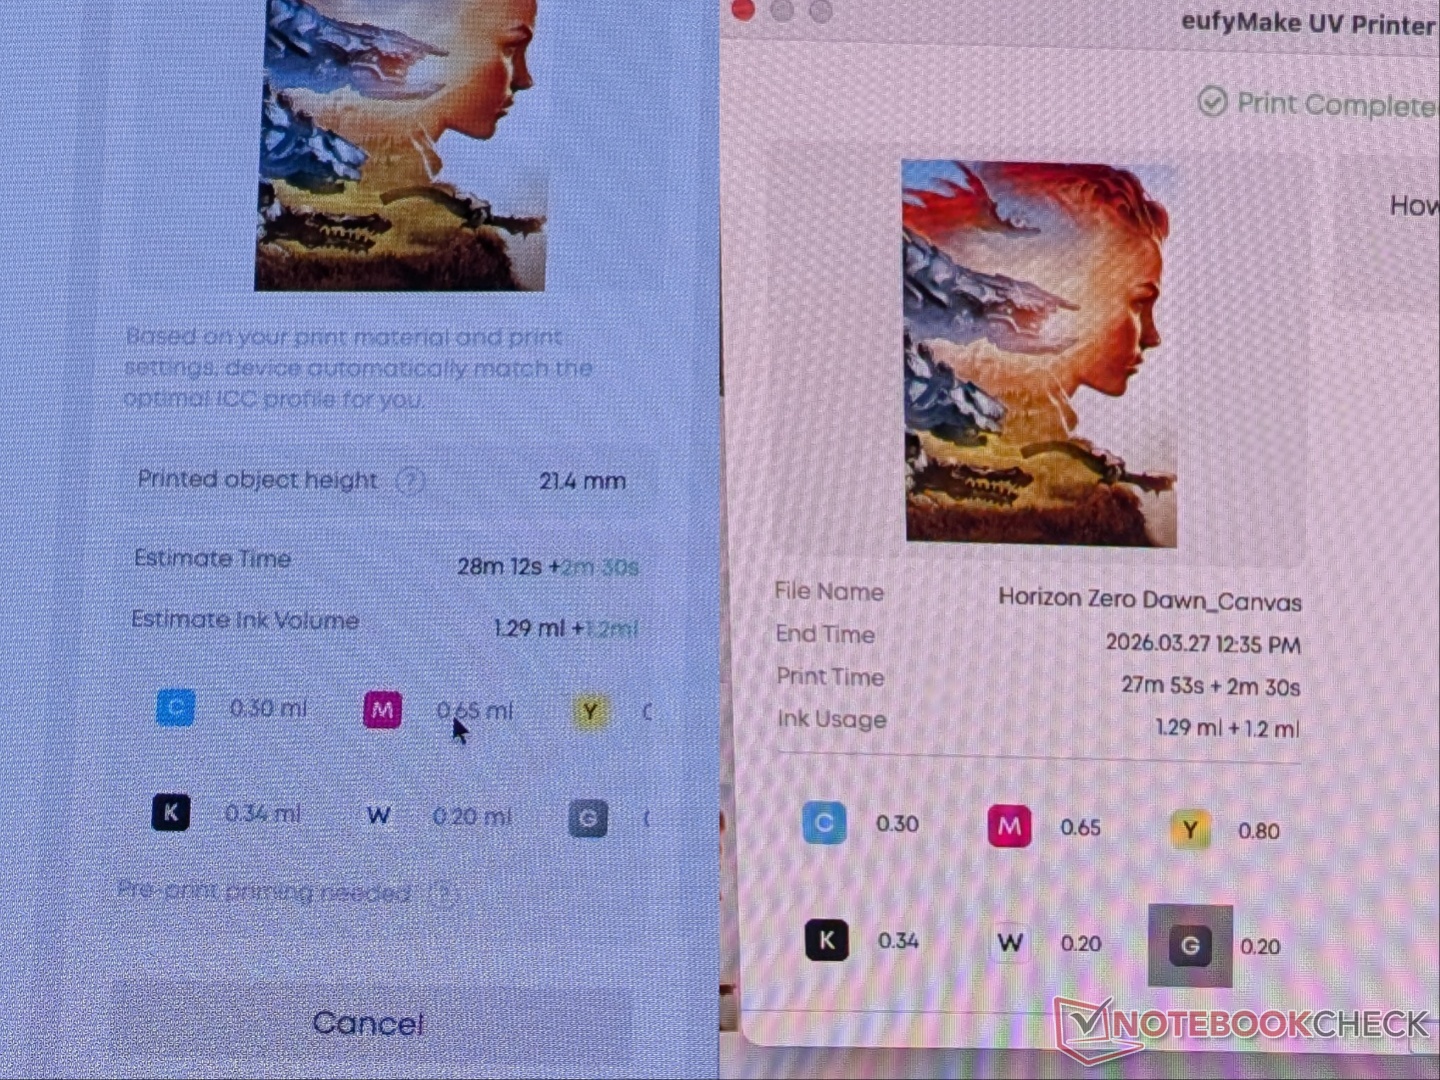
Simply put, the print quality and overall performance of the eufyMake E1 UV printer are excellent. You can get highly detailed prints regardless of the scale, and creating posters, among other things, has never been easier. The workflow involves setting your substrate/object on the Flatbed, importing a design into eufyMake Studio, positioning it on the Flatbed, choosing the appropriate settings depending on whether you want a flat or a textured print, and sending it off to print. The software automatically calculates what combination of inks is required, and spits out an accurate estimate for ink consumption and print time. Also, there are dual lasers that accurately identify the height of the substrate/object. The max allowed height is 60 mm.
Speaking of ink consumption, there are a total of five ink cartridges – cyan, magenta, yellow, black, and white – that need to be inserted for colored prints. There is also an additional gloss ink cartridge for adding a gloss layer on top. Of these, the white ink is what’s used the most, as having a white base layer gives vivid colored results. The rest of the colors are used sparingly, even on larger prints. A good way to conserve white ink is to paint the substrate white before printing. You can choose the order in which inks are applied in the software, so instead of the default three white base layers, you can get away with one or even zero.
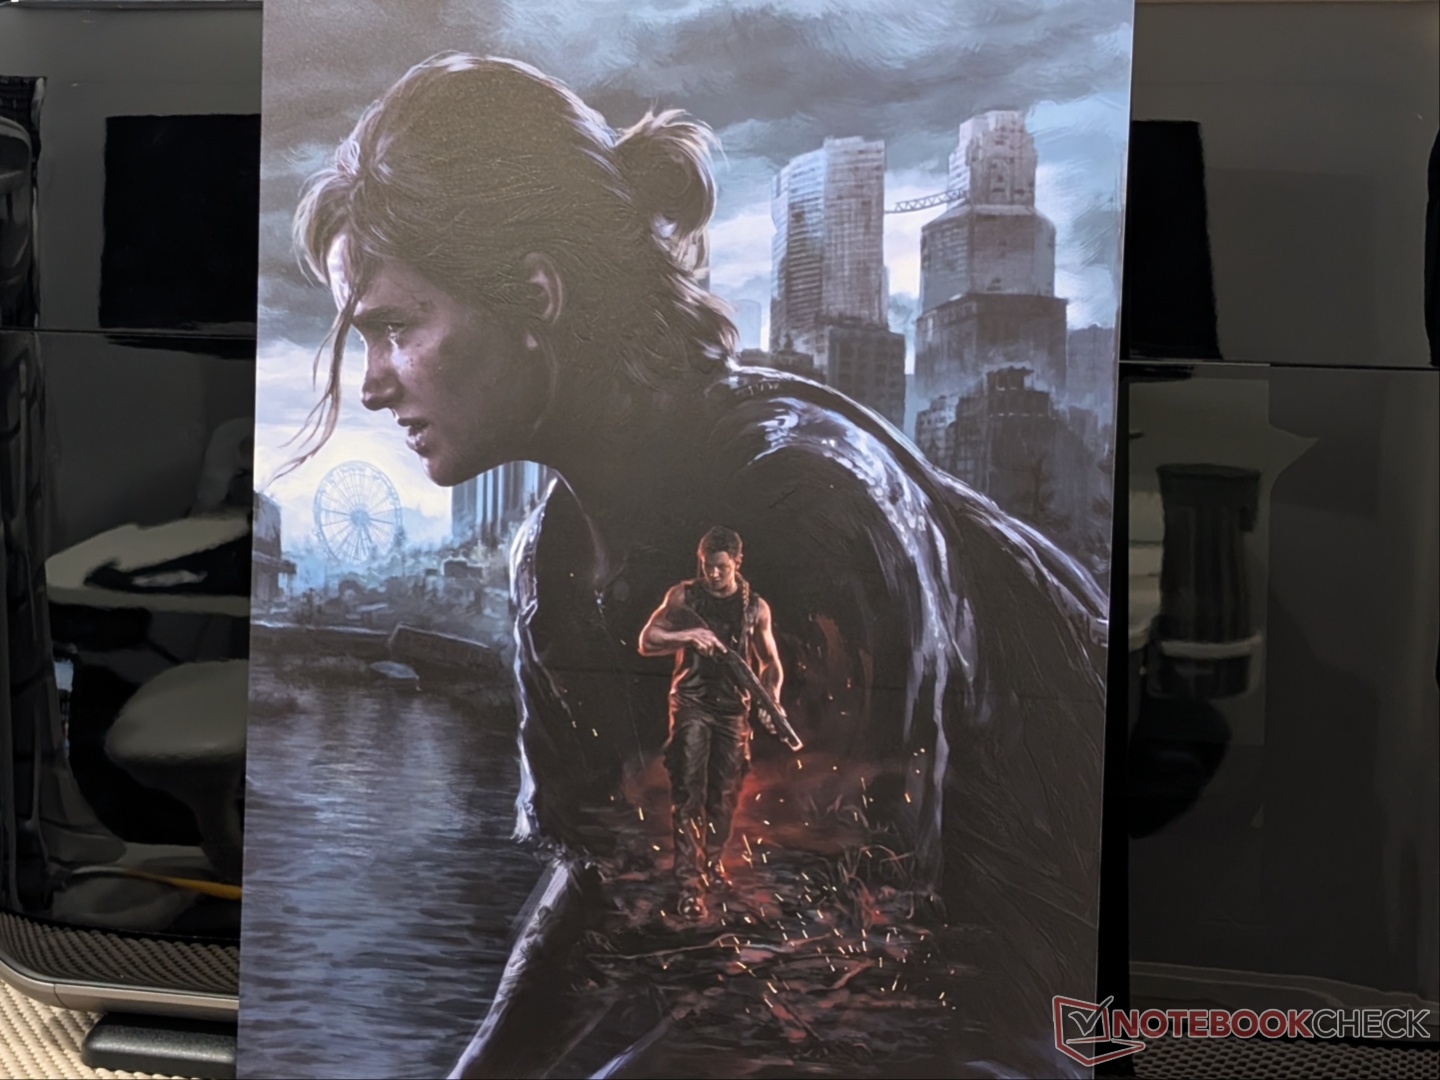
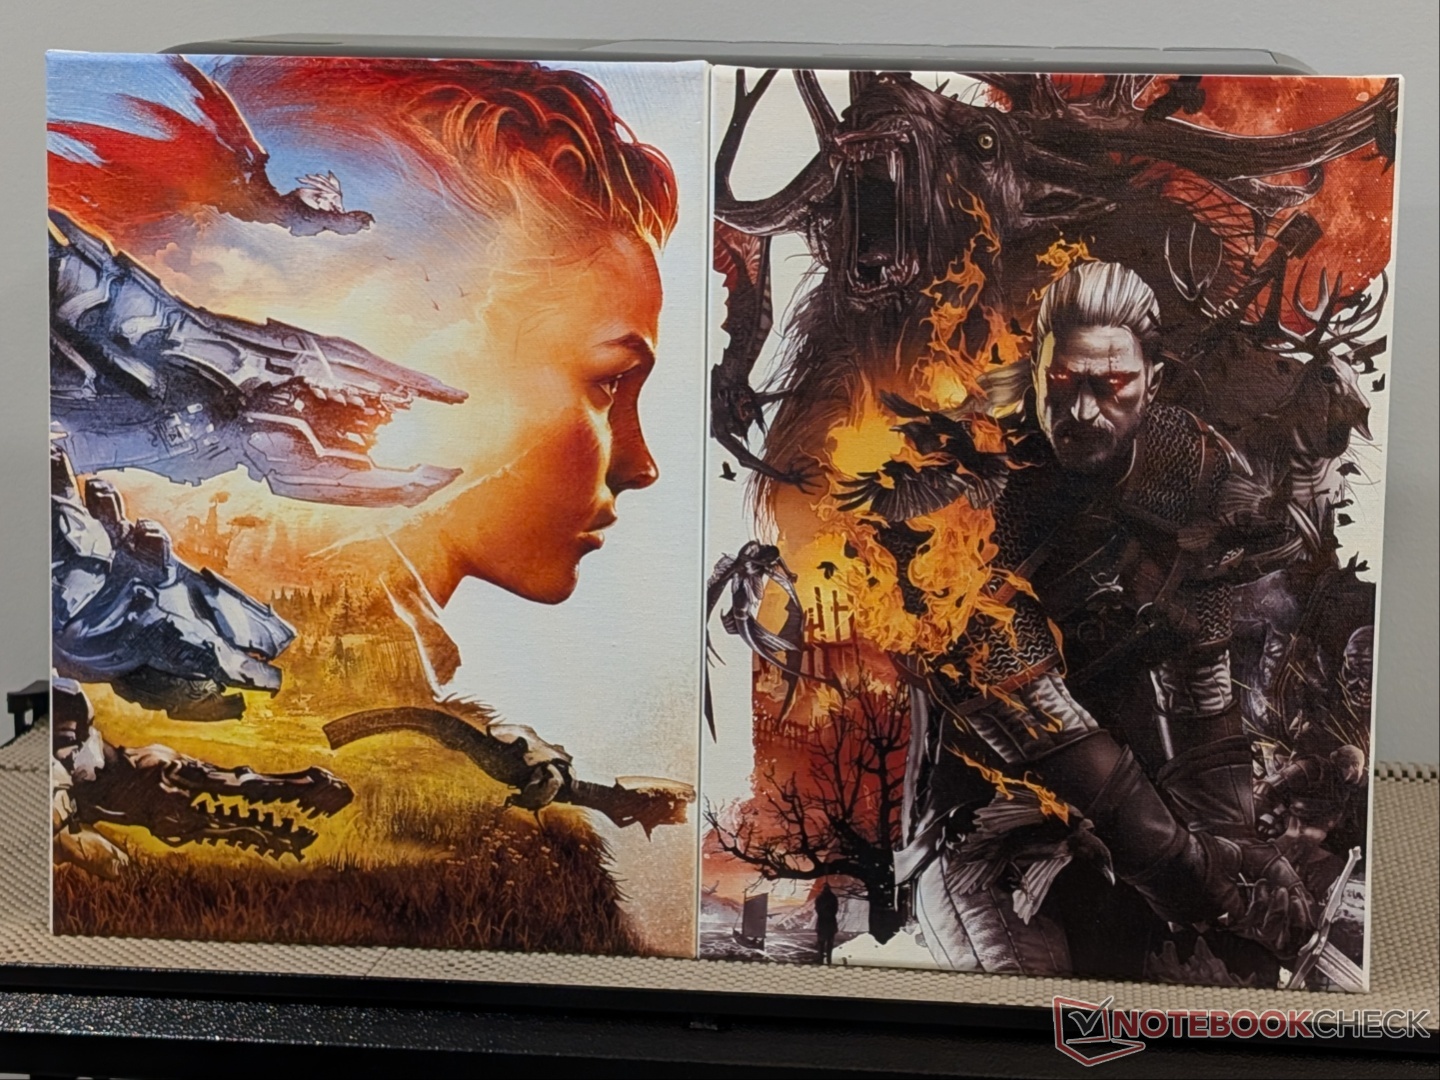

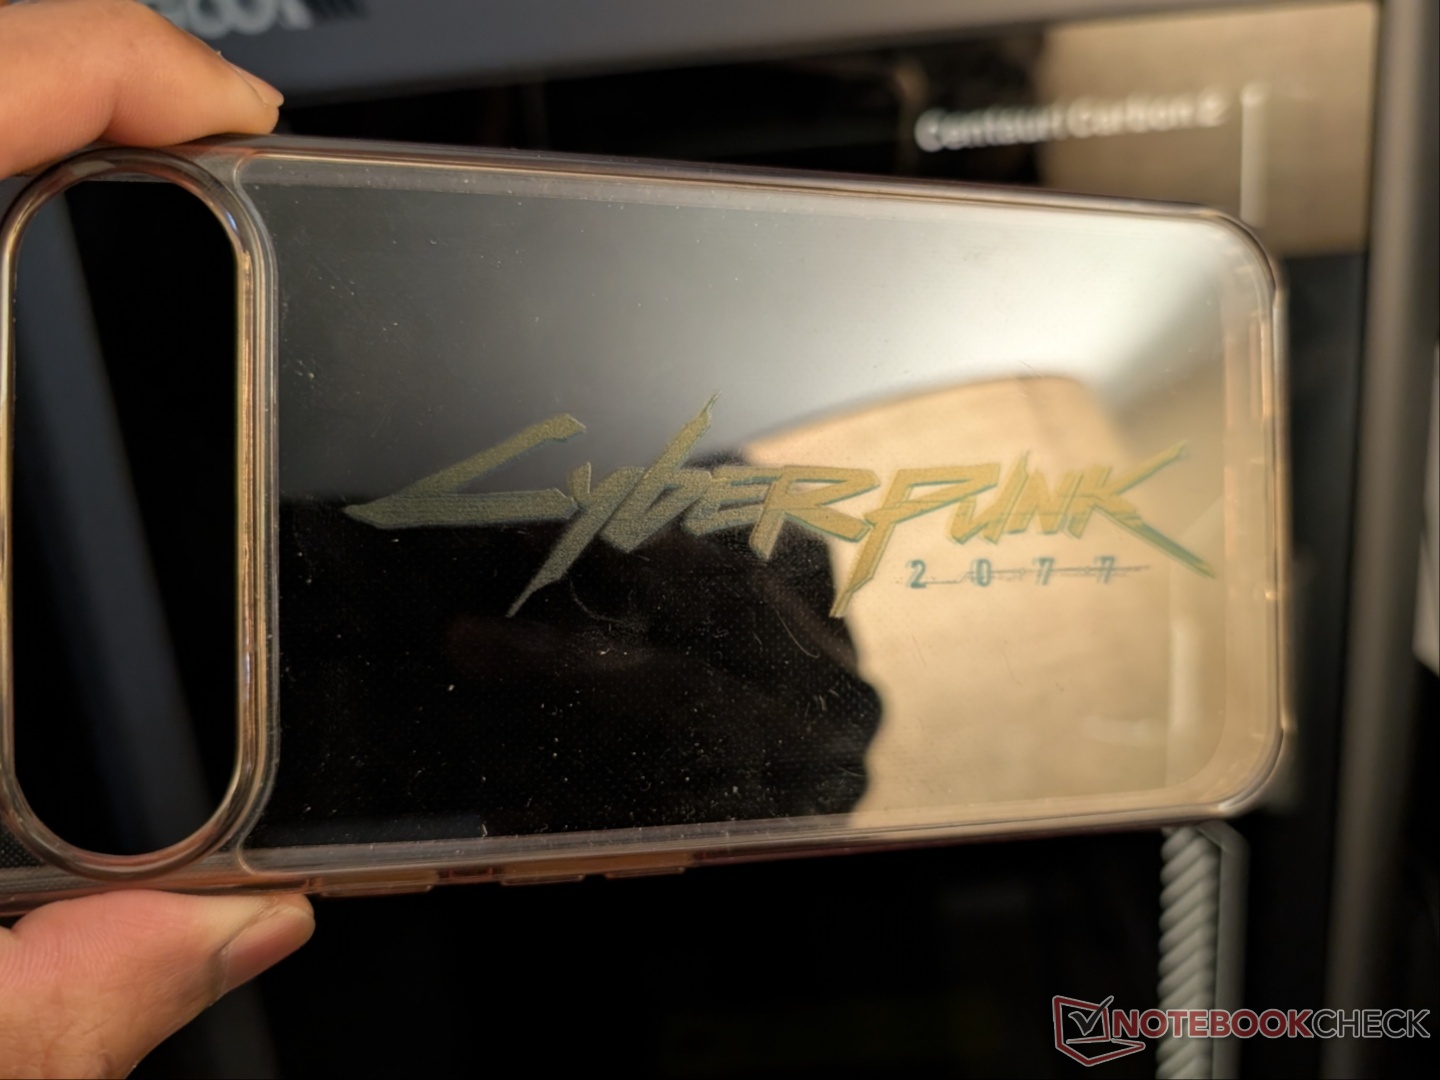
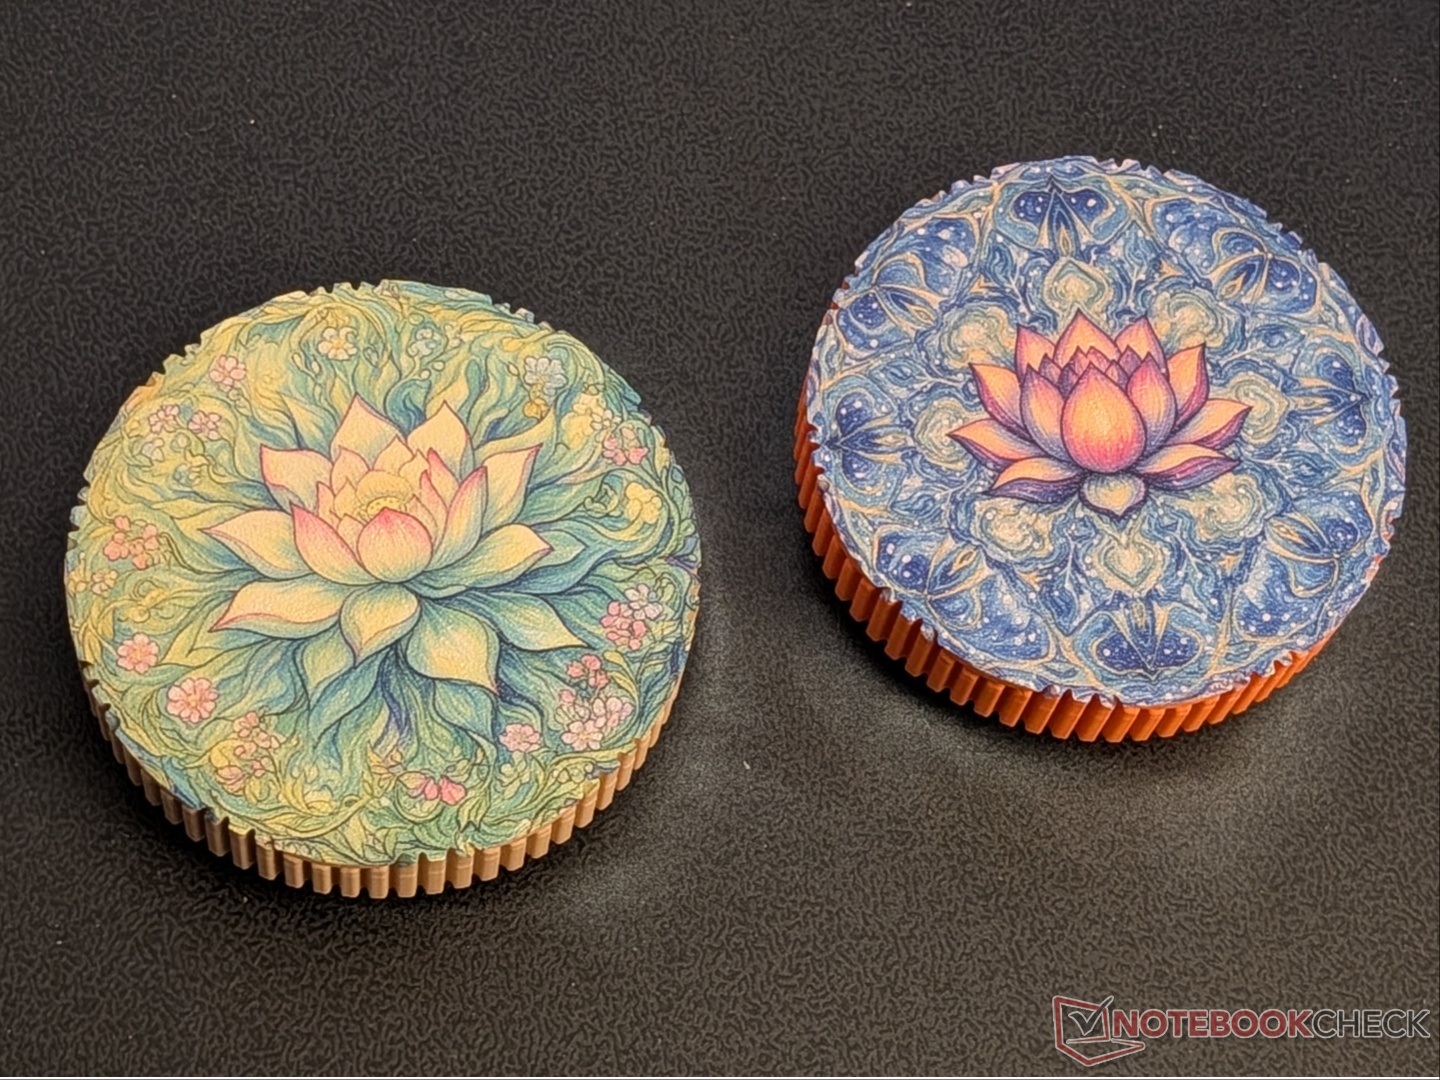
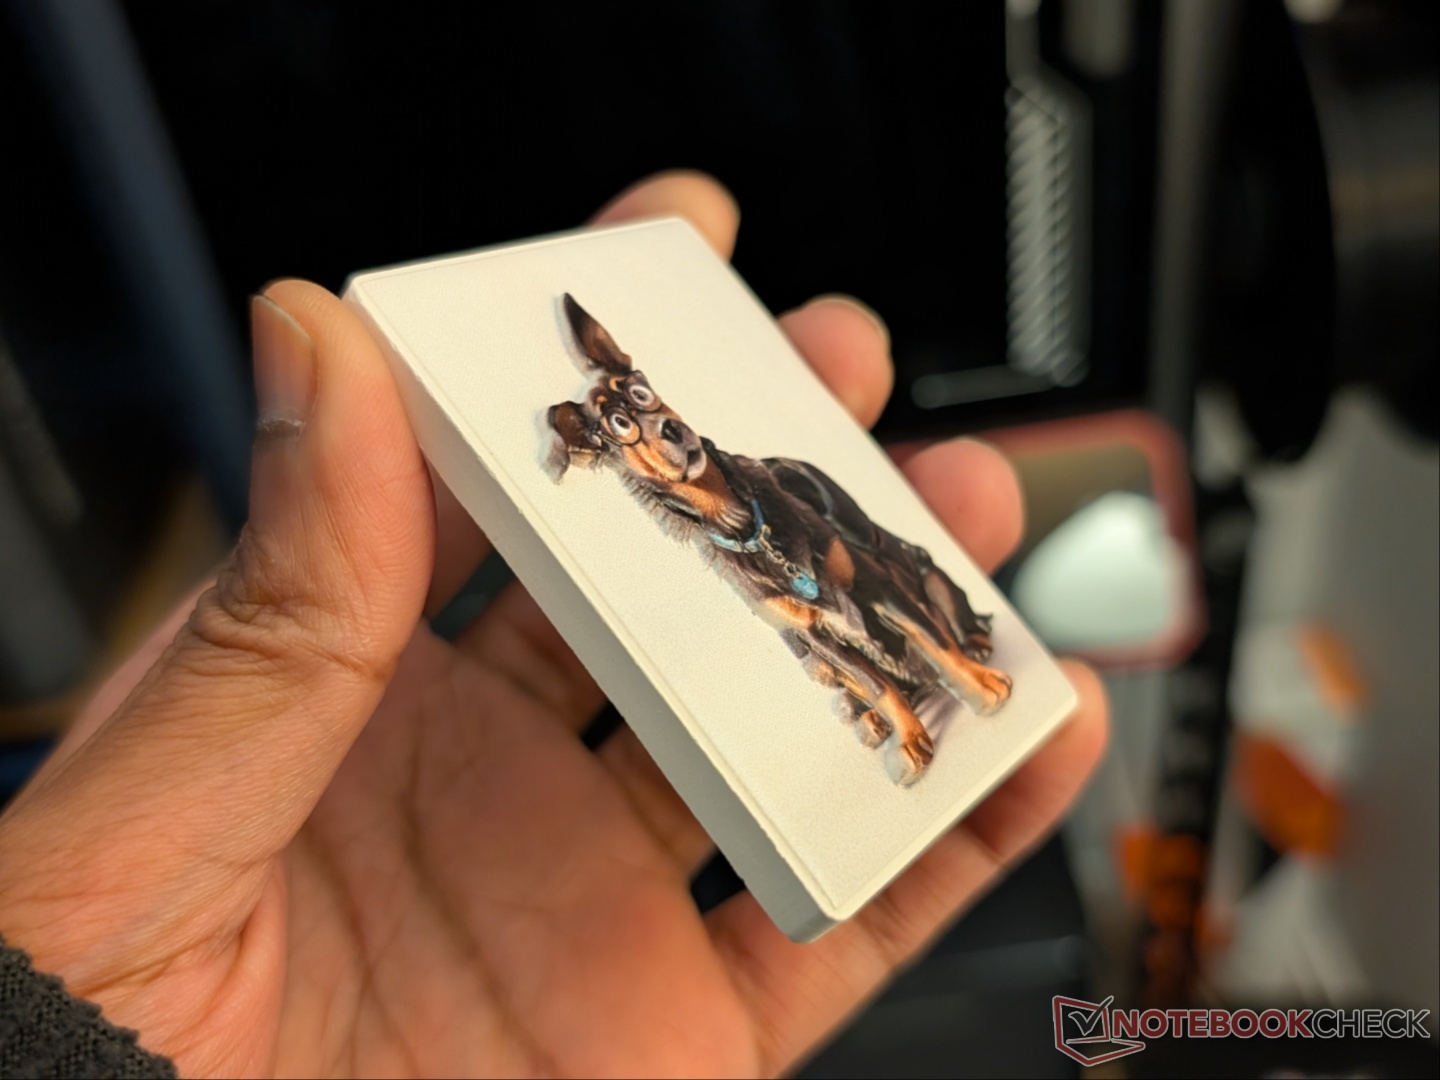
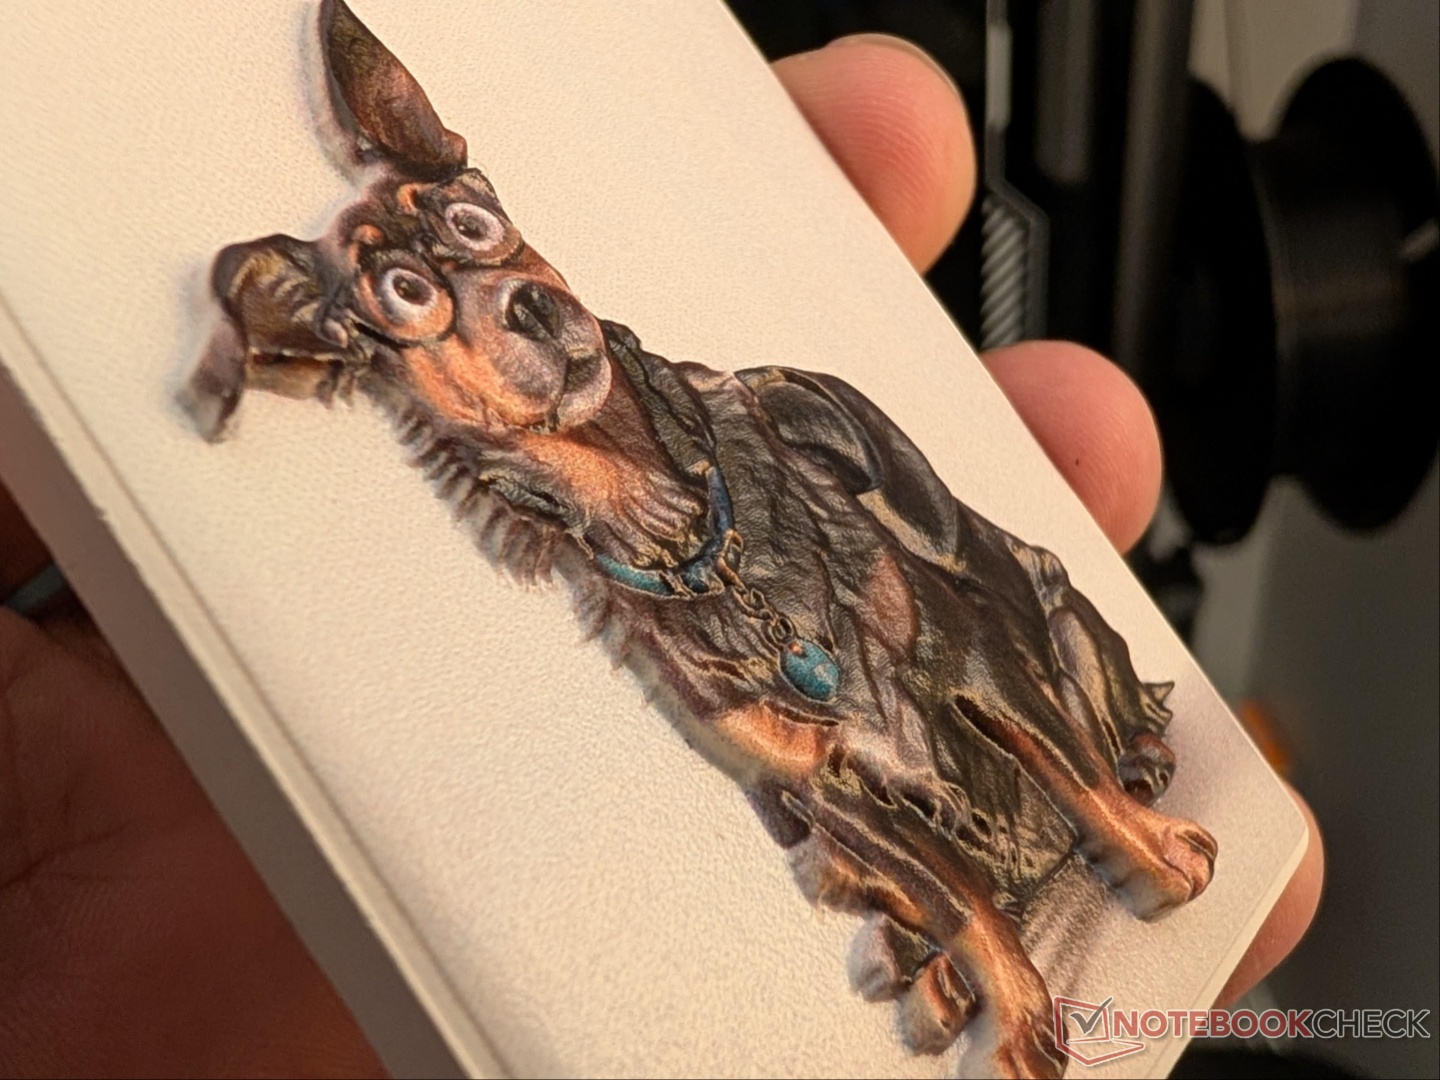
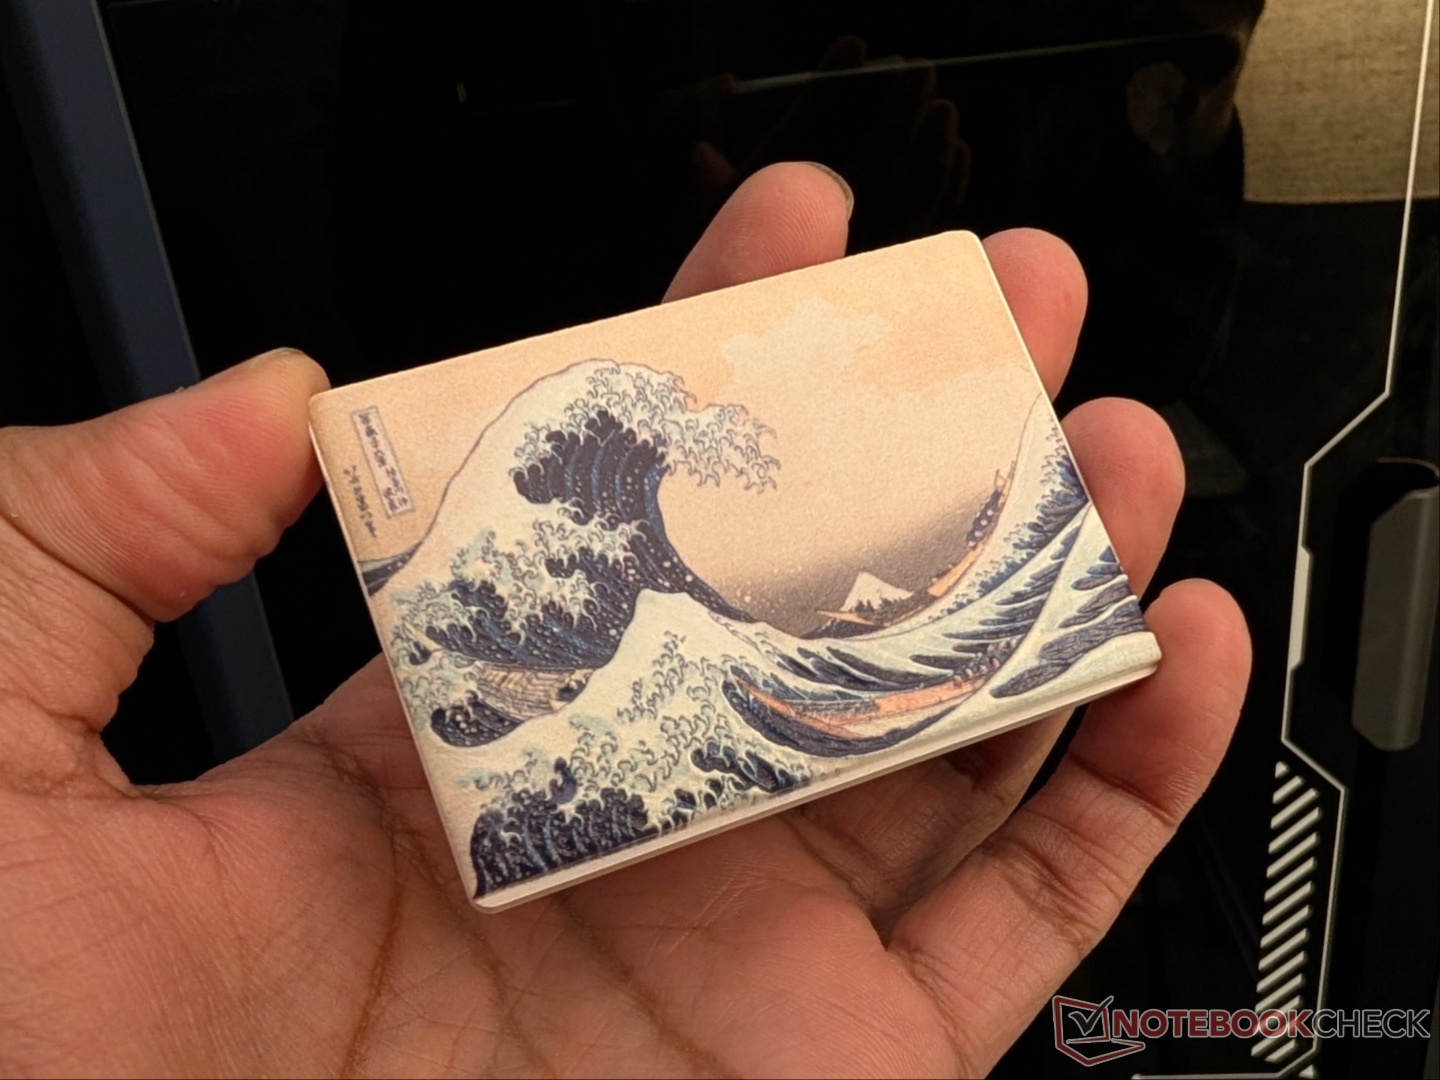
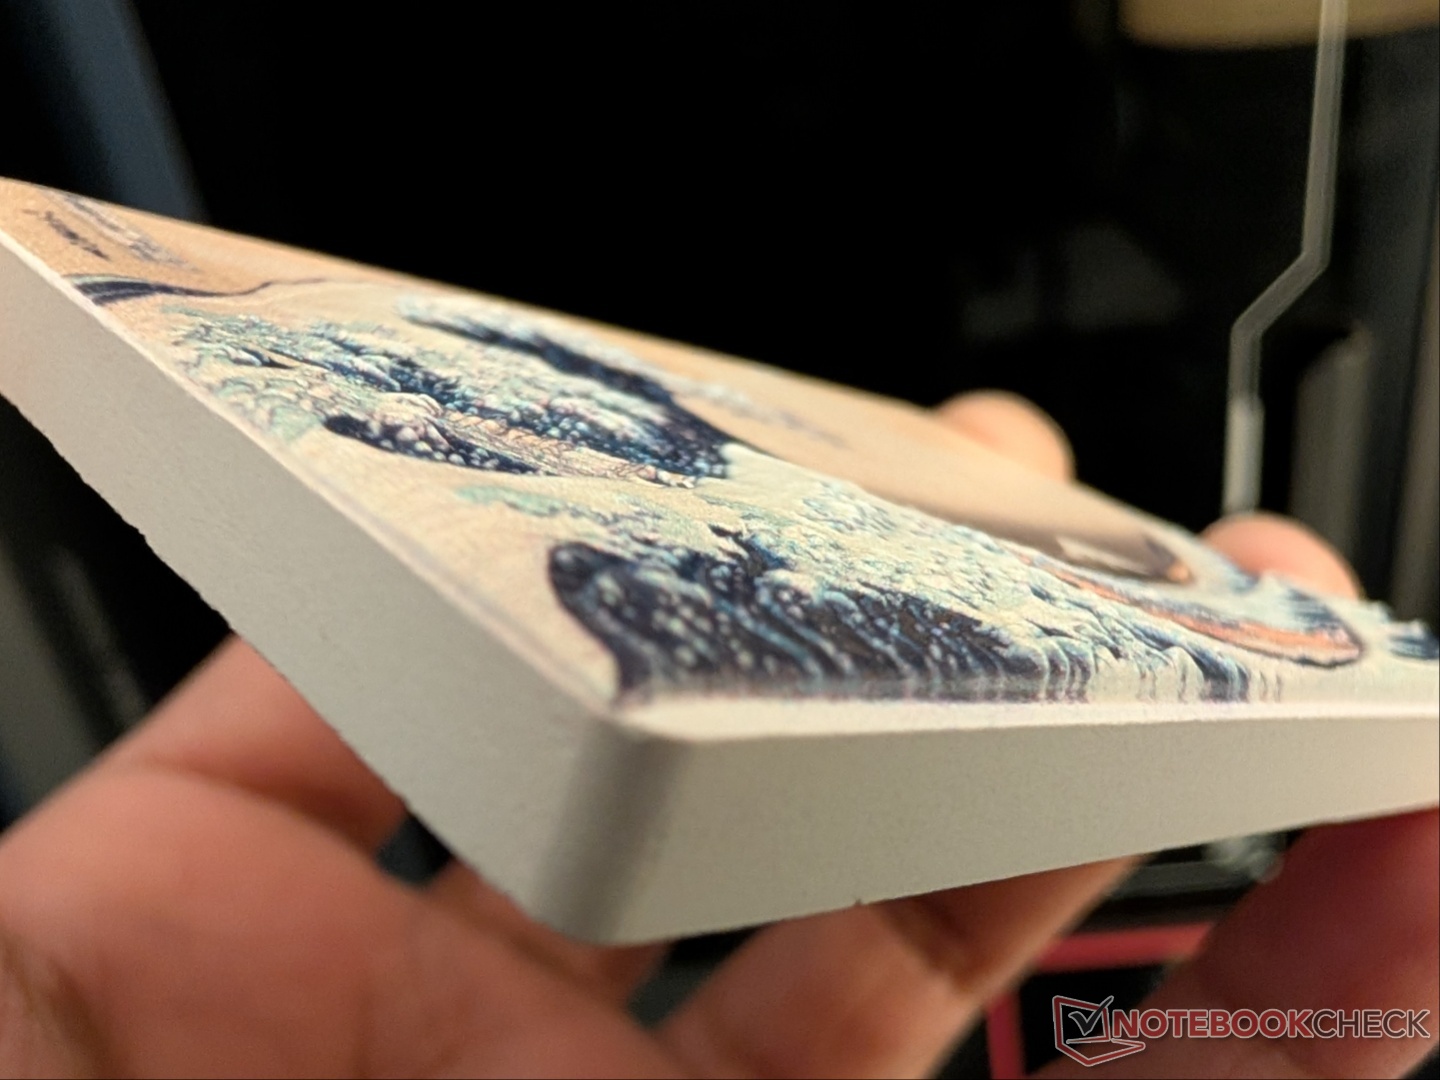
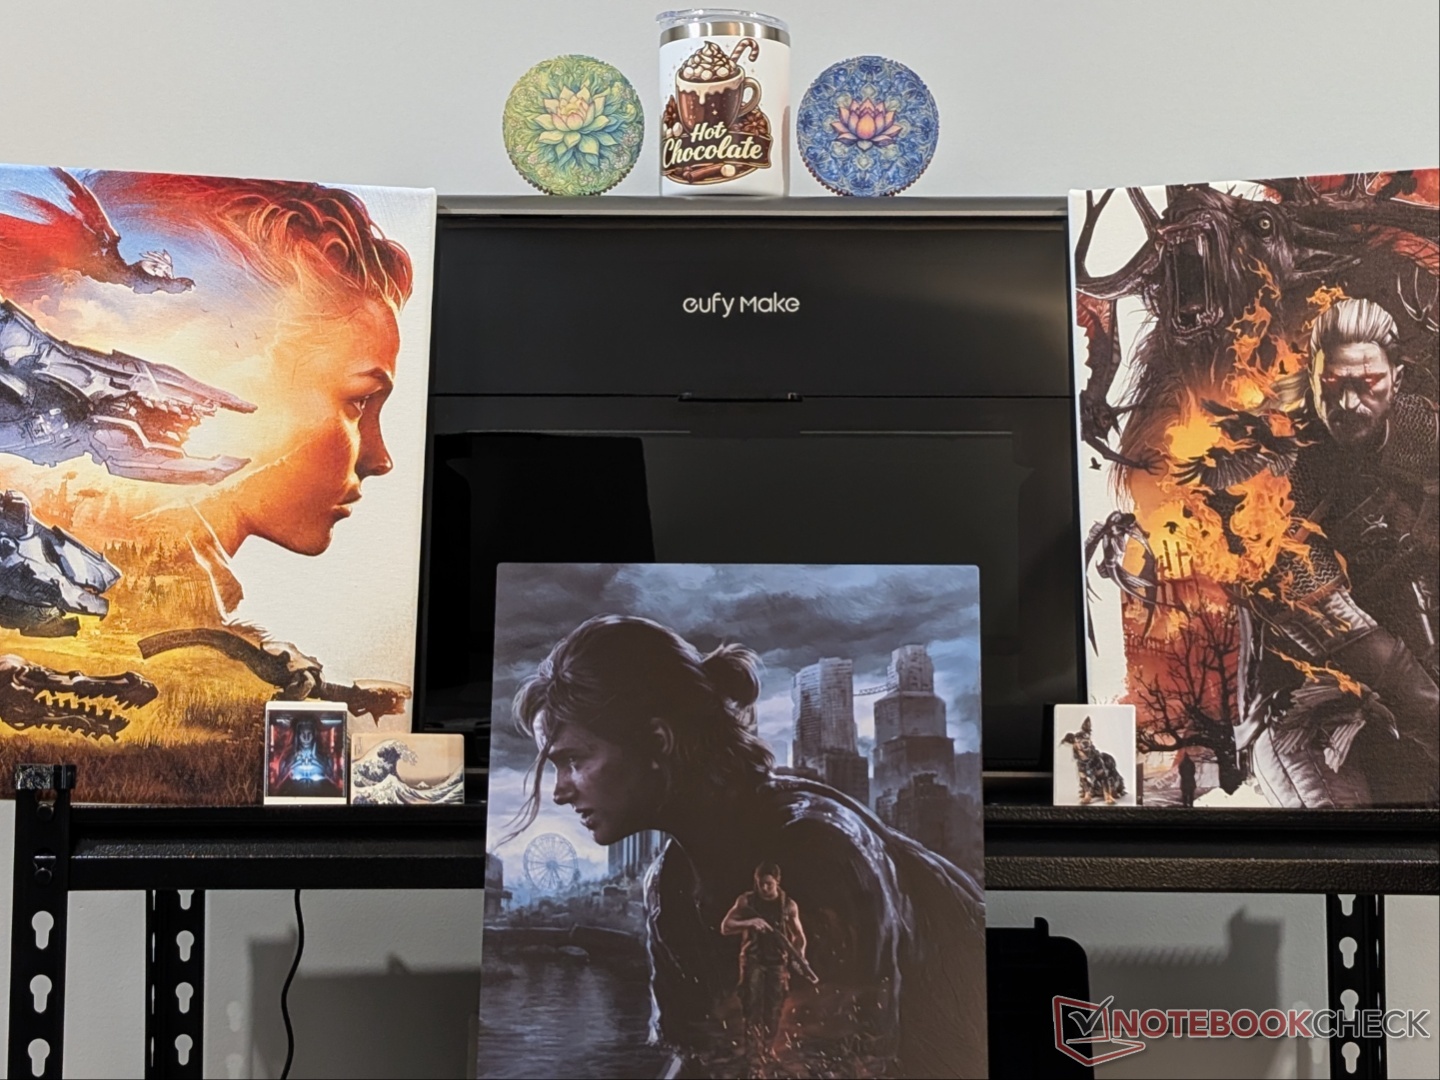
We tested the different materials provided by eufyMake along with some of our own, and the E1 did an amazing job with all of them. It has no issues with transparent material, as you can see with the phone case, and it works great with 3D printer parts as well. Embossing is time-consuming and ink-heavy, but highly detailed. The rotary tool allows for printing on tumblers and mugs of varied shapes, and having a top gloss layer makes them washable as well.

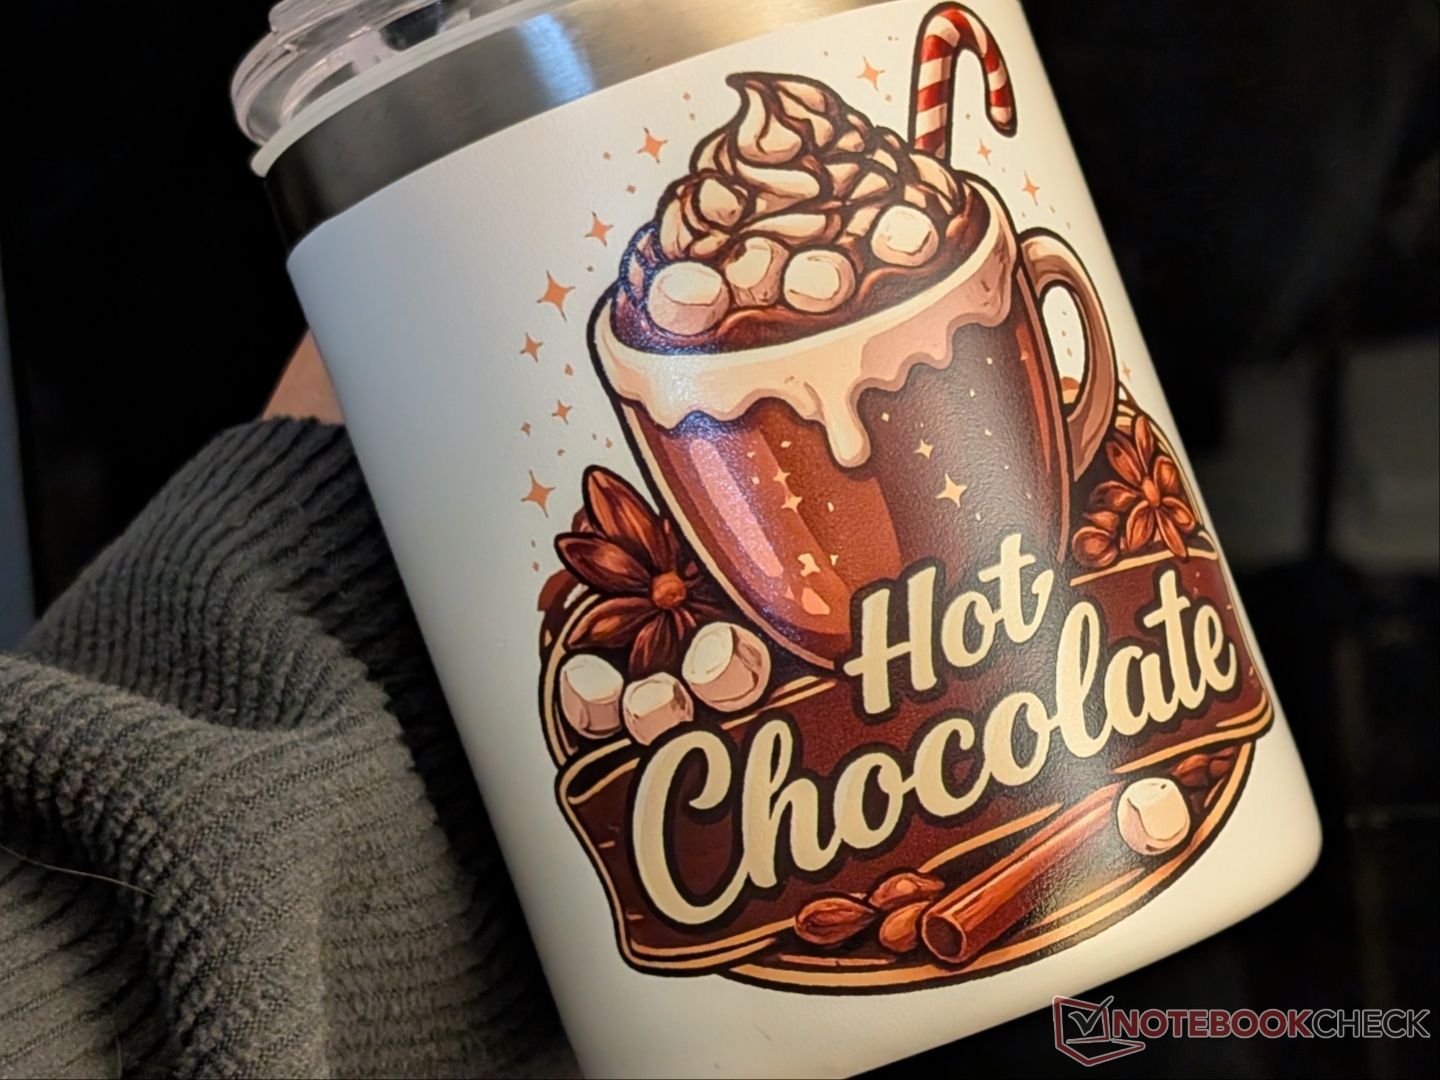
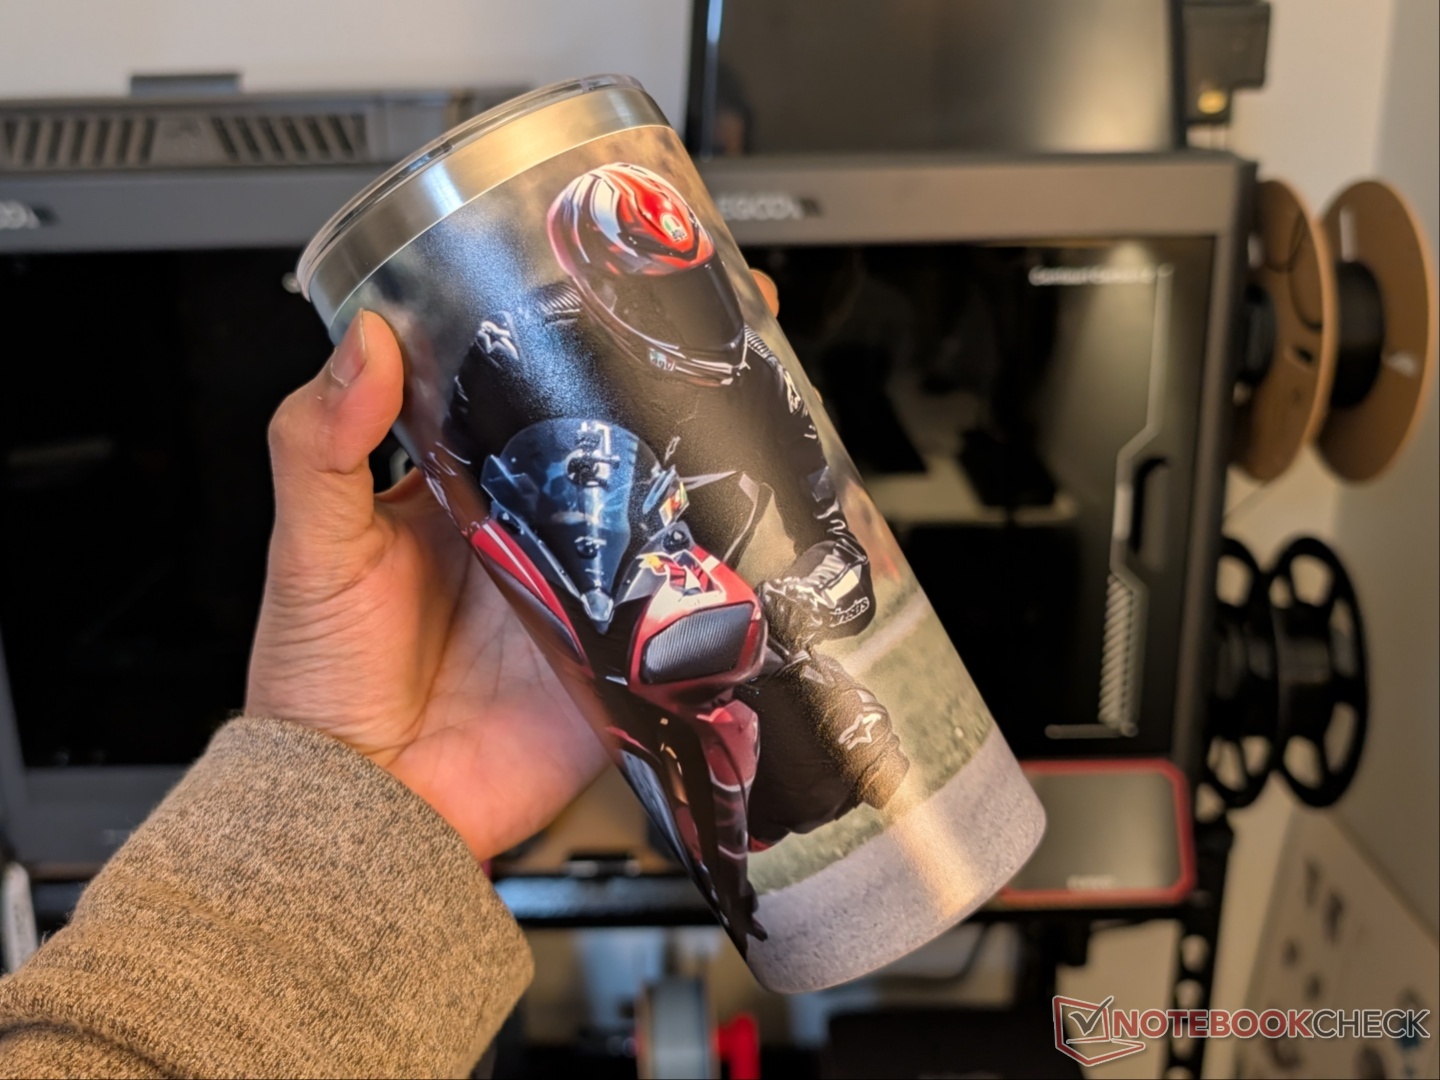
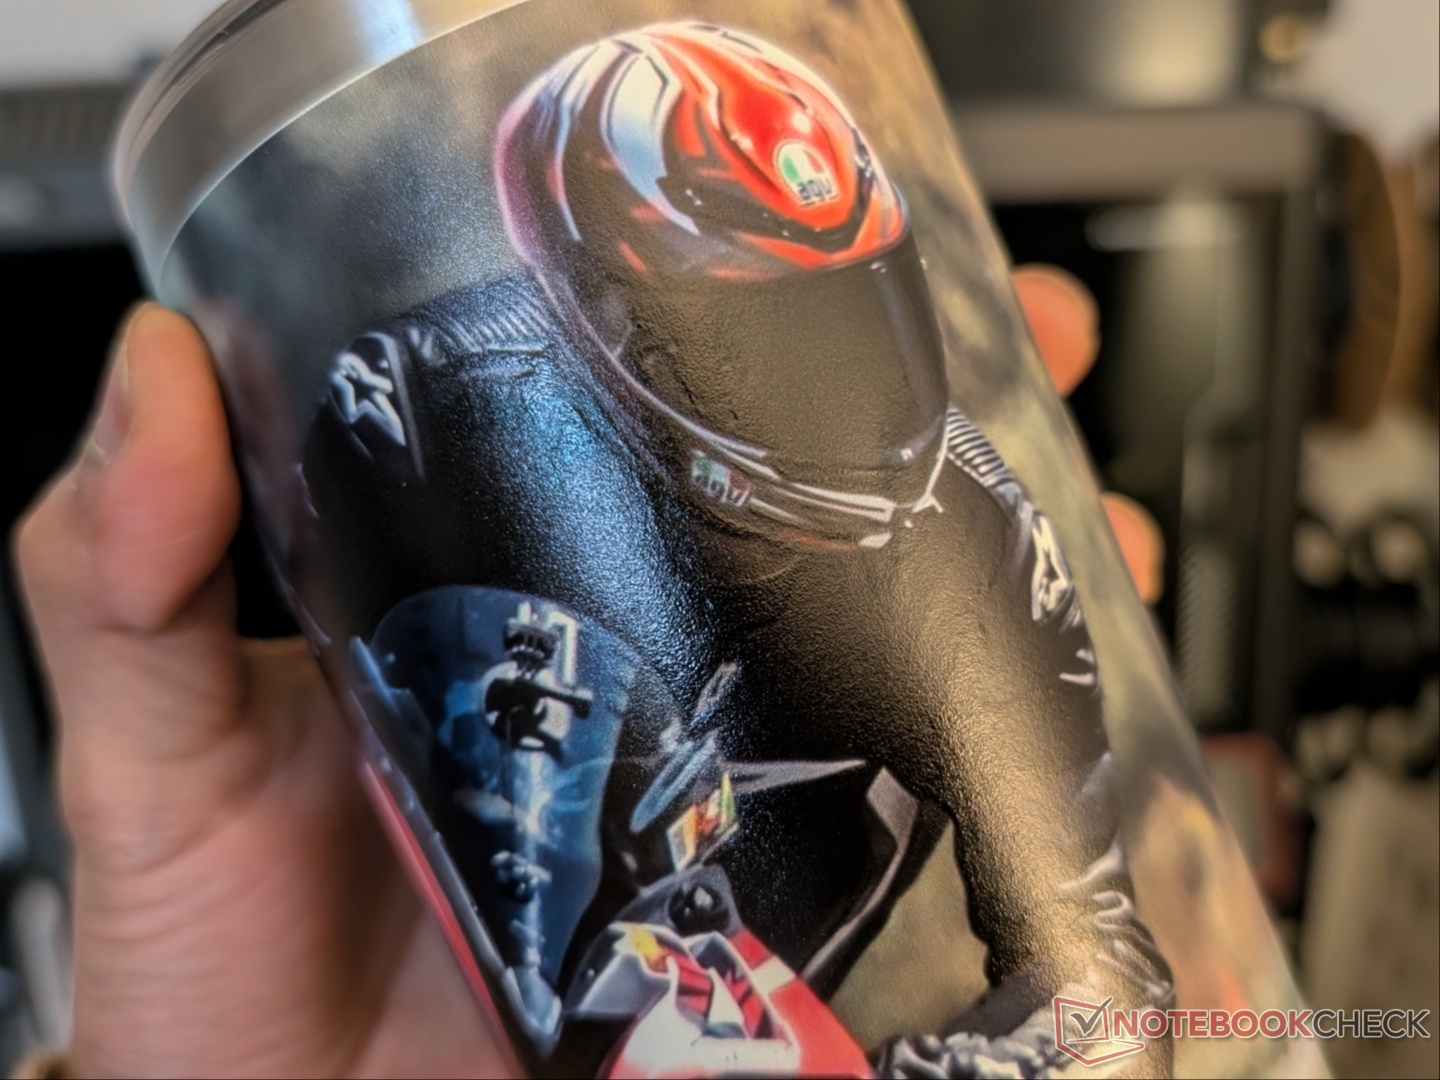
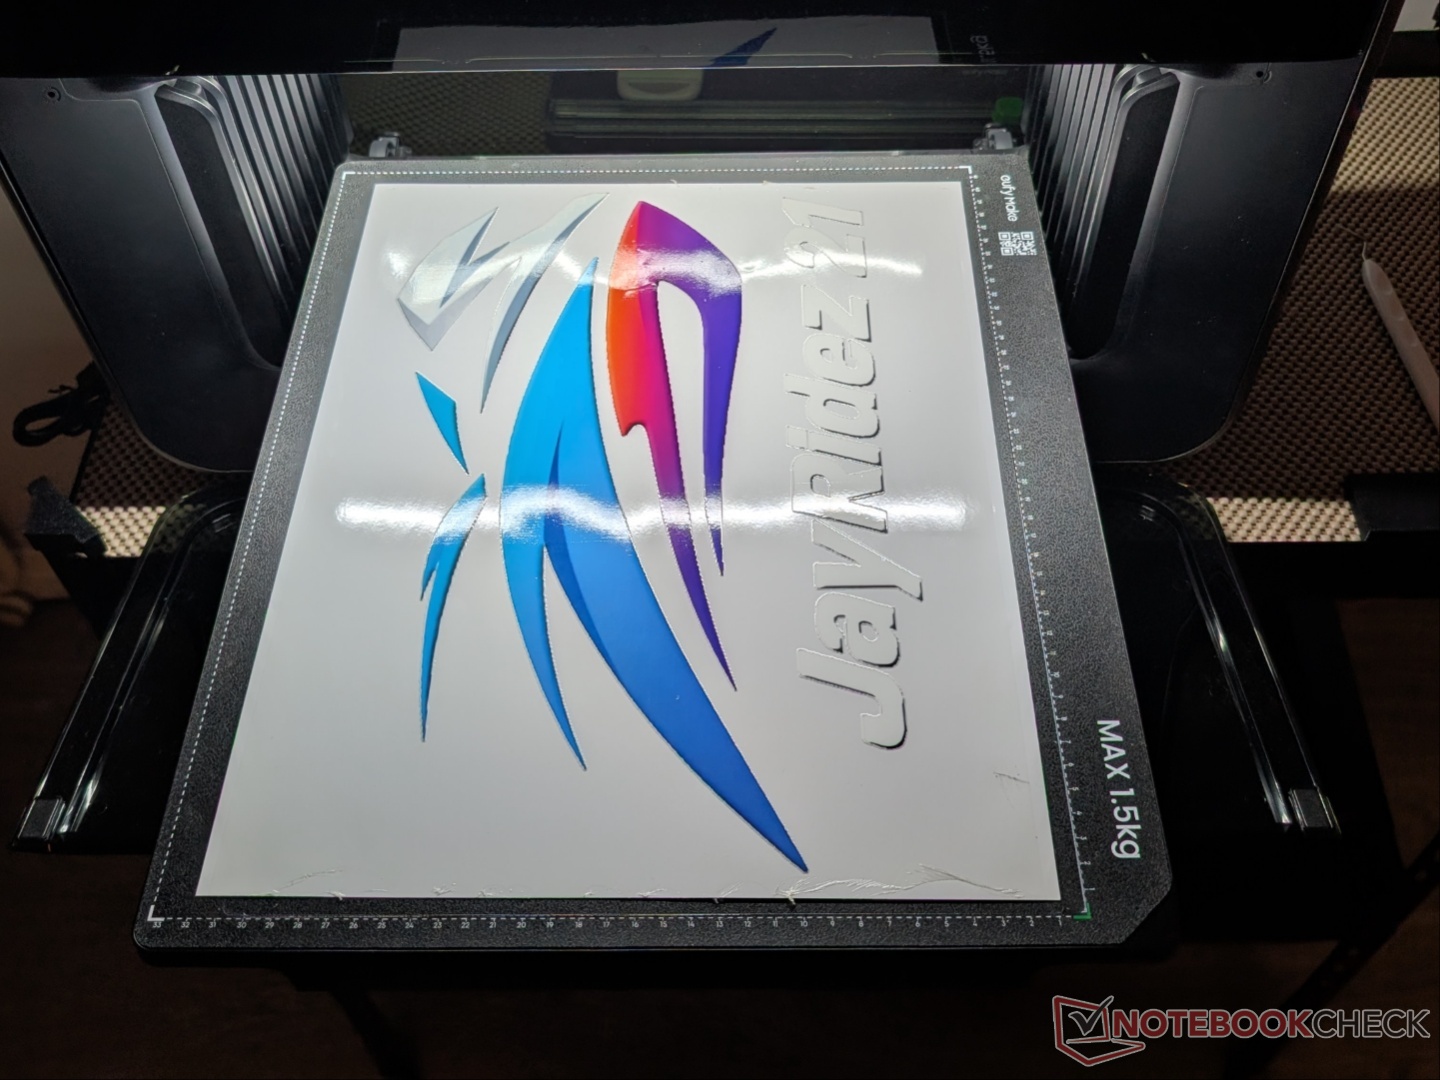
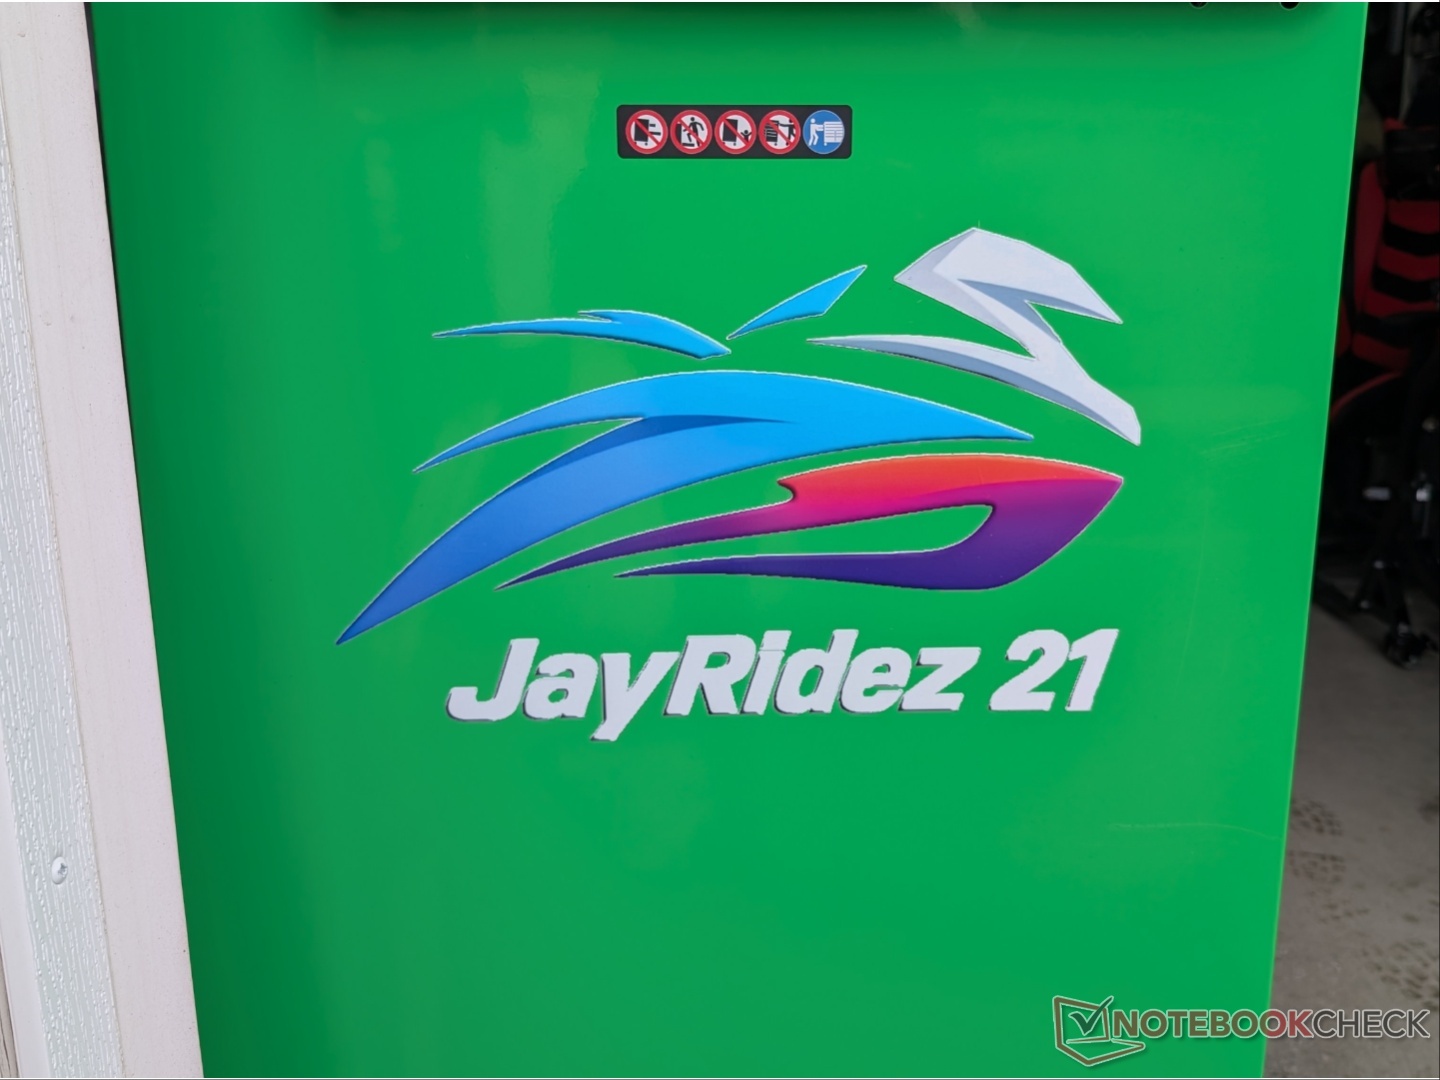
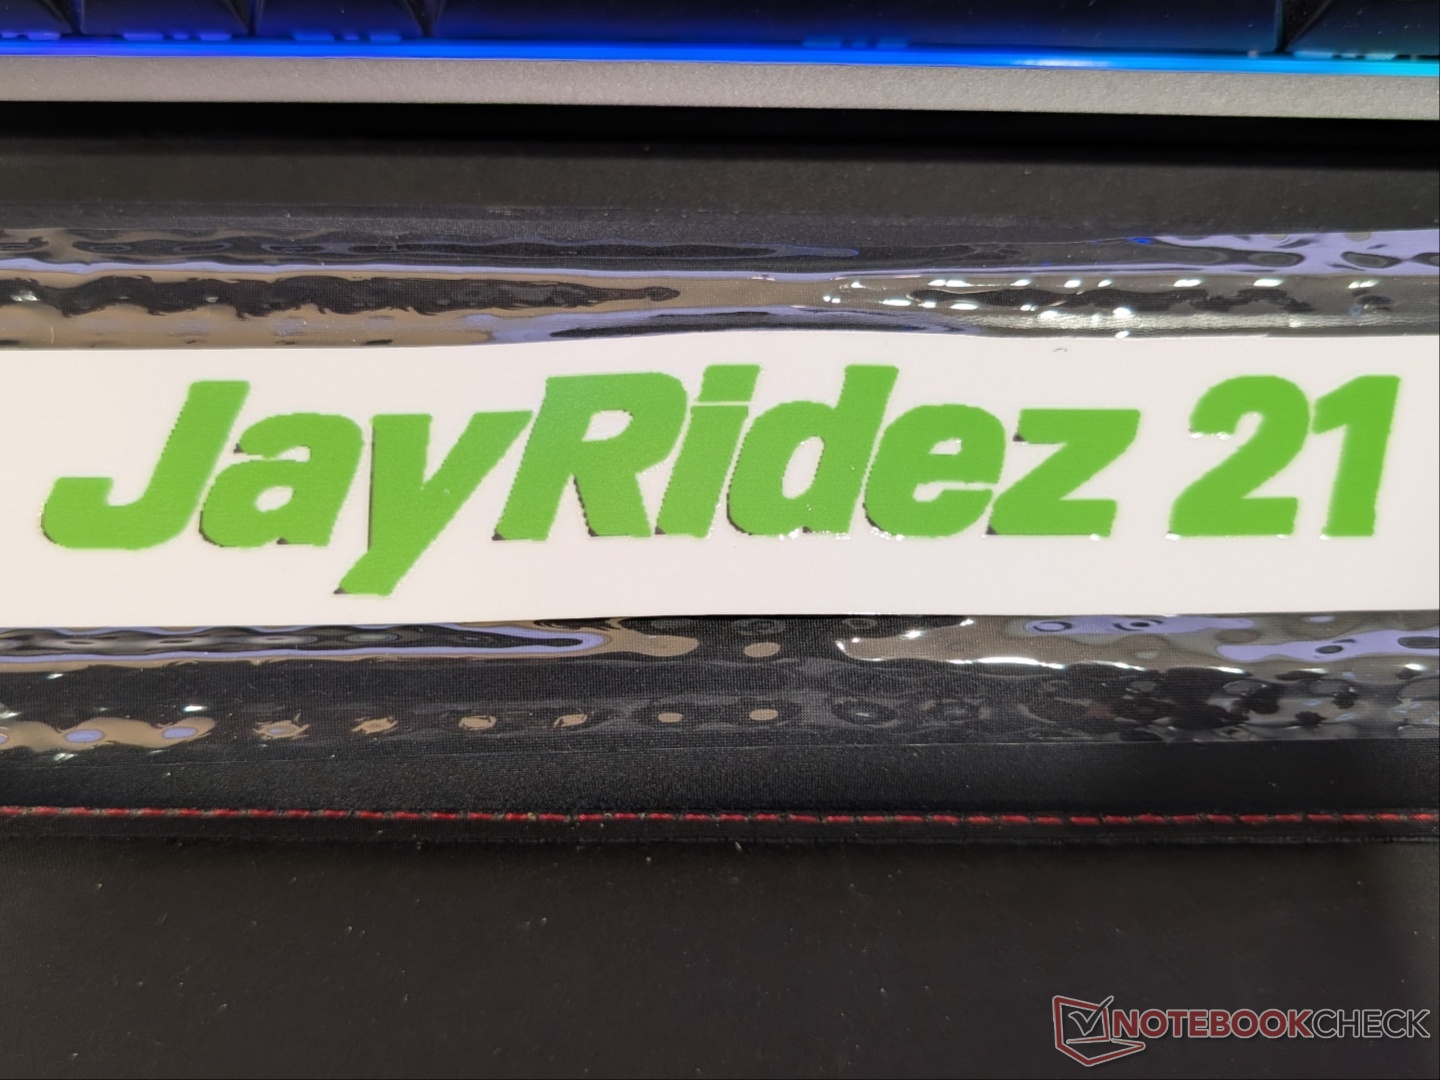
The E1 can also print stickers using the sticker paper and laminating machine. The sticker setting needs to be selected in the software, and then the finished print needs to be laminated for the sticker to adhere to the transferable clear film.
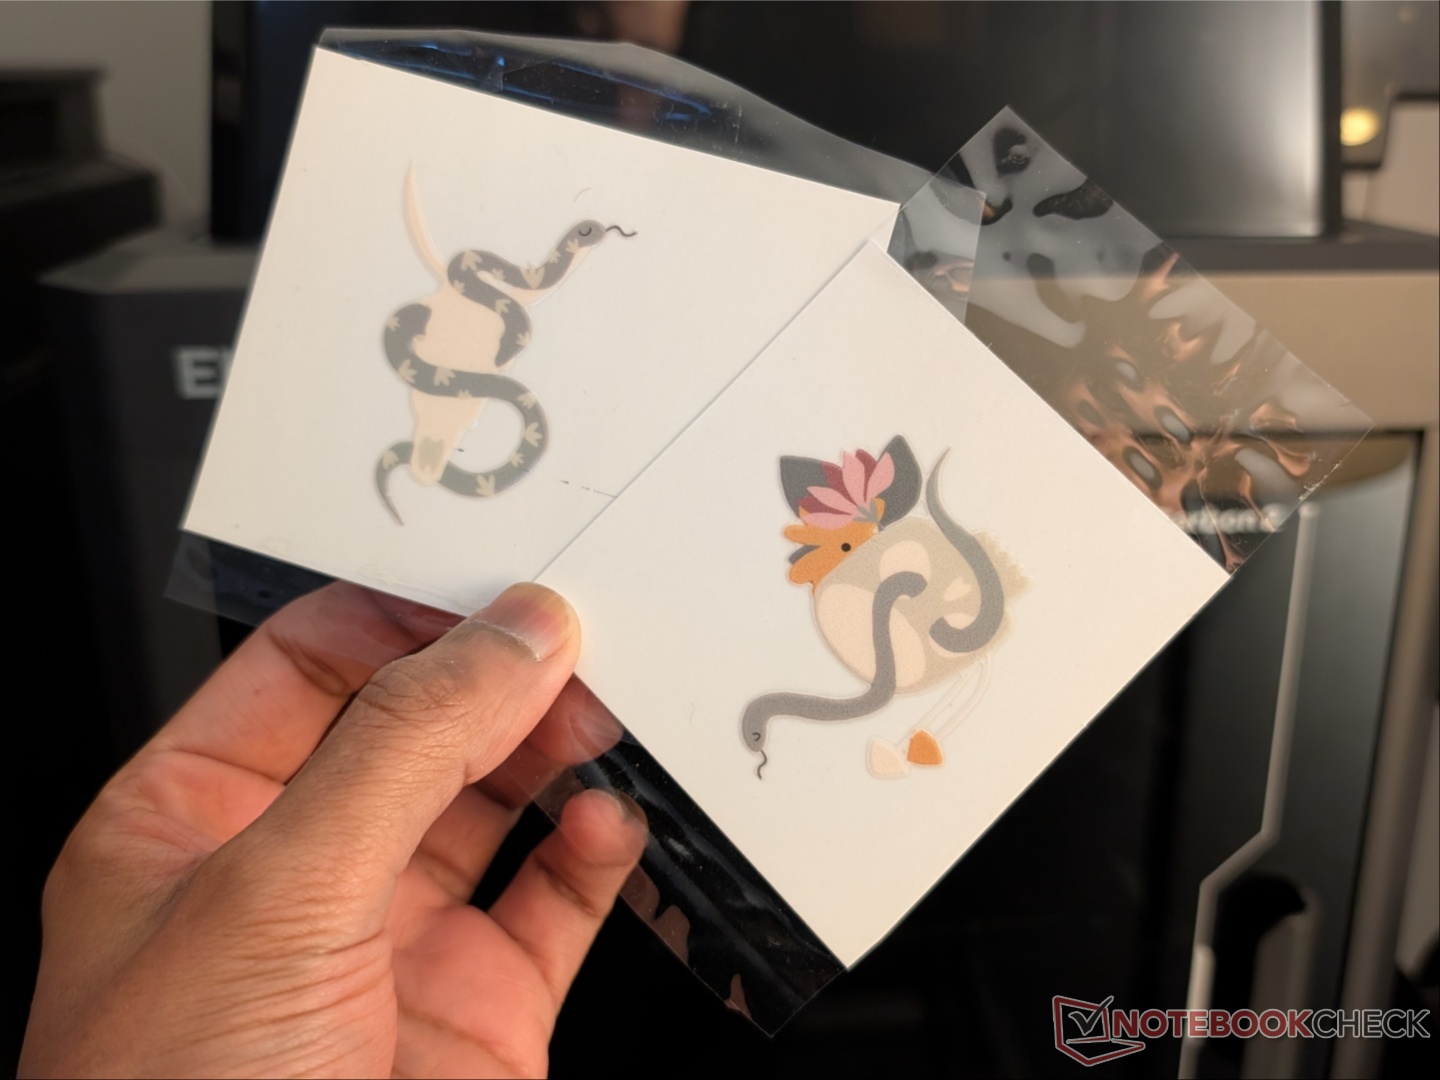
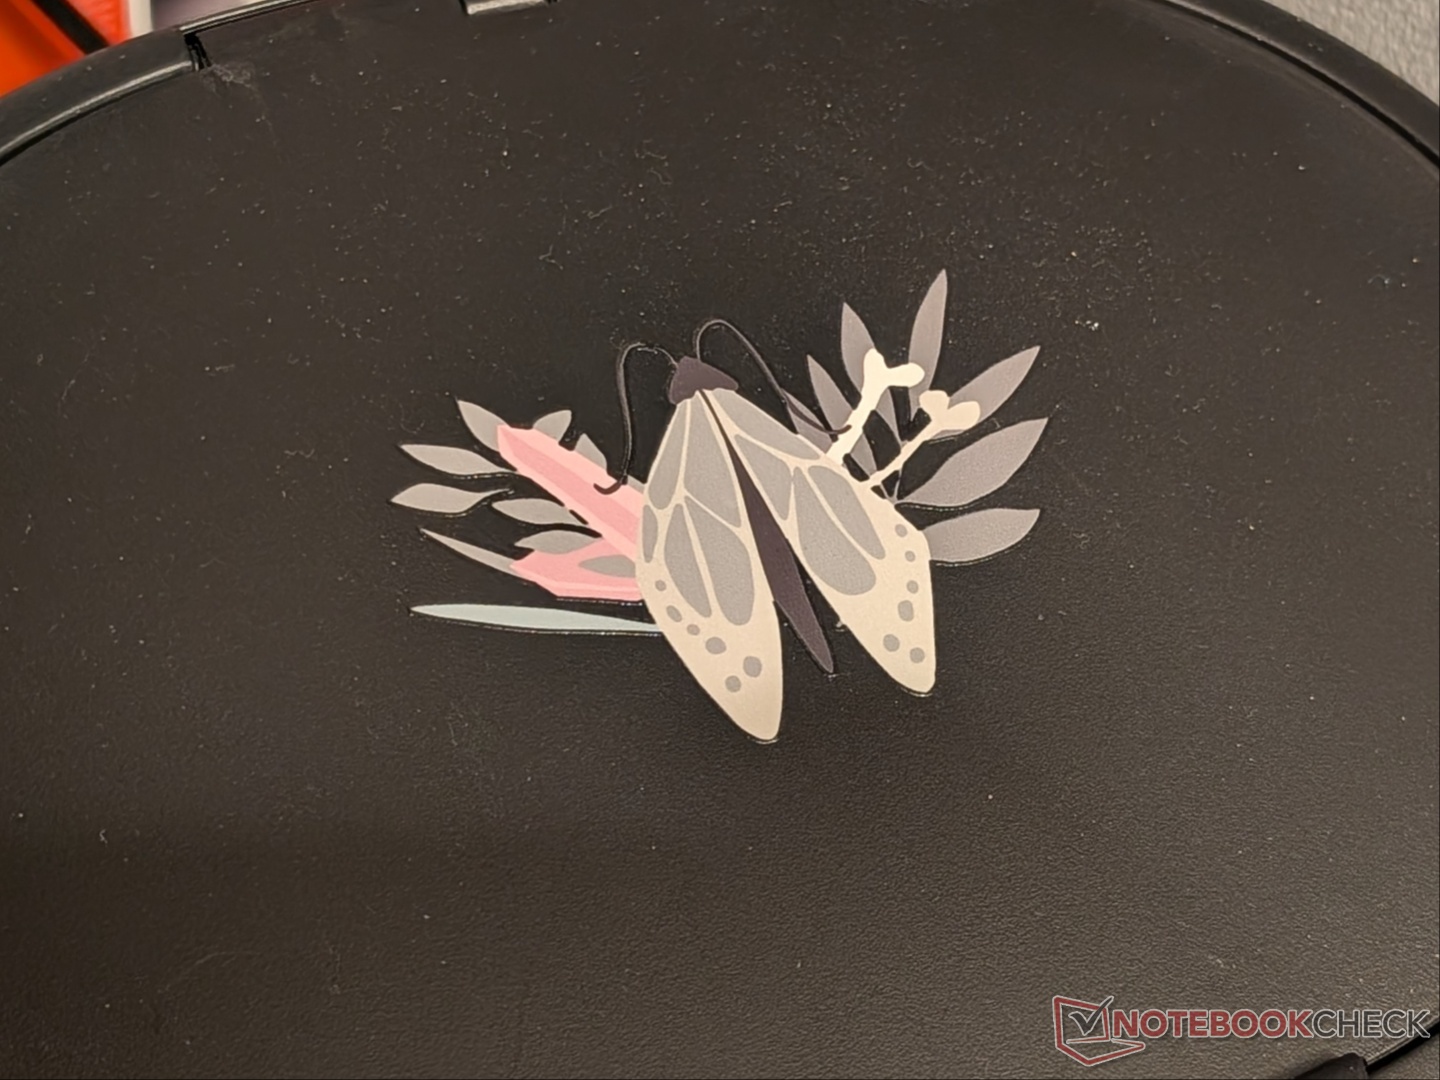
There are a few aspects to note with the eufyMake E1. While the camera does a great job at providing a snapshot of the object placed on the Flatbed, the positioning of the camera introduces some parallax, which makes precise alignment a bit tricky. In such cases, it’s best to have the print flow over the edges of the object for best coverage. Also, there is a routine that the E1 goes through on every boot up and shut down, so there’s a seven-to-10-minute buffer you can start printing and before it fully shuts off.
Due to the nature of the printer, the different UV inks can clog the nozzle, but eufyMake has plenty of maintenance-related troubleshooting videos on YouTube. We did not experience any clogging in the four weeks of testing. There was a mild yet consistent beep sound when idling at one point, but that was resolved by a firmware update.
Transparency
The selection of devices to be reviewed is made by our editorial team. The test sample was given to the author by the manufacturer free of charge for the purposes of review. There was no third-party influence on this review, nor did the manufacturer receive a copy of this review before publication. There was no obligation to publish this review. As an independent media company, Notebookcheck is not subjected to the authority of manufacturers, retailers or publishers.
 Add as a preferred source on Google


