CheckMag | Here is the easiest and most polished way to play retro games on your Raspberry Pi 5
Update: This article has been edited to reflect that Batocera is a front end for Retroarch packaged into a Raspberry Pi ISO
Retroarch is the all in one solution for emulation. Download the cores you need and away you go. But the interface is clunky, convoluted and confusing without some serious modification. Batocera on the other hand takes the Retroarch interface and makes it intuitive, beautiful and packages it up in a Linux ISO that can be installed as simply as writing an image file to an SD card and sticking it in your Raspberry Pi. Most of the setup is done for you and it has all the cores preconfigured. Copying games happens over WiFi and all the scrapers you need for downloading box art and screenshots are pretty much set up for you. Best of all, it looks, sounds and feels great. Here’s how to get started with Batocera on your Raspberry Pi 5.
Getting Started
First of all you’ll need to download a copy of Batocera from here. It is worth having a look through the download page, if nothing else just to marvel at the sheer number of devices that Batocera supports. Once you’ve got the image you can use either the official Raspberry Pi imager, or Balena Etcher to write the image to your SD card. A decent sized, fast card (like this 256 GB Sandisk Extreme Pro from from Amazon* for only $29) will make your experience much snappier.
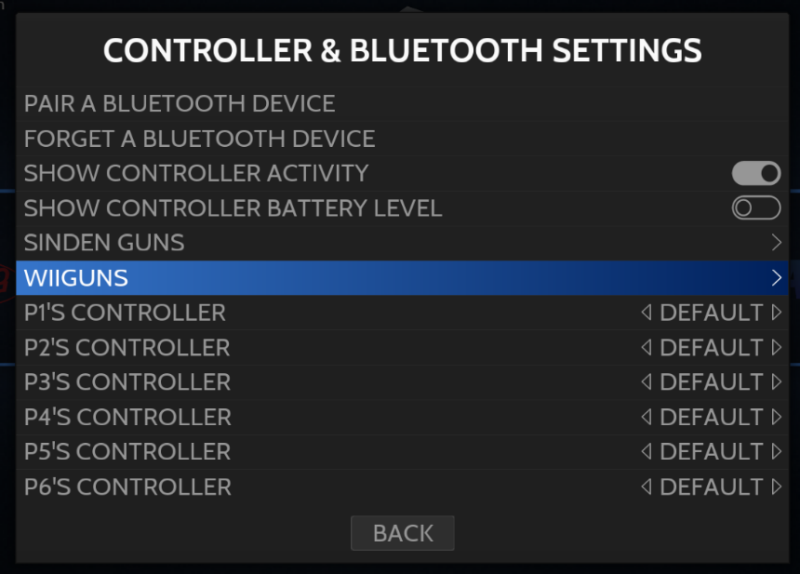
Once written, stuff the card into your Pi and boot it up. Batocera works with an overwhelming number of controllers, but if you don’t have a wired one (at least at the start) it may be worth having a keyboard around. A PS4 controller plugged in via USB was instantly recognised, but can be connected by going to the bluetooth settings and pairing a new device.
Connecting to your WiFi and uploading games
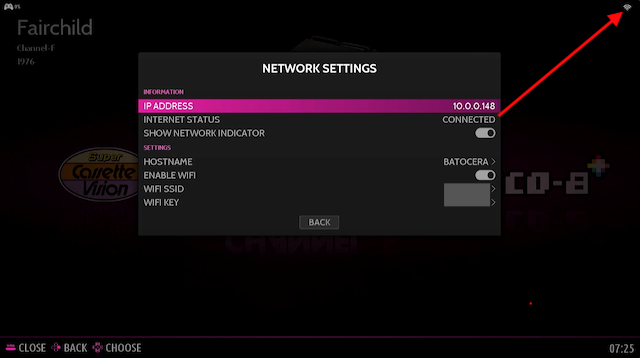
The next thing to do is get Batocera onto your Wifi. This is fairly straightforward, although a restart may be required in order to get it to connect. Once connected, make a note of the IP address of the Pi. This can be seen in the wifi settings of Batocera. We might need this to connect.
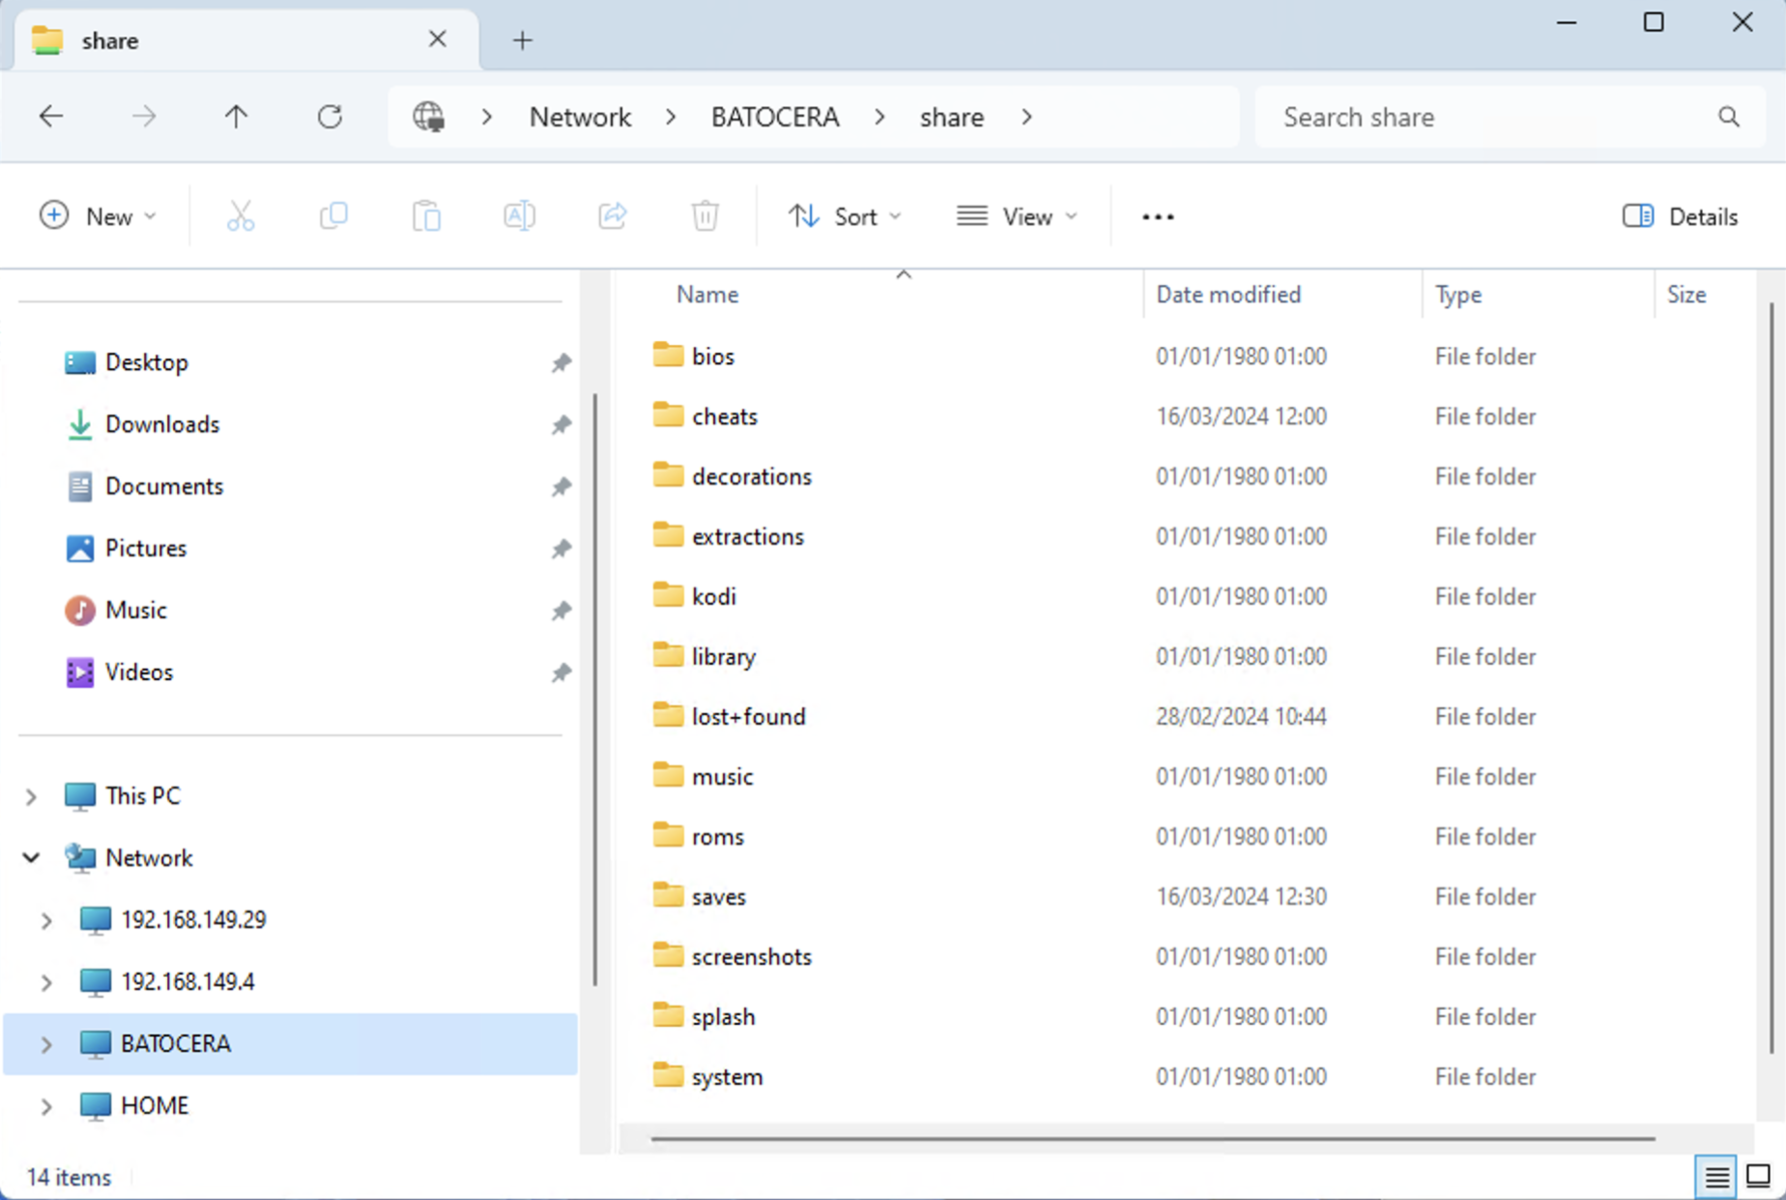
On your computer where your legally dumped roms are located, you can connect to the Pi using a network share. On Windows open the file manager and in the address bar type:
\\Batocera\Share
If that doesn’t work you can also try:
\\Pi-IP-Address\Share
You will then be presented with a number of folders. This should be fairly obvious what goes here, but you can put your emulator Bios files into the Bios folder and all game ROMs go into the ROMs folder with a sub folder for each system. You can even recreate this folder structure on your NAS and have Batocera load games from that. Though regular external storage via USB is also supported.
Final setup
To get the best from Batocera, you need to turn on scrapers. This will download box art, screen shots, gameplay videos and other media from the internet to make your library really pop. There are a range to choose from, some requiring an account to use, but all will do a decent job.
Generally most retro games work with a 4:3 aspect ratio and you would be advised to stick with that. Batocera does a great job of putting system artwork for each system in the black bars that surround the game on a widescreen TV. However you can still stretch the image to 16:9, but that doesn’t do the content any favours whatsoever.
The Raspberry Pi 5 has more than enough power to emulate all systems up to and including the PSP and Dreamcast, with some less demanding games being able to run a 2x resolution. You can even emulate some Gamecube titles, however your mileage may vary beyond that. If you find you don’t have enough power on a stock Pi 5 they are proving to be fairly robust overclockers.
Update 22nd March: A few readers have rightfully pointed out that Batocera is a front end for Retroarch packaged into a Raspberry Pi ISO. The article has been updated to reflect this.
