CheckMag | How to transfer your Apple Music playlists to YouTube Music and vice versa
Switching music streaming services can feel like a chore, especially when you’ve spent years building the perfect playlist.
Maybe you’re moving from Apple Music to YouTube Music for better recommendations, or perhaps you’re going the other way for tighter integration with your iPhone.
Either way, the good news is that you don’t have to leave your favorite tracks behind. While there’s no direct way to sync the two platforms, several methods—both free and paid—can help you transfer your music with minimal hassle.
The process isn’t always perfect. You might run into missing songs, playlist limits, or the occasional headache if a track isn’t available on the other service.
But with the right tools and a little patience, you can get most of your library where you need it.
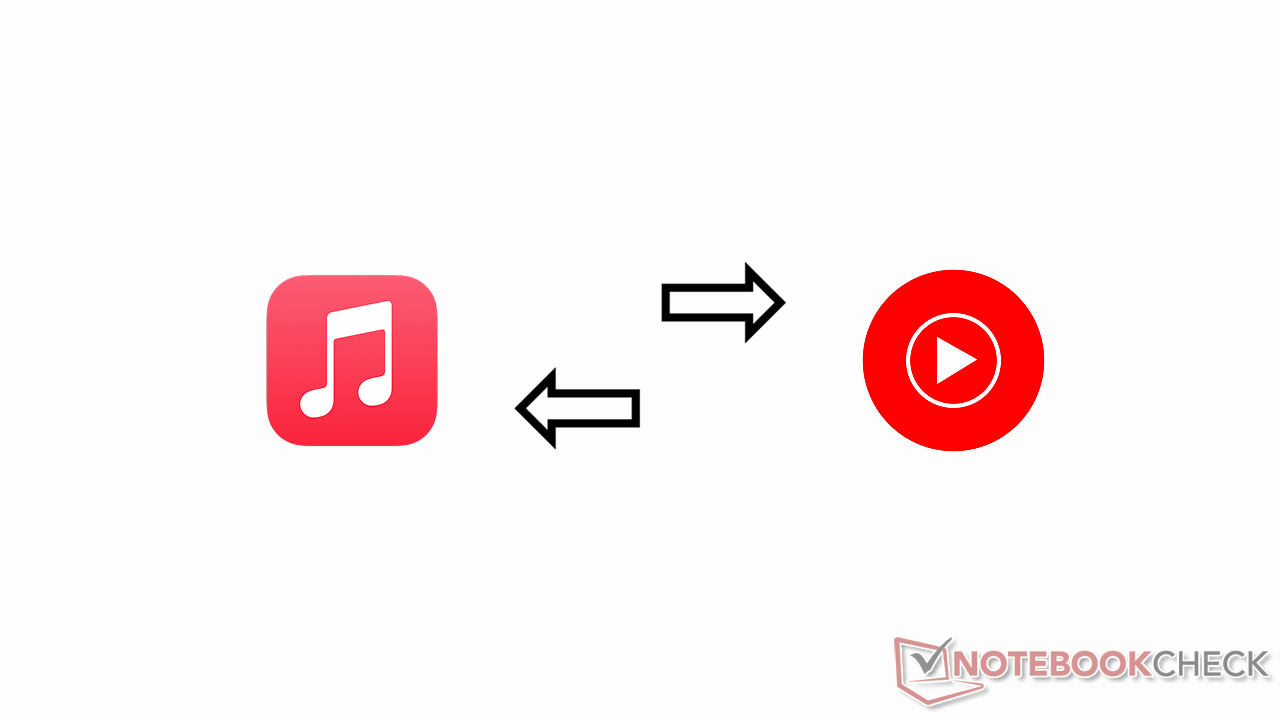
Why transferring music between Apple Music and YouTube music is tricky
Apple Music and YouTube Music operate in separate ecosystems, which means they don’t natively support playlist transfers to rival platforms.
Licensing agreements, regional availability, and catalog differences can also cause issues; some songs on Apple Music might not exist on YouTube Music, and vice versa.
Additionally, curated playlists, shared collaborations, and non-music content like podcasts usually won’t transfer.
The key is finding a method that balances convenience with completeness. Free tools work for small playlists, while paid services are better for large libraries. Let’s explore your options.
Method 1: Using Apple and Google’s built-in transfer tools
Both Apple and Google offer free, official ways to move playlists, though with some restrictions.
Transferring from Apple Music to YouTube Music
- Go to Apple’s Data & Privacy site and sign in.
- Select "Transfer a copy of your data."
- Choose YouTube Music as the destination.
- Follow the prompts to authorize the transfer.
This method only works for playlists you’ve created yourself—no shared or Apple-curated playlists will transfer. Additionally, only songs available in YouTube Music’s catalog will make the jump. The process can take anywhere from a few minutes to several hours, depending on the size of your library.
Transferring from YouTube music to Apple Music
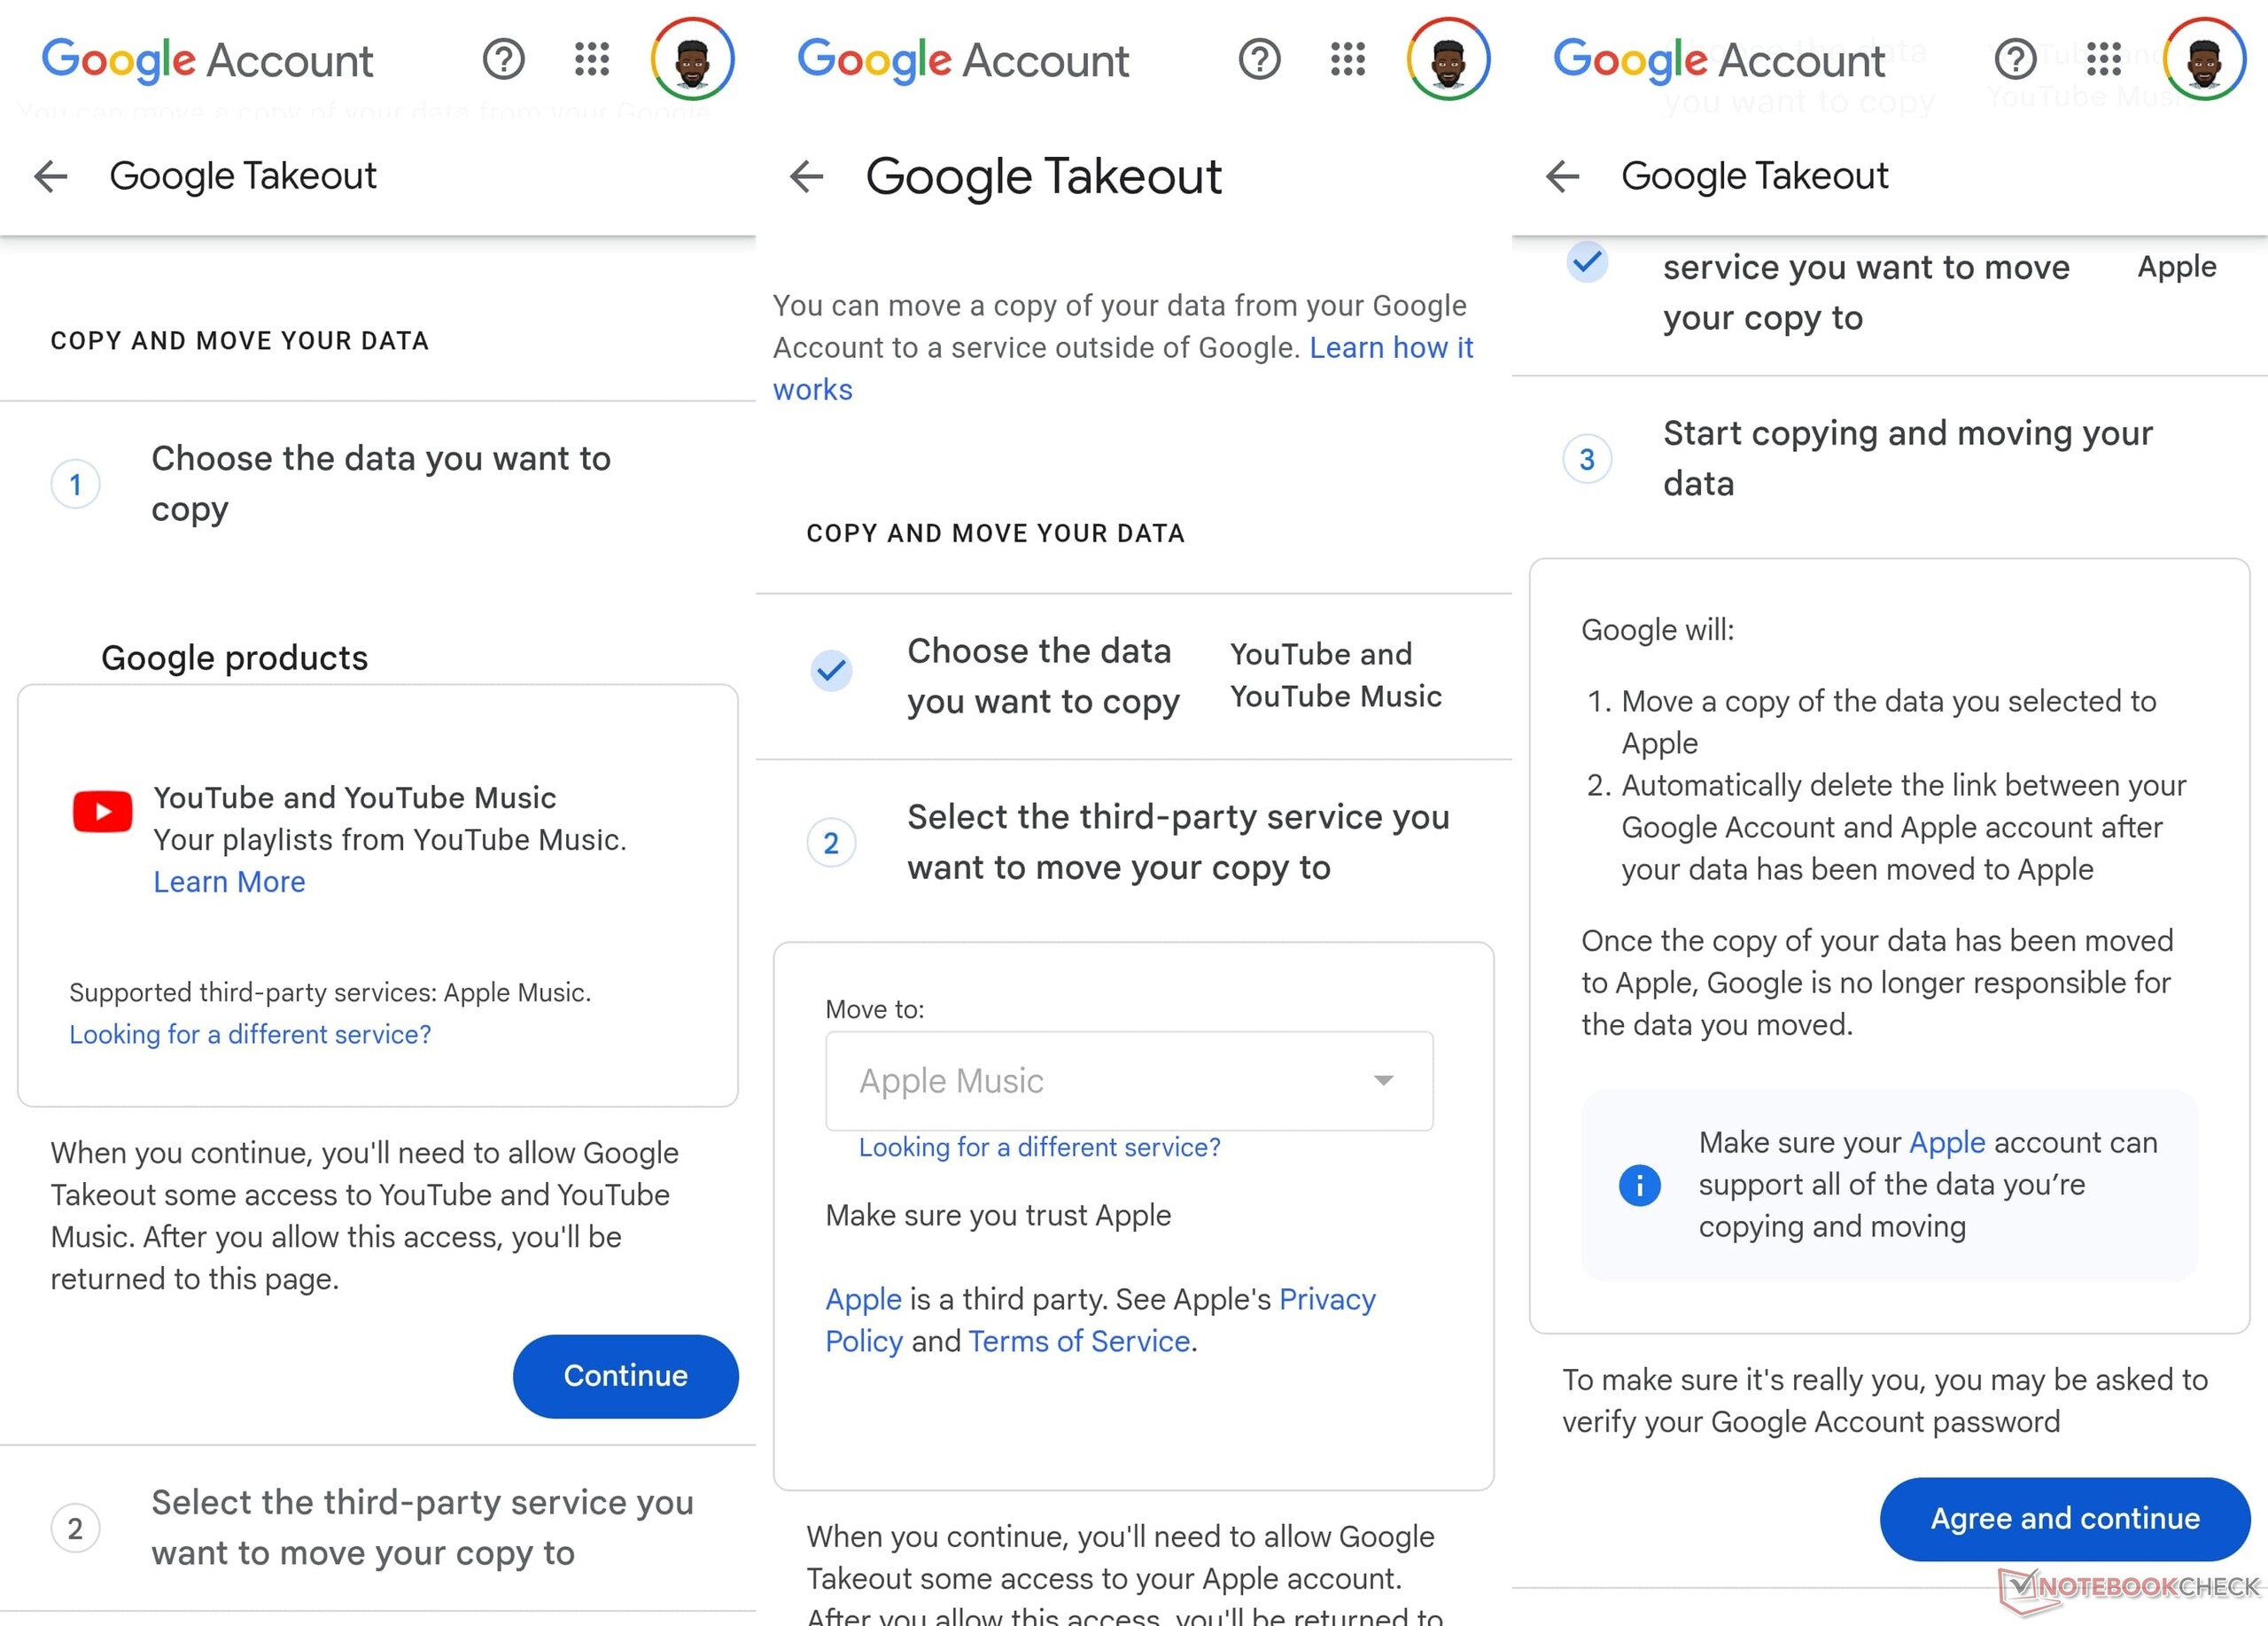
- Visit Google Takeout.
- Select YouTube Music from your data options.
- When prompted, choose Apple Music as the transfer destination.
- Sign in to your Apple account to complete authorization.
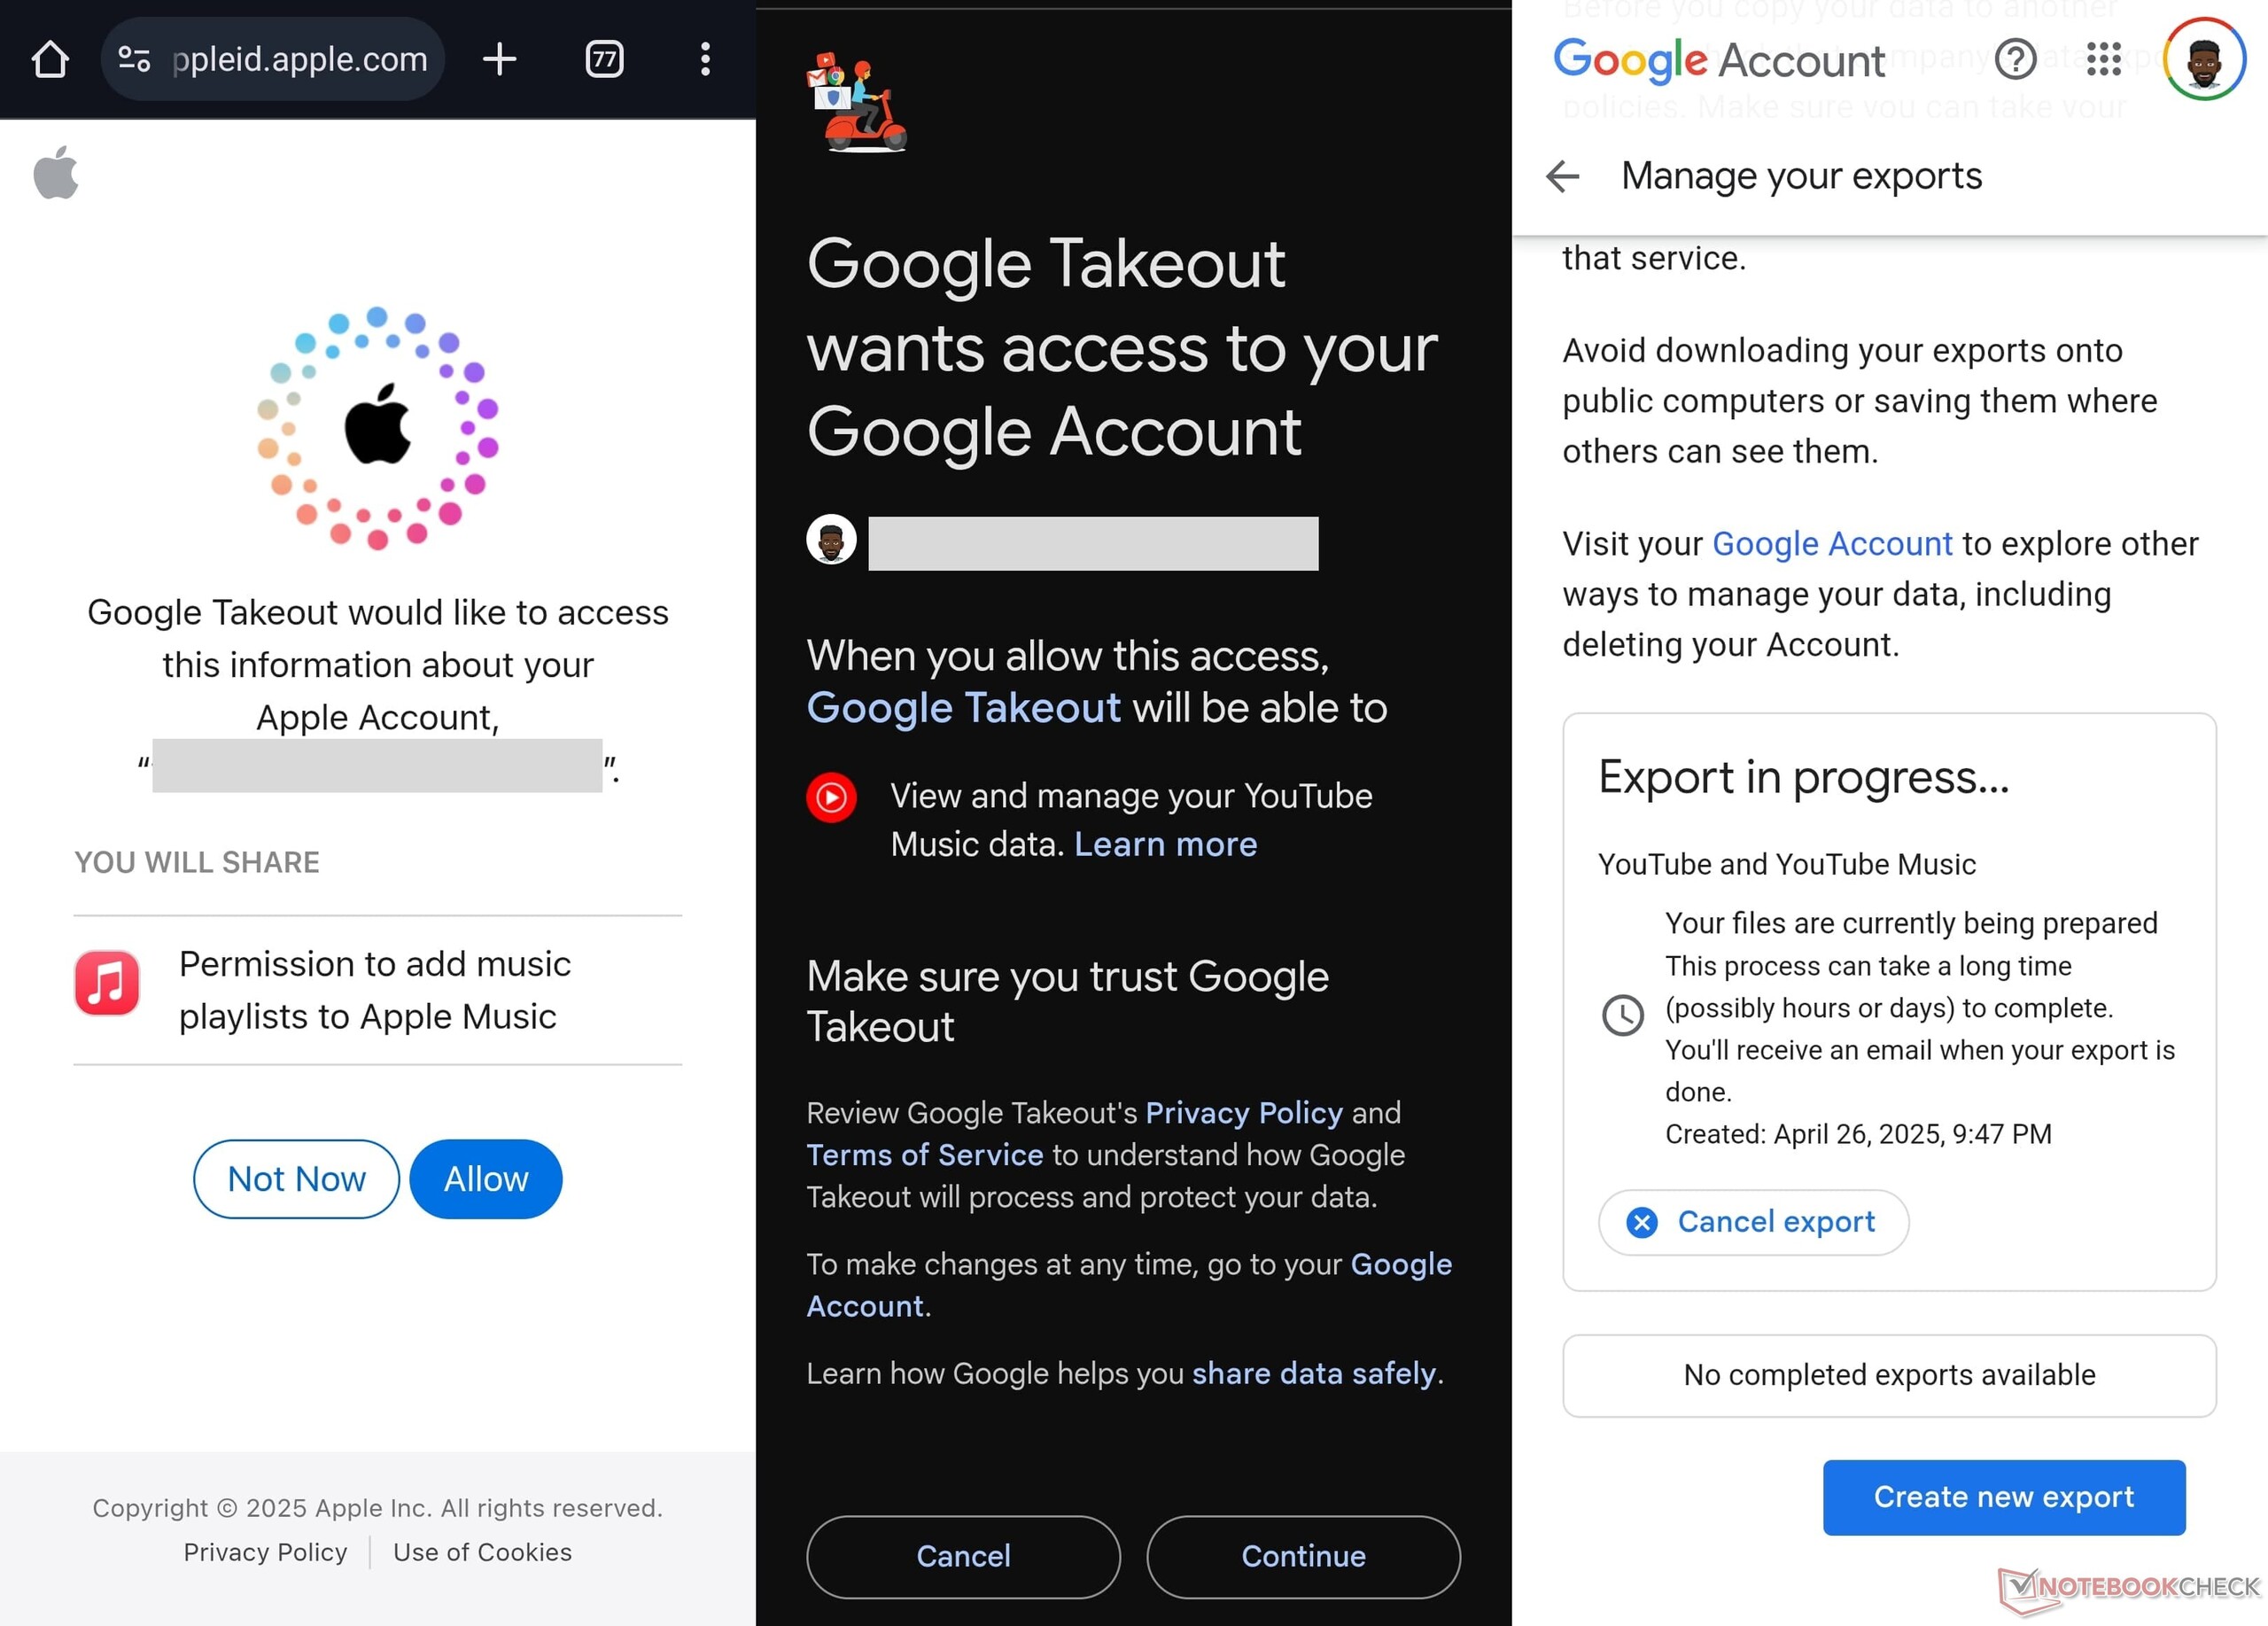
Like Apple’s tool, this only transfers your personal playlists and skips tracks not available in Apple Music’s catalog. Neither method syncs changes automatically, so if you update a playlist later, you’ll need to either repeat the process or add/delete the songs manually.
Method 2: Free third-party transfer services
If the official route doesn’t cover everything, you can give a free third-party service a go. These work by connecting to both streaming accounts and copying data.
For example, TuneMyMusic lets you link Apple Music and YouTube Music and transfer playlists online.
They have a free tier (or trial) that allows moving up to 500 songs per transfer. After 500 songs, you must upgrade to a paid plan.
Similarly, Soundiiz is a popular playlist migrator: you sign in with both Apple Music and YouTube Music, and it will scan your playlists.
In its free version, Soundiiz only handles one playlist at a time, and it won’t copy playlists longer than 200 songs. (If you exceed 200 songs, you have to split it or pay to lift that cap.)
These tools make it easy to “transfer Apple Music to YouTube Music” in a pinch. The process is usually: authorize both accounts, select which playlists or favorite tracks to move, and let the service match and copy them.
Keep in mind that any free service can struggle with unmatched songs (if Apple has a track that YouTube doesn’t, for example). They also often impose daily or per-transfer limits. For casual use (a few playlists), the free options can do the job.
Method 3: Paid transfer services for large libraries
If you want a seamless, unlimited transfer, paid solutions remove most restrictions. For example, Soundiiz Premium (a paid plan) lets you batch-transfer unlimited playlists at once.
In fact, Soundiiz’s blog boasts that the power of the premium plan can move “all your playlists at once, even if they contain 350,000 songs each”—a cheeky way to say there’s effectively no limit.
With a premium account, you can migrate your entire Apple Music library (playlists and favorites) to YouTube Music in one go, with none of the per-list limits of the free version.
Likewise, TuneMyMusic’s paid plan lets you transfer any number of songs and playlists beyond the 500-song free cap.
There’s also SongShift (an iPhone app), which has a paid tier to sync playlists continuously, and MusConv (an app for Windows/Mac) that supports many services.
These paid options will usually cost a few dollars a month or a one-time fee, but they make large transfers smooth. The downside is obvious: you pay money. However, you do get around free-method issues—no song caps, no multi-step hassles.
Final tips for a smooth transfer
Before you start, check both platforms for missing tracks after transferring. Some songs might not carry over due to licensing gaps.
If you’re using a free tool, test it with a single playlist first to see how well it works. And if your music library is large or complex, investing in a paid service might save you hours of frustration.
Which method is right for you?
For small playlists, free tools like TuneMyMusic or Soundiiz will do the job. If you’re moving an entire library, a paid service like Soundiiz Premium is worth the cost. And if you only need to transfer purchased music, the manual upload method works—just be prepared for a slow process.
No solution is flawless, but with the right approach, you can keep your music intact while switching platforms.
Source(s)
