Elegoo Centauri Carbon 2 3D printer review: Lot of features for not a lot of money
Promising hardware but software needs tuning.
The Elegoo Centauri Carbon 2 Combo brings multi-color 3D printing for those looking to get into the hobby, but not invest a lot of money. It is a solid starting point and offers some features that are typically present in much more expensive 3D printers, though some software optimizations would help enhance the experience.Vineet Washington Published 🇫🇷 🇪🇸 ...
Verdict - Solid entryway into the world of multi-color printing
For the price, the Centauri Carbon 2 Combo (CC2) is a solid offering. Of course, you don’t get a multi-hotend system or multi-extruder swapping, or even a separate filament box with drying capabilities, but what you do get is an integrated multi-color 3D printing solution that works.
Multi-color prints come out quite good and the Canvas system is easy to use. PLA, PLA-CF, and PETG printing is no problem with the stock profiles, but TPU, ASA, and other challenging filaments require more tuning. The software experience needs some improvement as connectivity with the Elegoo Slicer or the Matrix app is not consistent. If you want to print mostly PLA (including PLA family) or PETG, the CC2 is a great option right out of the box. Overall, the hardware is on point but the software needs more tuning, and Elegoo says they're working on it, but how long they'll take to fix these connectivity issues, only time will tell.
Notably, Elegoo wanted to bring multi-color printing with original Centauri Carbon but that never came to fruition. They’re still working on but it is unclear what kind of implementation that will be. Since the CC and the CC2 have the same structure and dimensions, it should be possible to adapt the Canvas system to the CC.
Pros
Cons
Price and availability
The Elegoo Centauri Carbon 2 Combo costs $449 (Elegoo website), and includes the 3D printer and the Canvas multi-color system. Amazon, at the time of publishing, has it listed for $500. This gets you a fully enclosed CoreXY printer with two types of build plate surfaces (one dual-sided plate), AI print monitoring with notifications, and a load of sensors for a seamless printing experience (at least on paper). It is the cheapest option on the market currently. There are cheaper bed-slingers with the same functionality but all other enclosed CoreXY printers are a bit more expensive.
Specifications
| Printer type | FDM CoreXY |
| Build volume | 256 x 256 x 256 mm |
| Print speed | up to 500 mm/s |
| Acceleration | 20,000 mm/s² max |
| Multi-color support | Yes, Canvas system – up to 4 colors |
| Nozzle type | Brass-hardened steel |
| Max nozzle temp | 350 degree C |
| Max bed temp | 110 degree C |
| Nozzle size | 0.4 mm |
| Auto leveling | Yes, 121 points |
| Camera | Yes, with AI detection |
| Filament run out sensor | Yes |
| Power loss recovery | Yes |
| Touchscreen | 5 inches |
| Slicer | Elegoo Slicer |
Unboxing and accessories
Elegoo packs their 3D printers very well, at least that was the case with the original Centauri Carbon (CC) and now the Centauri Carbon 2 Combo. Everything is placed inside the printer so the overall package is a manageable size. It is quite heavy at about 20 kgs so taking it out of the box will be much easier with help. The plastic bag around the printer can be used to lift it out of the box, once the foam on the sides is removed.
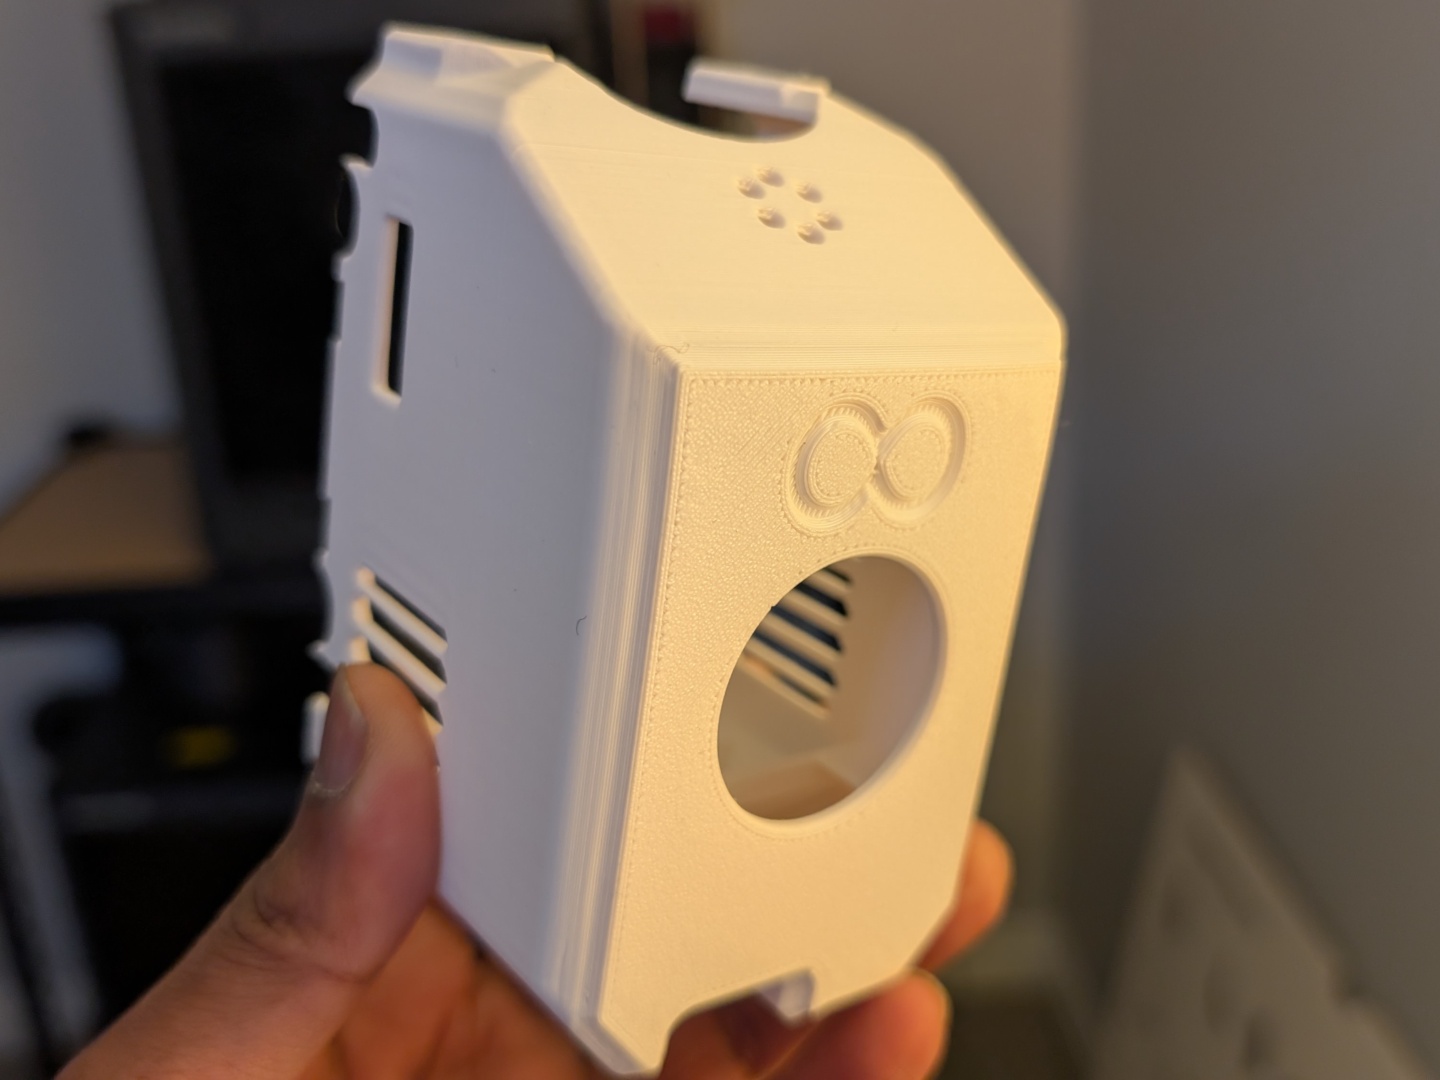
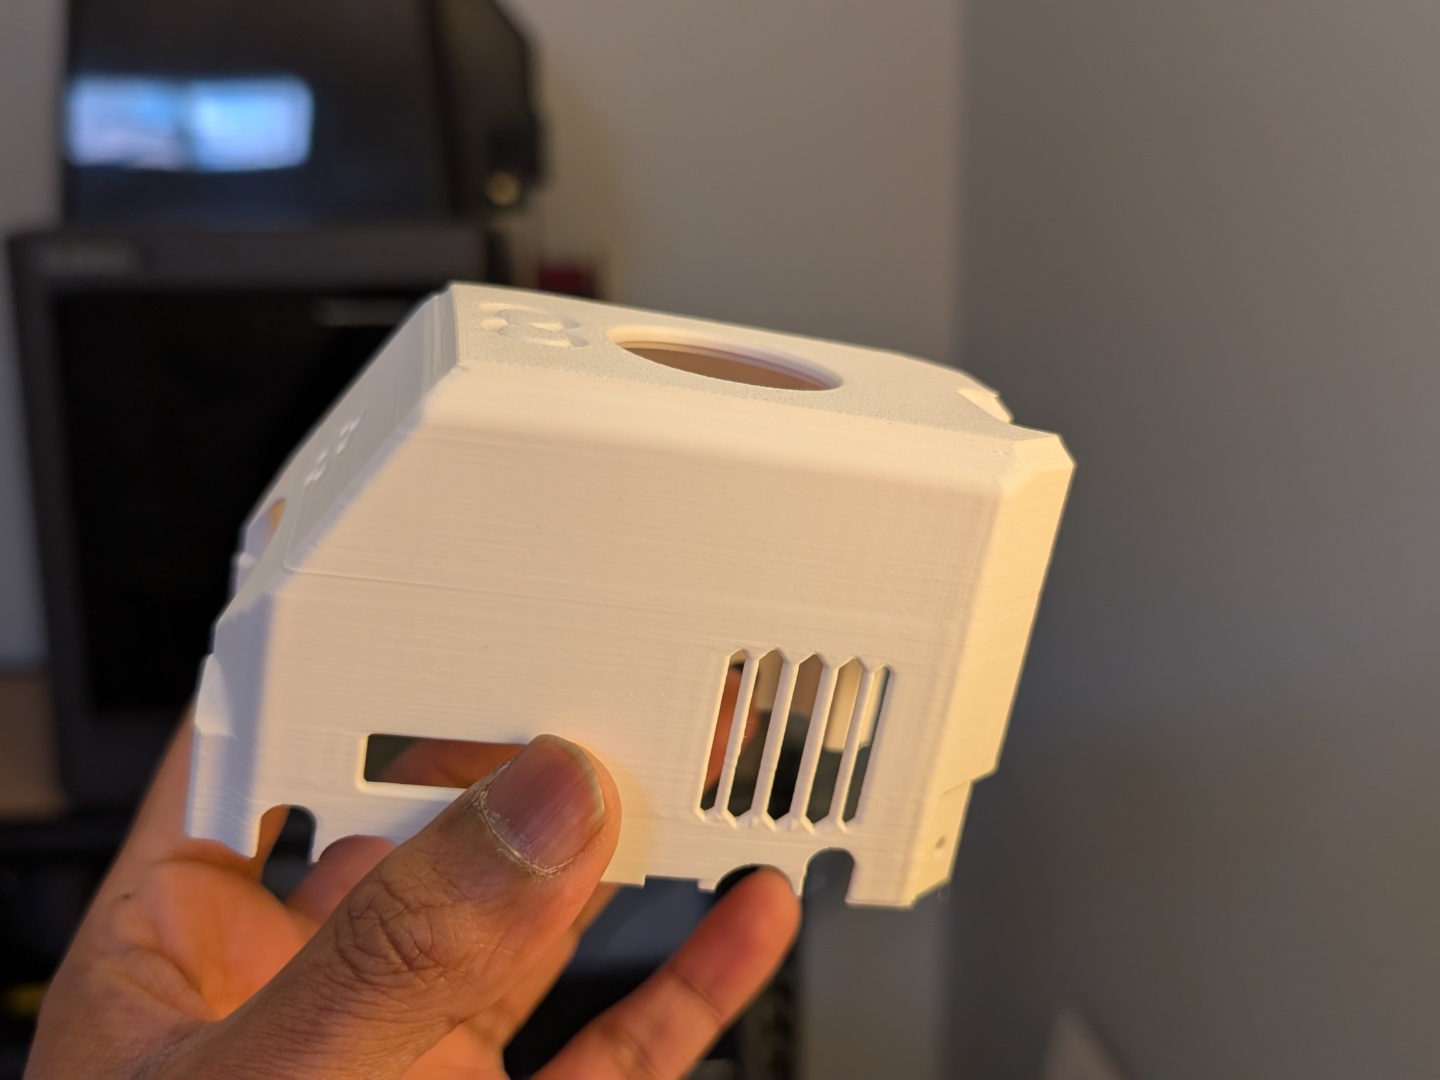
Build quality and setup
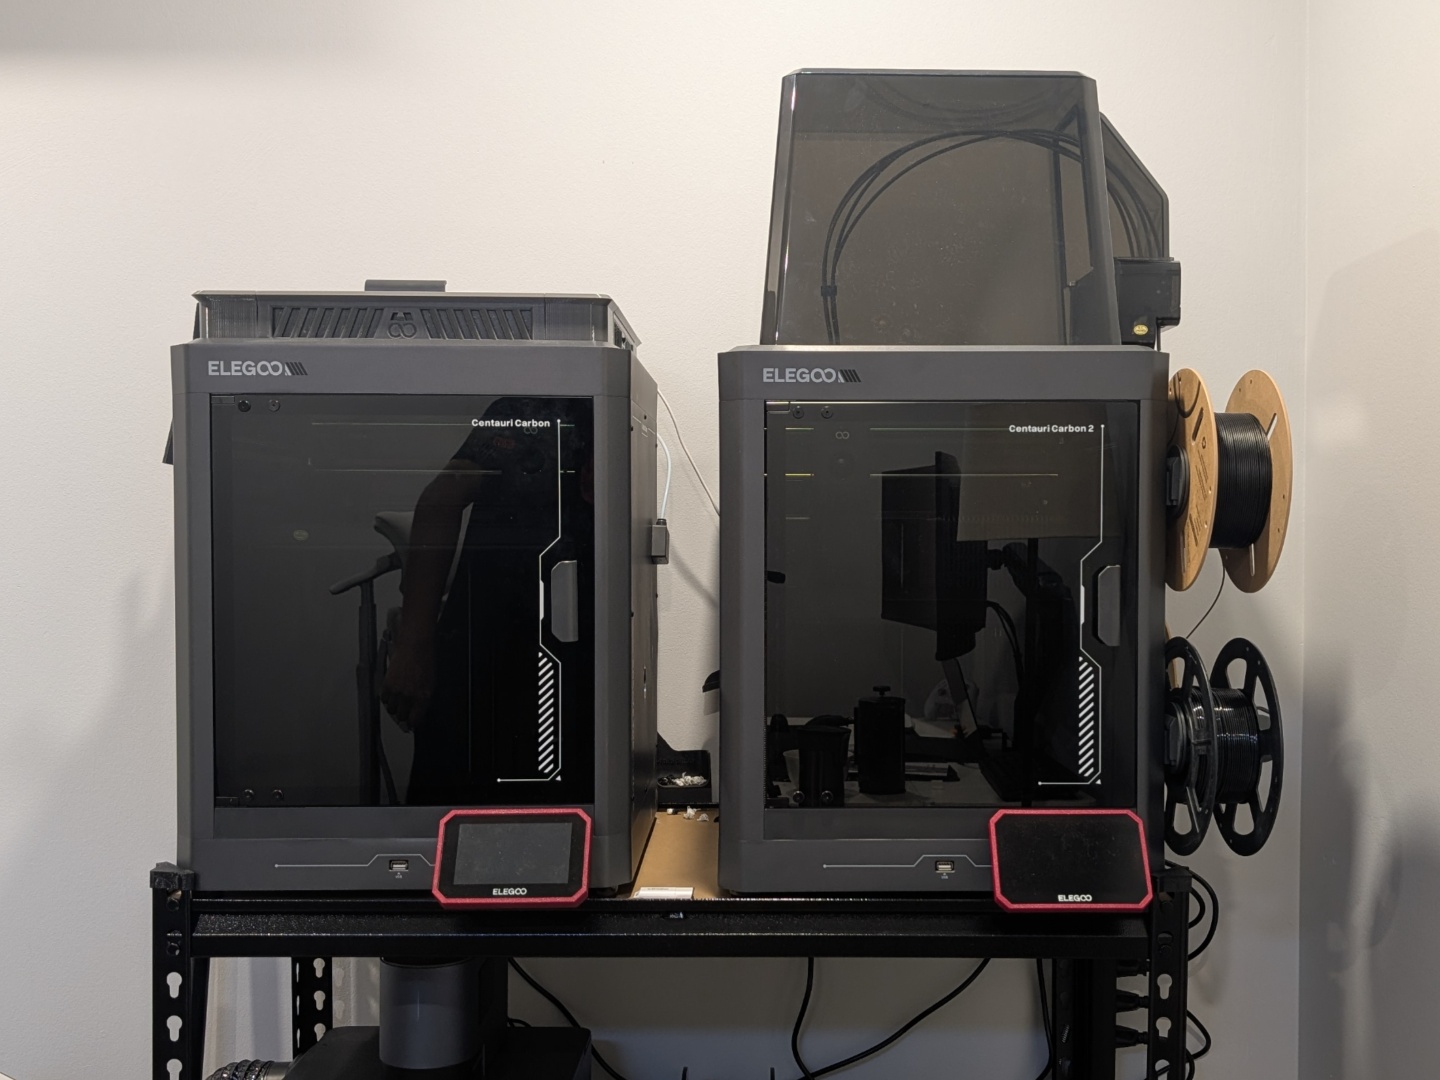
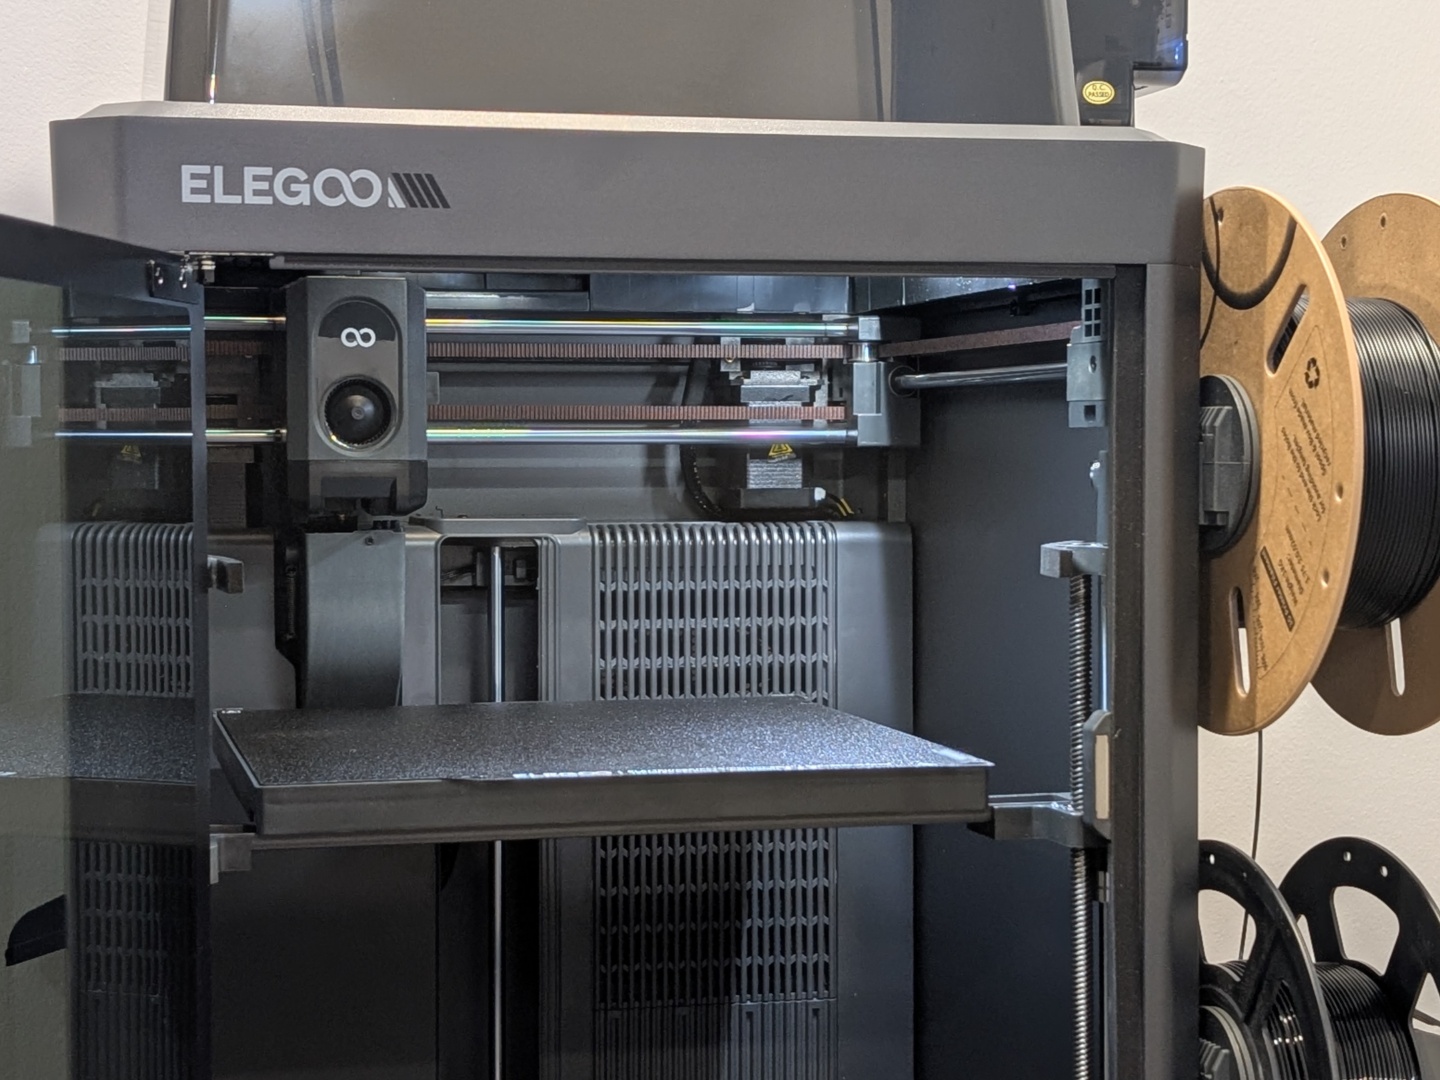
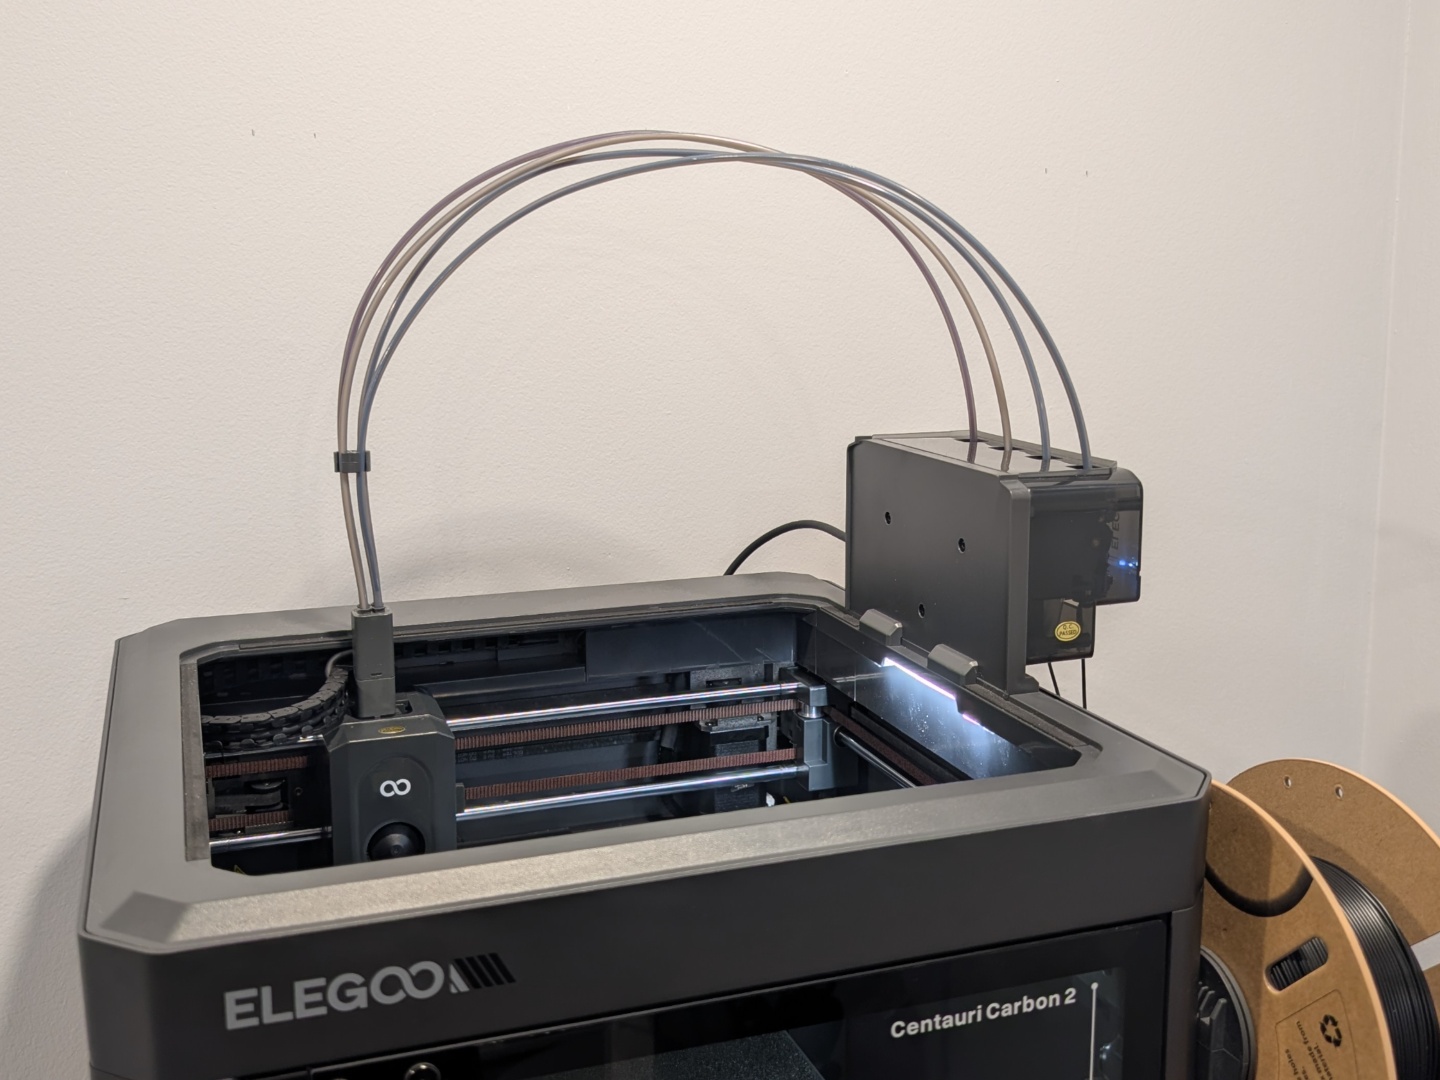
While the overall design and build quality is the same as the original Centauri Carbon – which is quite good – there are some key improvements. For starters, the glass front door feels more solid and the screen is larger. The feet have been changed to a more vibration compensating style. Both the light and the camera have been improved significantly, which is much appreciated. The Centauri Cabon 2 Combo comes with a repositioned auxiliary fan compared to the original CC. And, the nozzle viper and waste bin have been moved to the back left from the back right, so home for the hotend is at the back left now.
As for the setup, it is not as plug and play as the original mainly because of the Canvas system. There are quite a few extra steps to get the multicolor system installed before you can power on the printer. Fortunately, the steps are clearly mentioned in the documentation. Once set up, the one click calibration takes care of optimizing the nozzle, bed level, and vibration compensation. The whole calibration process takes about 26 to 27 minutes.
Printing performance
With the CC2, Elegoo has brought multi-color printing to the budget segment. Keeping that in mind, the Elegoo Centauri Carbon 2 Combo performs great. PLA and PETG prints are clean, consistent, and relatively quick right out of the box, without much tuning. The default z offset is a bit too low resulting in wavy first layers, but lowering the bed by 0.025 mm fixes that. Additionally, Elegoo claims 45 dB noise levels during prints and we measured average noise levels of around 44 dB to 47 dB with peaks of up to 54 dB. Notably, there's is a mild yet constant beep sound while the printer is idle.
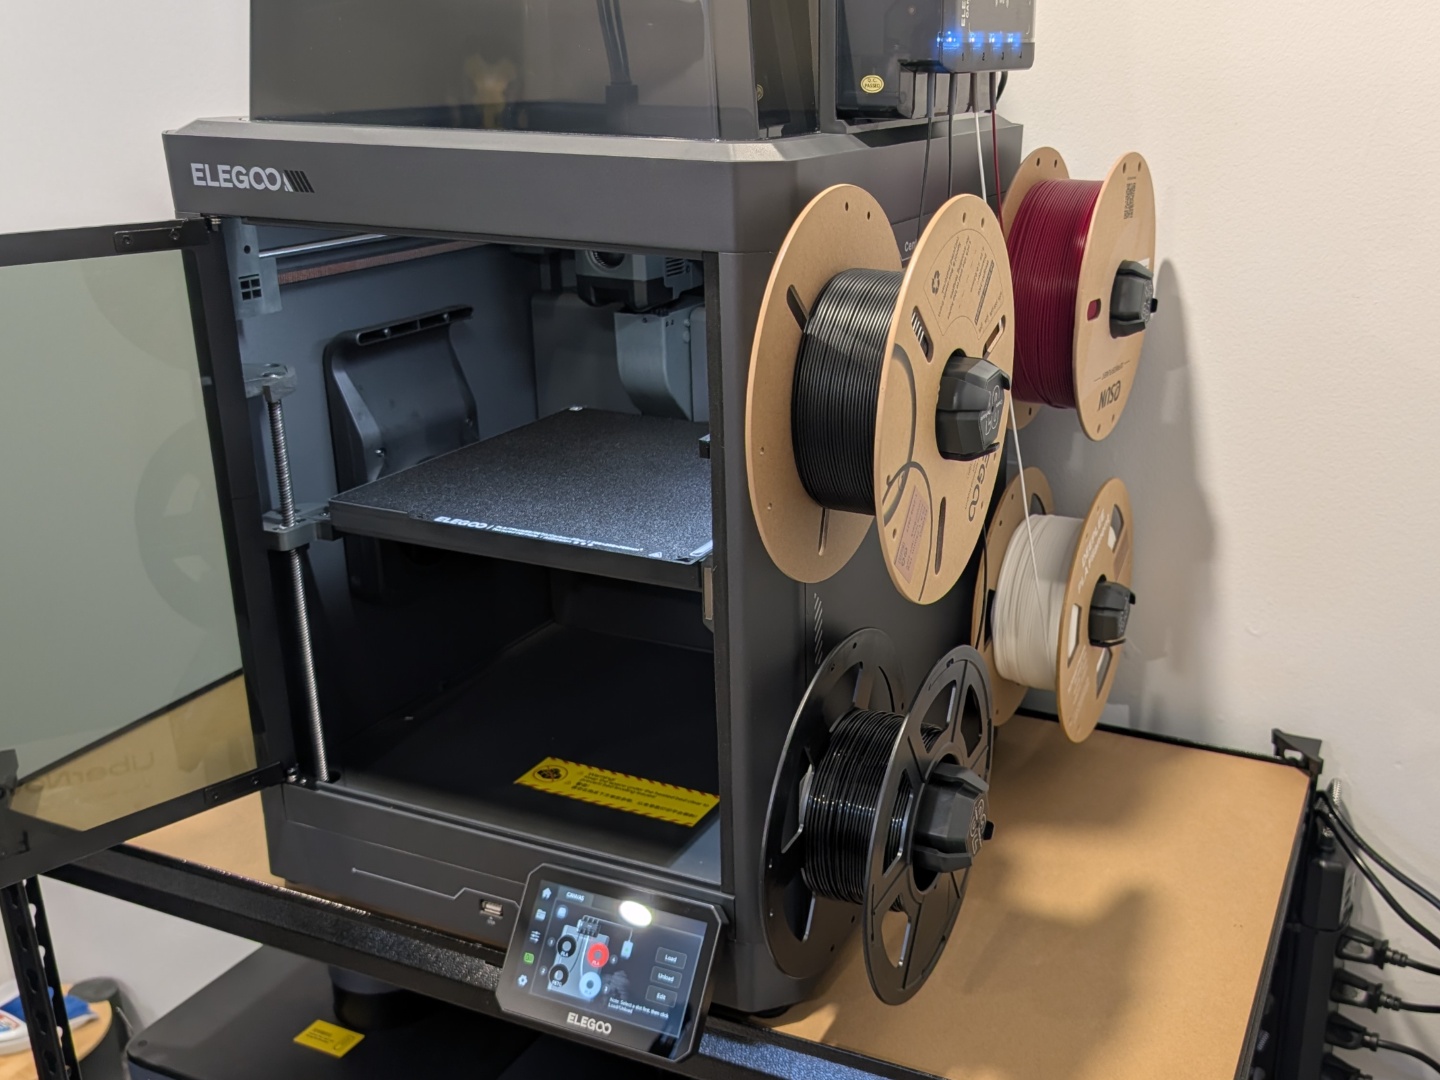
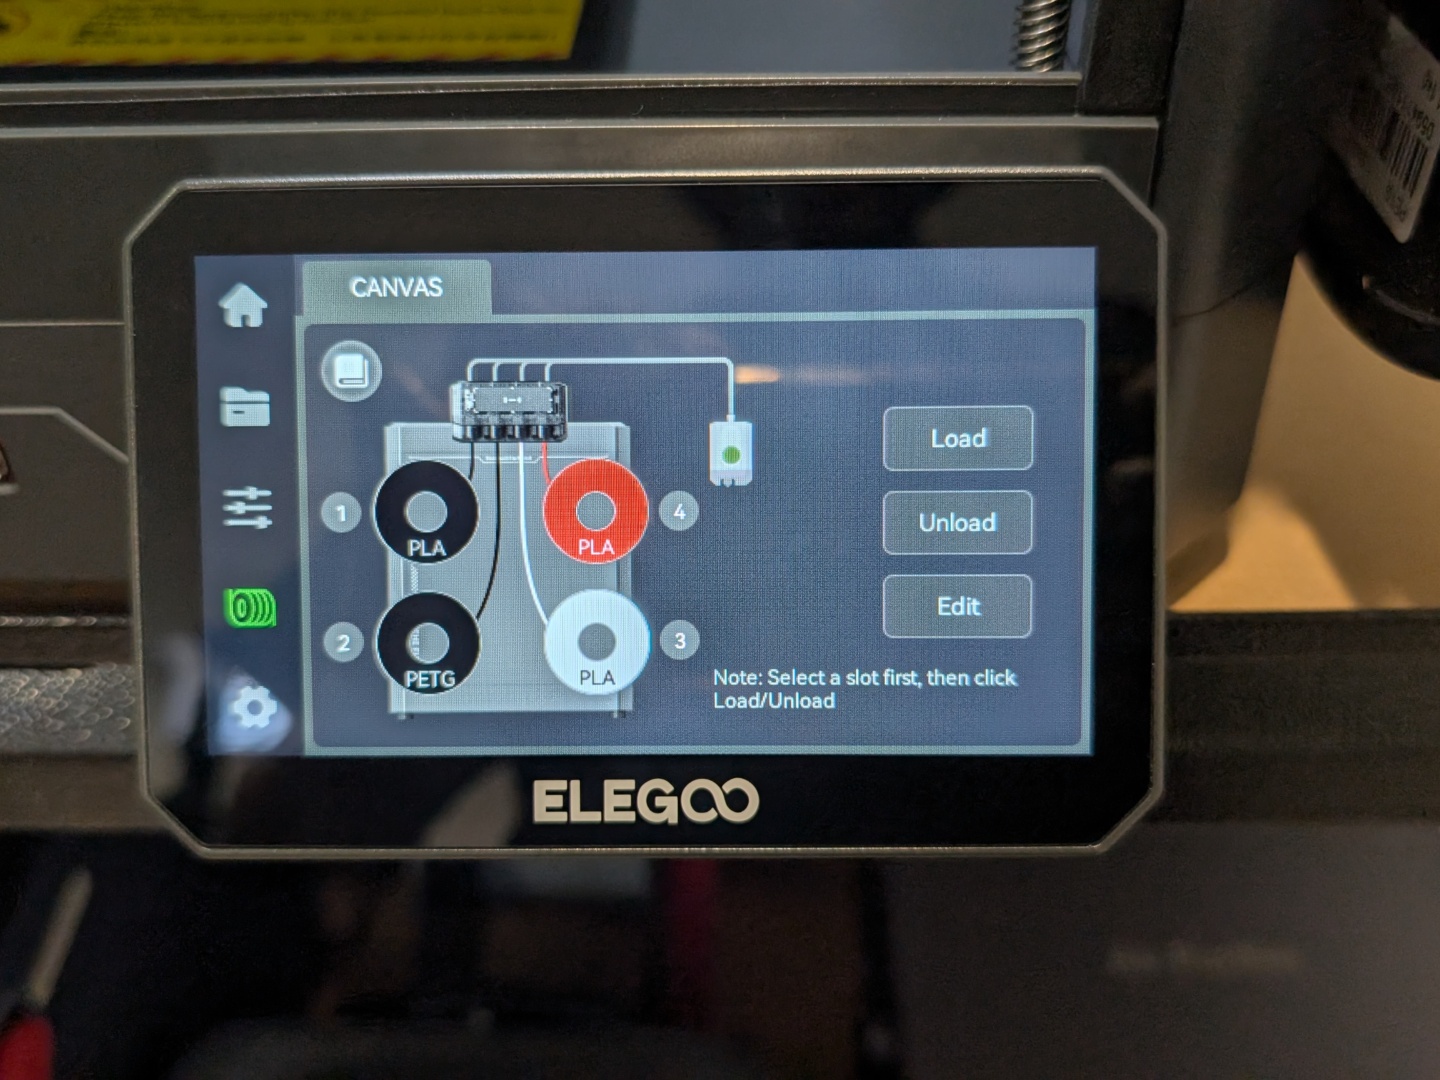
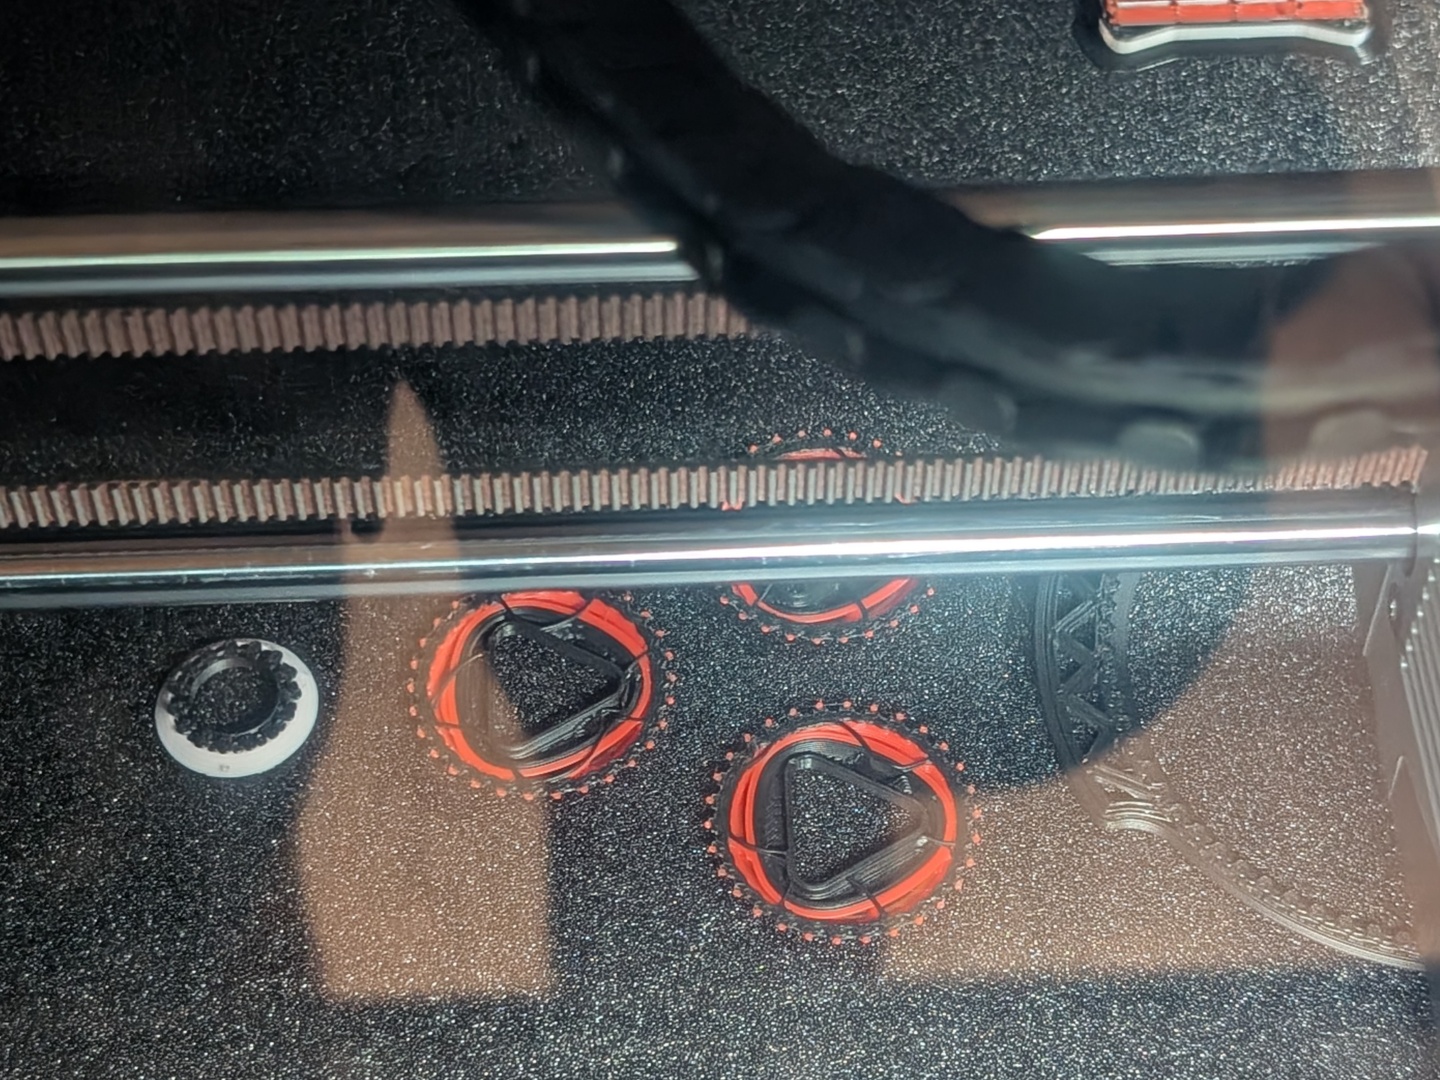
The Canvas system allows up to four different colors and while Elegoo doesn’t recommend it, four different filament types as well. This allows printing PLA parts with PETG as support or vice versa, as well as different combinations of compatible filaments. Elegoo has also added an RFID sensor that works great with its own RFID compatible spools. Place the spool next to the Canvas system and it detects the color and type. All you have to do is assign it to a slot. What's great is that this is an open implementation, meaning other RFID spools will be able to talk to the Canvas system as well, unlike some other brands.

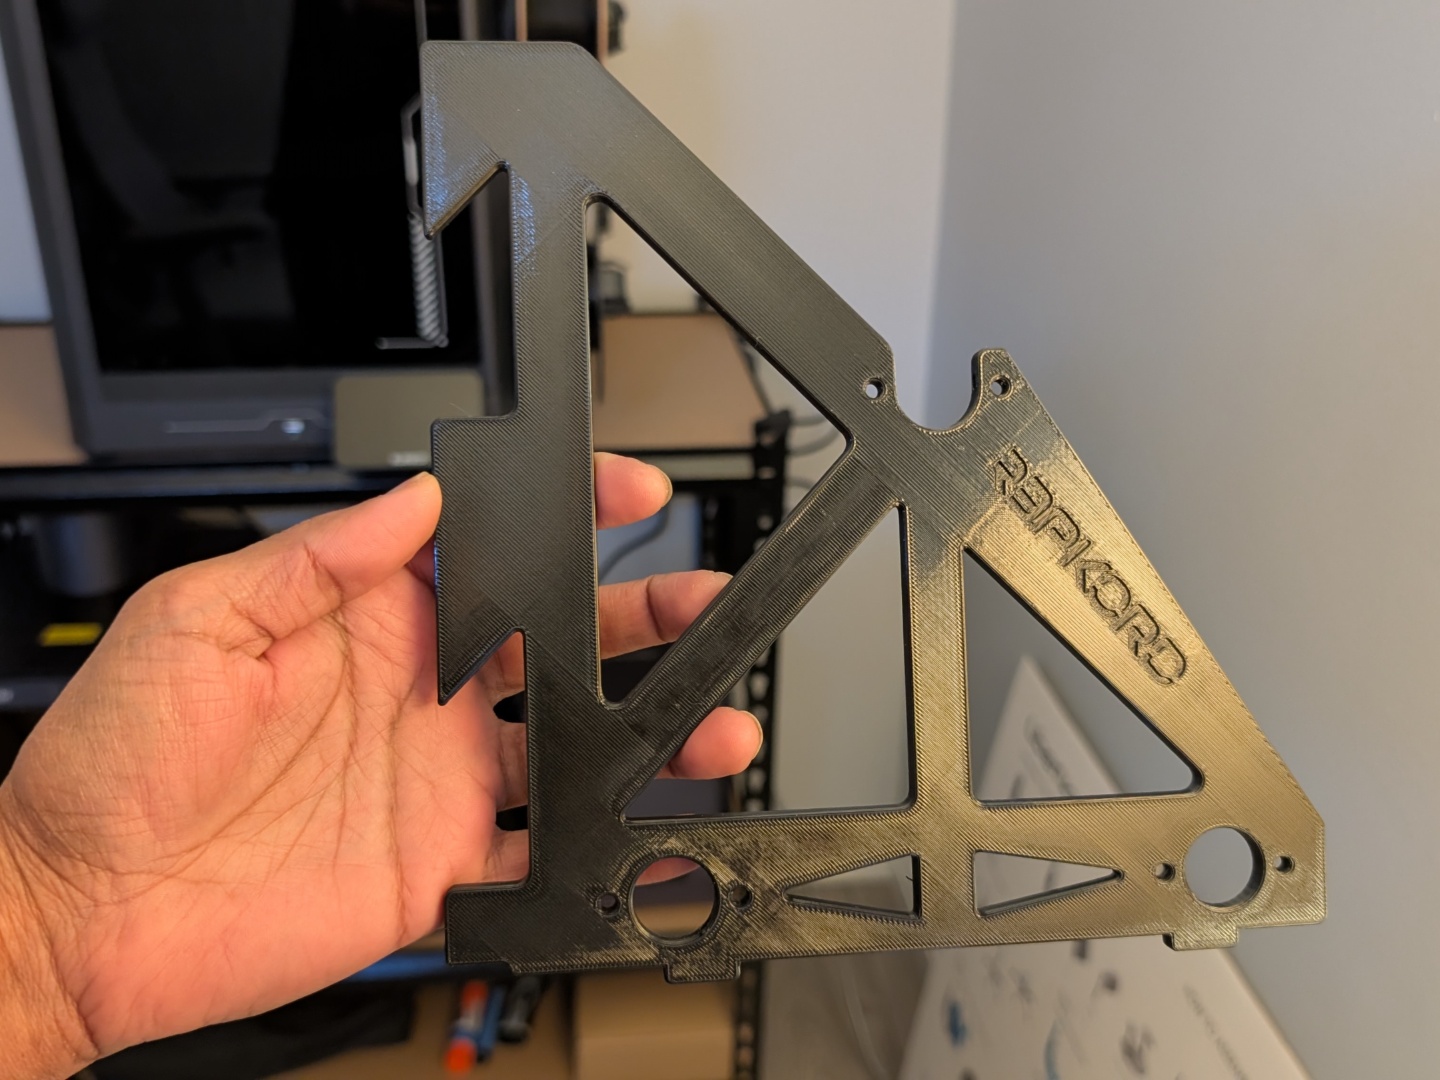
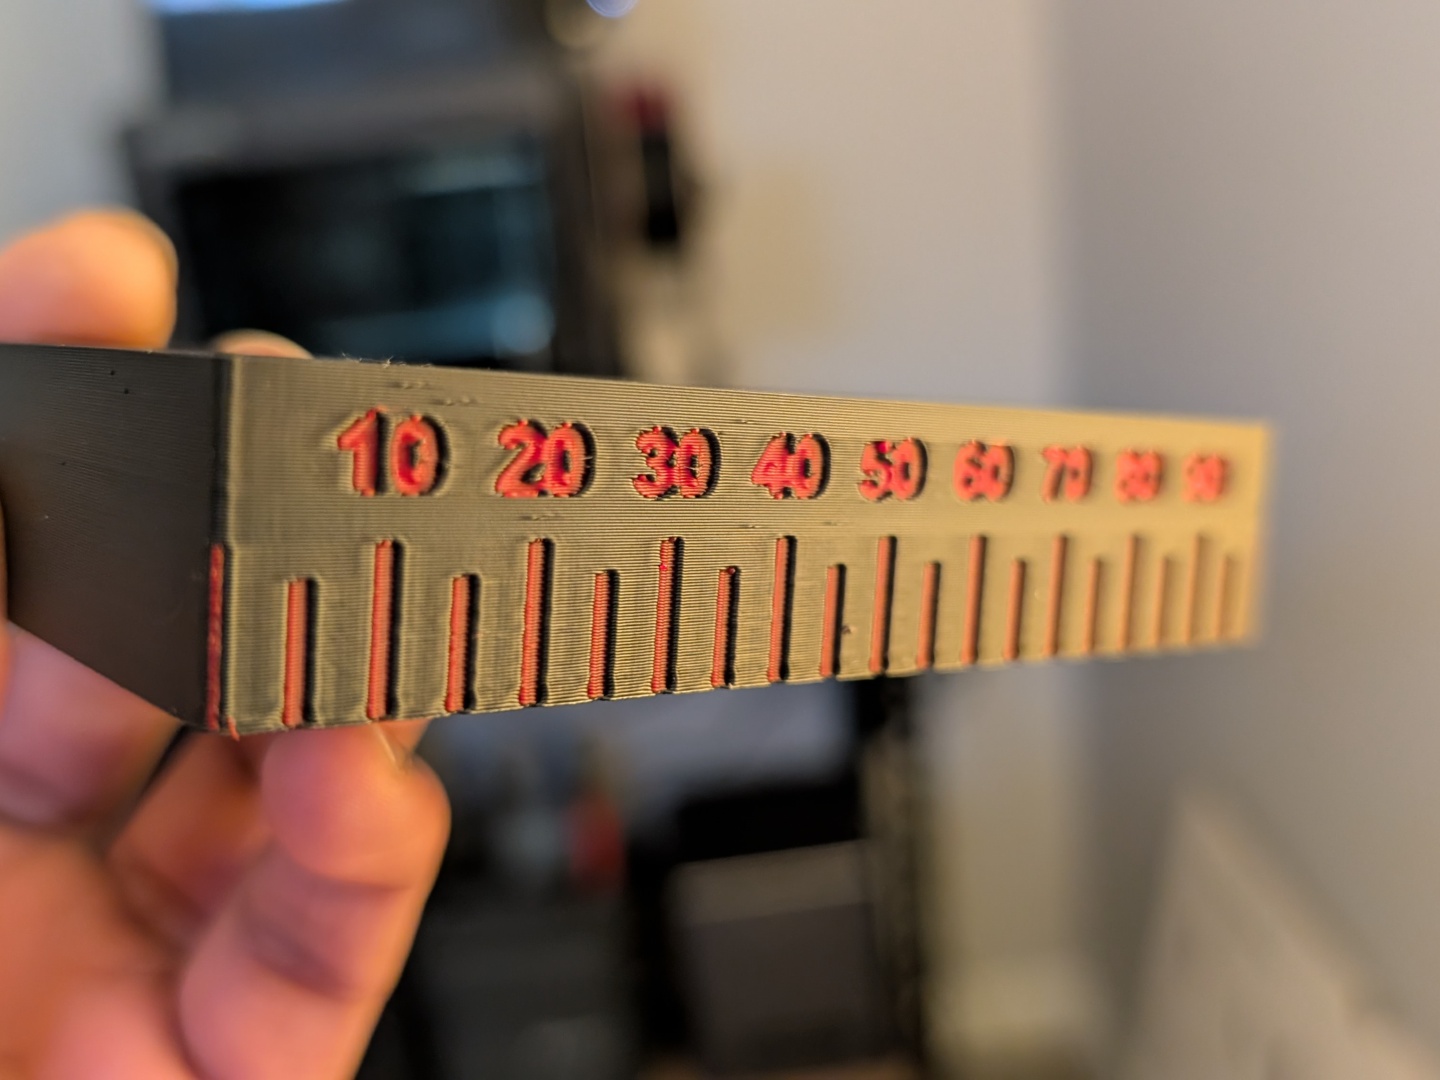
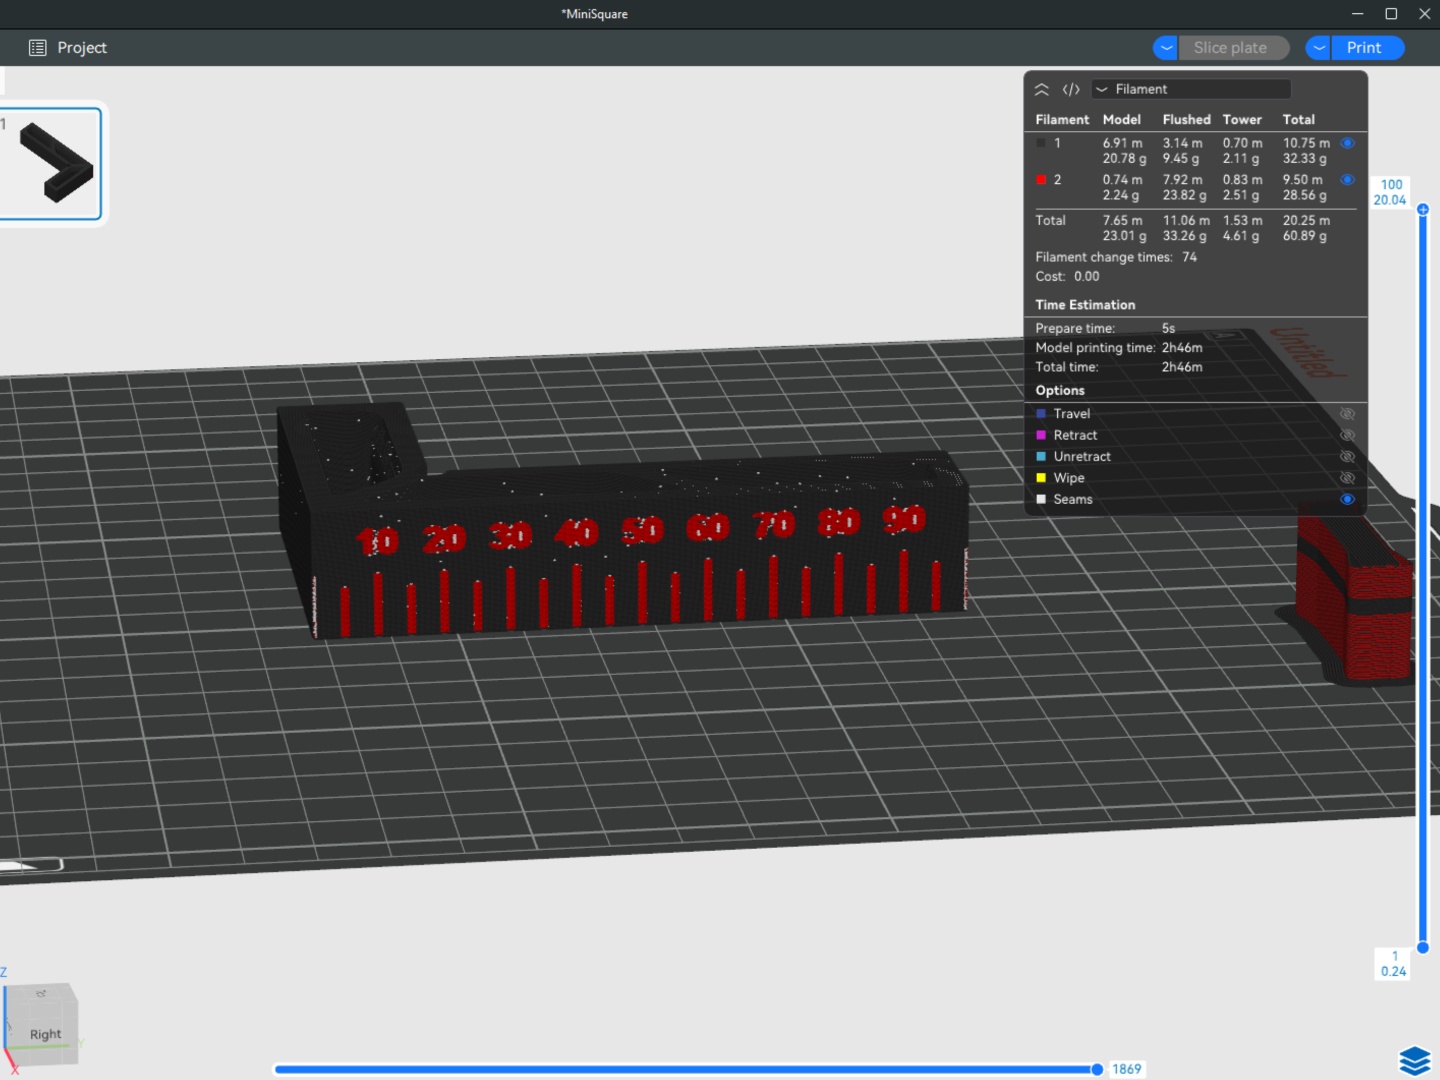
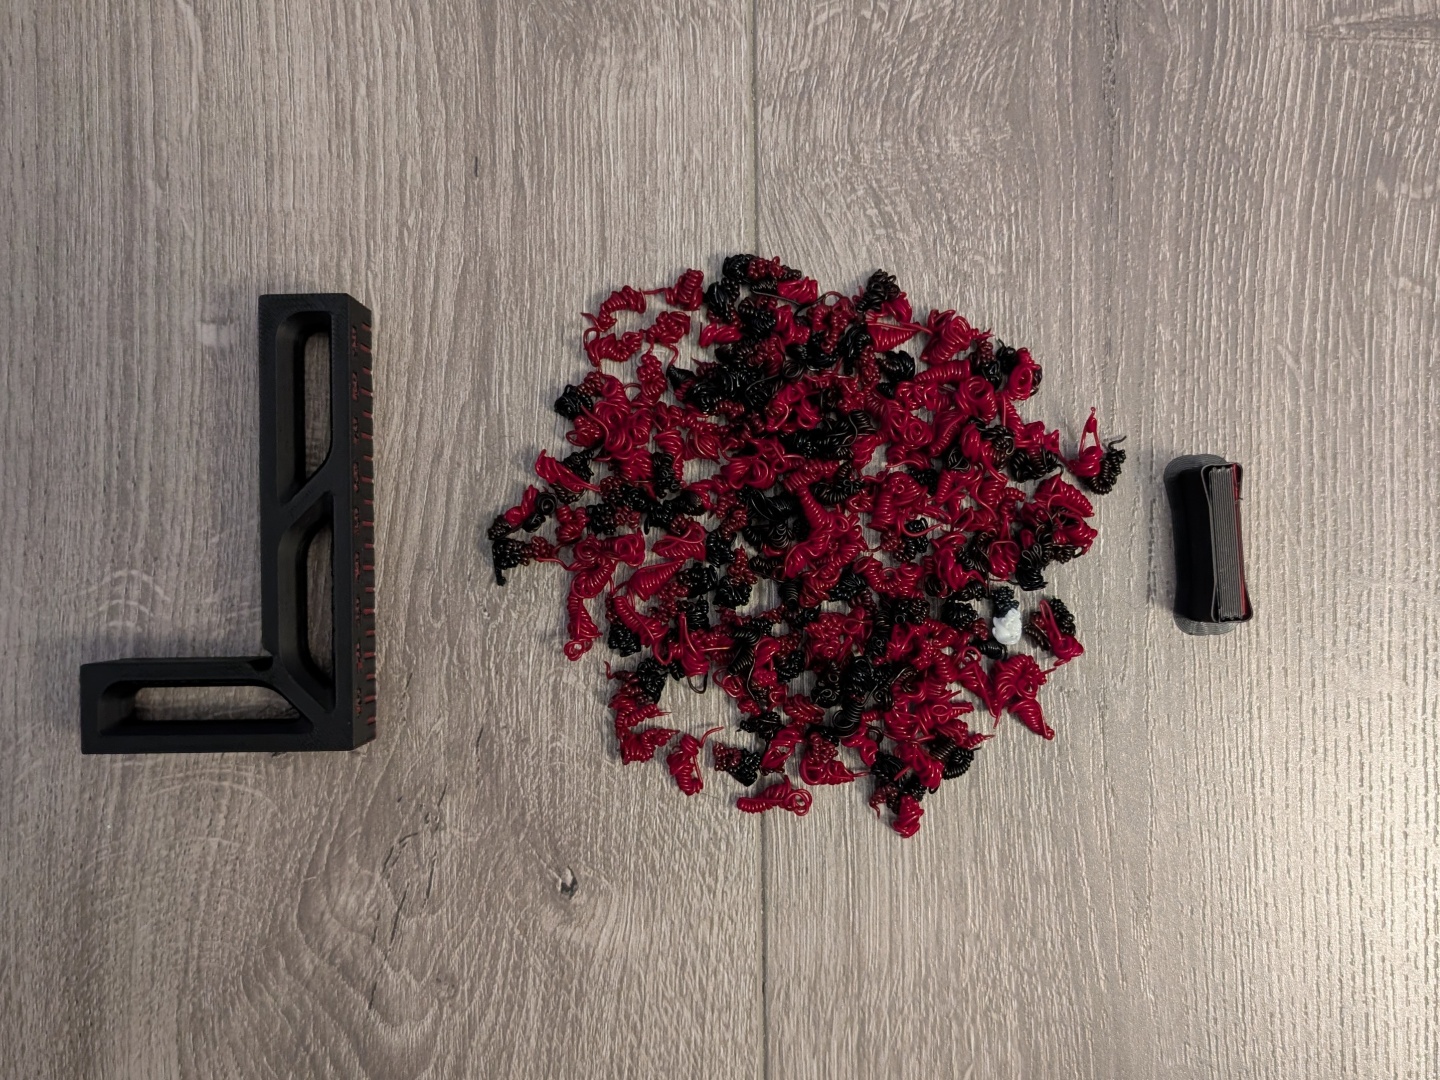
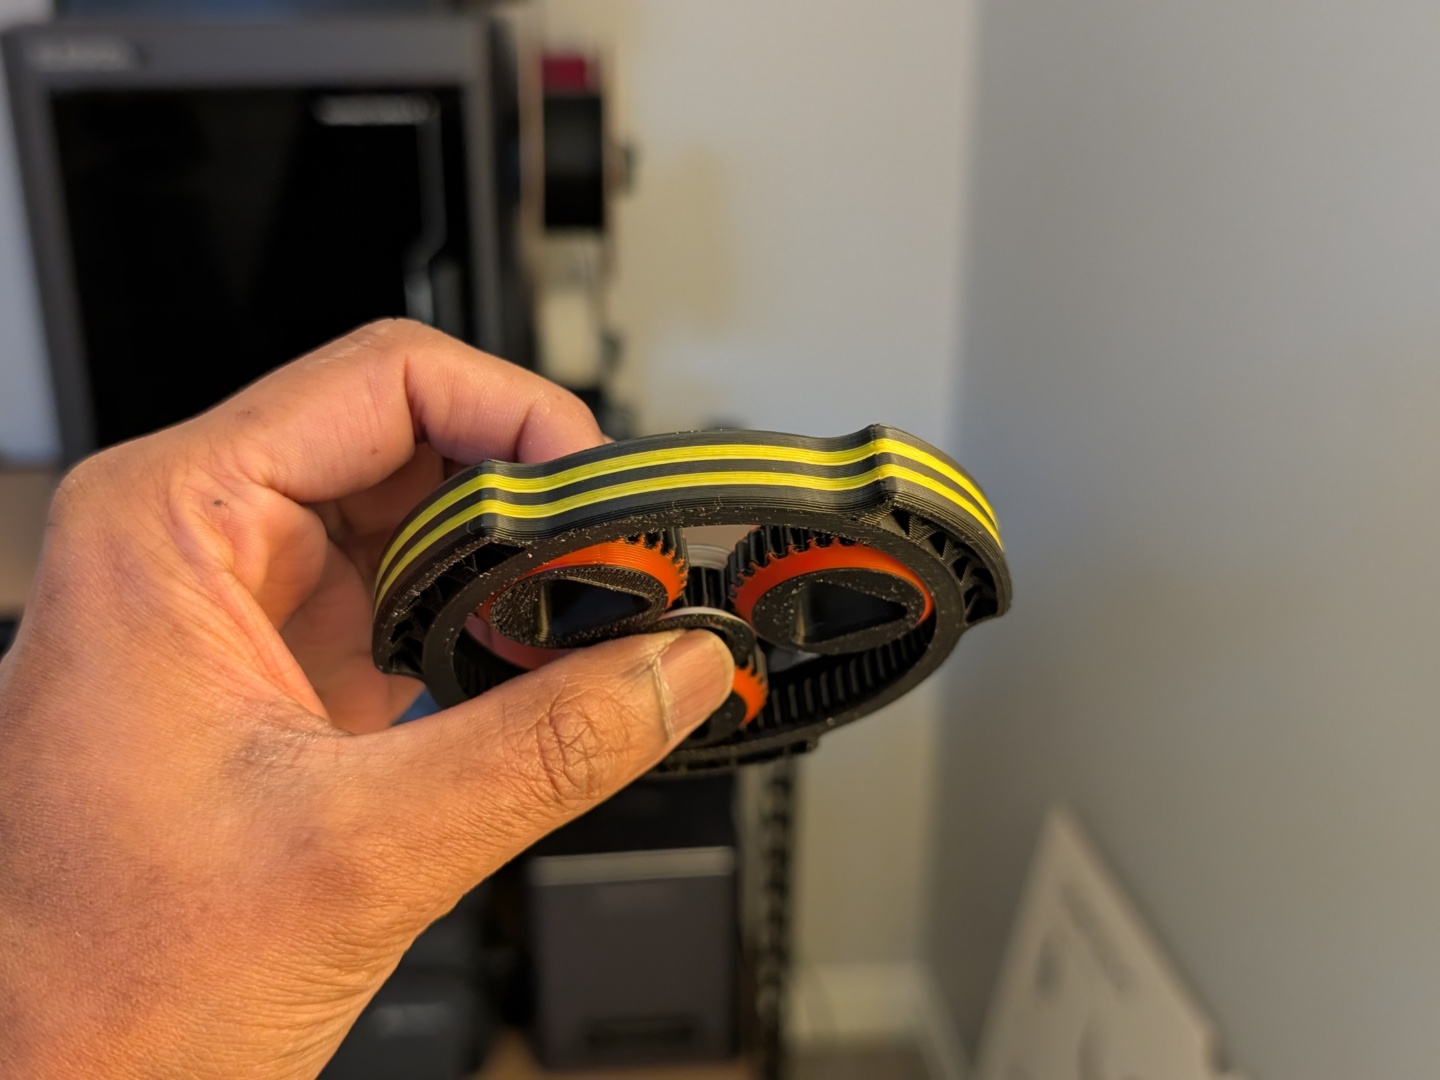
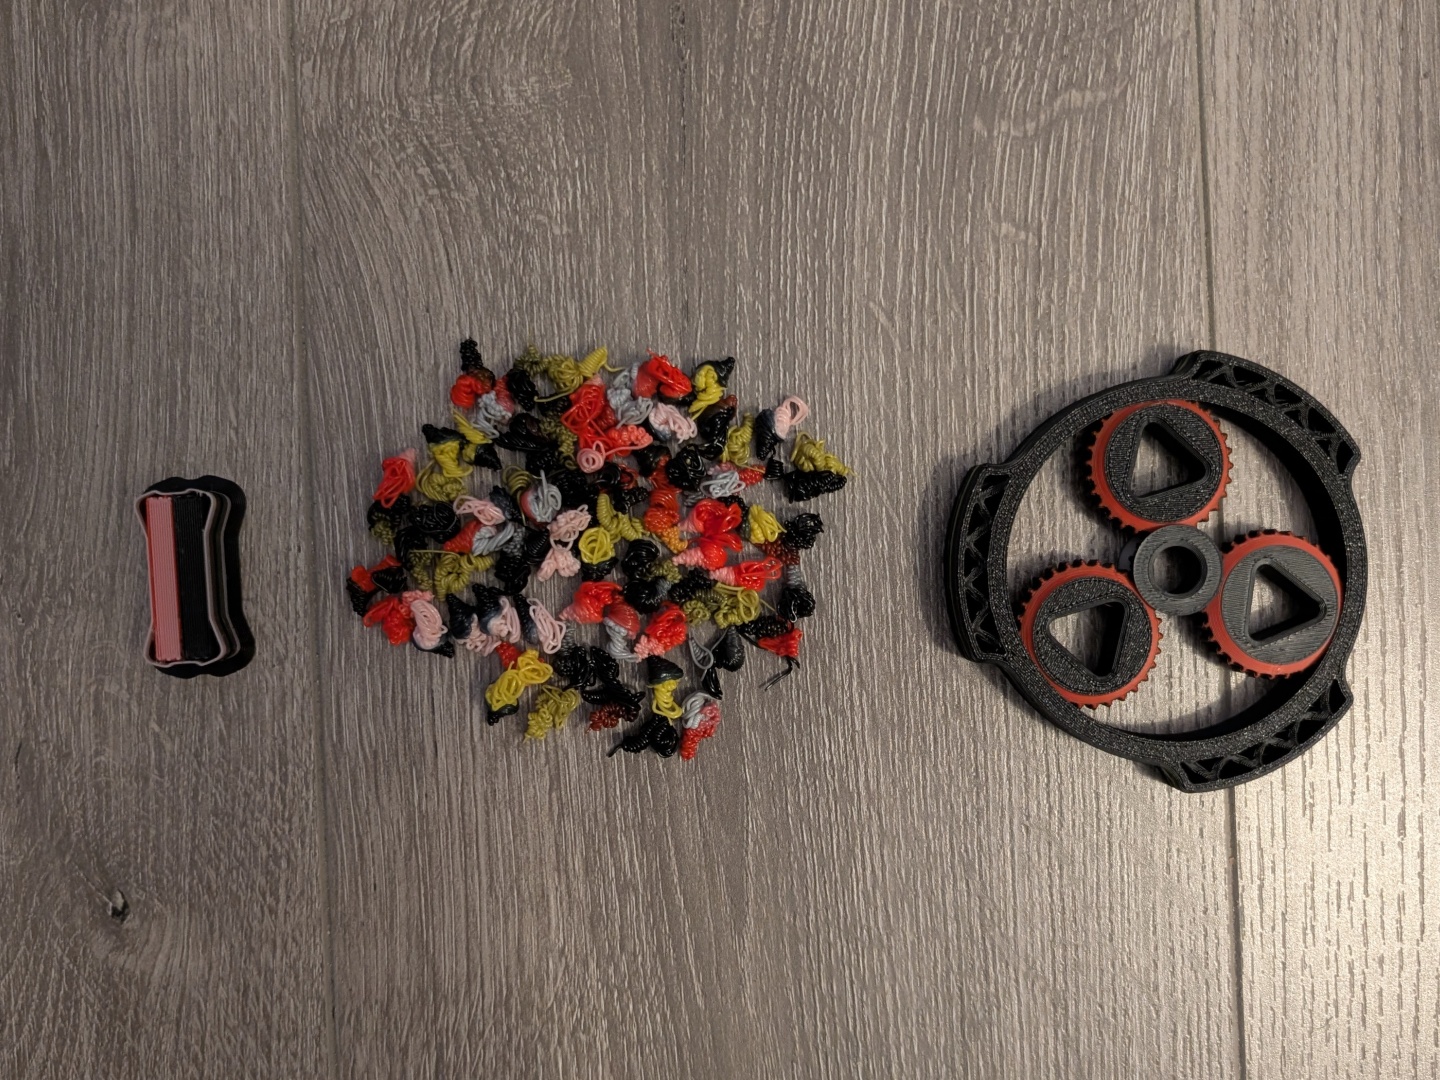
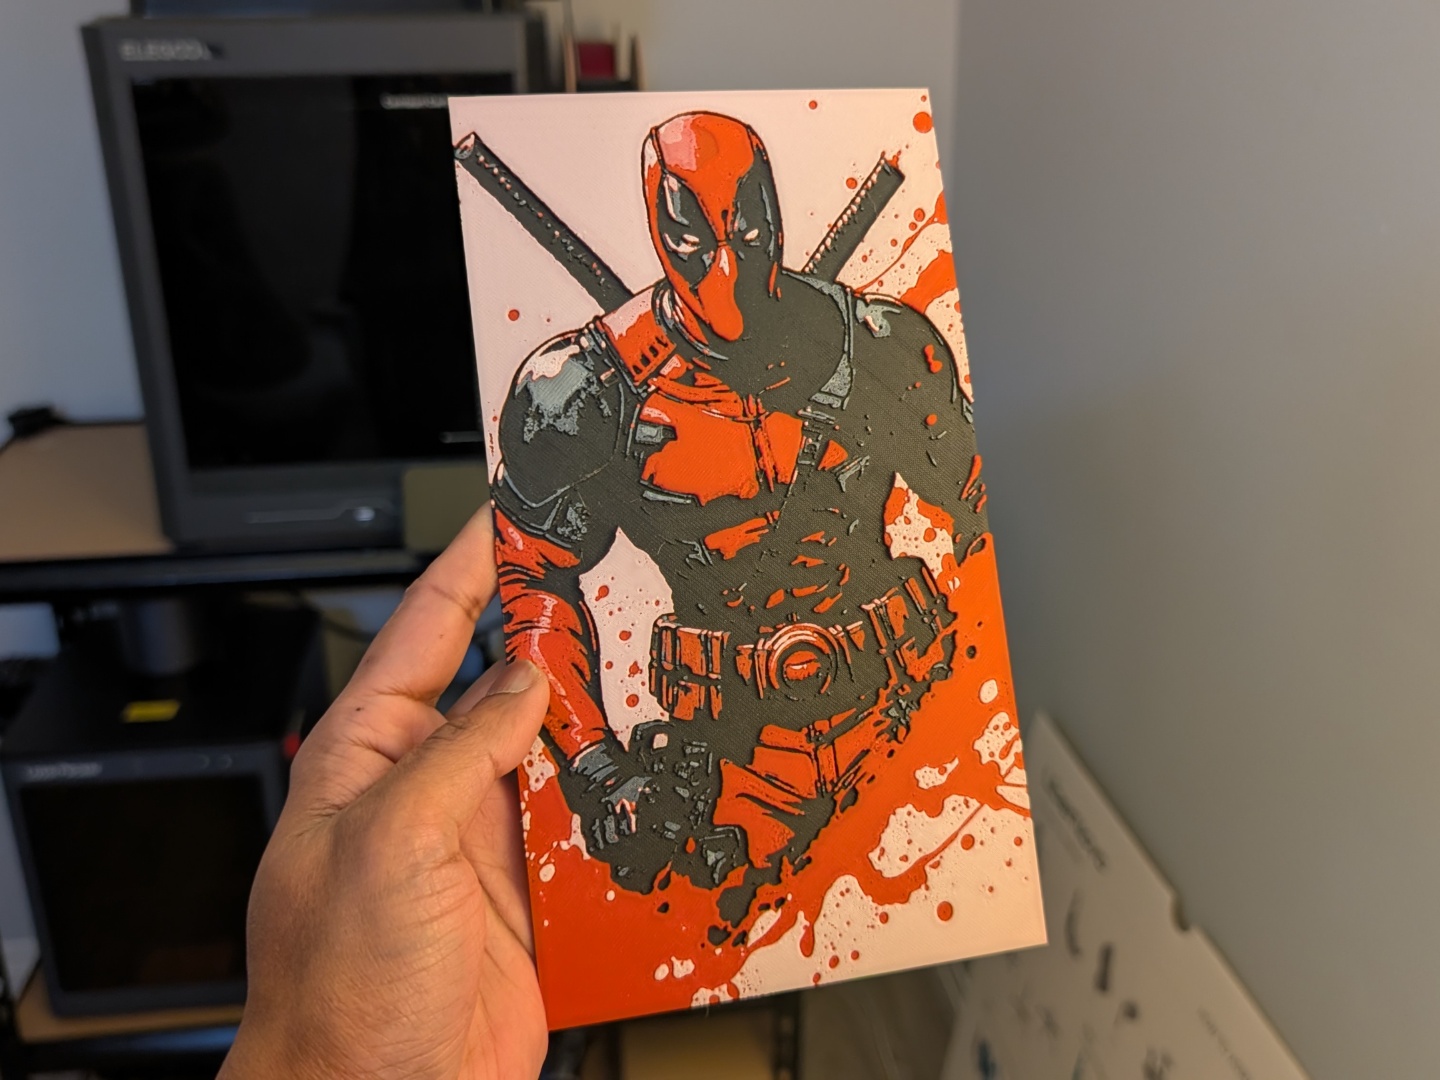
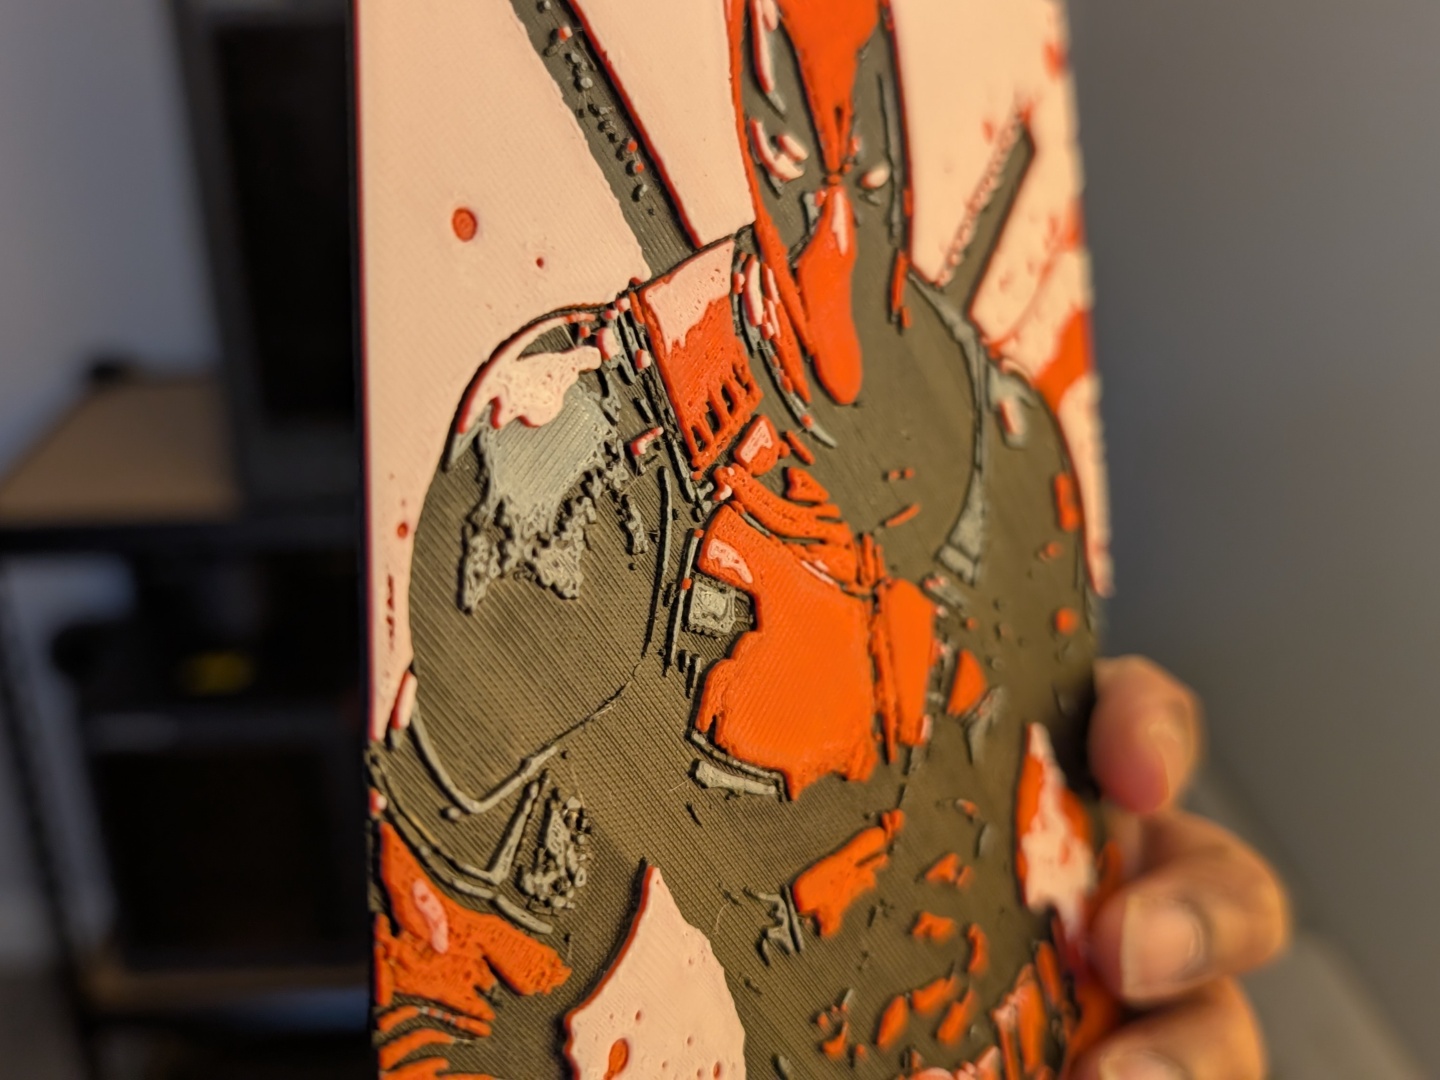
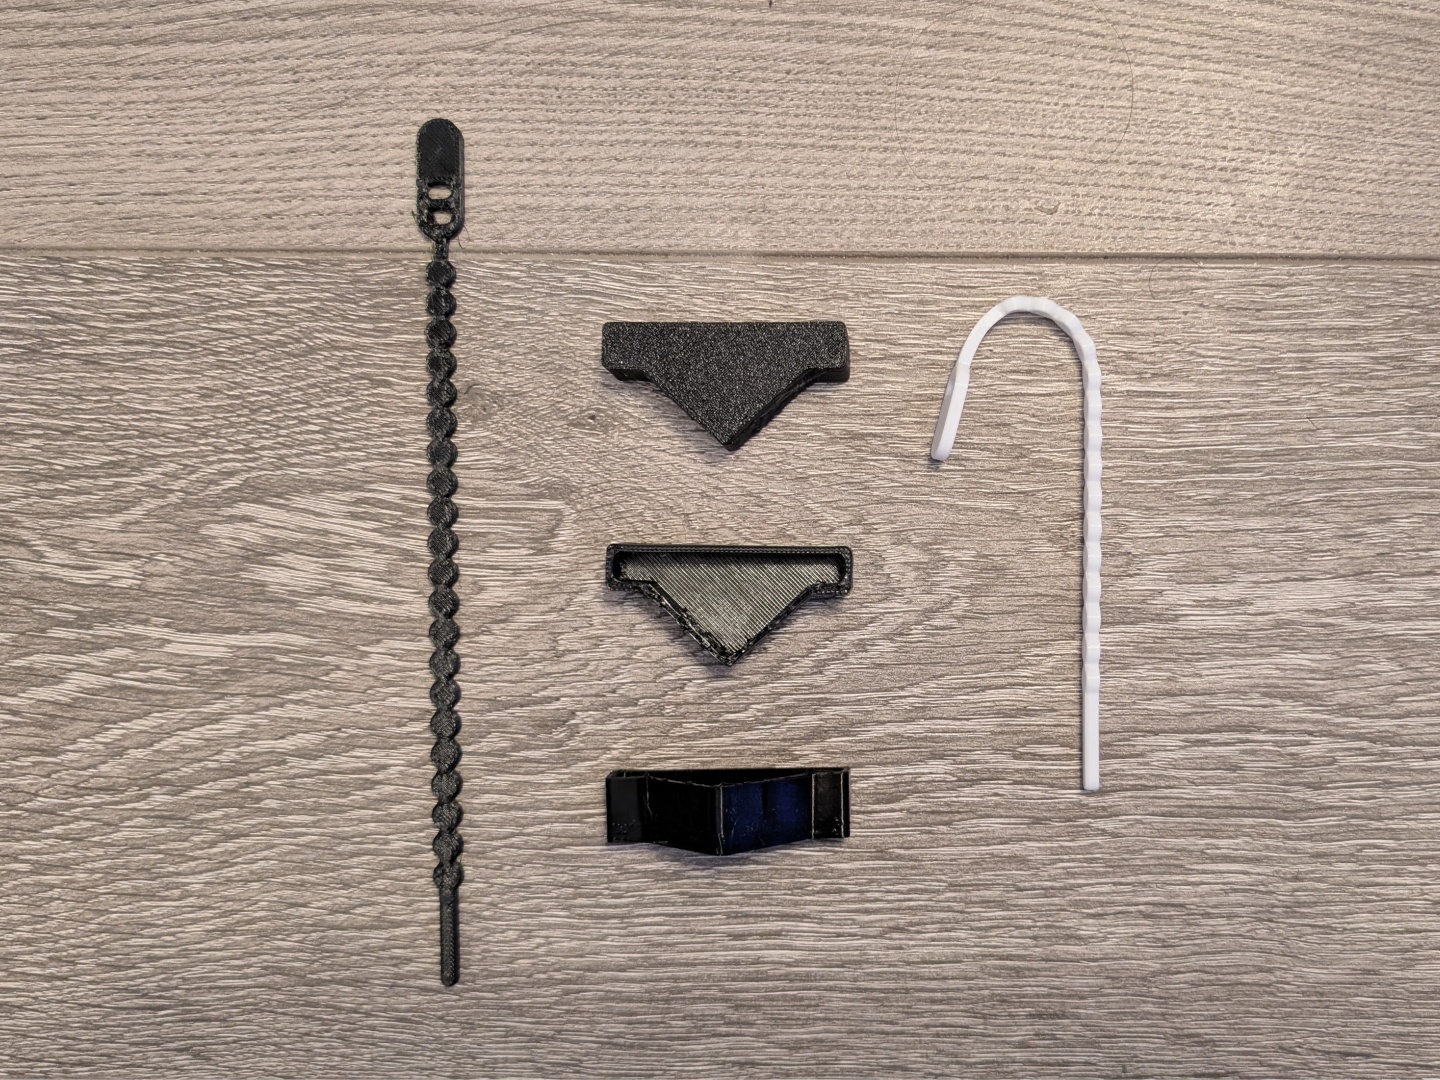
With the multicolor prints pictured below, the results were quite good. And, the included spool holders work with most filament brands. The stock profile that has been tuned by Elegoo produces solid prints with clean transitions between different colors, but also with a good amount of waste. With the Mini Square tool (by SabreDesign on Maker World), there were 74 color changes and due to the nature of the object, quite a lot of poop. With the Gear fidget spinner (designed by DavidVidacs on Maker World), there were 78 color changes but not as much poop. Much less for the Deadpool hueforge print (by Poly3Dart Officiel on Printables) since there were only four-color changes. Notably, the average time for a color change is about 1 minute and 10 seconds, with some transitions taking longer.
With a more challenging filament like ASA, the printer automatically switches to a temperature hold mode where the vents shut off. While the CC2 is able to hold temperature quite well, we did face adhesion issues with ASA. Preheating the bed for 10 minutes at 110 degrees C improved the results so that’s something to keep in mind. That being said, the high-temp nozzle and bed combo allows for printing more challenging filaments once the settings have been tuned.
Printing TPU was quite straightforward and hassle free as well. Elegoo states a Flexible Filament Printing Adapter is required for materials like TPU, but even without it, the prints came out just fine. Again, some profile tuning is required.
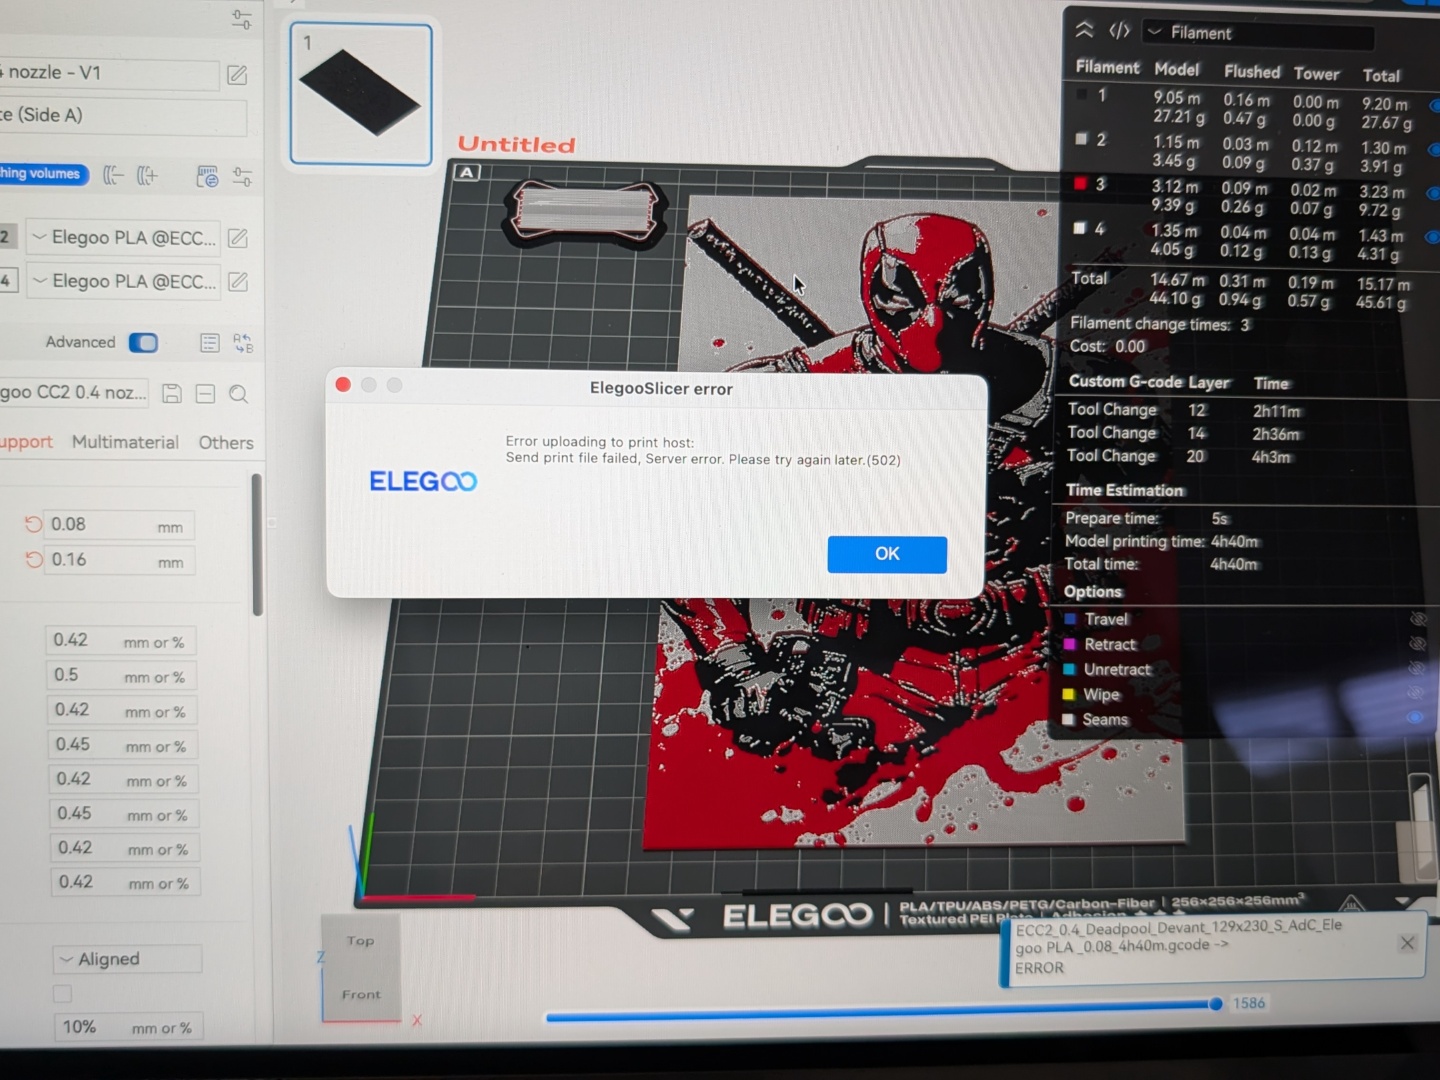
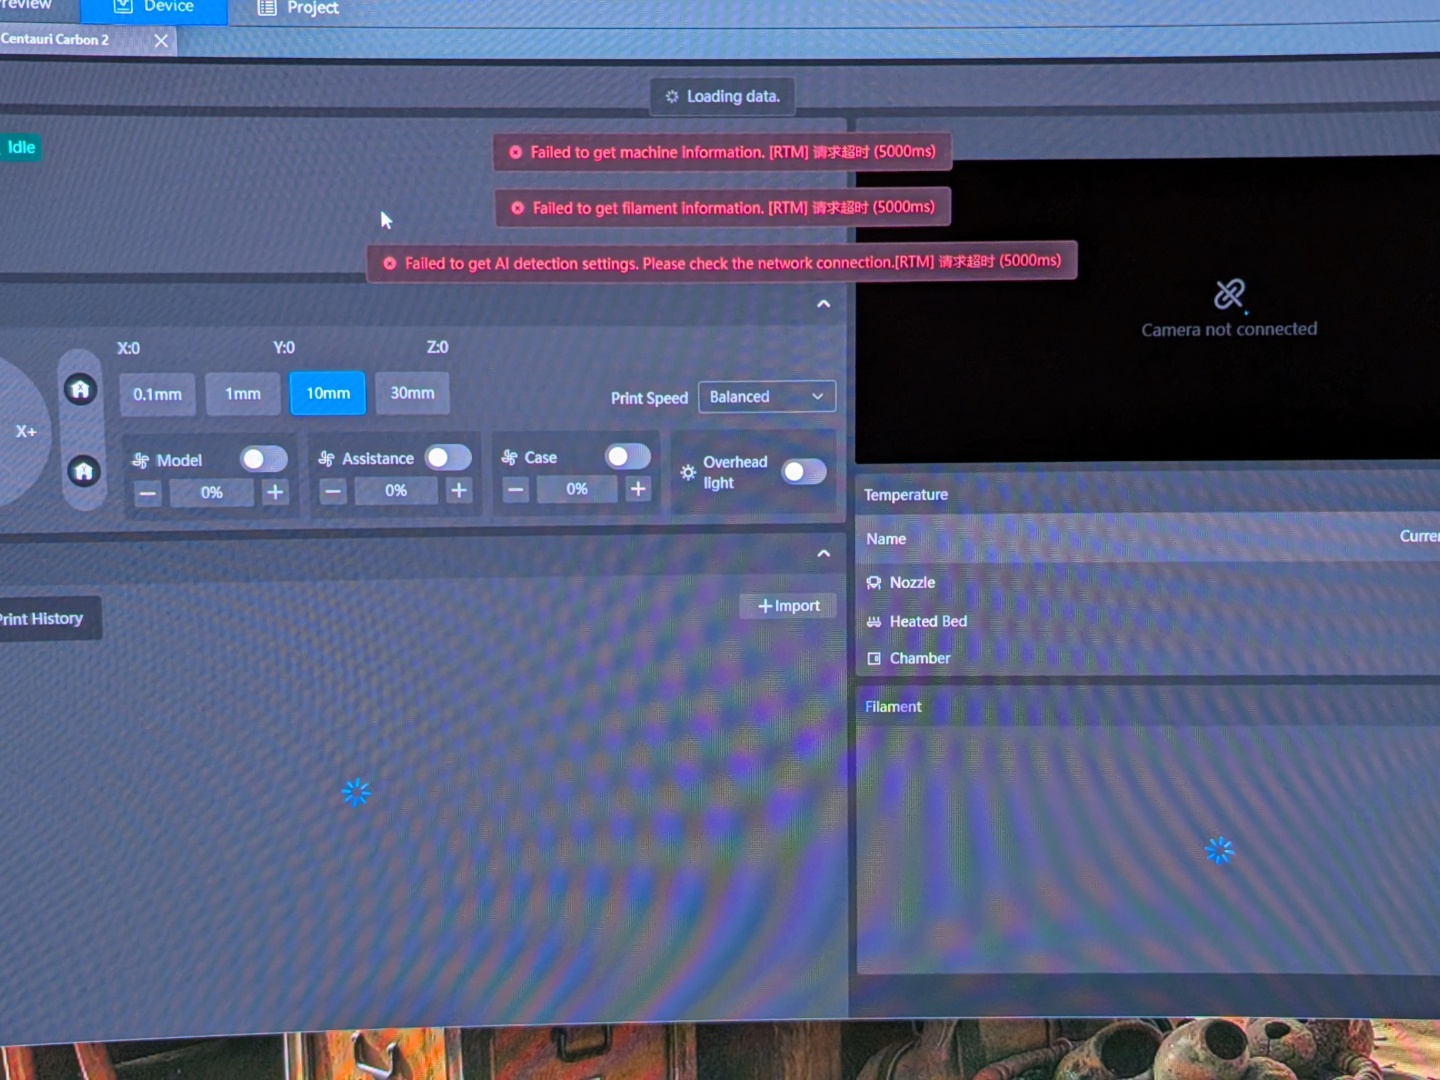
As for the software experience, it could be much better. The consistency was the main issue as the printer would randomly refuse to connect to Elegoo Slicer on Windows, and when it did connect, the device monitoring window would throw up connectivity errors. Interestingly, it was more seamless when using Elegoo Slicer on macOS. There were a couple of Elegoo Slicer updates that didn't really fix those issues. The print time estimates, were still inaccurate as some multi-color prints took over 17% longer than what the slicer calculated.

Coming to the AI detection, there were a couple random occurrences of spaghetti detection when there was none. The auto-filament refill, filament runout sensor, hotend cover sensor, and power loss recovery, on the other hand, worked as they should.
Elegoo also launched the Matrix app that helps monitoring and remotely controlling the printer. The connectivity experience was inconsistent here as well. Currently, there is no way to send over G-code files that you have on your phone through the Matrix app, but that would be a neat feature to have. There are firmware/software issues that can be addressed by the company, and Elegoo is working on them.
Transparency
The selection of devices to be reviewed is made by our editorial team. The test sample was given to the author by the manufacturer free of charge for the purposes of review. There was no third-party influence on this review, nor did the manufacturer receive a copy of this review before publication. There was no obligation to publish this review. As an independent media company, Notebookcheck is not subjected to the authority of manufacturers, retailers or publishers.
