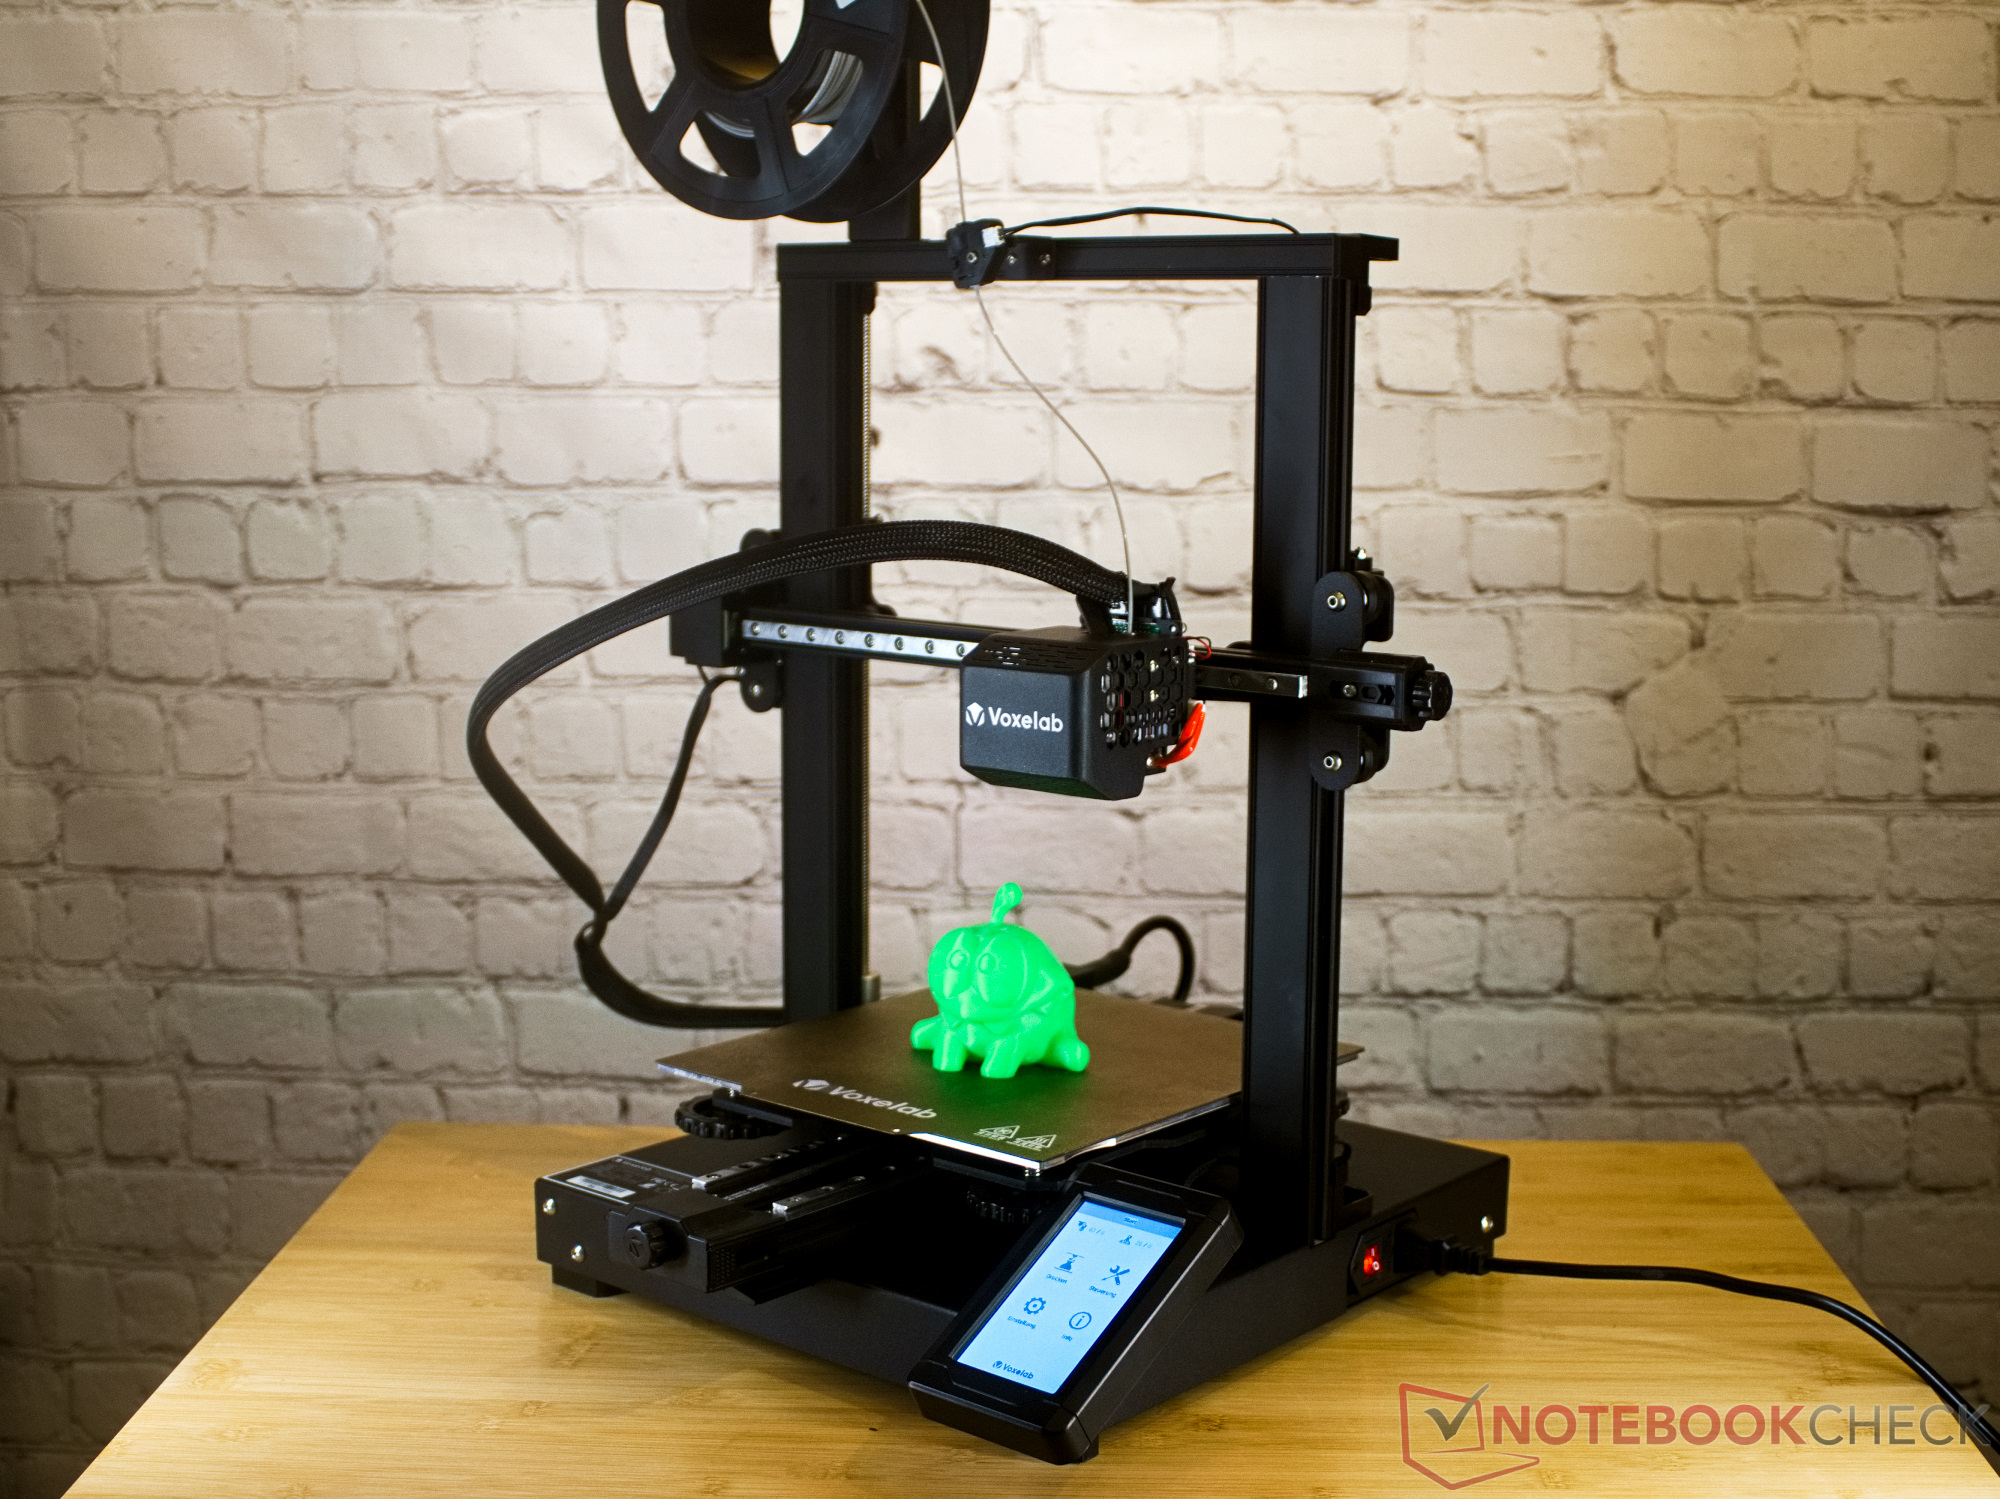
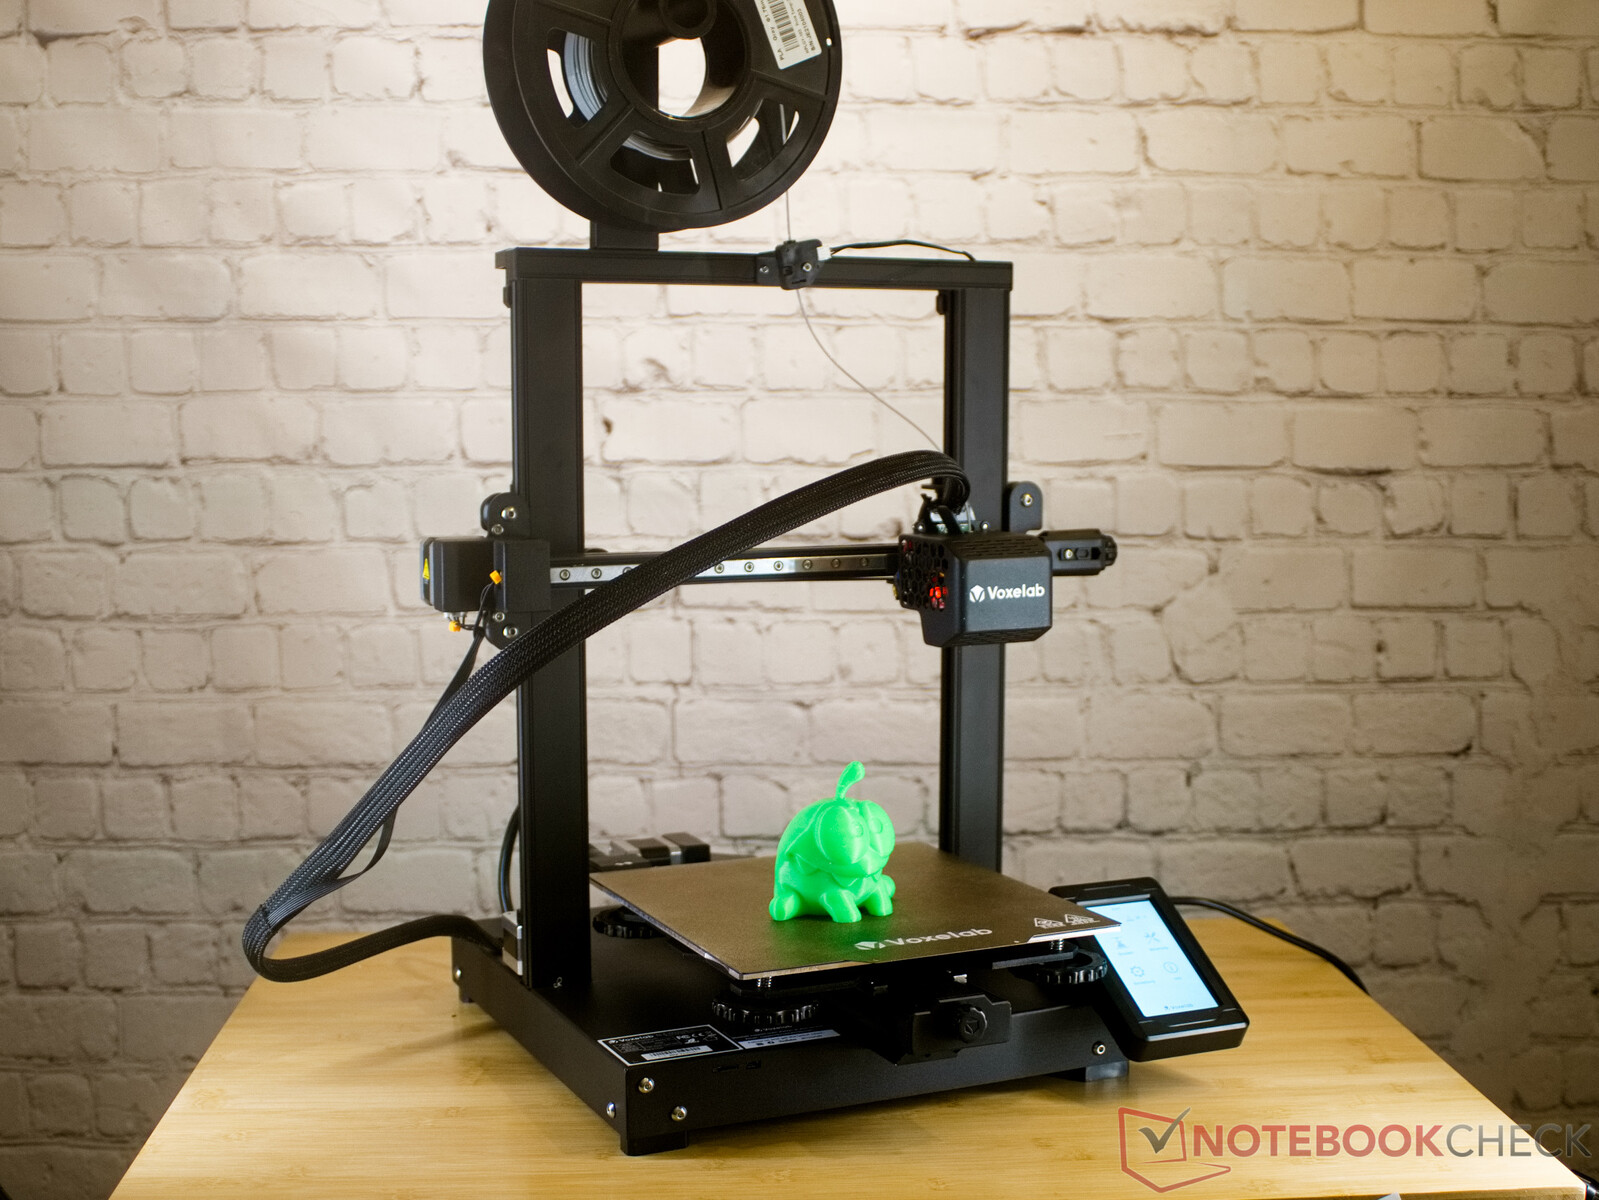
Voxelab Aquila D1 3D printer review - MGN linear guides are no miracle cure

With the Aquila D1 Voxelab sends a successor to the Aquila S2 onto the market. While Voxelab itself is not exactly one of the best-known manufacturers of 3D printers, its parent company is a truly big player and a veteran of additive manufacturing. That's because Voxelab is part of Flashforge, which was founded in 2011. The subsidiary serves the market of inexpensive 3D printers but usually does not ignore Flashforge's experience and quality. For example, the FDM printers here have Creality's typical design but are adapted to the extent that the devices can also process technical materials such as nylon or polyamide. Although the Aquila D1 is in the entry-level segment in terms of price and looks, users should have quite a bit of experience. The Aquila D1 requires certain know-how to be used sensibly and forgives errors far less than other 3D printers.
Technical data
On closer inspection, the Aquila S2 and D1 do not have much in common, but ultimately the performance data of the two devices is very similar. The all-metal hot end in the D1 can be heated up to 300 °C. The X and Y axes now run on linear rails and bearings. Delrin rollers are now only found on the Z axis, which is driven from both sides. In detail, the print head of the D1 is now very similar to the current design of Creality's Hotend and extruder combination. In terms of print volume, the new device from Voxelab corresponds to the current standard for medium-sized 3D printers.
| Voxelab Aquila D1 | |
|---|---|
| Technology used | FDM, FFF |
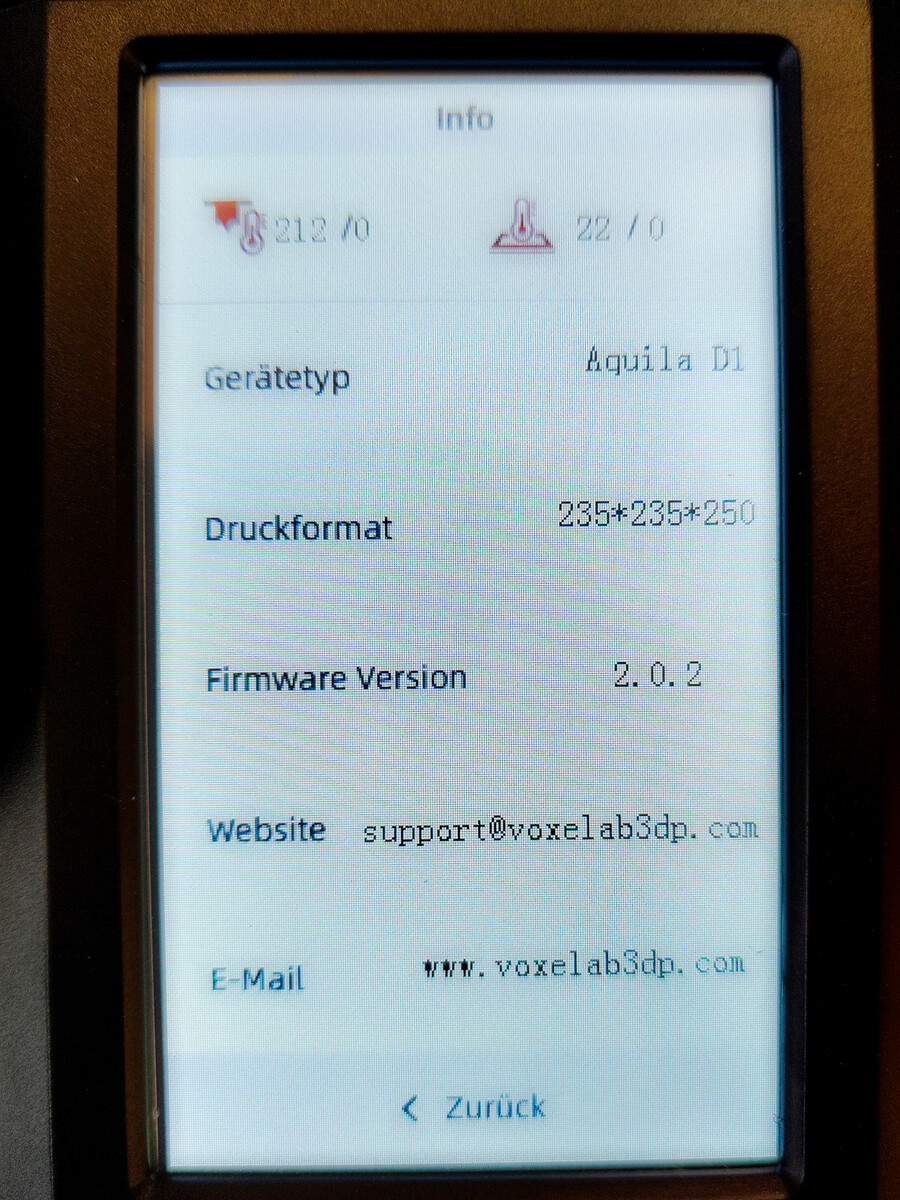
| Maximum print volume | 235 × 235 × 250 mm |
| Unit size without cable and filament roll | 47 × 44 × 63 cm (H × D × W) |
| Floor space in operation | Minimum 50 × 55 cm |
| Motion system | X,Y,Z-single drive according to Prusa/Mendel |
| Extruder | direct-drive extruder 40-watt heating cartridge, maximum 300 °C |
| Print bed | magnetic spring steel print bed with PEI coating heated with 24 V power supply maximum 110 °C |
| Automatic bed leveling | with inductive proximity sensor |
| Control board Microcontroller |
FFP0261_MainBoard_V1.0.2 Nation N32G455 VB/C |
| Firmware of the test device | Aquila D1 Firmware 2.0.2 |
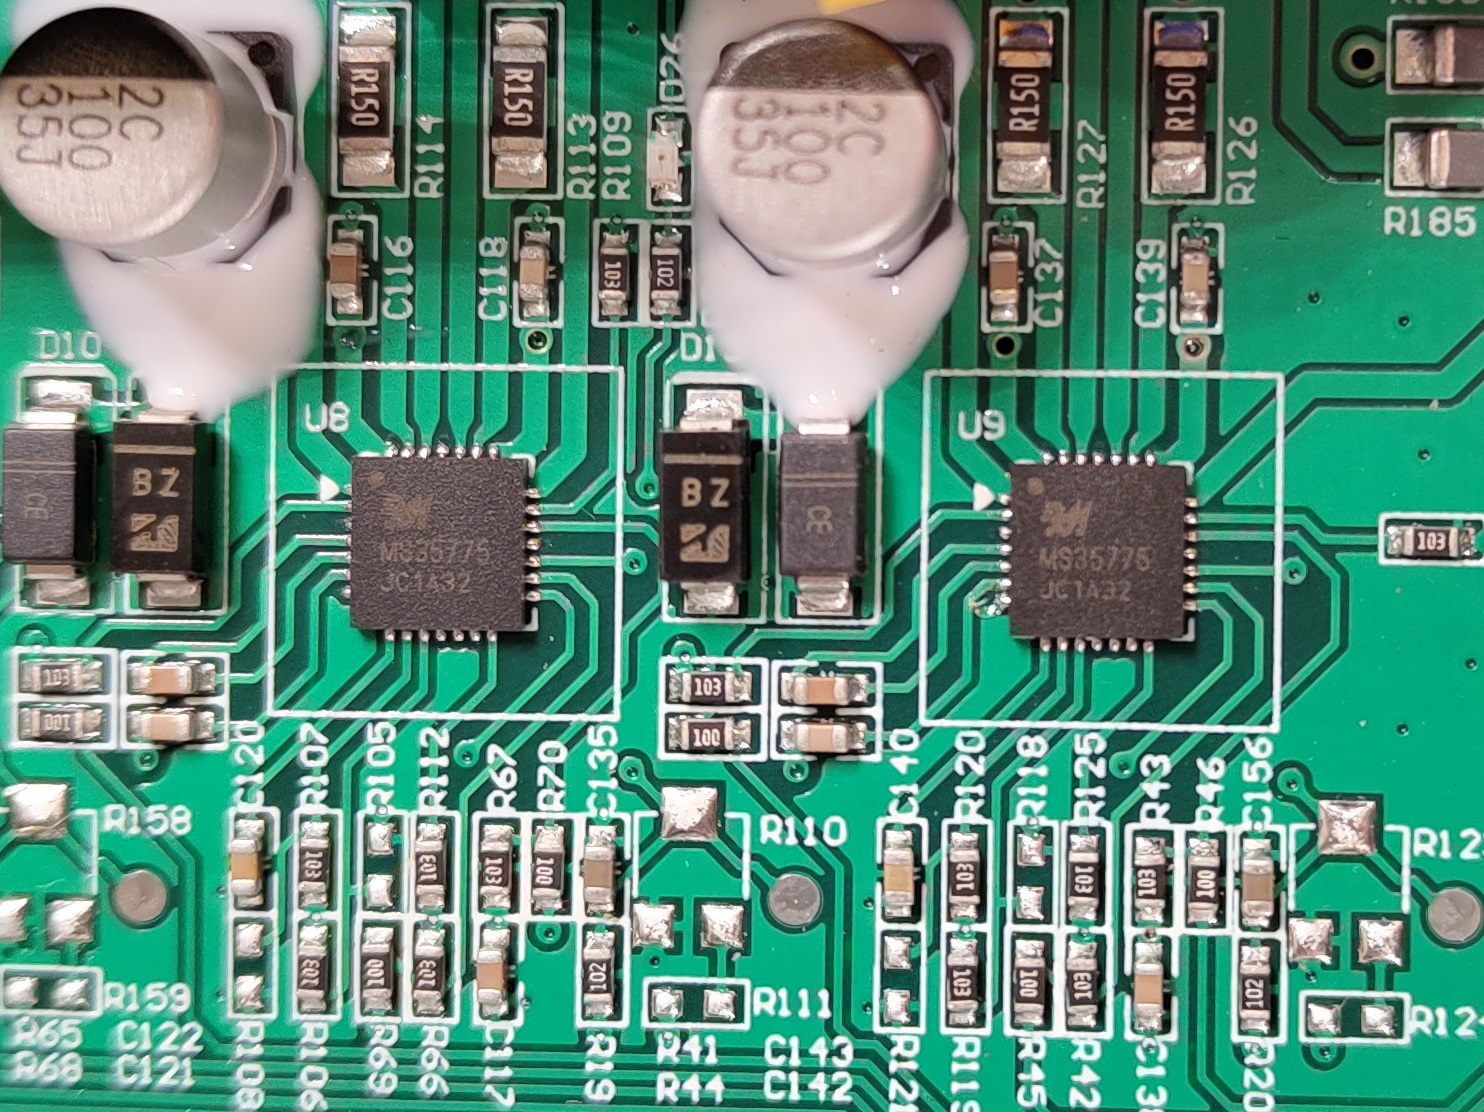
| Stepper motor driver | Ruimeng Technology MS35775 Soldered stepper motor driver with 256-step interpolation |
| Connectors | microSD, microUSB |
| Control | Touch screen, serial interface via USB |
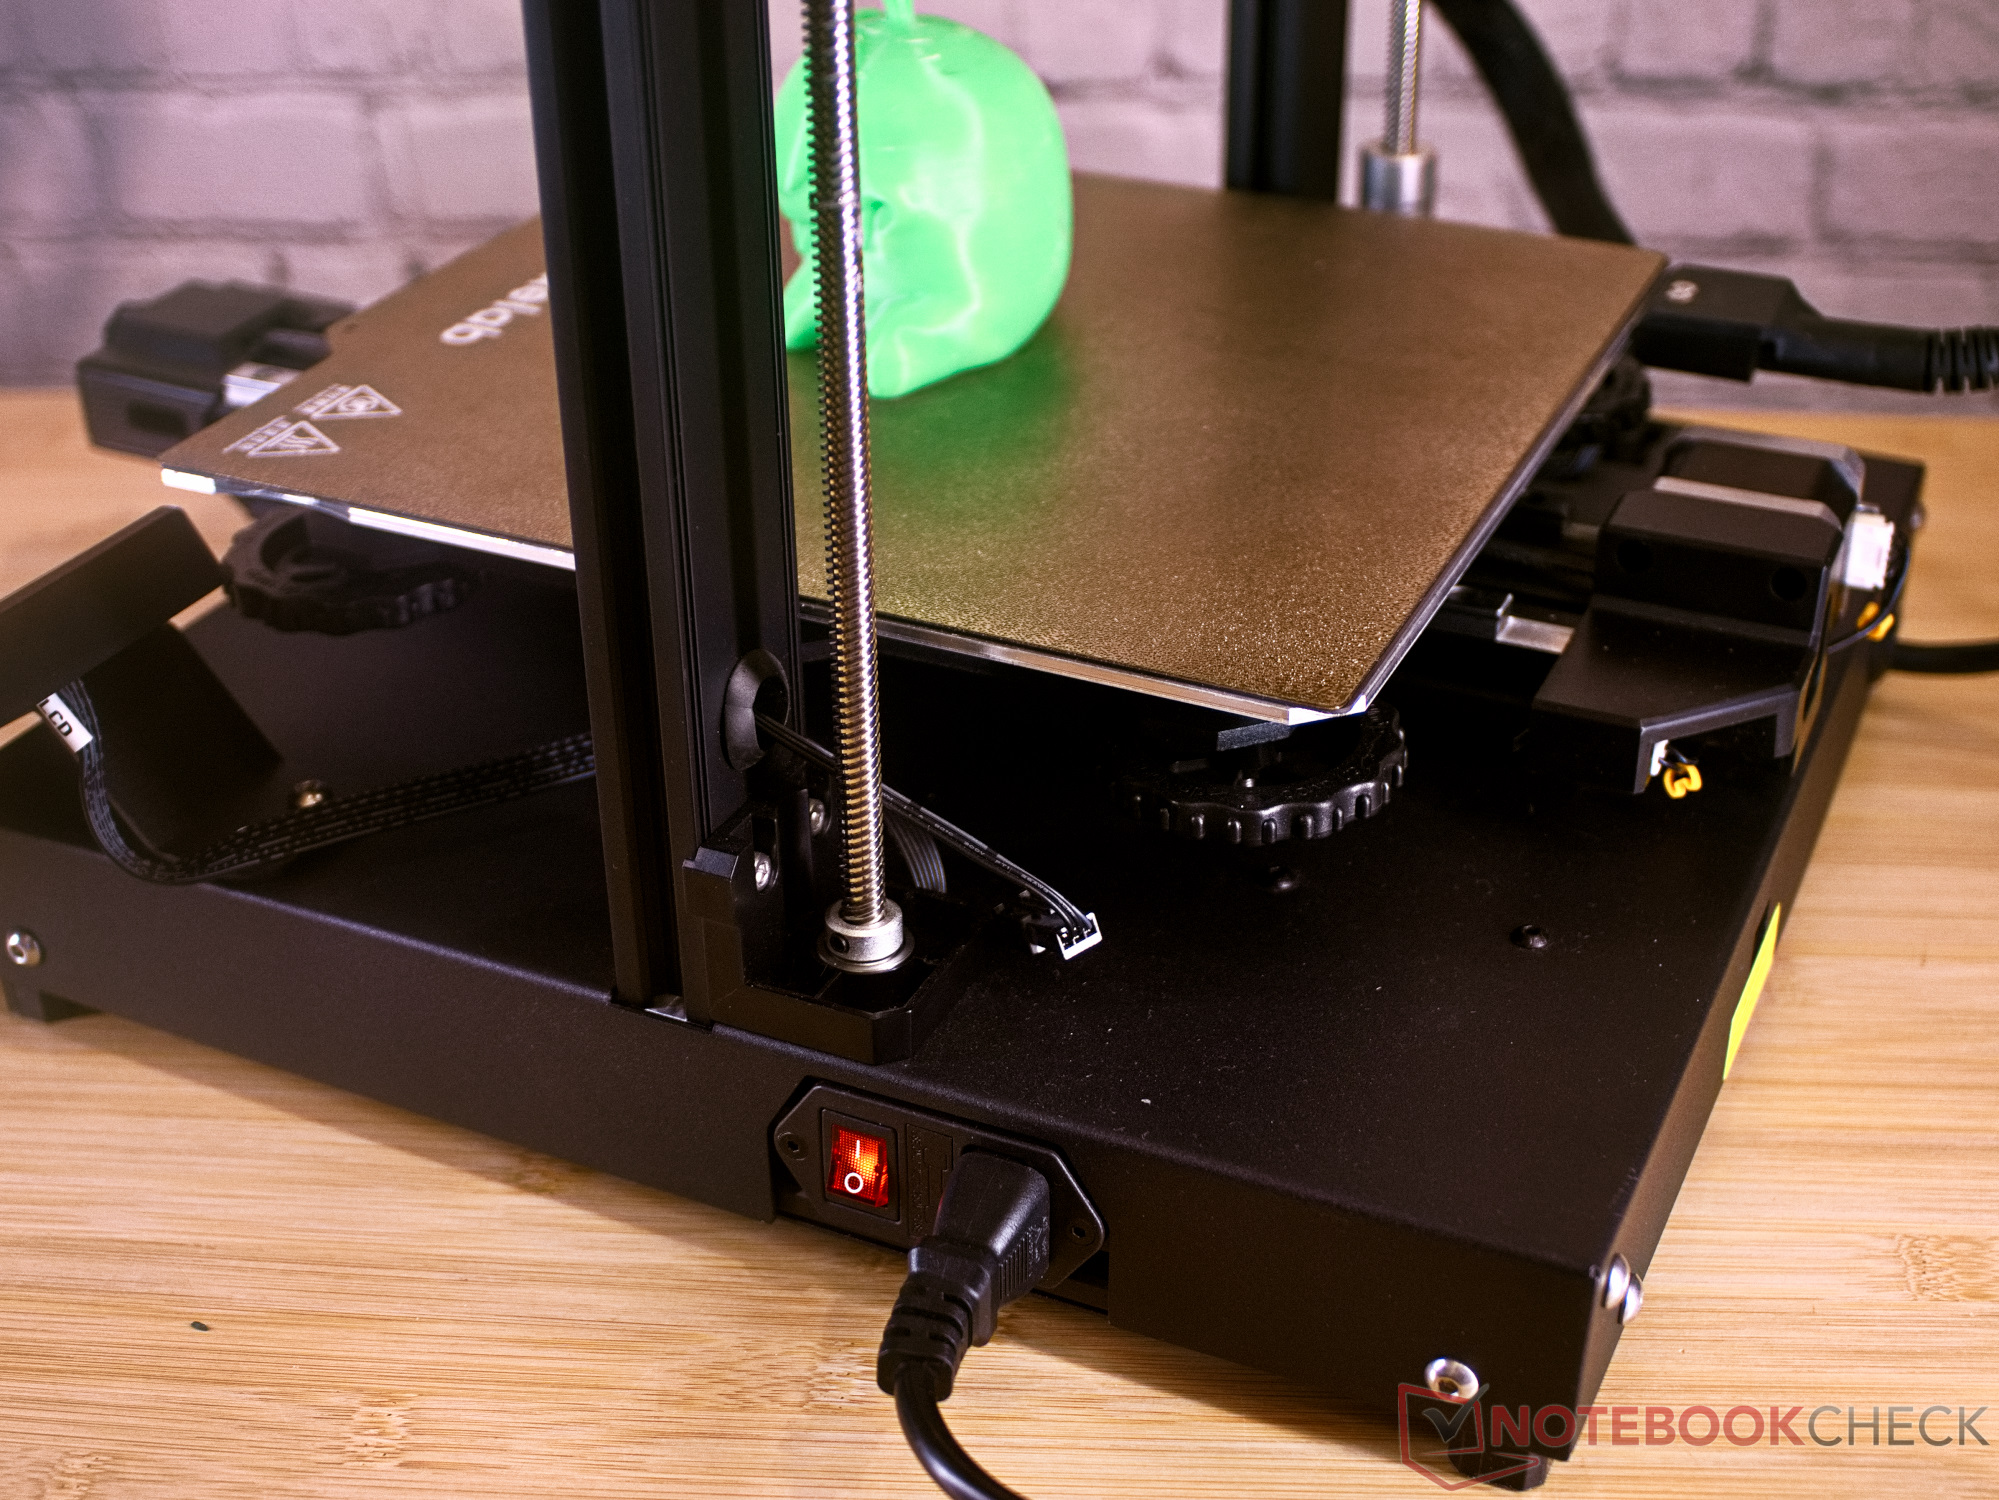
| Power supply | internal 110-240 V to 24 V power supply unit |
| Manufacturer page | Voxelab |
Construction and cable management
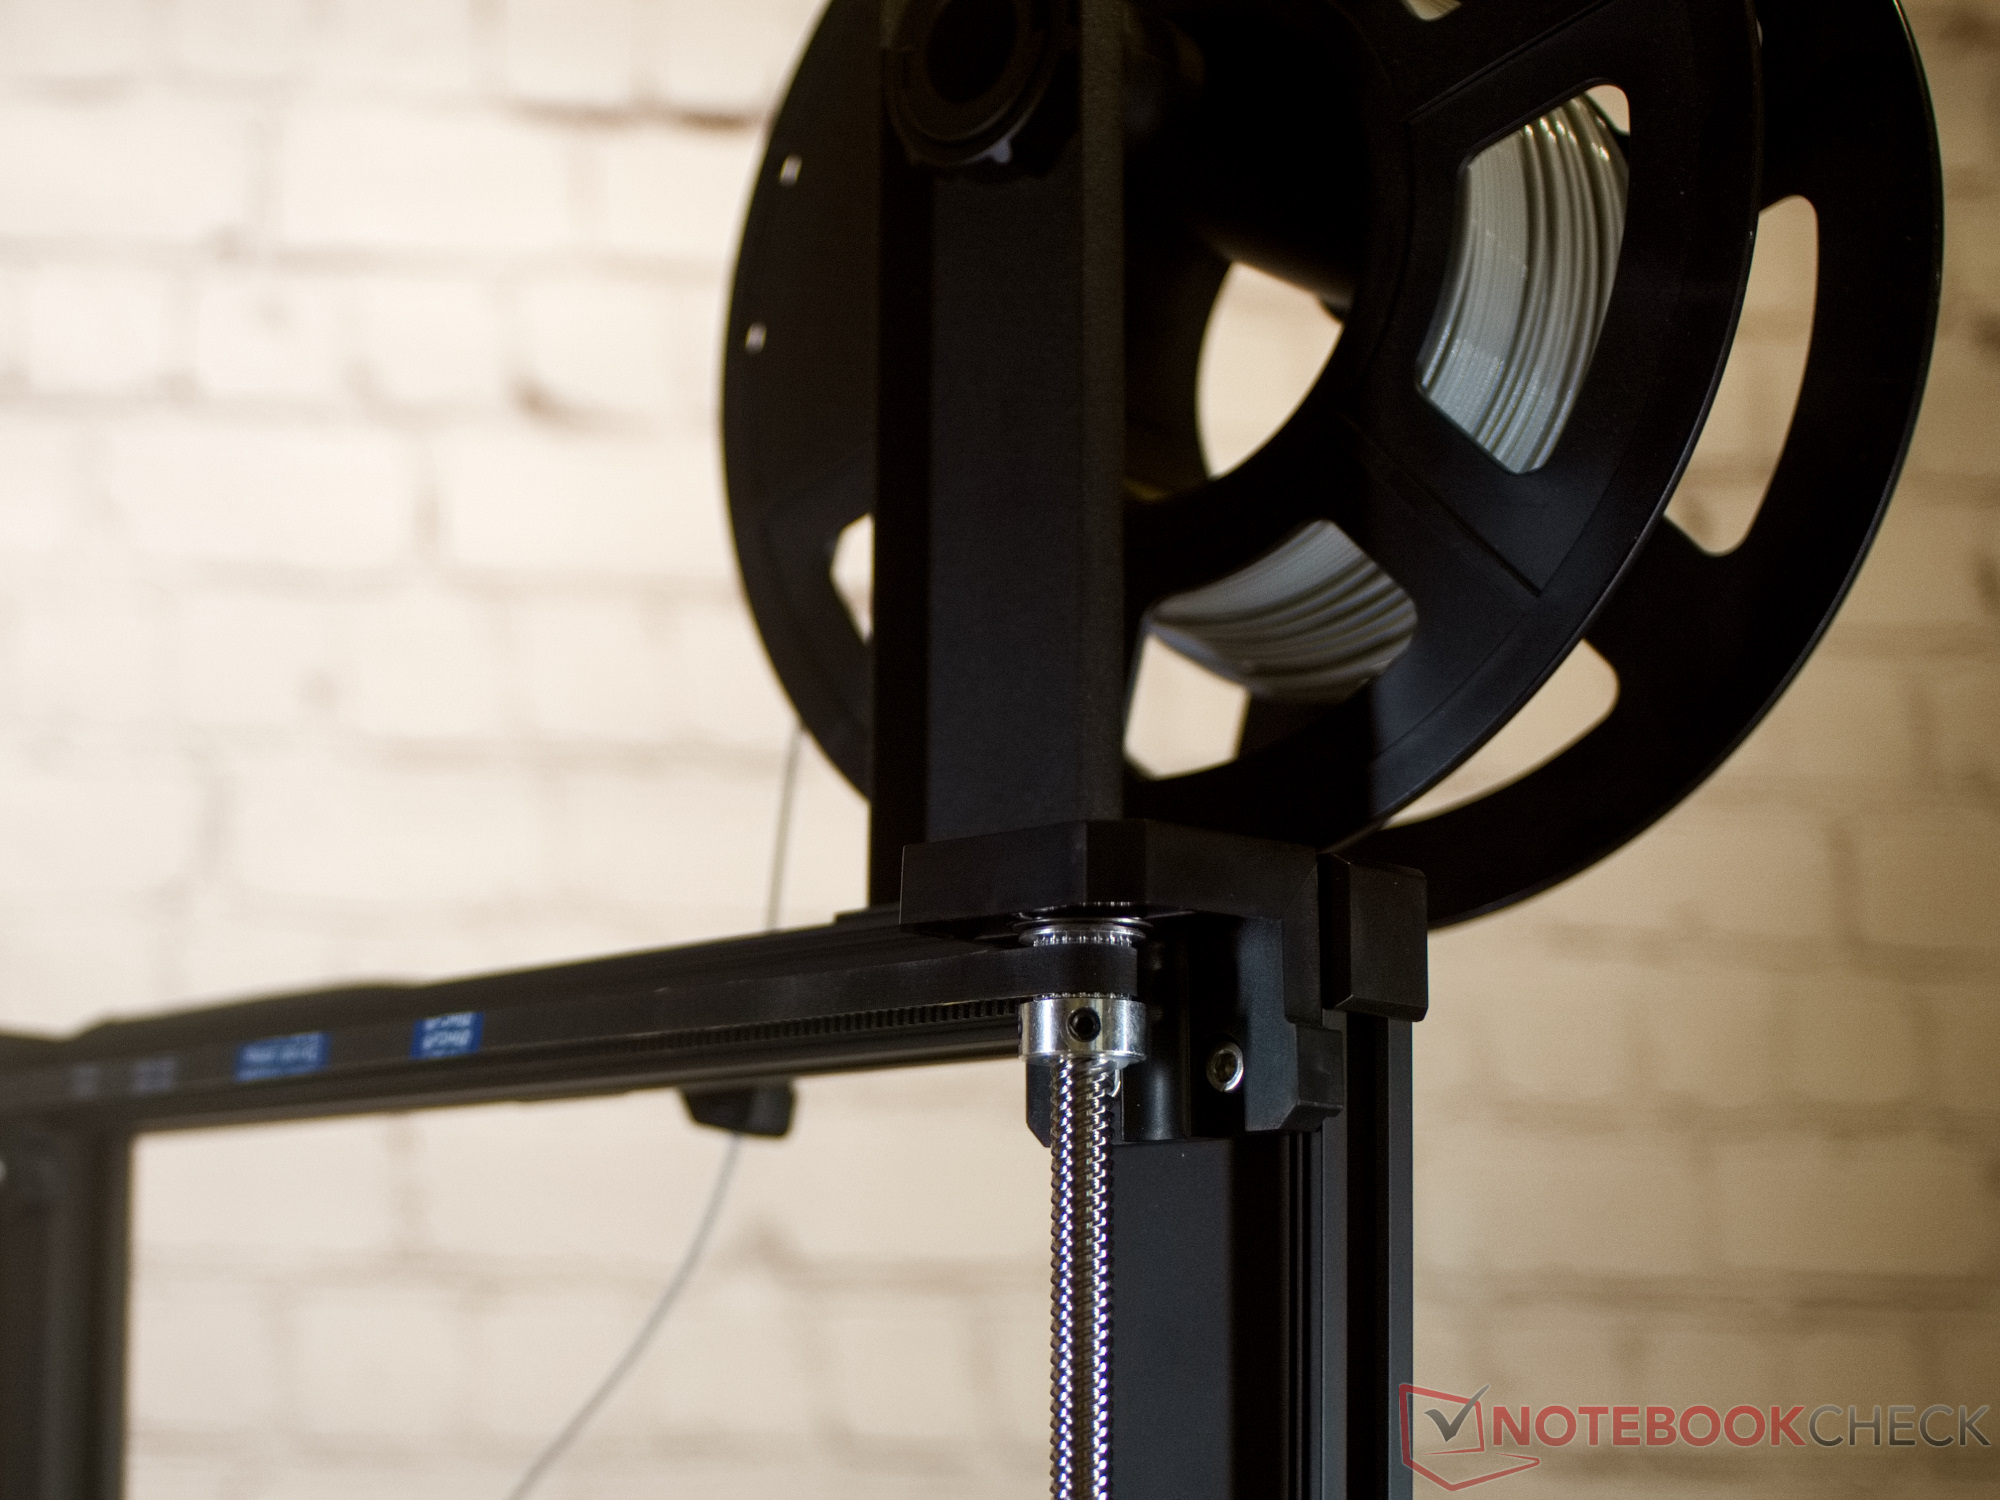
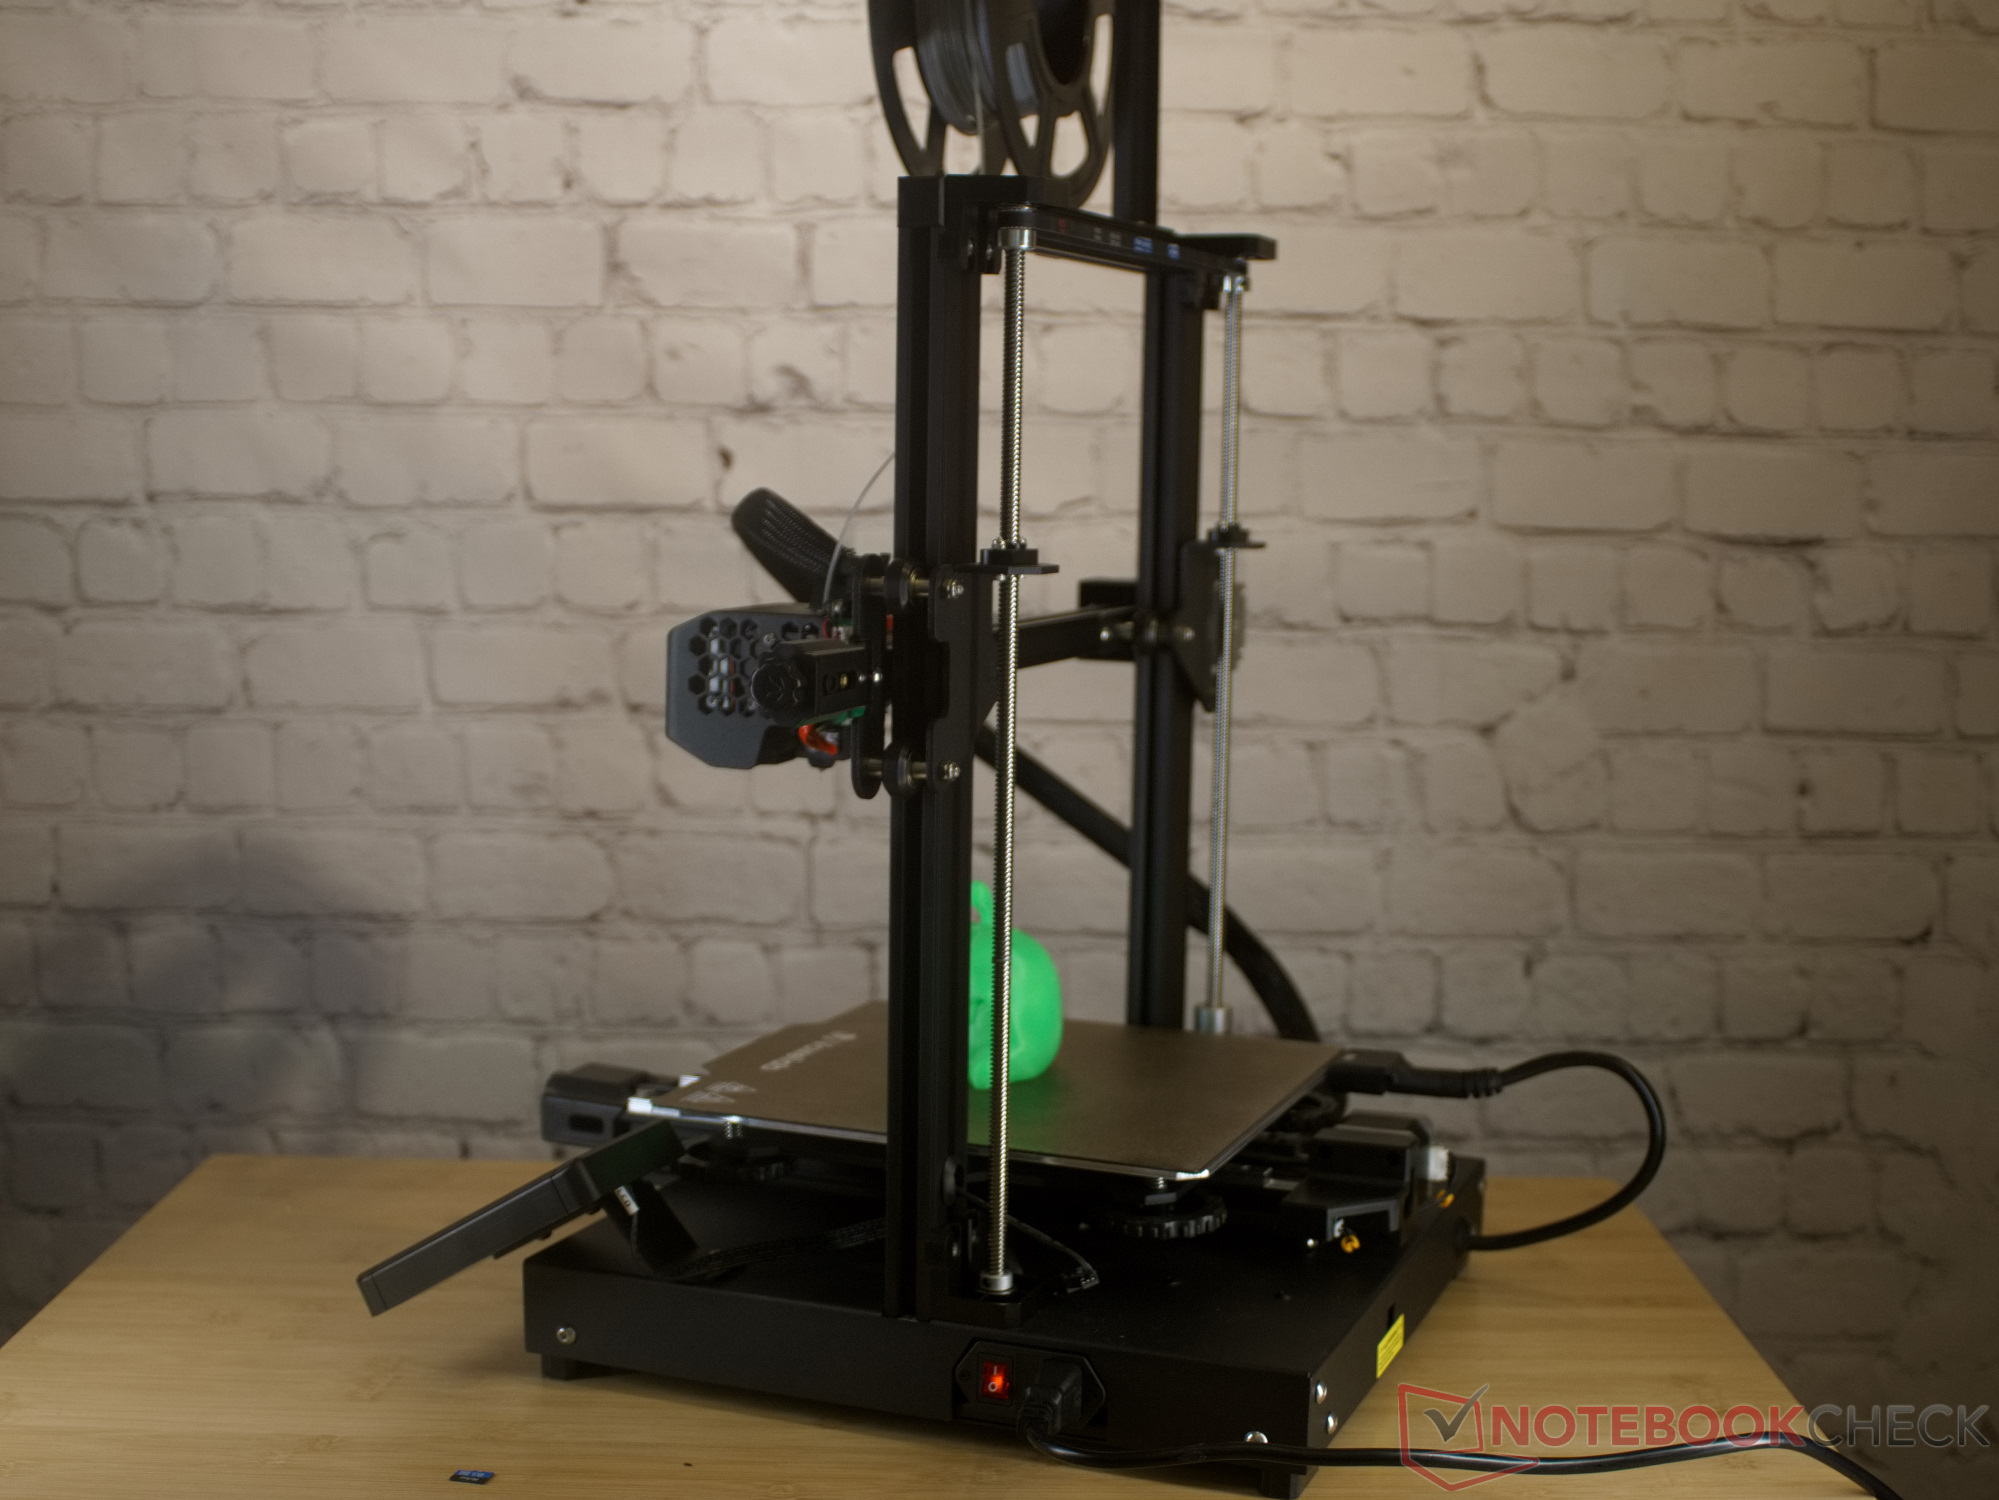
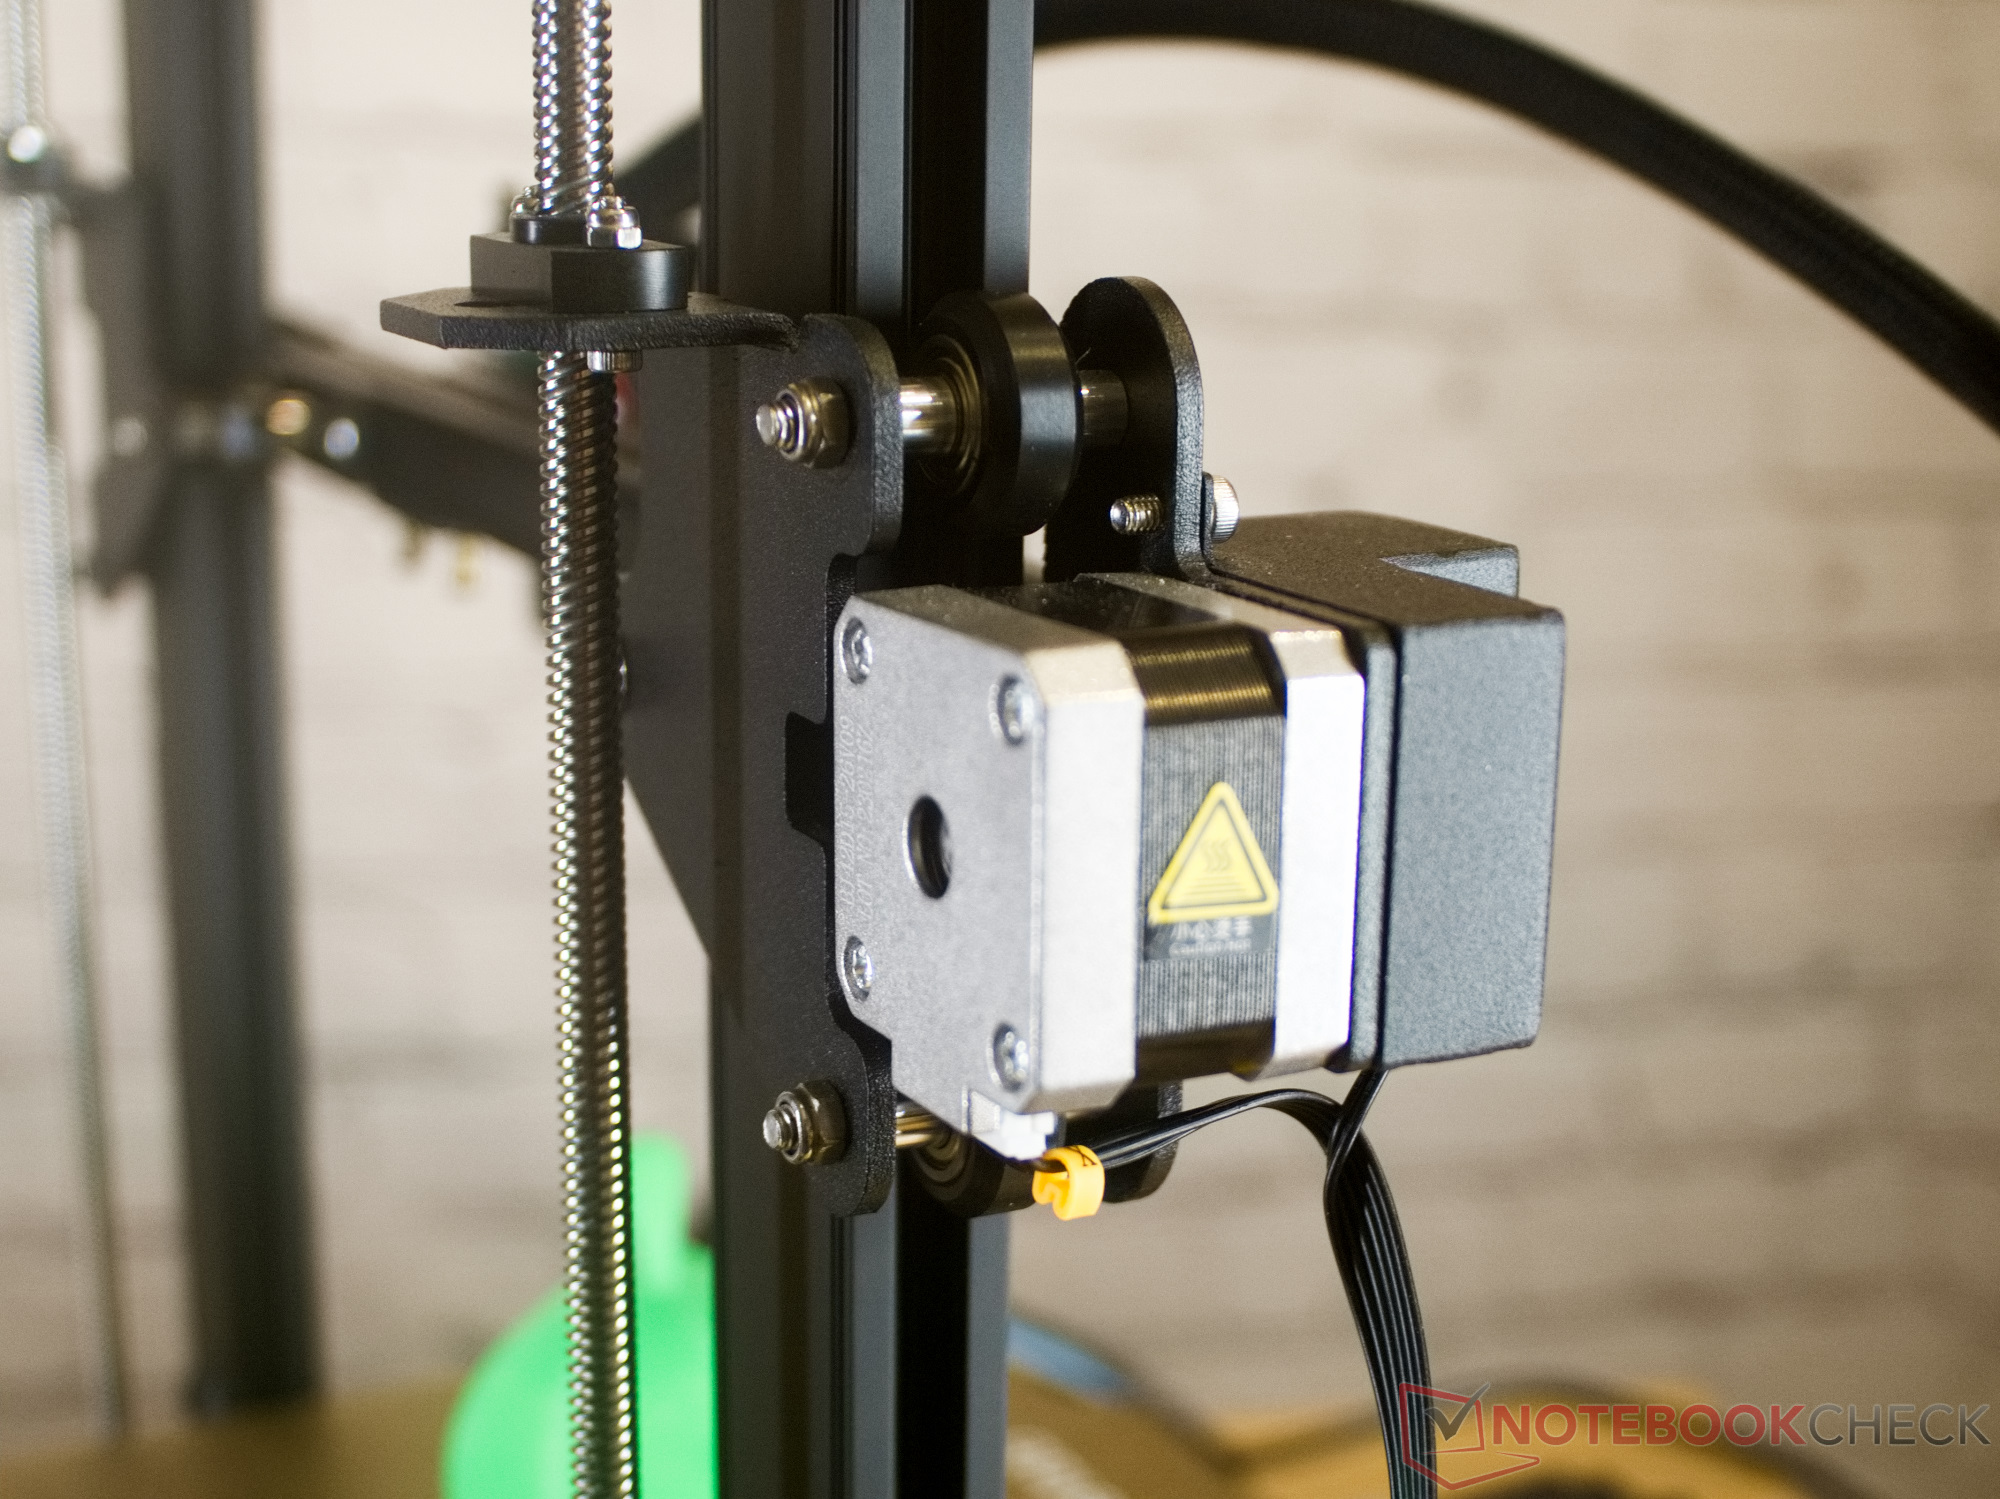
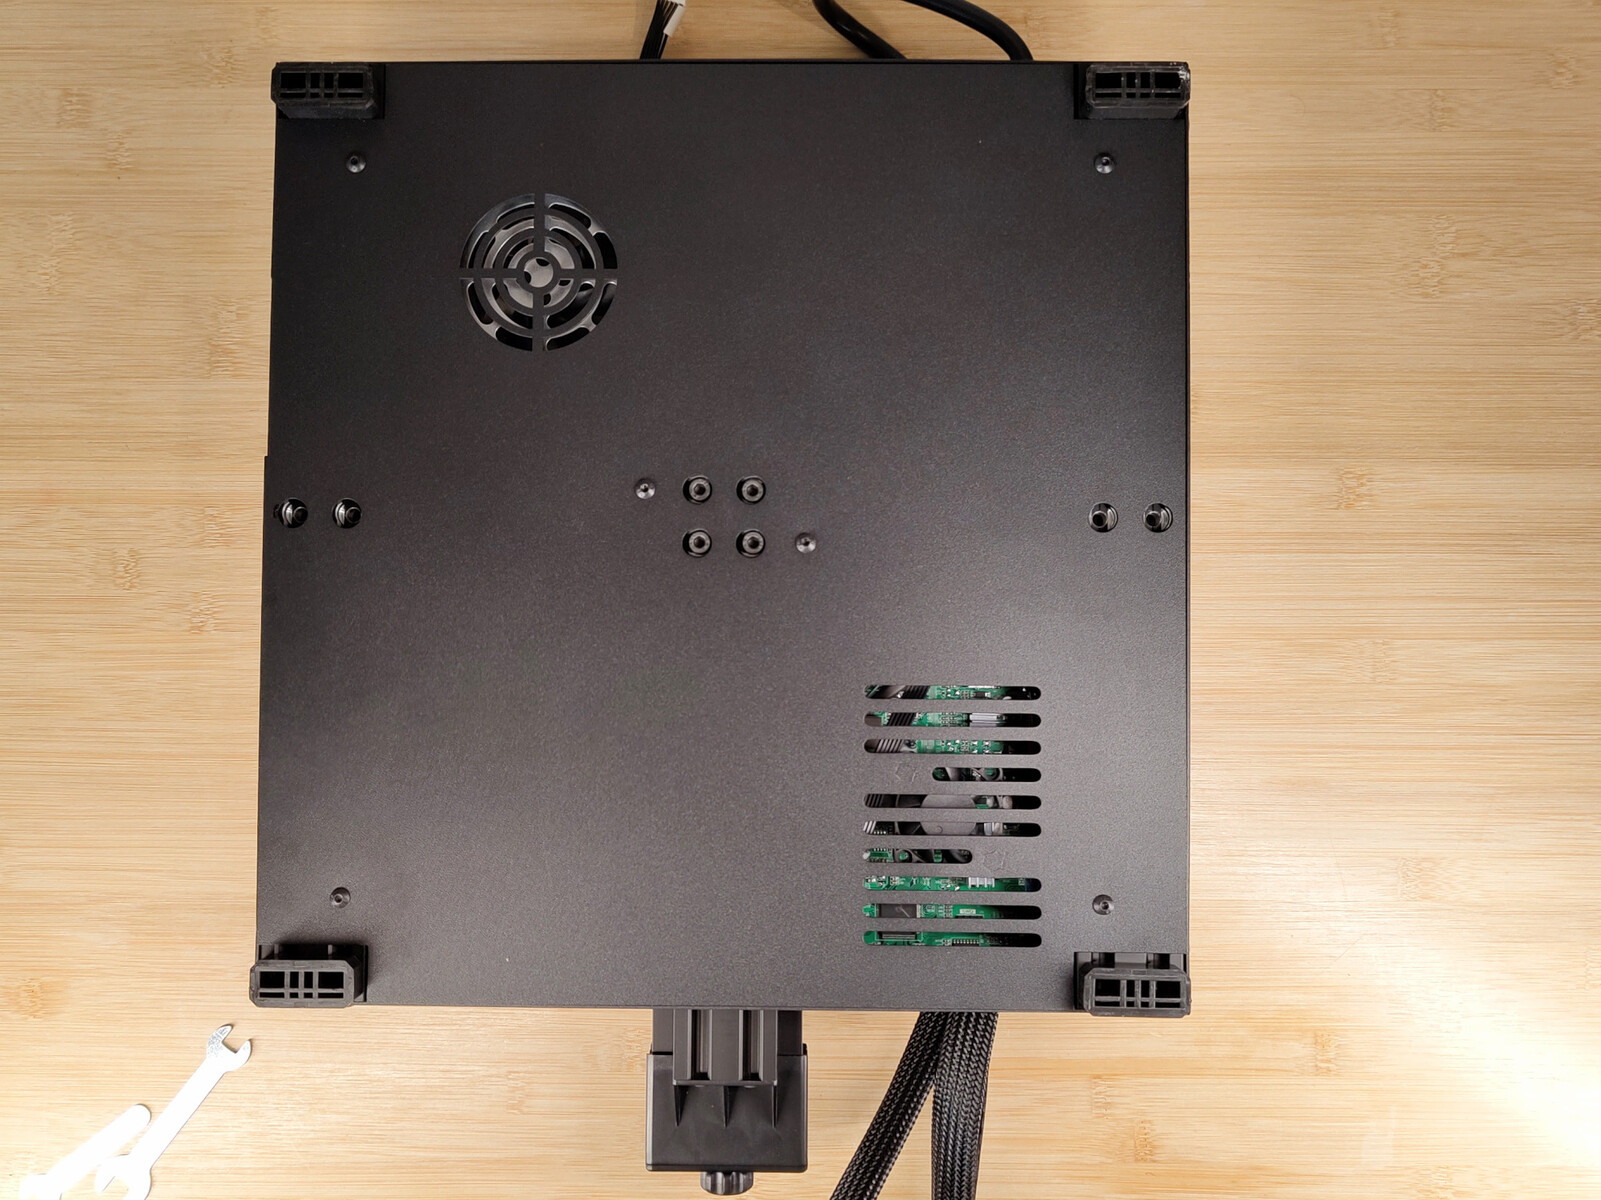
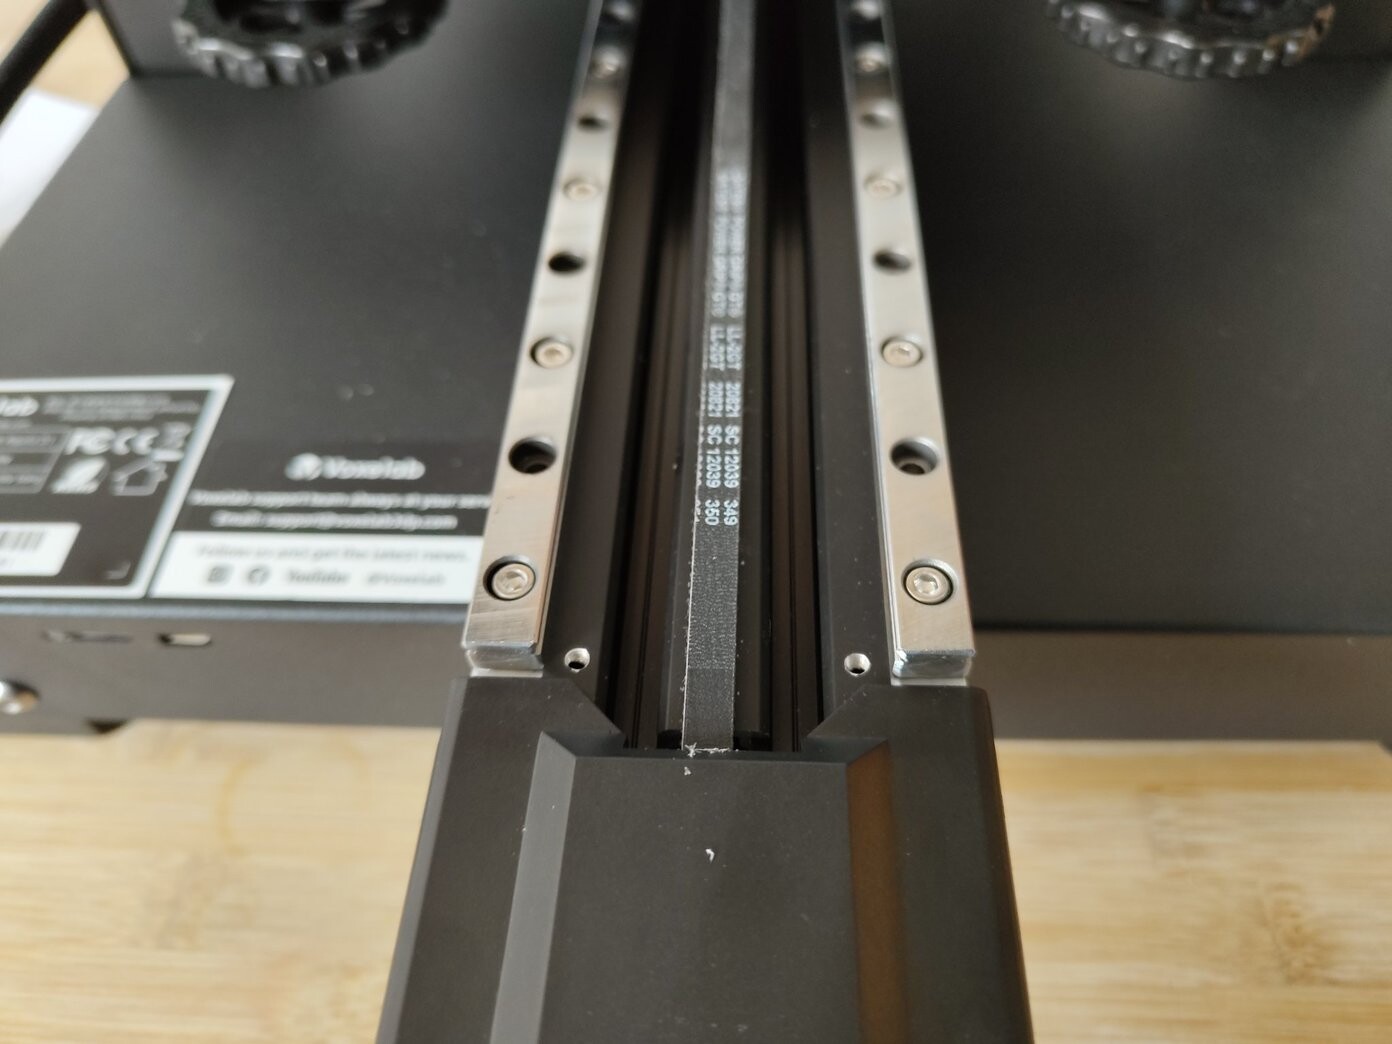
Voxelab relies on the typical V-slot aluminum profiles in the design of the Aquila D1. However, these are only used here on the Z-axis to serve as a guide for Delrin rollers. X- and Y-axis are equipped with MGN linear bearings and the corresponding rails. These are supposed to provide almost frictionless running of the components while also being highly precise. For a clean look here, the entire base is now encased in powder-coated sheet steel. In addition, the drive units of the X and Y axes are also provided with a protective cover, which protects both the printer from dirt and the user from injury. The installed linear bearings of the MGN9H type are extremely accurate, but also hardly forgive manufacturing inaccuracies. For example, the two guide rails of the Y-axis would have to run exactly parallel with a tolerance of about 0.15, and their corresponding counterparts, the linear bearings, would also have to be mounted as precisely. As long as our test device is cold, the rails run very smoothly, which speaks for precise assembly. But here we already find a problem with the Aquila D1 in the first pressure test.


Cable management
From the outside, the cable management here corresponds to the standard. The usual cable harnesses lead to components like the print head, drive motors, and print bed. While we find a strain relief for the cable harness to the print bed, it is mainly the cable harness to the X-axis and the print head that worries us here. There is no strain relief for the cable harnesses here. All the forces have to be absorbed by the connectors. Problems could arise here in the long run.
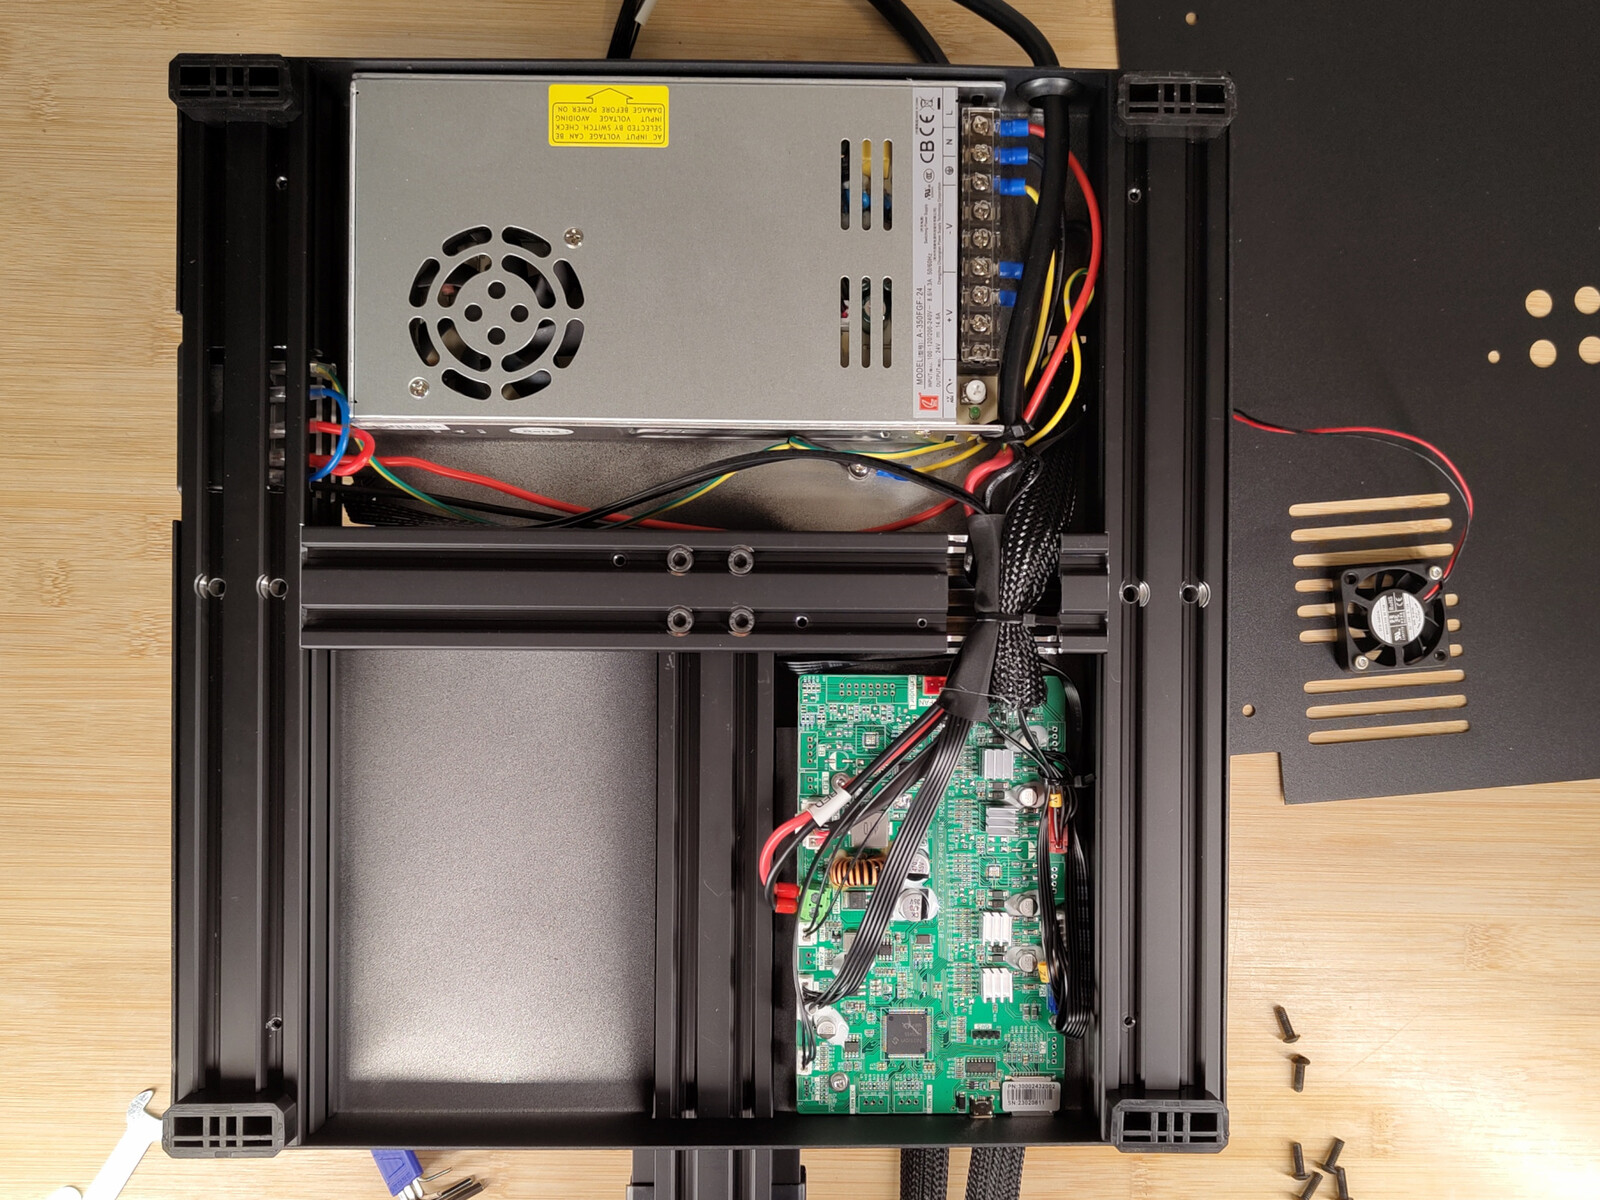
On the other hand, we find good cable management under the base cover. All cable ends are equipped with appropriate cable lugs, and the protective conductor is connected to the case and frame at several points. Thus, we can also track the connection to the protective conductor on all modules via a multimeter.
Mainboard
Under the base cover, we also find the control center of the Aquila D1. The mainboard is labeled FFP0261_MainBoard_V1.0.2 - probably an in-house development by Aquila. The same minimalism comes into play here, which we have already seen and criticized in devices like the Anycubic Cobra 2. The 3D printer hardly offers any expansion options with this board, and many connections are proprietary. The Nation N32G455 VB/C is used as the microcontroller, a 32-bit ARM Cortex M4 core clocks at a maximum of 144 MHz. Four stepper motor drivers are soldered directly onto the board. In this case, the drivers are the Ruimeng Technology MS35775. Like TMC stepper motor drivers, these offer 256-part step interpolation, but they do not ensure such quiet movements as the chips from the German manufacturer.

Assembly and setup
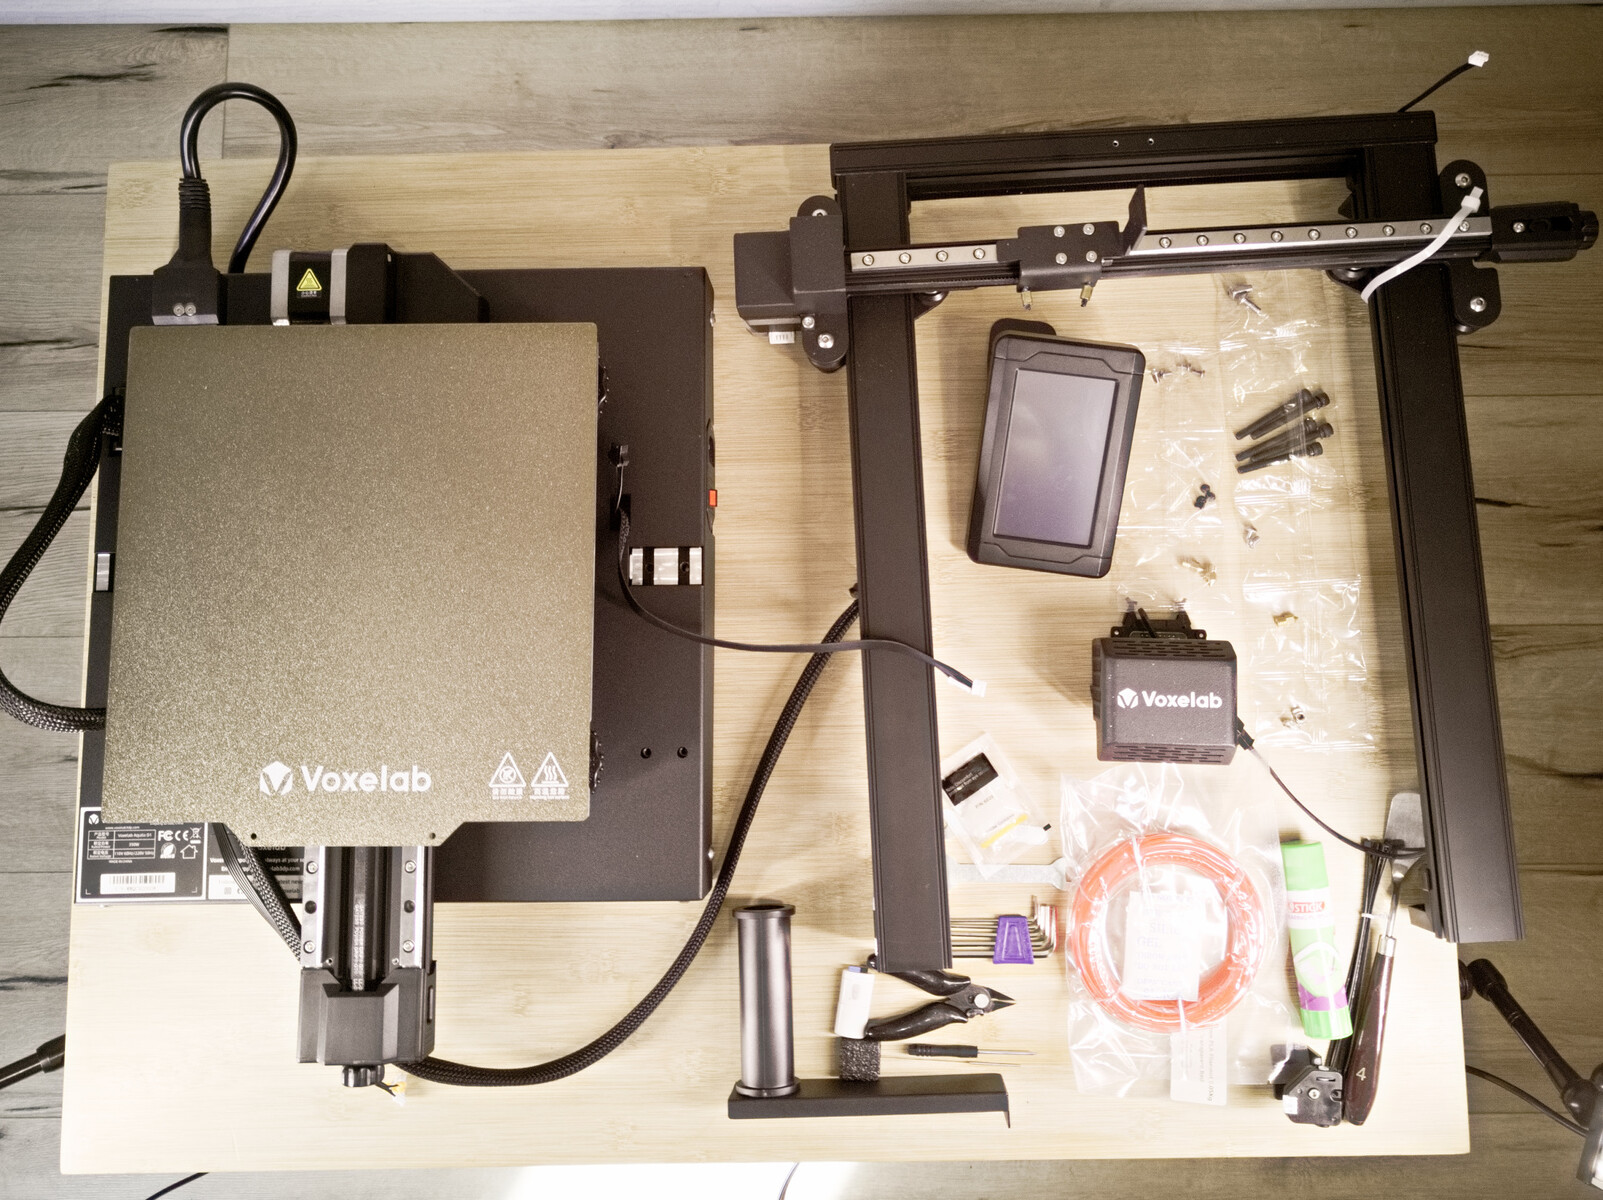

Like most 3D printers, the Voxelab Aquila D1 comes in parts. Aquila includes the tools for assembly right away and packs a few small items in the box that might be useful for later operation. As with most 3D printers of this type, assembly is not particularly complicated. Voxlab also includes a clear instruction manual. At most, the assembly of the archway is a bit fiddly, as the screws have to be screwed in from below here, as usual. We find that all parts fit together parallel and at right angles right away. So after we have adjusted the belt tensions on the two set screws and aligned the print bed with the four set screws to the print head, we can start commissioning the new machine.
That means first running through the automatic mesh bed leveling. At around eight minutes, this process takes a bit longer than with other devices. However, the 3D printer also misses the heated print bed and needs four minutes alone to get up to operating temperature.
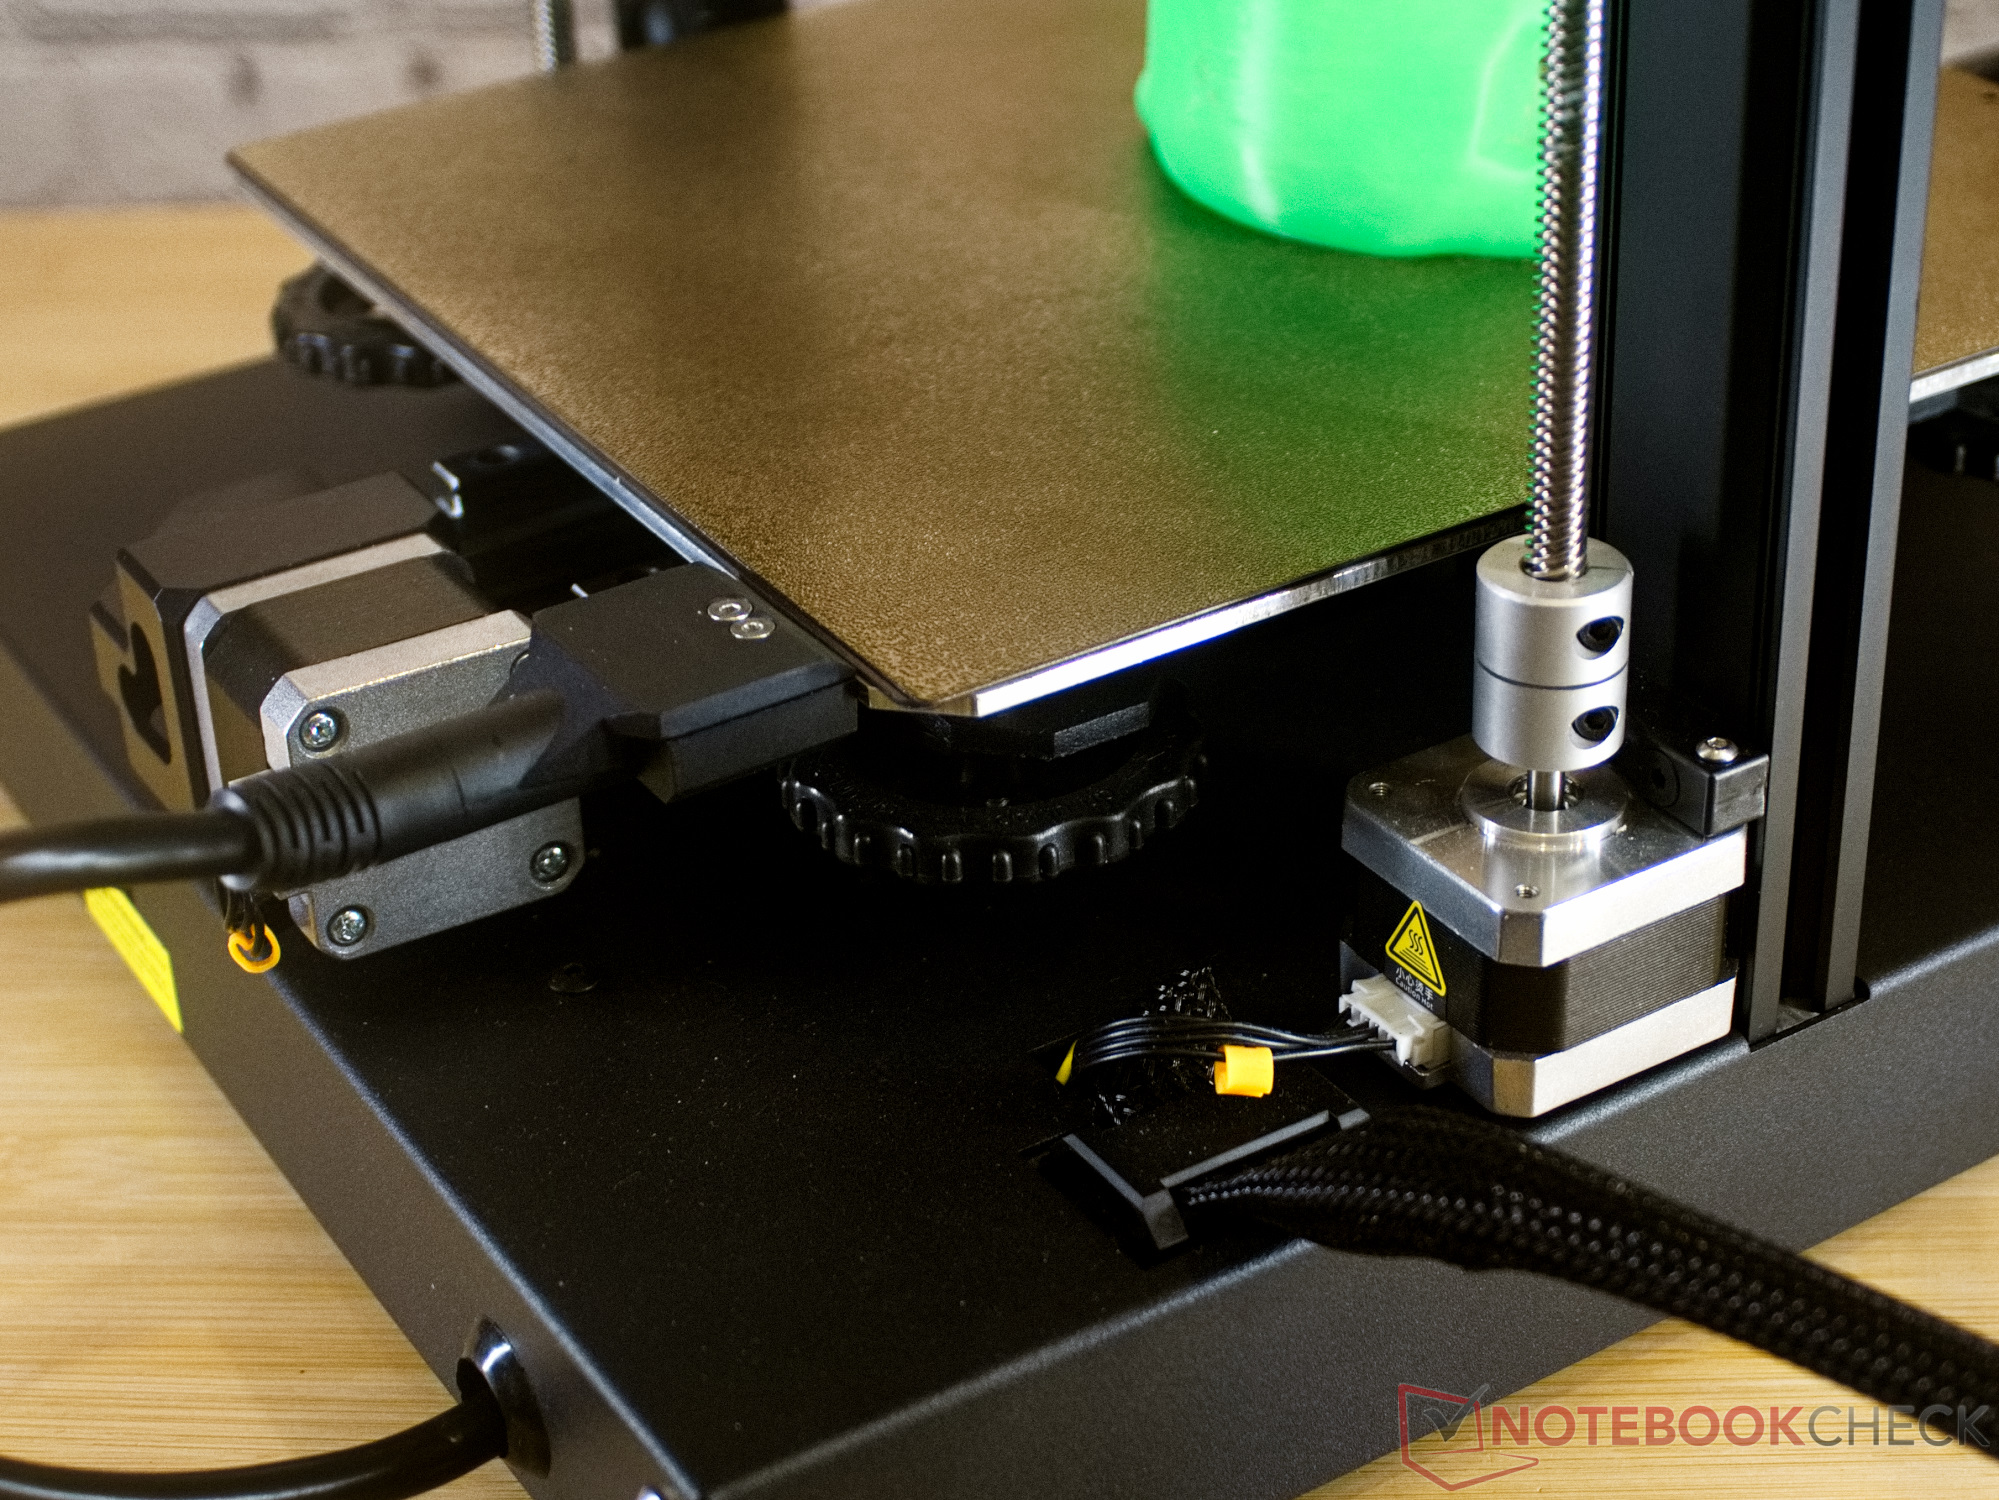
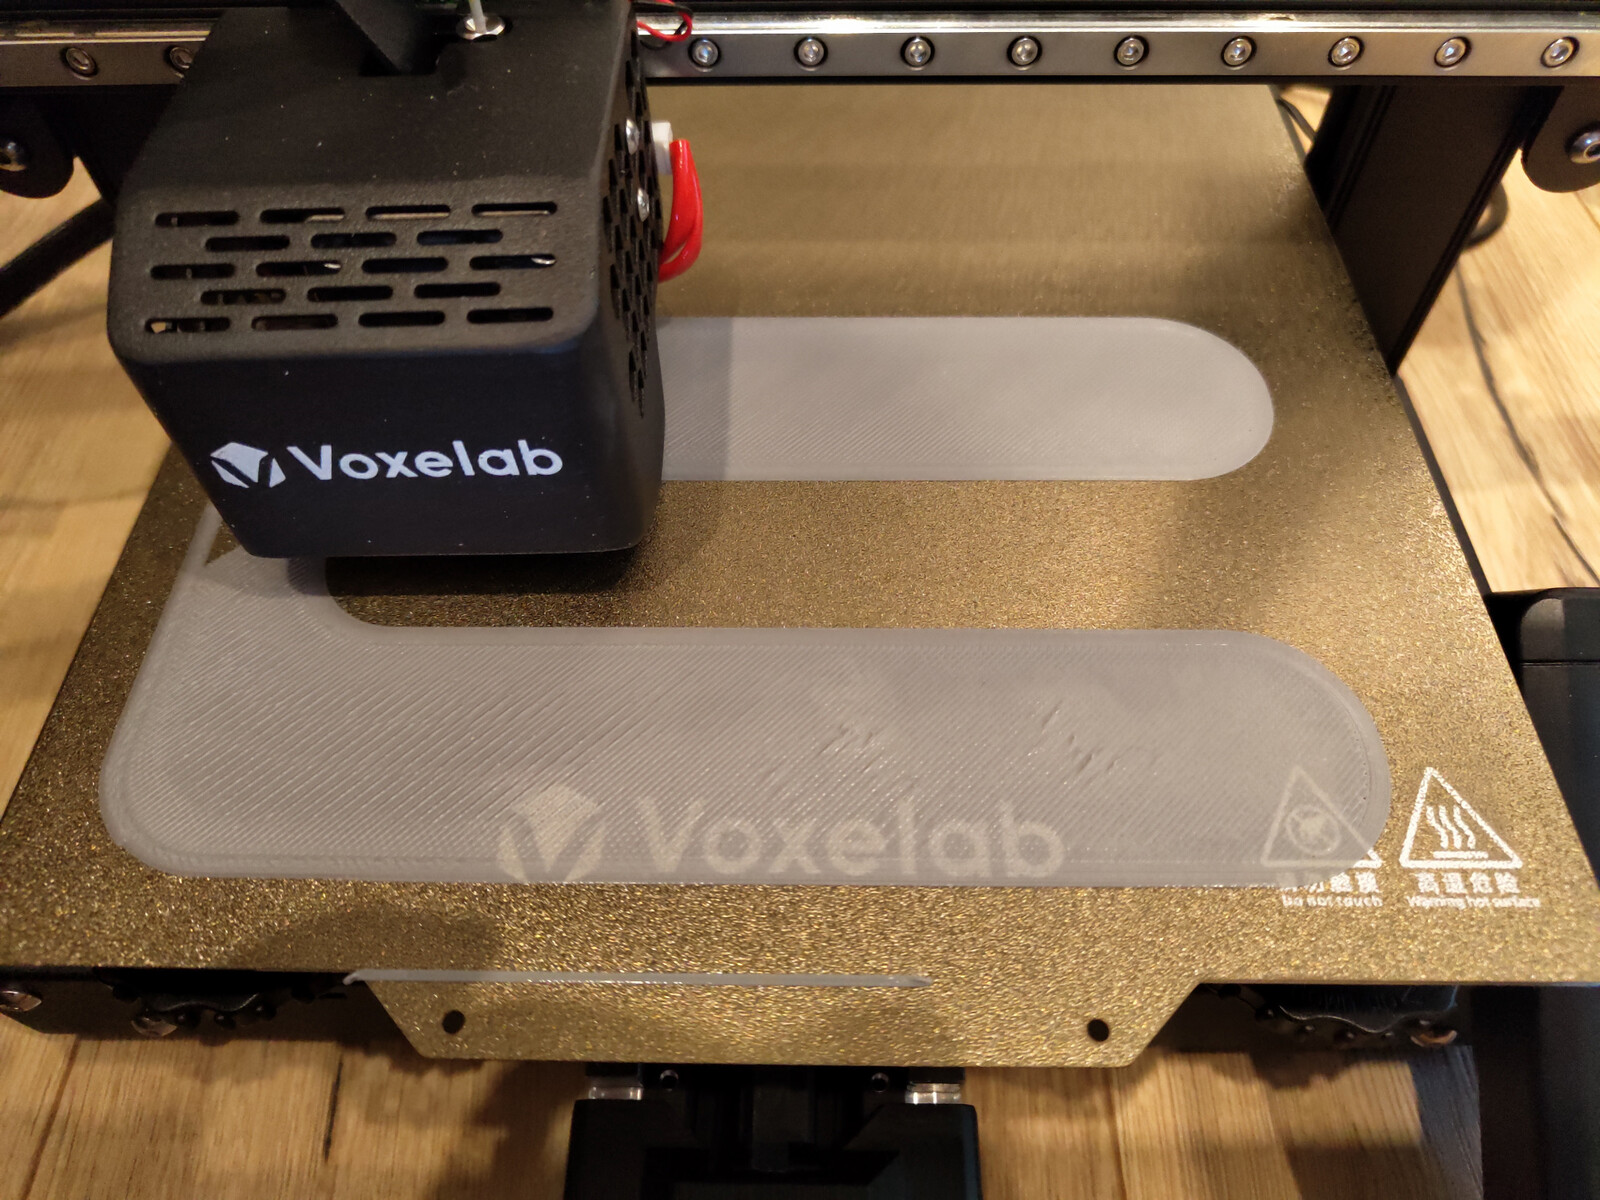
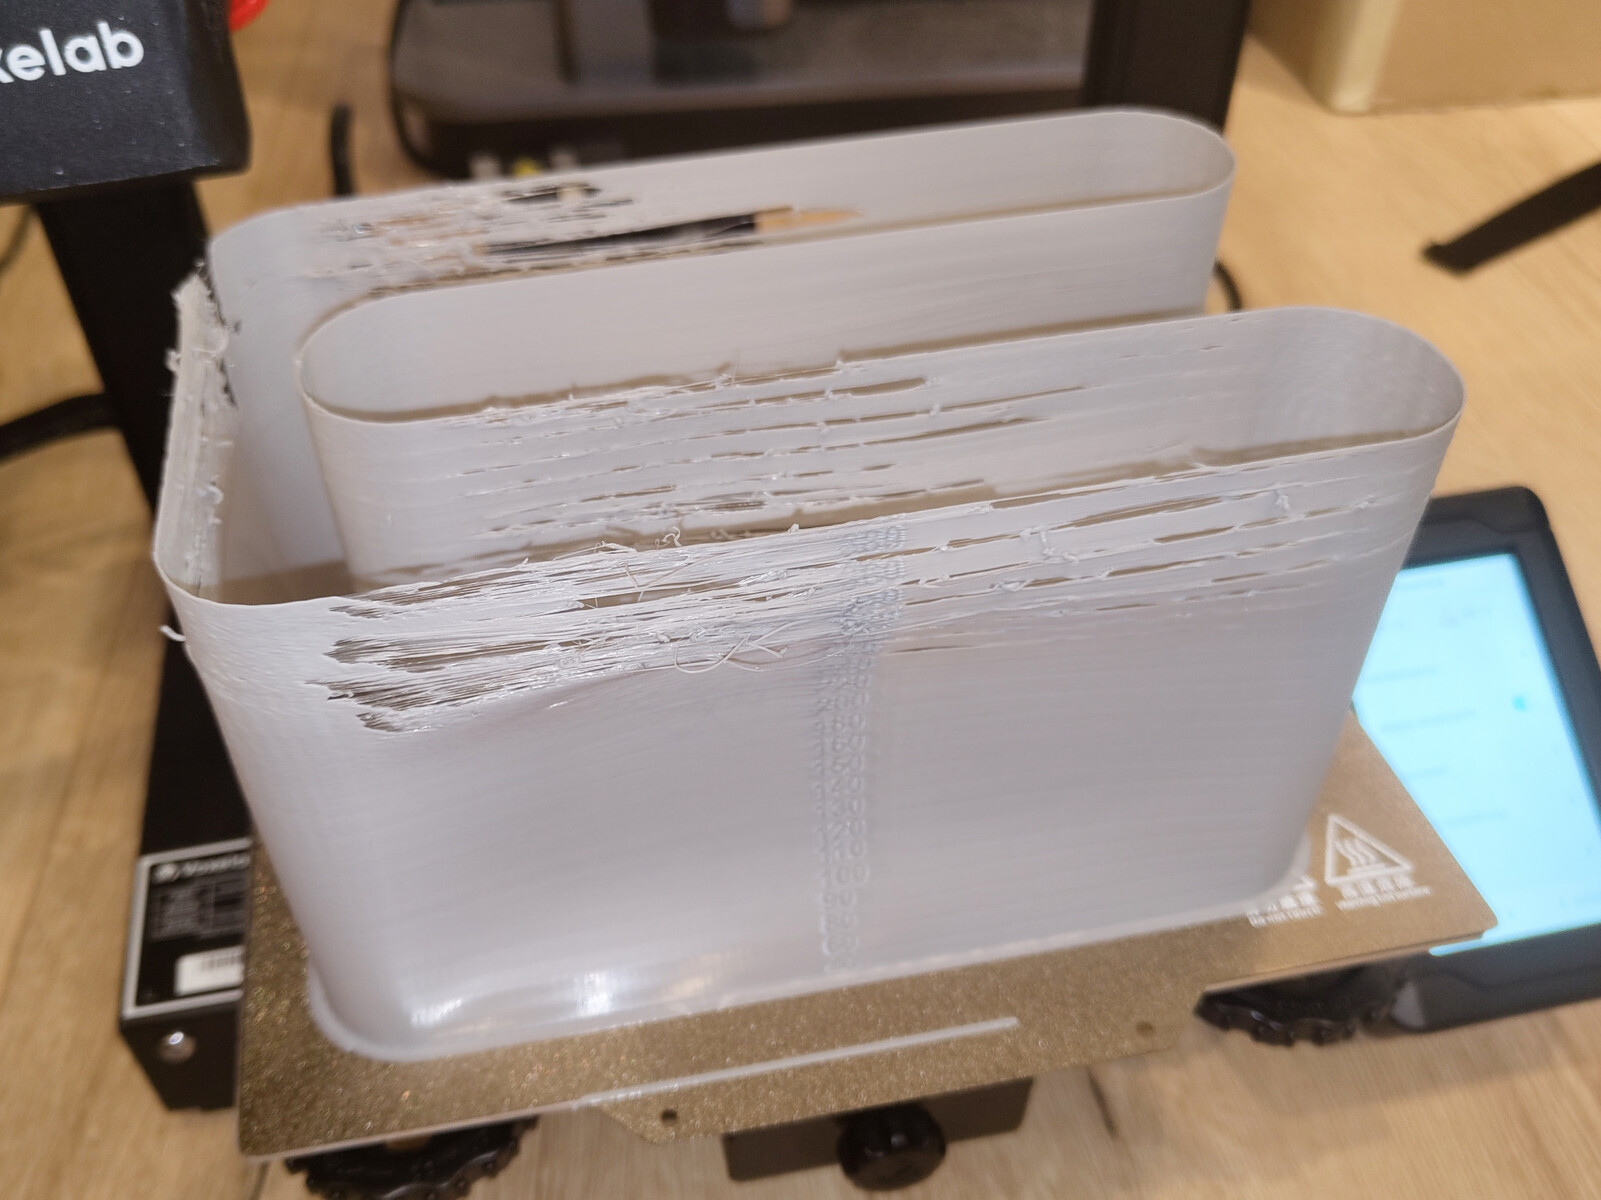
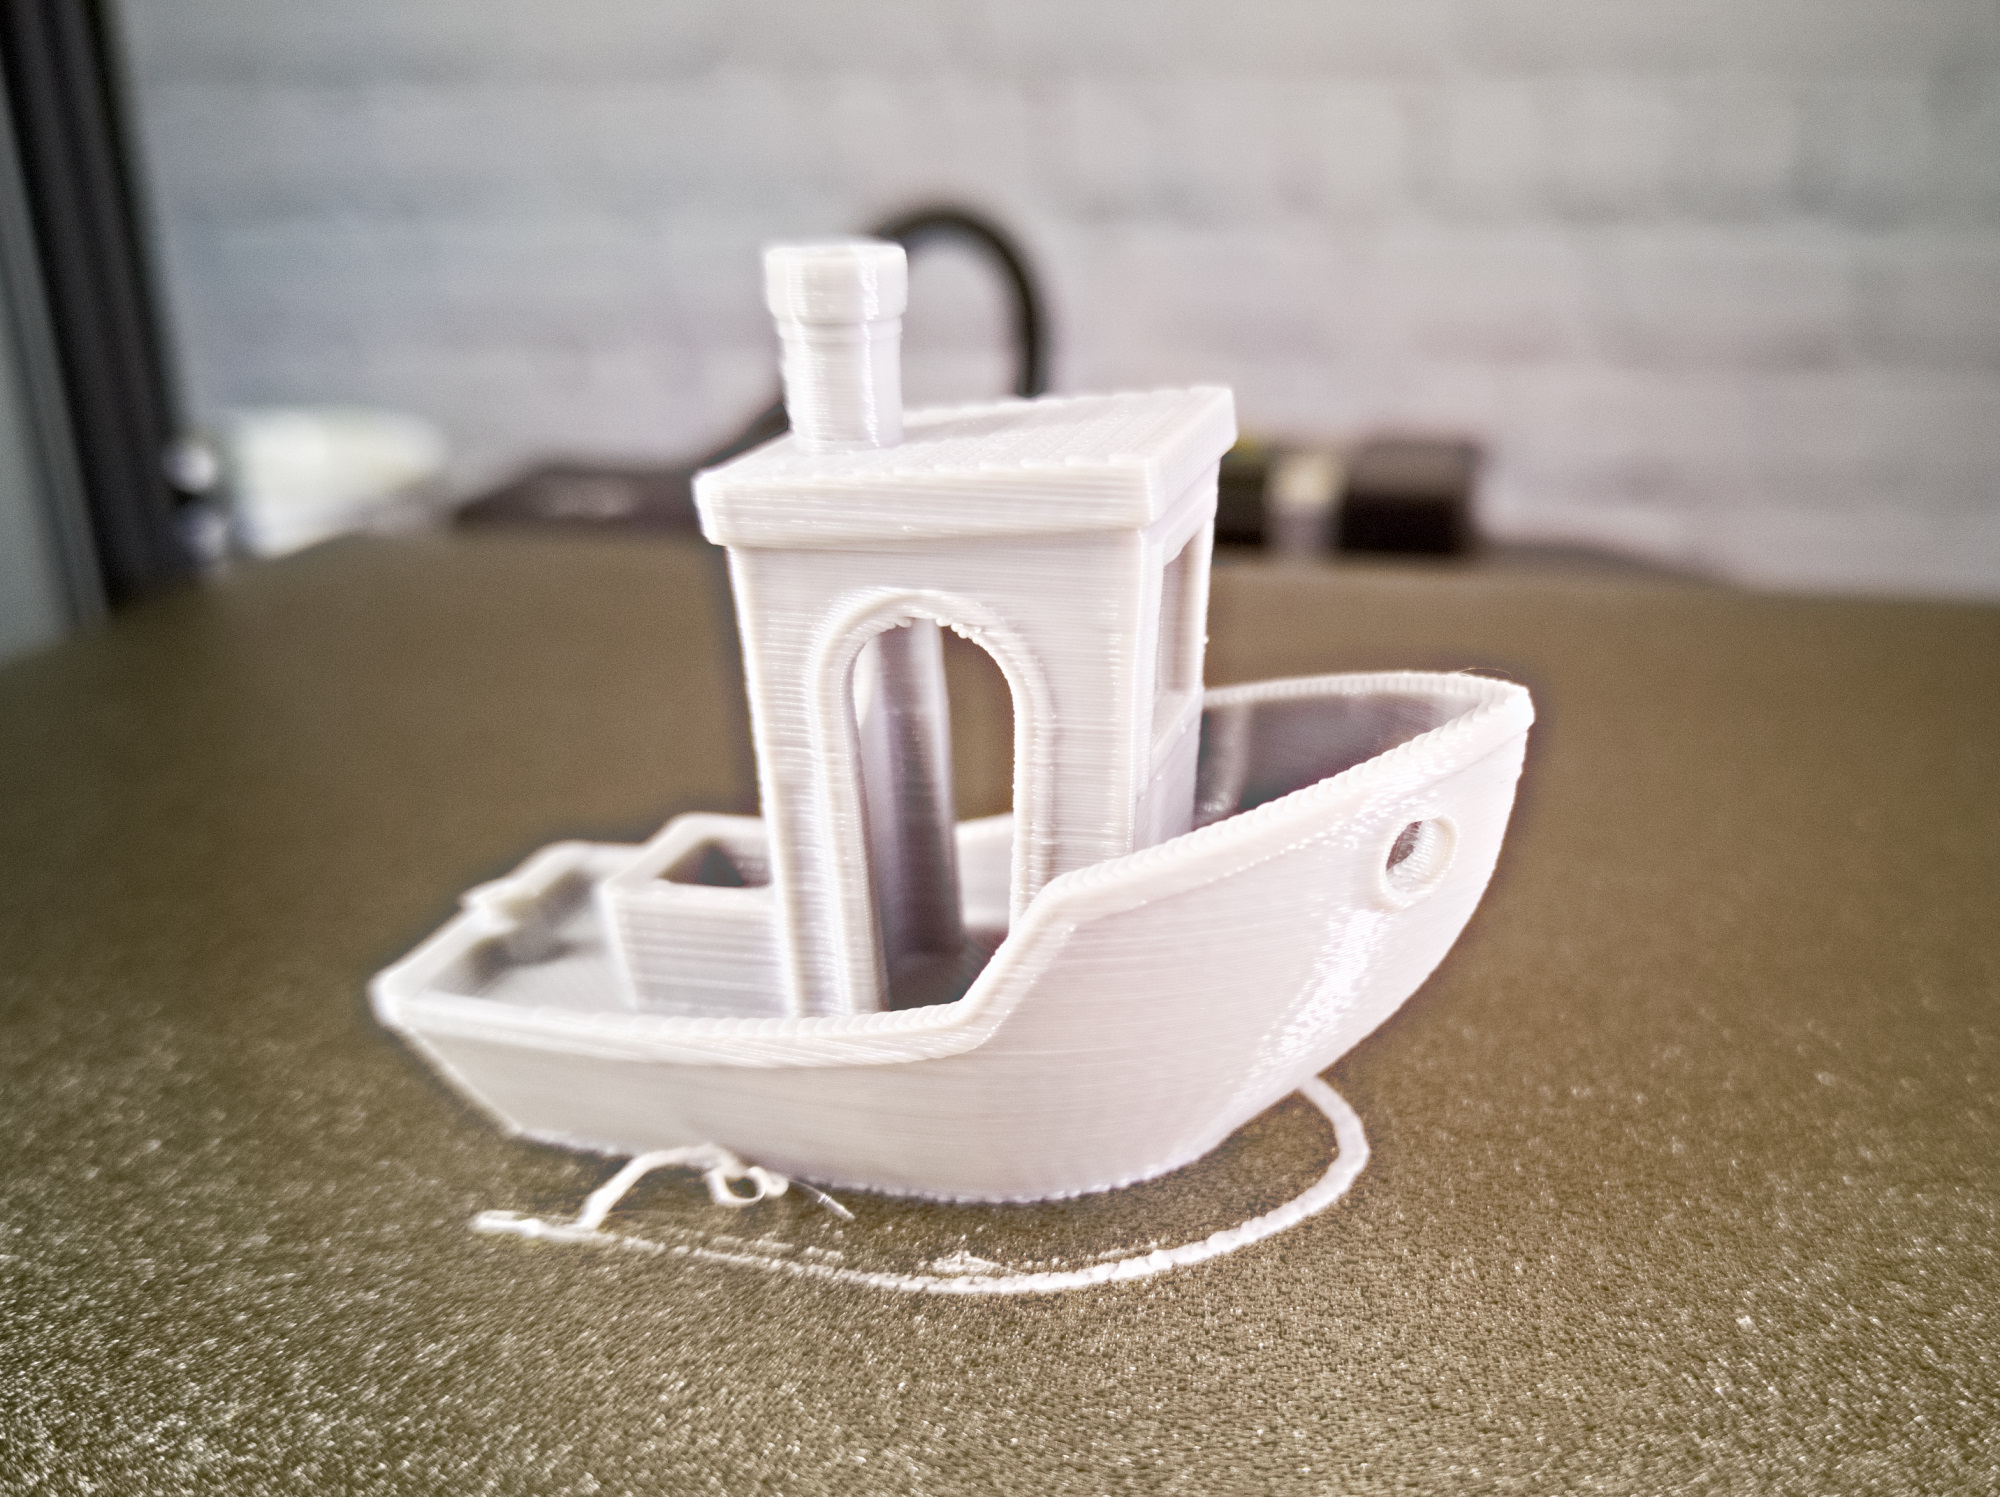
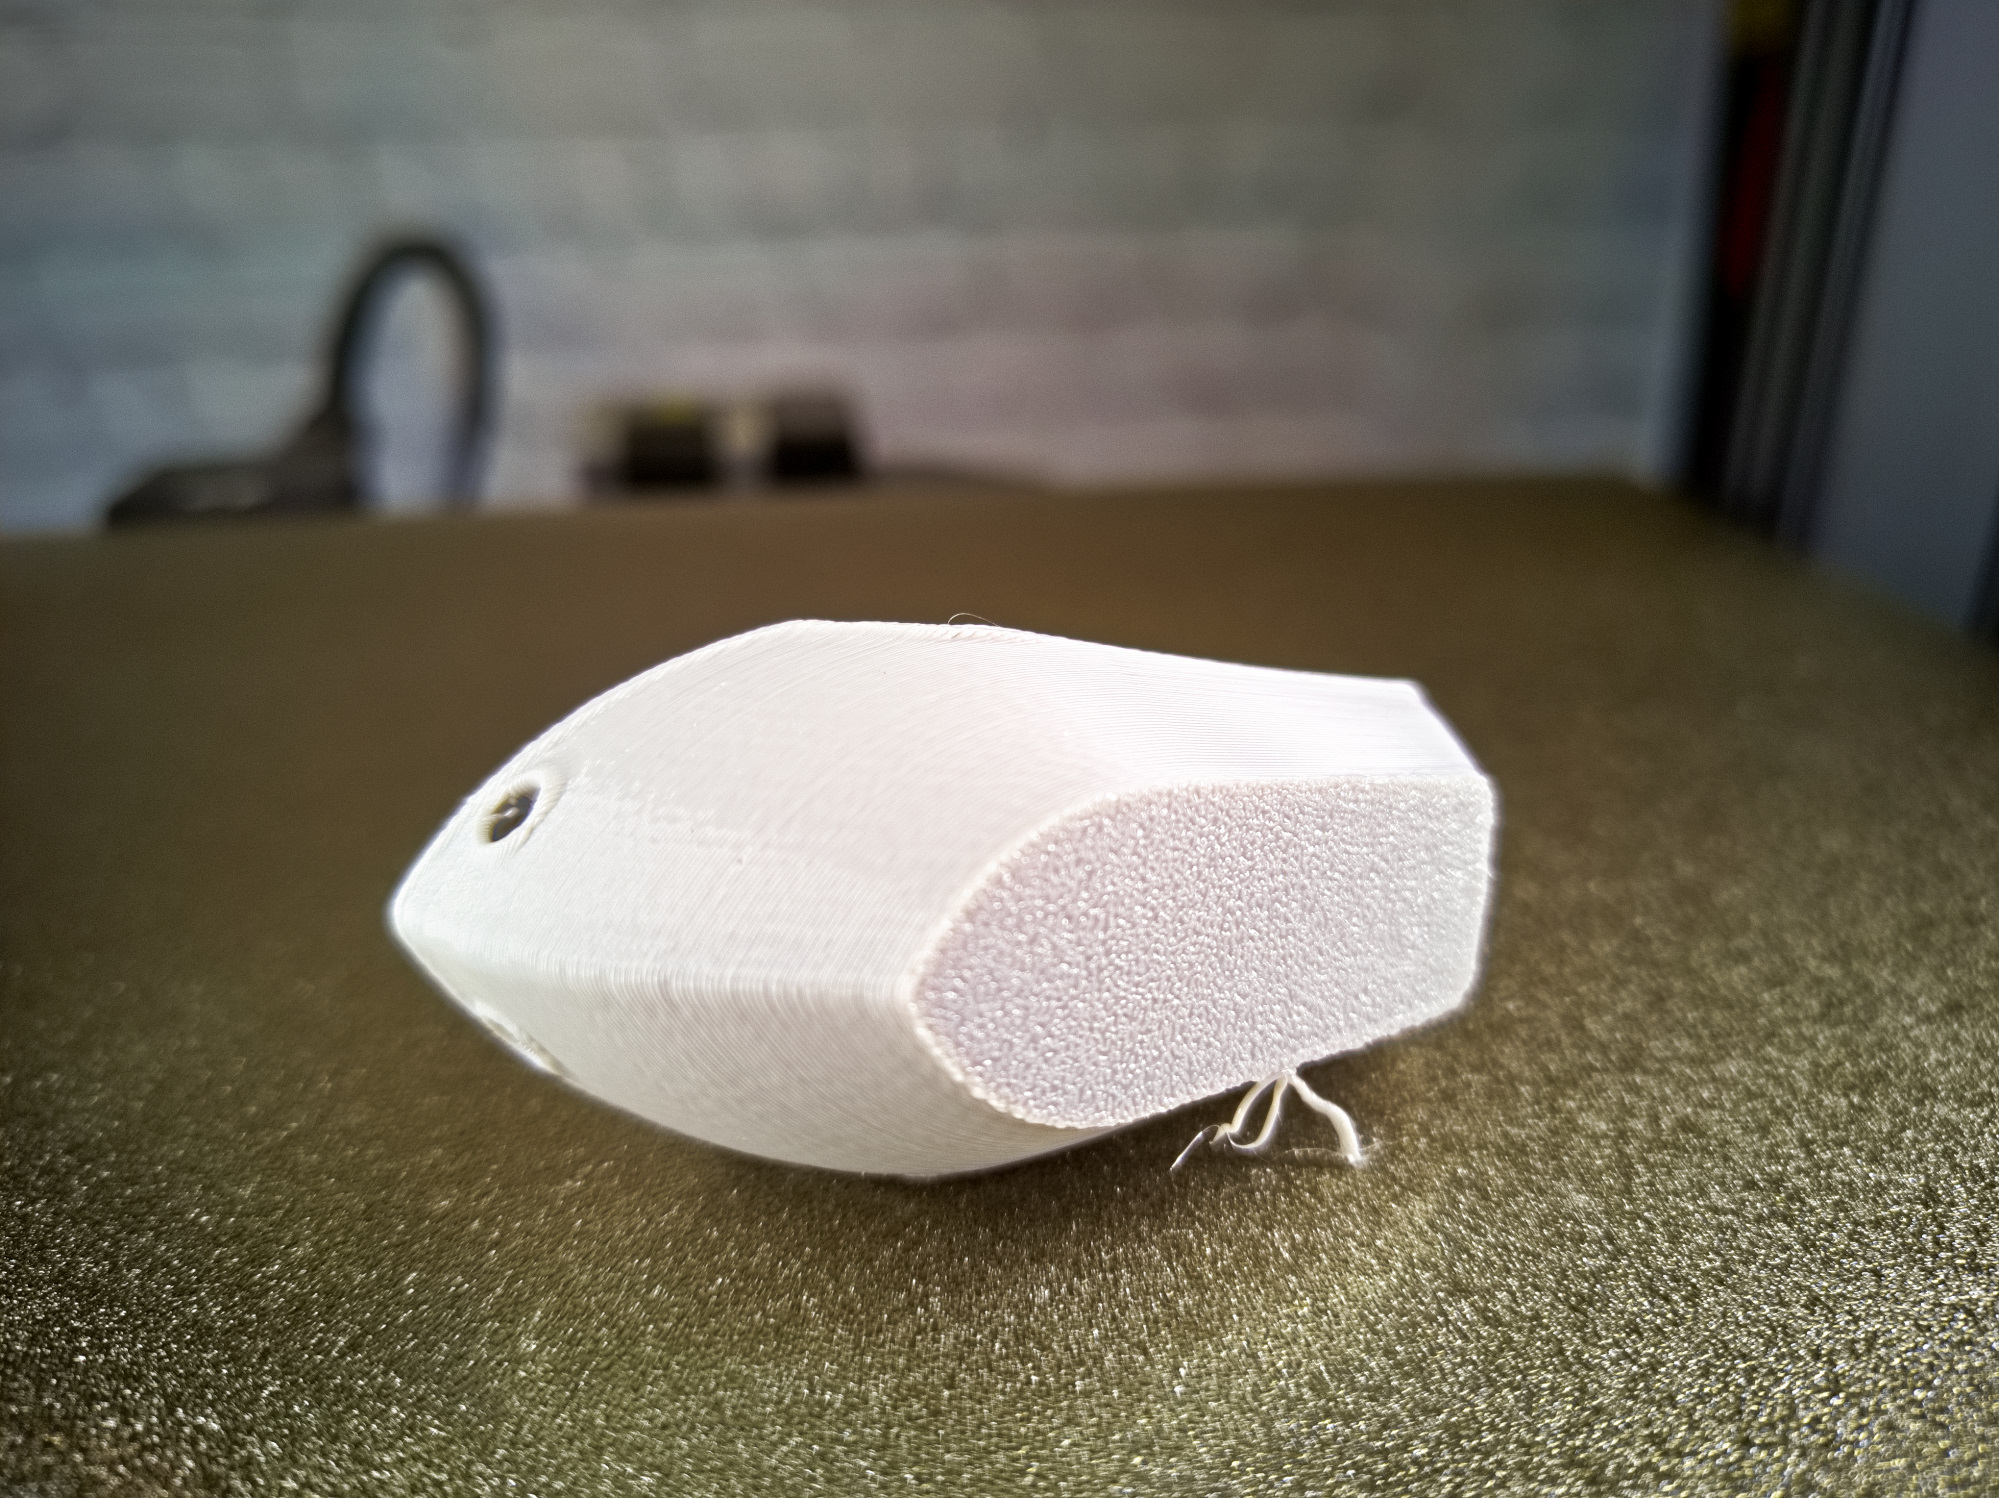
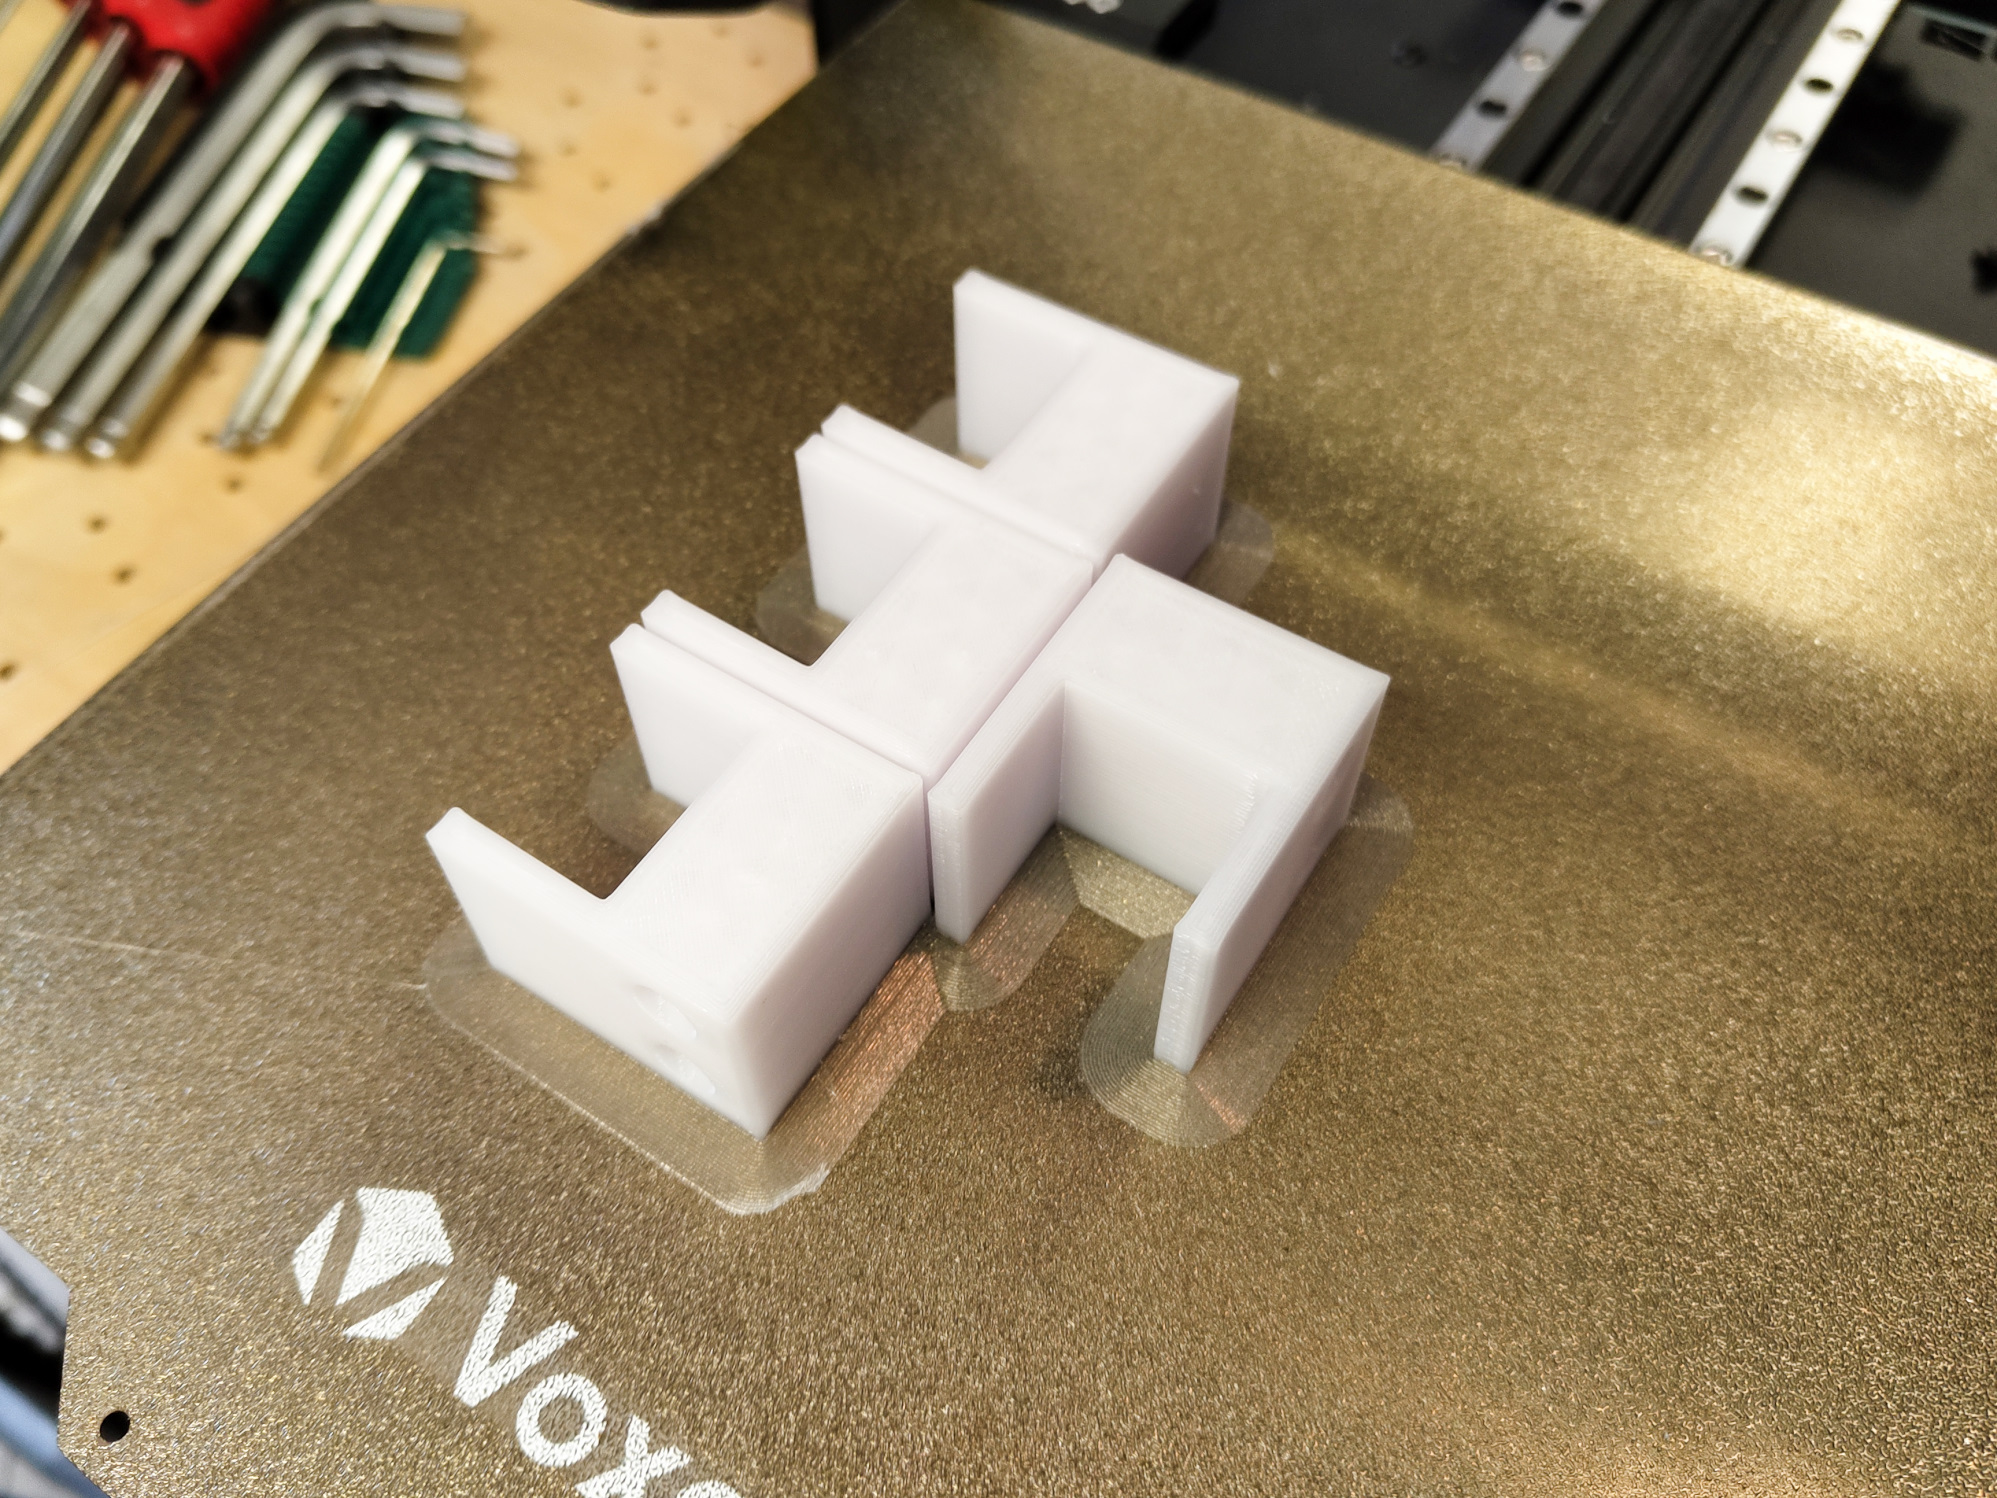
For the first test, we chose the typical 3D-Benchy. The gCode for it came from Voxelab on the included microSD. Unfortunately, a design or manufacturing flaw of the Aqulila D1 becomes apparent here: The heated print bed also radiates its heat downwards. This causes the component to which the linear bearings and the print bed are attached to expand. The linear guides underneath remain cool, and the thermal expansion causes mechanical stresses because the MGN bearings cannot compensate for the expansion. As a result, the print bed can no longer move freely, step losses occur, and the print model is printed offset. The keyword here is layer shift.
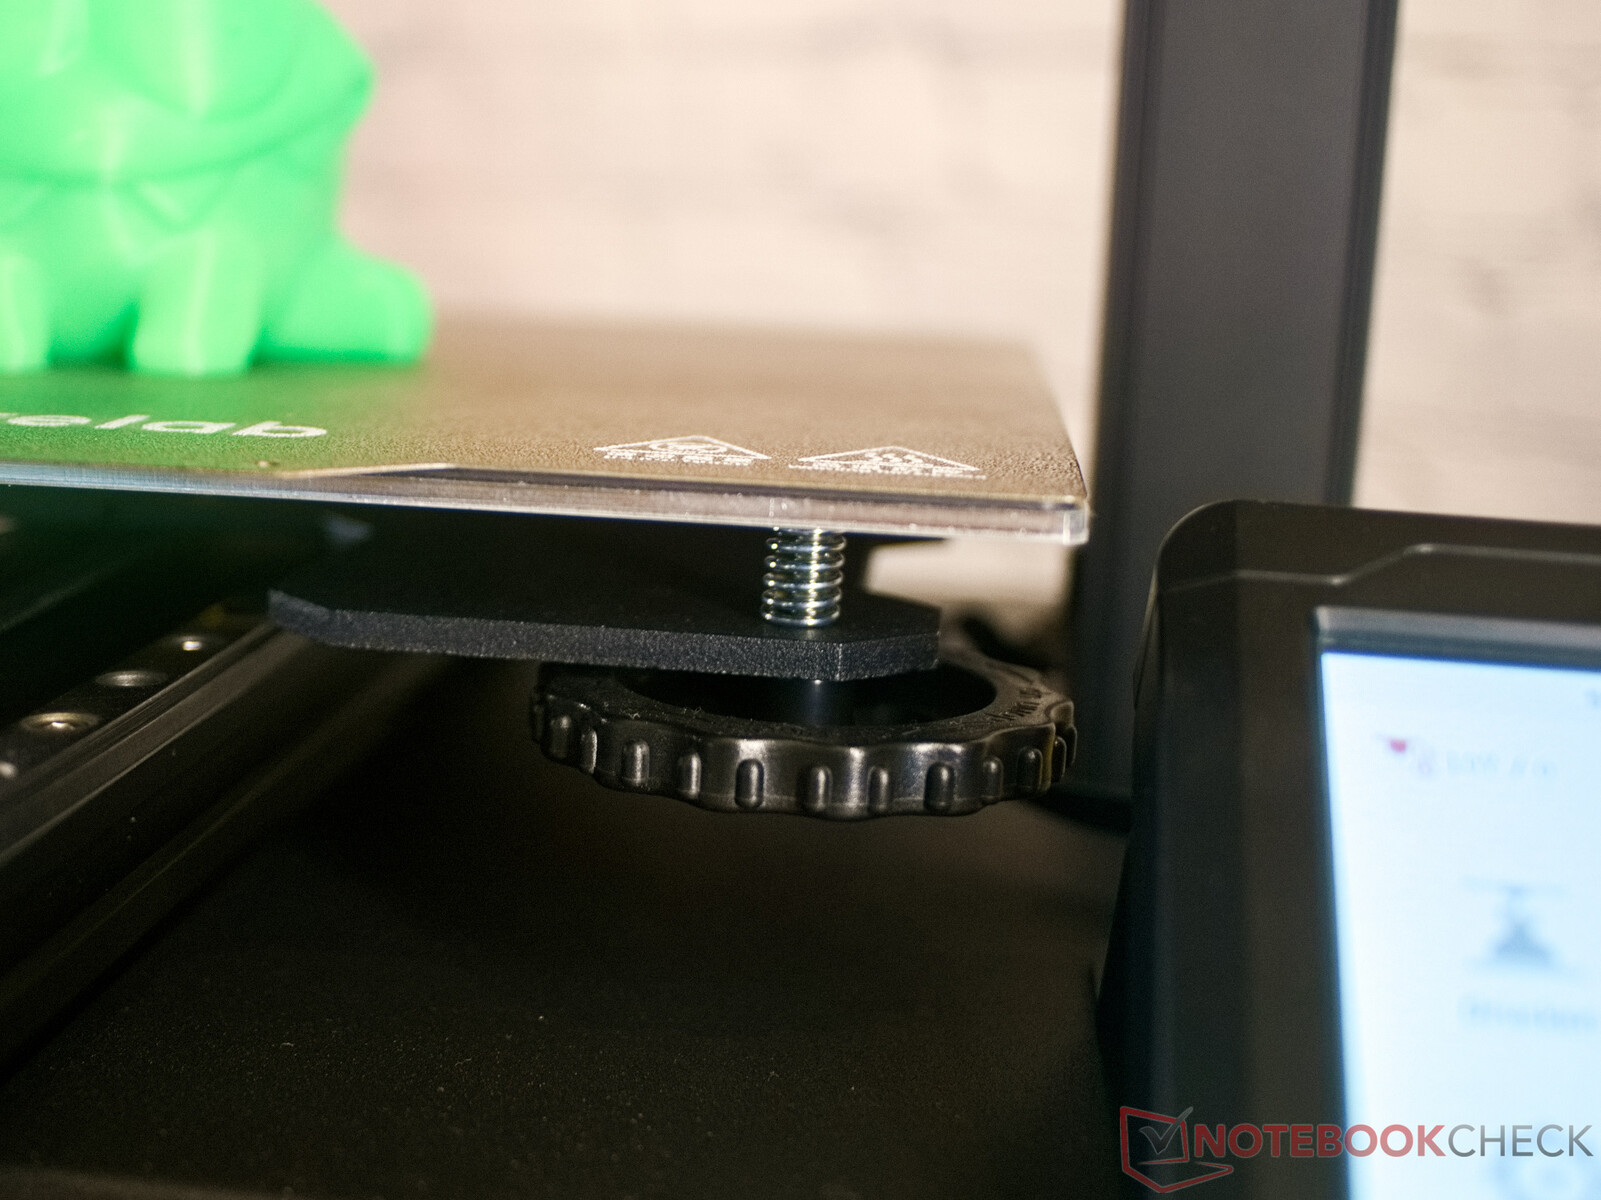
Our first repair was, therefore, due before we had even finished the first print. The solution to the problem was relatively simple. One of the two parallel linear rails had to be given a minimal amount of play to compensate for thermal expansion during operation. To do this, it was sufficient to loosen the screws on the right rail. A delicate touch is required here because the screws must be loosened just enough to allow the rail to move slightly in the plane, but not so far that it can lift off the plane-milled base. For the technically savvy readers, there must have been a mistake made here during the 3D printer manufacturing process. The screws of the right rail are tightened with too high a torque. This results in two fixed bearings. The way Voxelab has milled the aluminum extrusion, the right rail is intended as a floating bearing. However, the choice of screws and tightening torque prevents this. Our solution cannot be a permanent one, however, since the position of the screws must be checked again and again. In the long term, we should switch to PTFE washers here. To reduce temperature fluctuations under the pressure bed, it also makes sense to use pressure bed insulation (around 10 euros on Amazon). This also saves energy.
After the modification, the Voxelab Aquila D1 ran well. The problems with layer shifts were solved for the time being.
Control
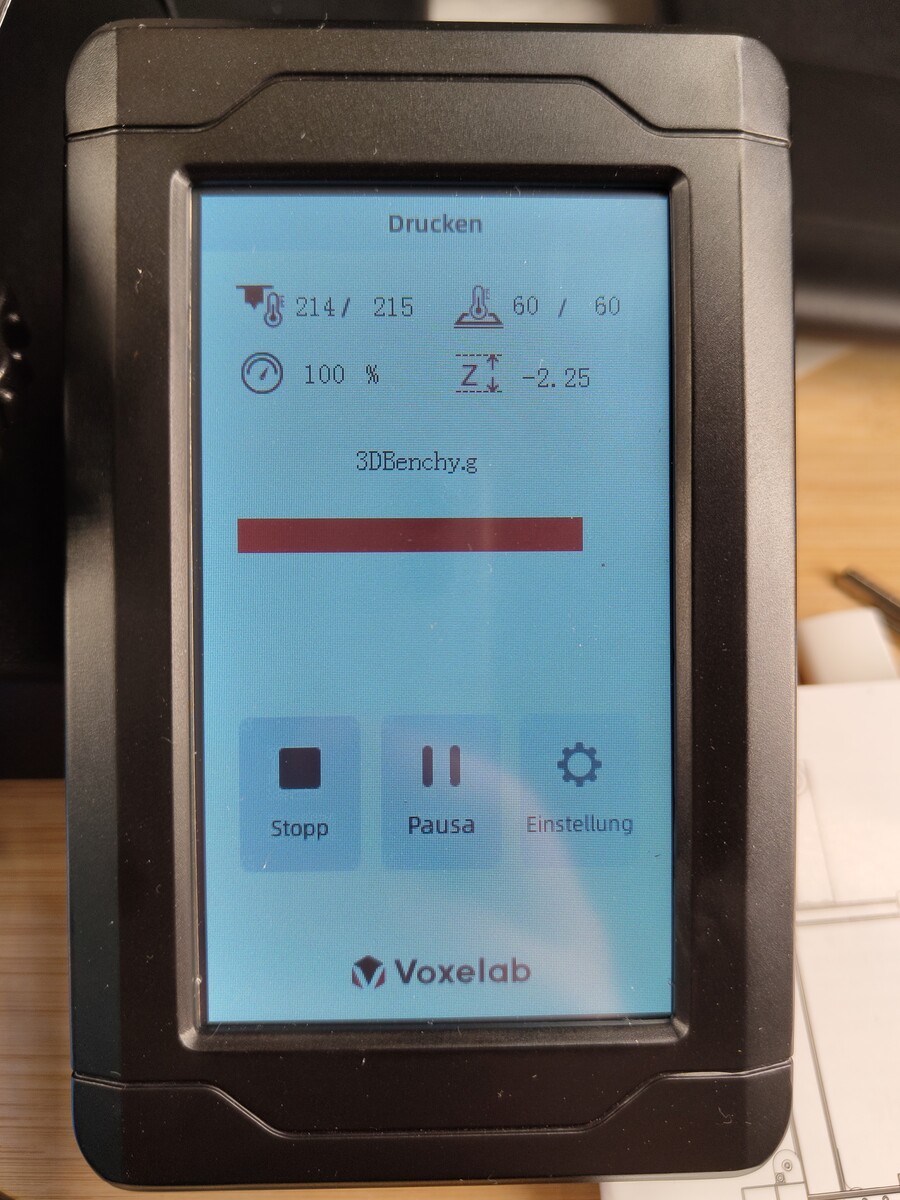
Touchscreens for controlling many 3D printers have also become established at Voxelab. The user interface is quite simple and translated into several languages. However, we, unfortunately, noticed that Voxelab made several spelling mistakes during the translation into German. A bit later, we notice that Voxelab has mixed up Yes and No in the translation. If you want to cancel or pause a print, you get a confirmation field with questions like Cancel print?
, Suspend print?
or Continue
print? To confirm, however, you have to tap No
here. In English and French mode, the two input fields are provided with the correct text. Those who understand one of the other languages offered by the printer should probably rather choose these. We have sent the manufacturer all information about the error. However, Voxelab has not yet been able to fix the error.
Apart from the errors in the German translation, however, the interface is quite comfortable. Numerical values can be entered via a number field, and the usual control options are available. Only a wizard for manual adjustment of the print bed and a setting option for the extrusion factor are not available.
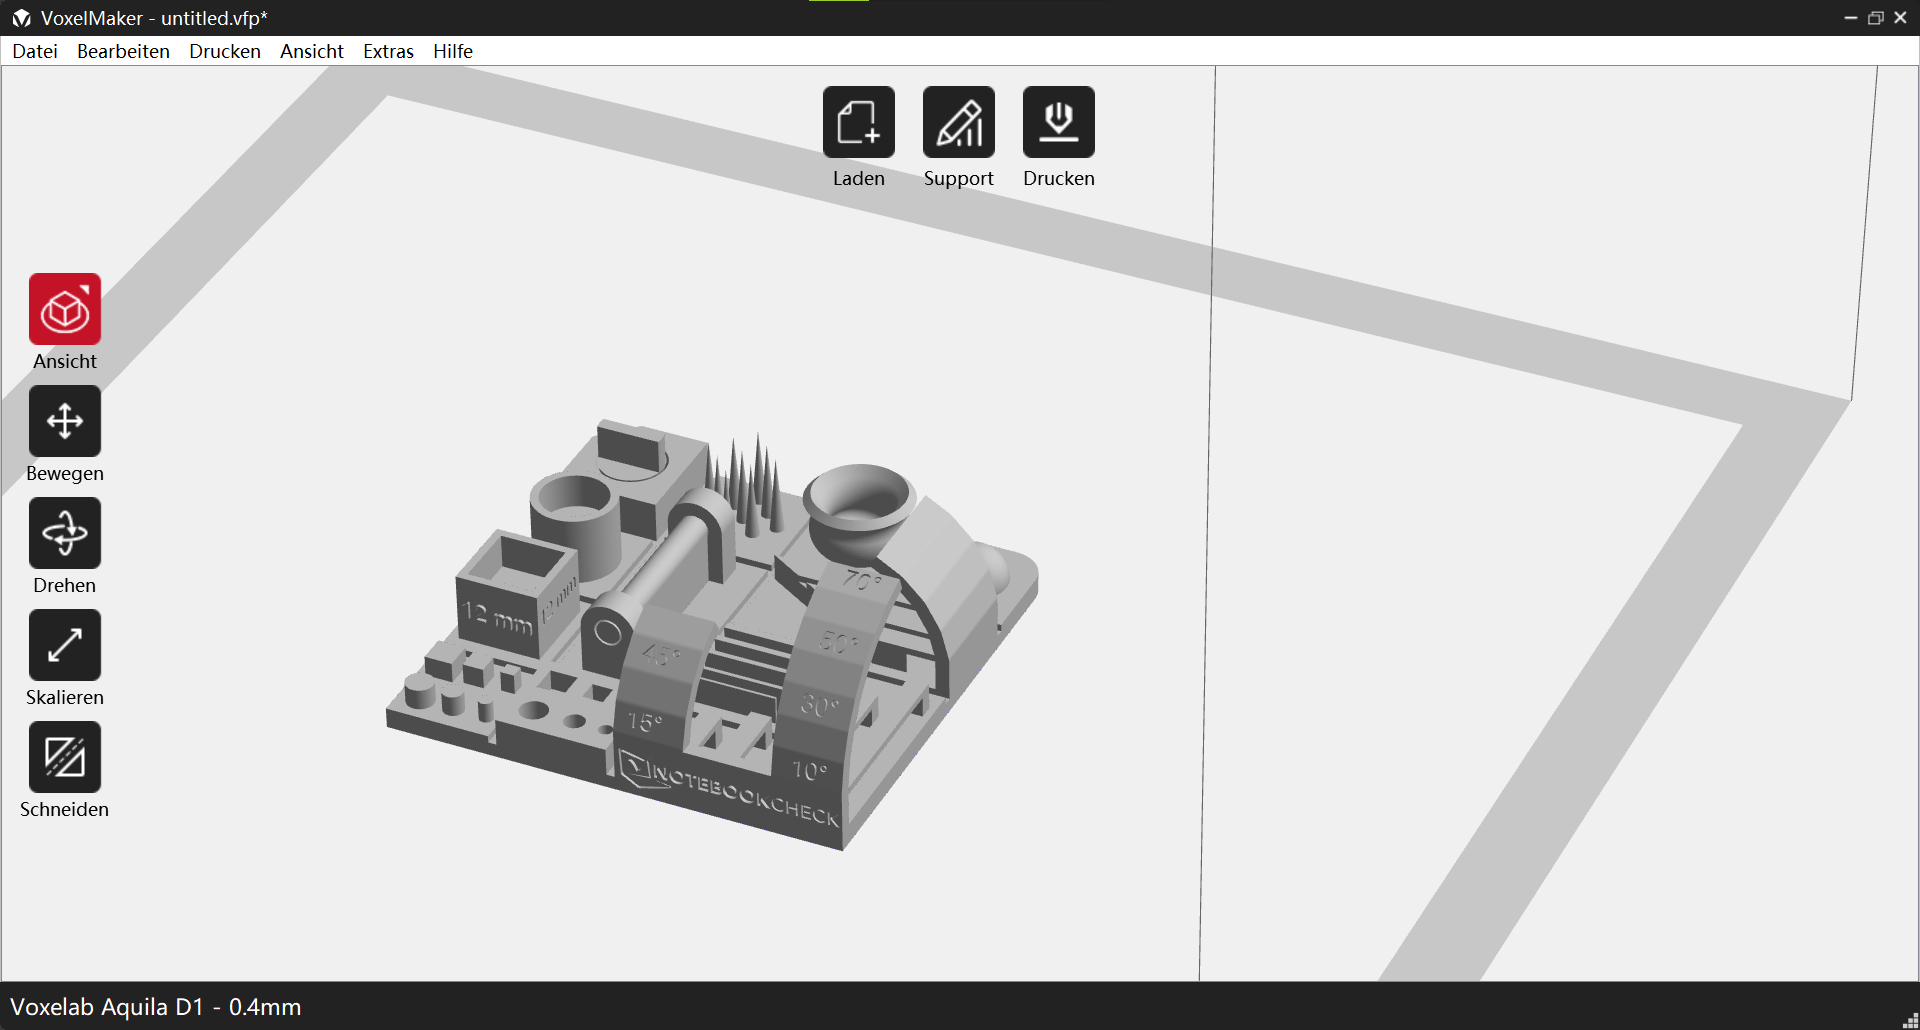
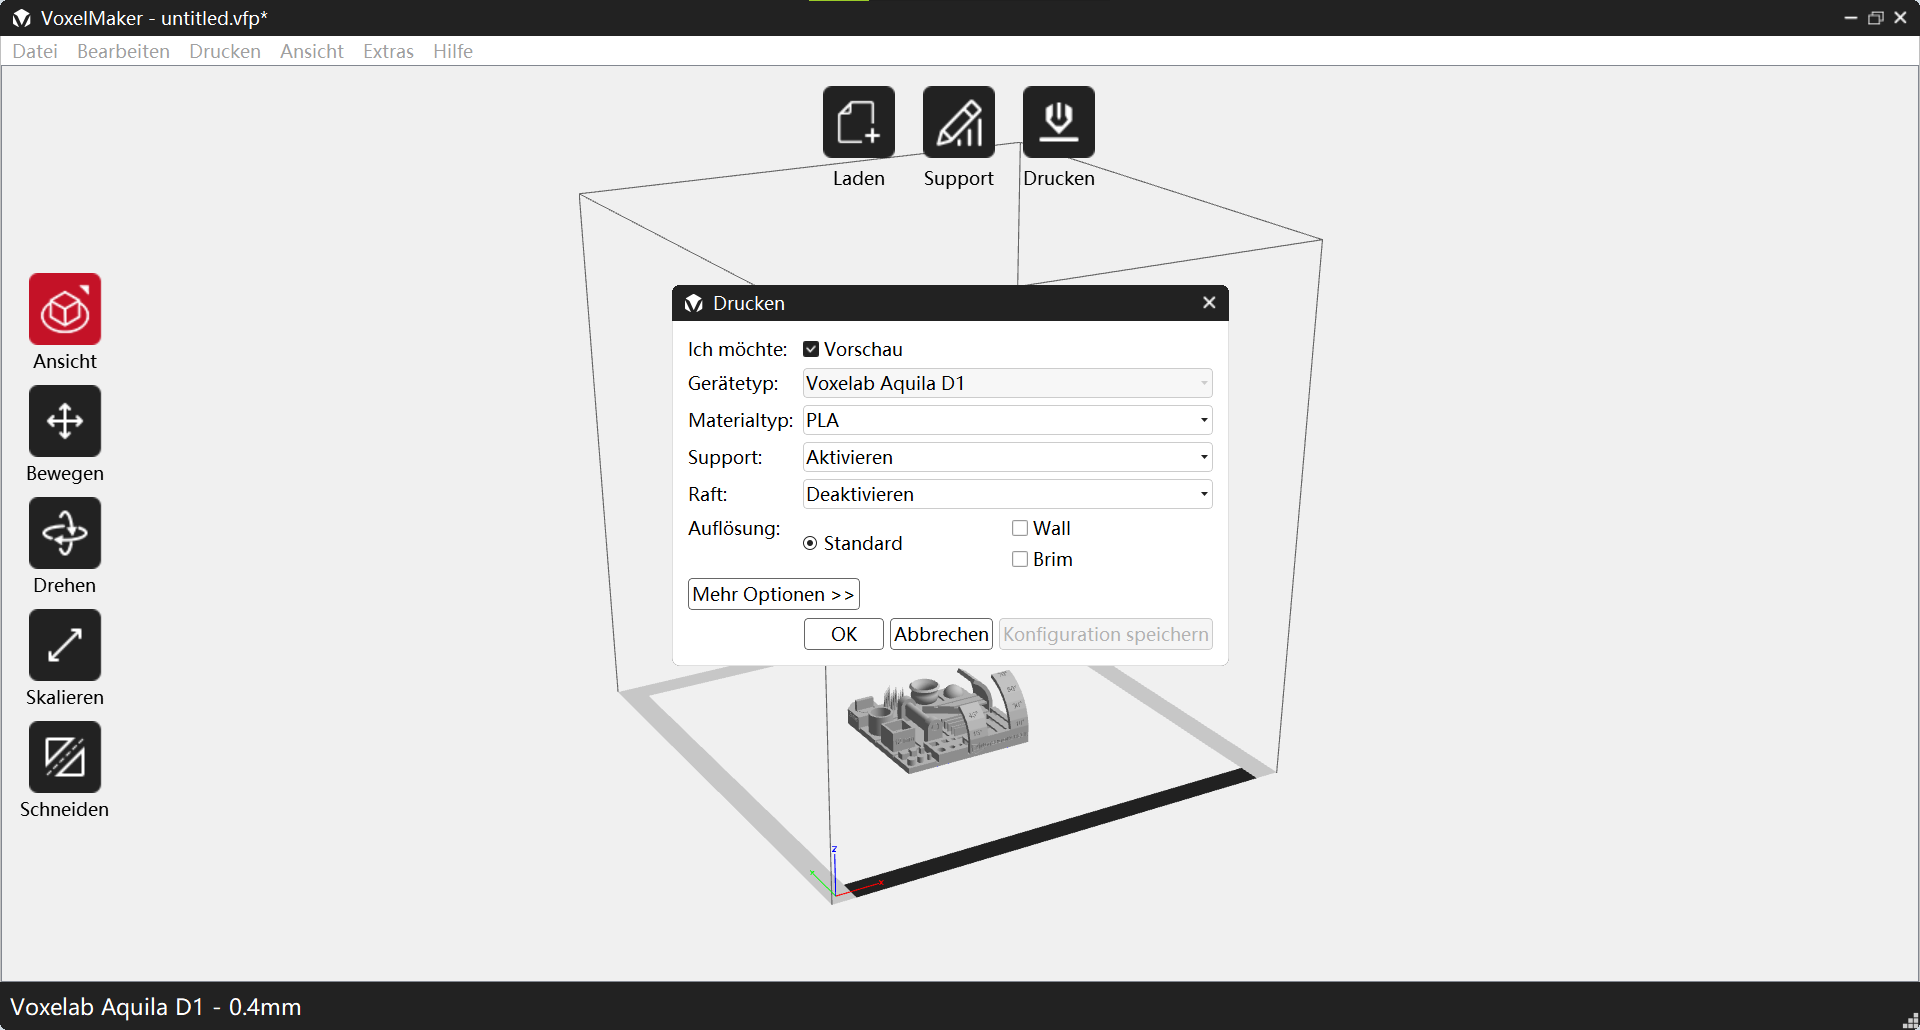
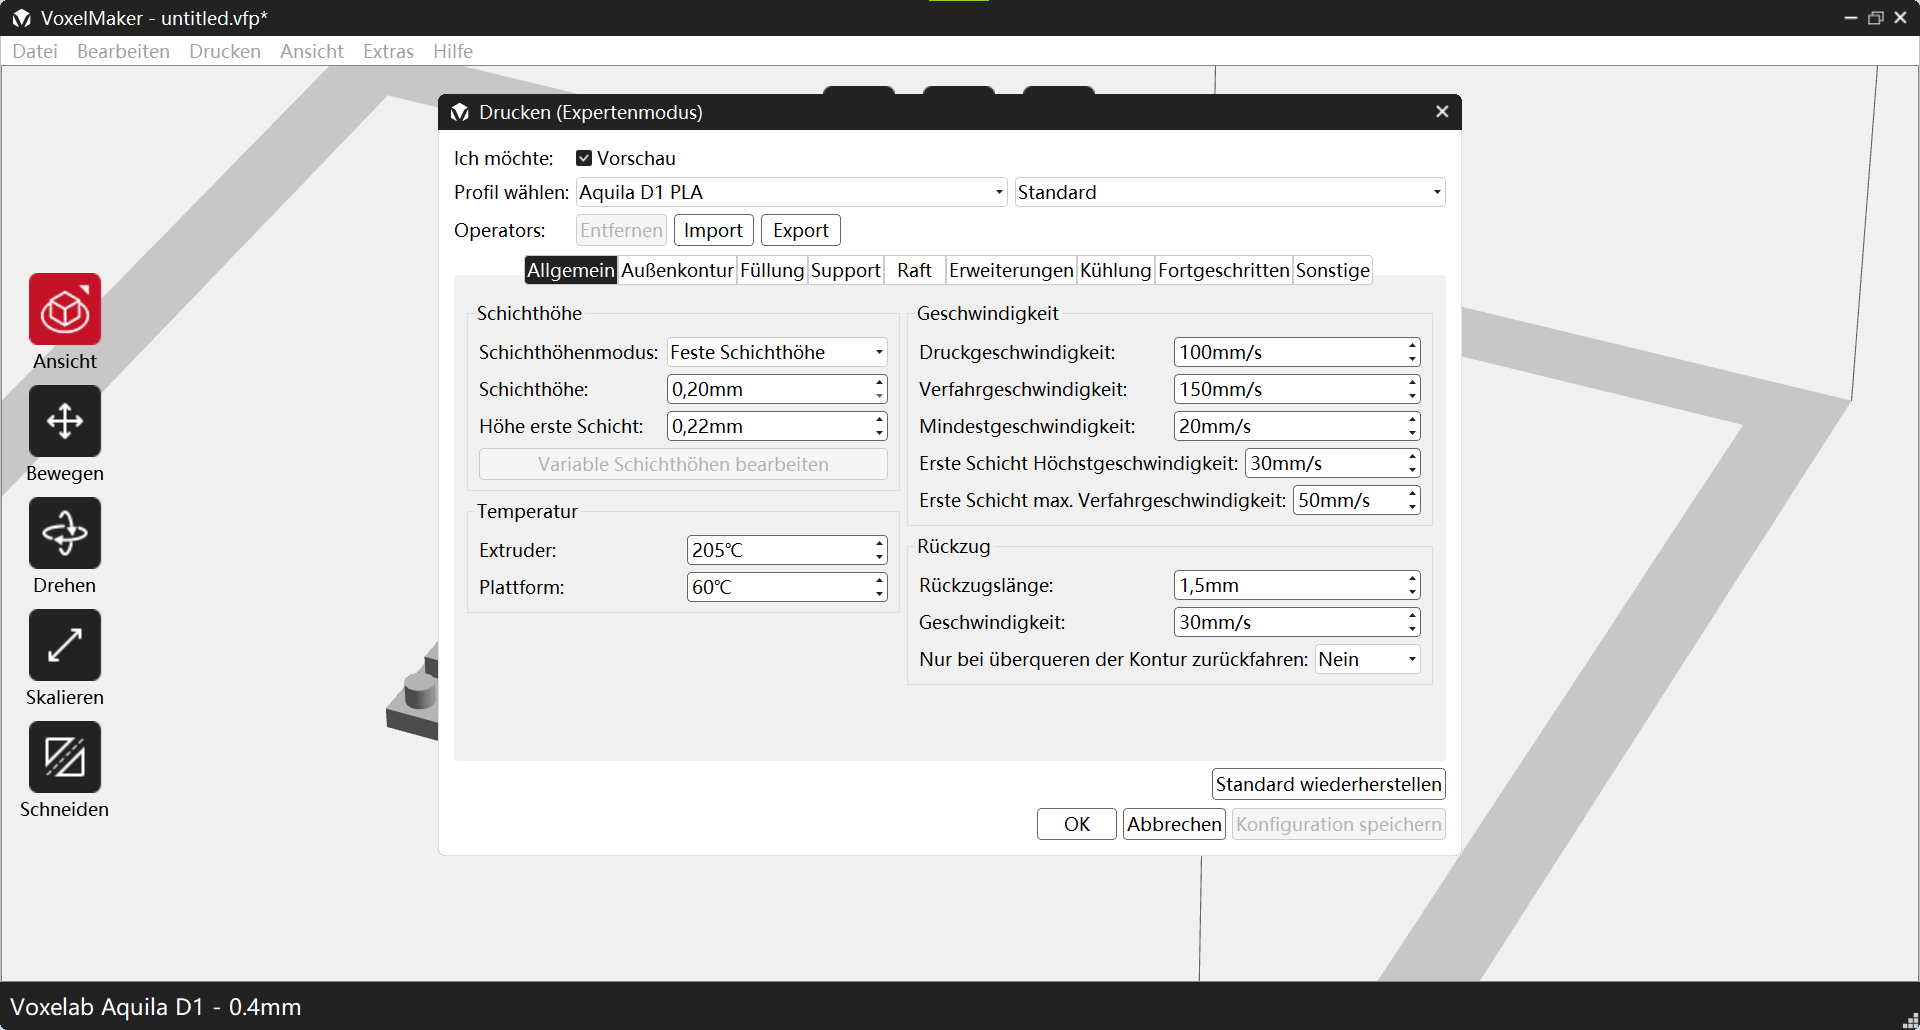
Slicer - Voxelab delivers the VoxelMaker
Voxlab is one of the few manufacturers of 3D printers that supply their own slicer for downloading. The program is used to convert 3D models into gCode, which can be read by 3D printers. The program is somewhat reminiscent of a mixture of Cura and Simplify3D but is actually based on FlashPrint 5 from Flashforge. Thus, VoxelMaker offers many advantages of the two well-known programs, making it easy to use. In principle, the accuracy of the program is good and slightly above the level of Cura 4.x, but not quite up to the excellent results of the Arachne Slice Engine. However, Voxelab provides regular updates to the slicer, and the program is extremely well laid out. It offers an easy start for beginners as well as a lot of settings for advanced users to adapt 3D prints to their own needs.

Performance
With the Aquillia D1, Voxelab does not quite follow the path many other 3D printer manufacturers have taken in recent years. For example, Voxelab's stated maximum speeds seem rather low. It advertises 100 mm/s typical print speed and 180 mm/s maximum print speed. Basically, the Aquila D1 is thus somewhat slower than current competitors such as the Anycubic Cobra 2 or the AnkerMake M5. But many materials that our test device can process cannot be processed by the competitor devices because the maximum temperatures of the hotend are too low. However, these rather technical plastics in particular should also usually be processed at lower speeds. Our print speed test with PLA shows that the Aquila D1 can do a little more than the advertised speeds.
Print bed
The print bed seems to be the same standard component that we last saw on the Anycubic Cobra 2. An approx. 2 mm thick aluminum plate forms the base here. This can be heated from the underside. On the upper side, a magnetic foil is glued almost over the entire surface. The PEI-coated spring steel plate adheres to this. Without insulation from the underside, the 24 V heater must permanently supply energy here and takes a little longer to heat up. If it is decided to install an appropriate insulating plate, this should, in addition to the energy-saving advantages, also ensure better mobility of the print bed, since the print bed support is heated less.
Thanks to 400 watts of heating power, the print bed can go from 22 °C room temperature to a printing temperature of 60 °C in less than three minutes. It takes a good five minutes to reach 90 °C.
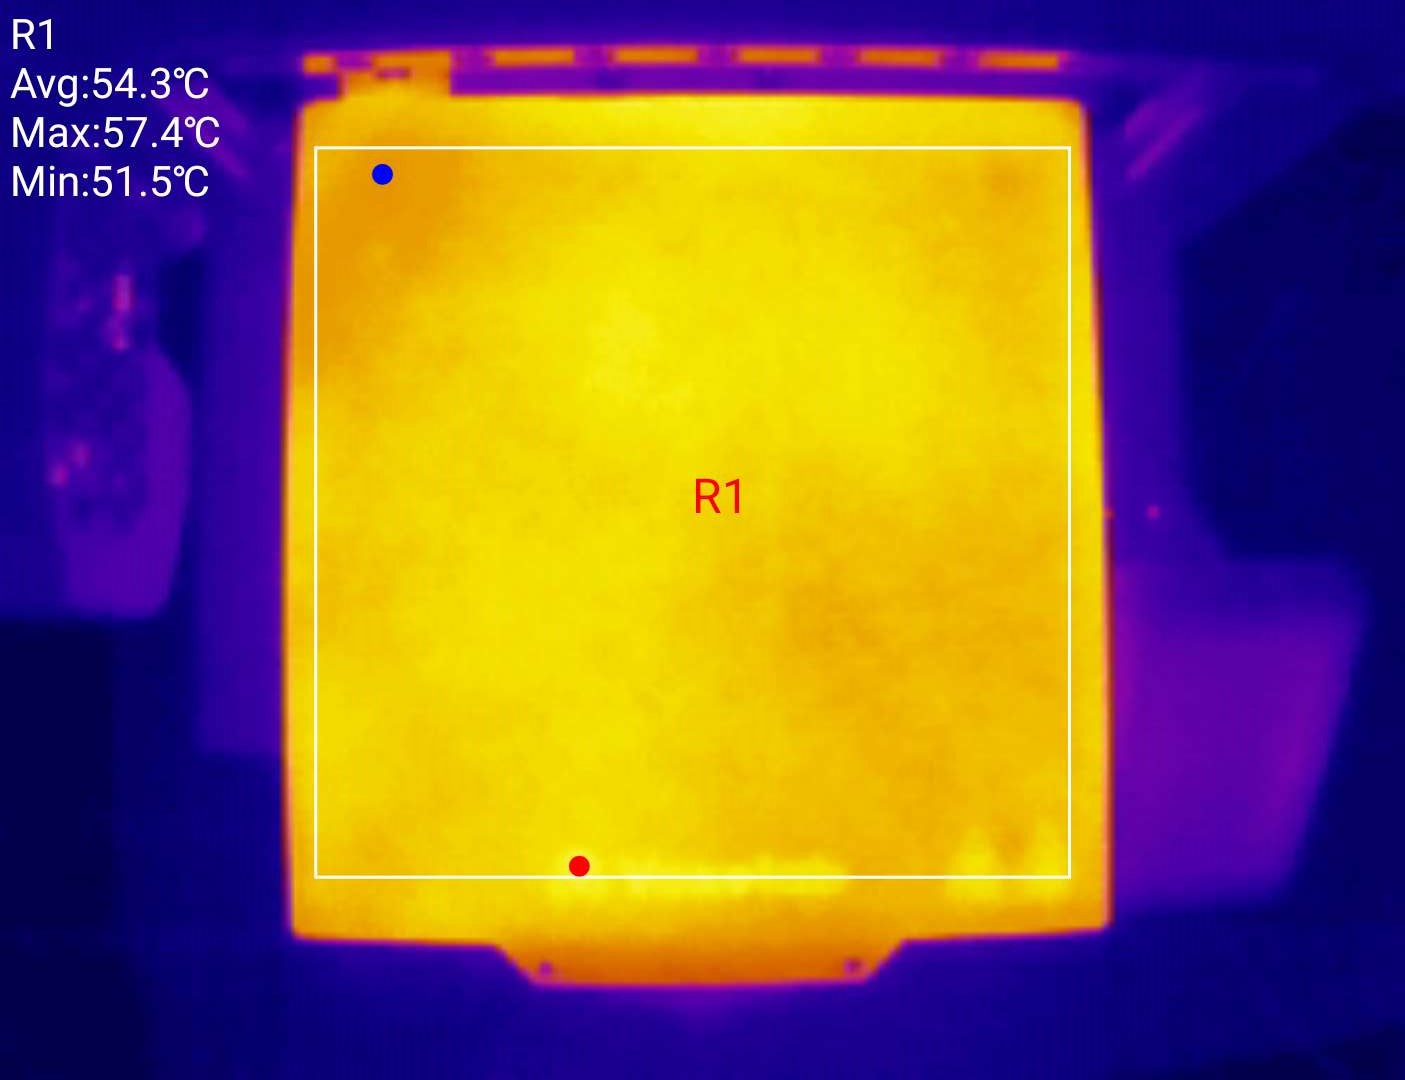
Automatic Mesh Bed Leveling
The Voxelab Aquila D1 measures the print bed with an inductive proximity sensor at 25 points. Before this, the print bed is heated up to an operating temperature of 60 °C. Although this has the advantage that the printer thus takes the thermal expansion of the print bed into account, inductive sensors are highly temperature-dependent. Inaccuracies can therefore occur here as soon as the print bed is not heated very evenly. In the test, however, we did not notice any problems with the accuracy of the sensor. After the nozzle spacing has been set manually, the Aquila D1 prints the entire print bed at an almost optimal distance. In total, the measuring process takes about eight minutes.
The print bed of the 3D printer can also be adjusted manually. Adjustment screws are located at all four corners for this purpose. However, you won't find an assistant for manually aligning the print bed. Thus, you have to move the print head and the print bed by hand or input corresponding commands on the computer via the serial interface.
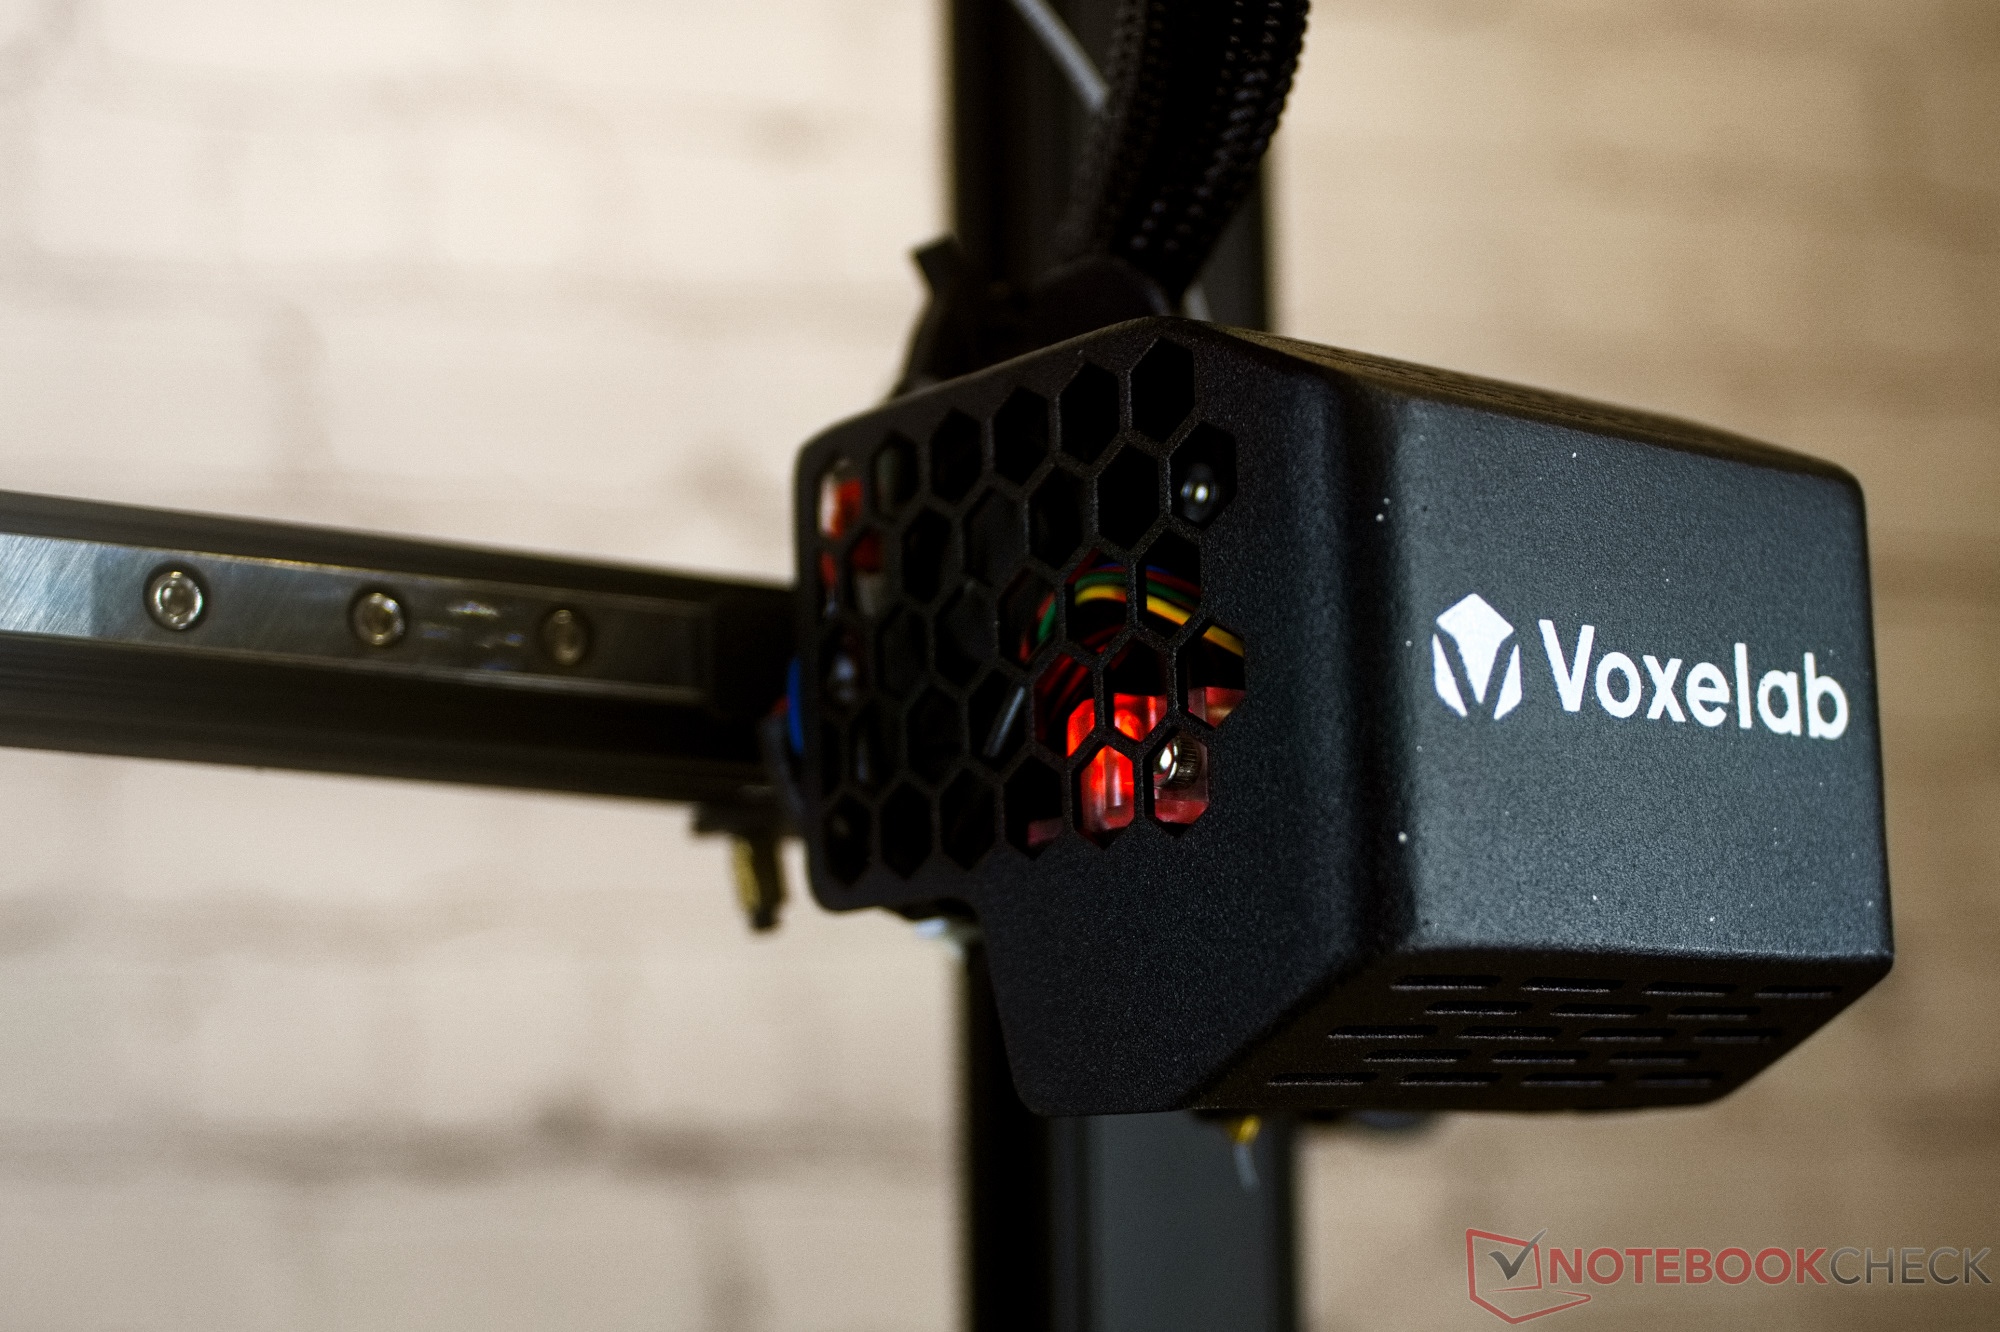
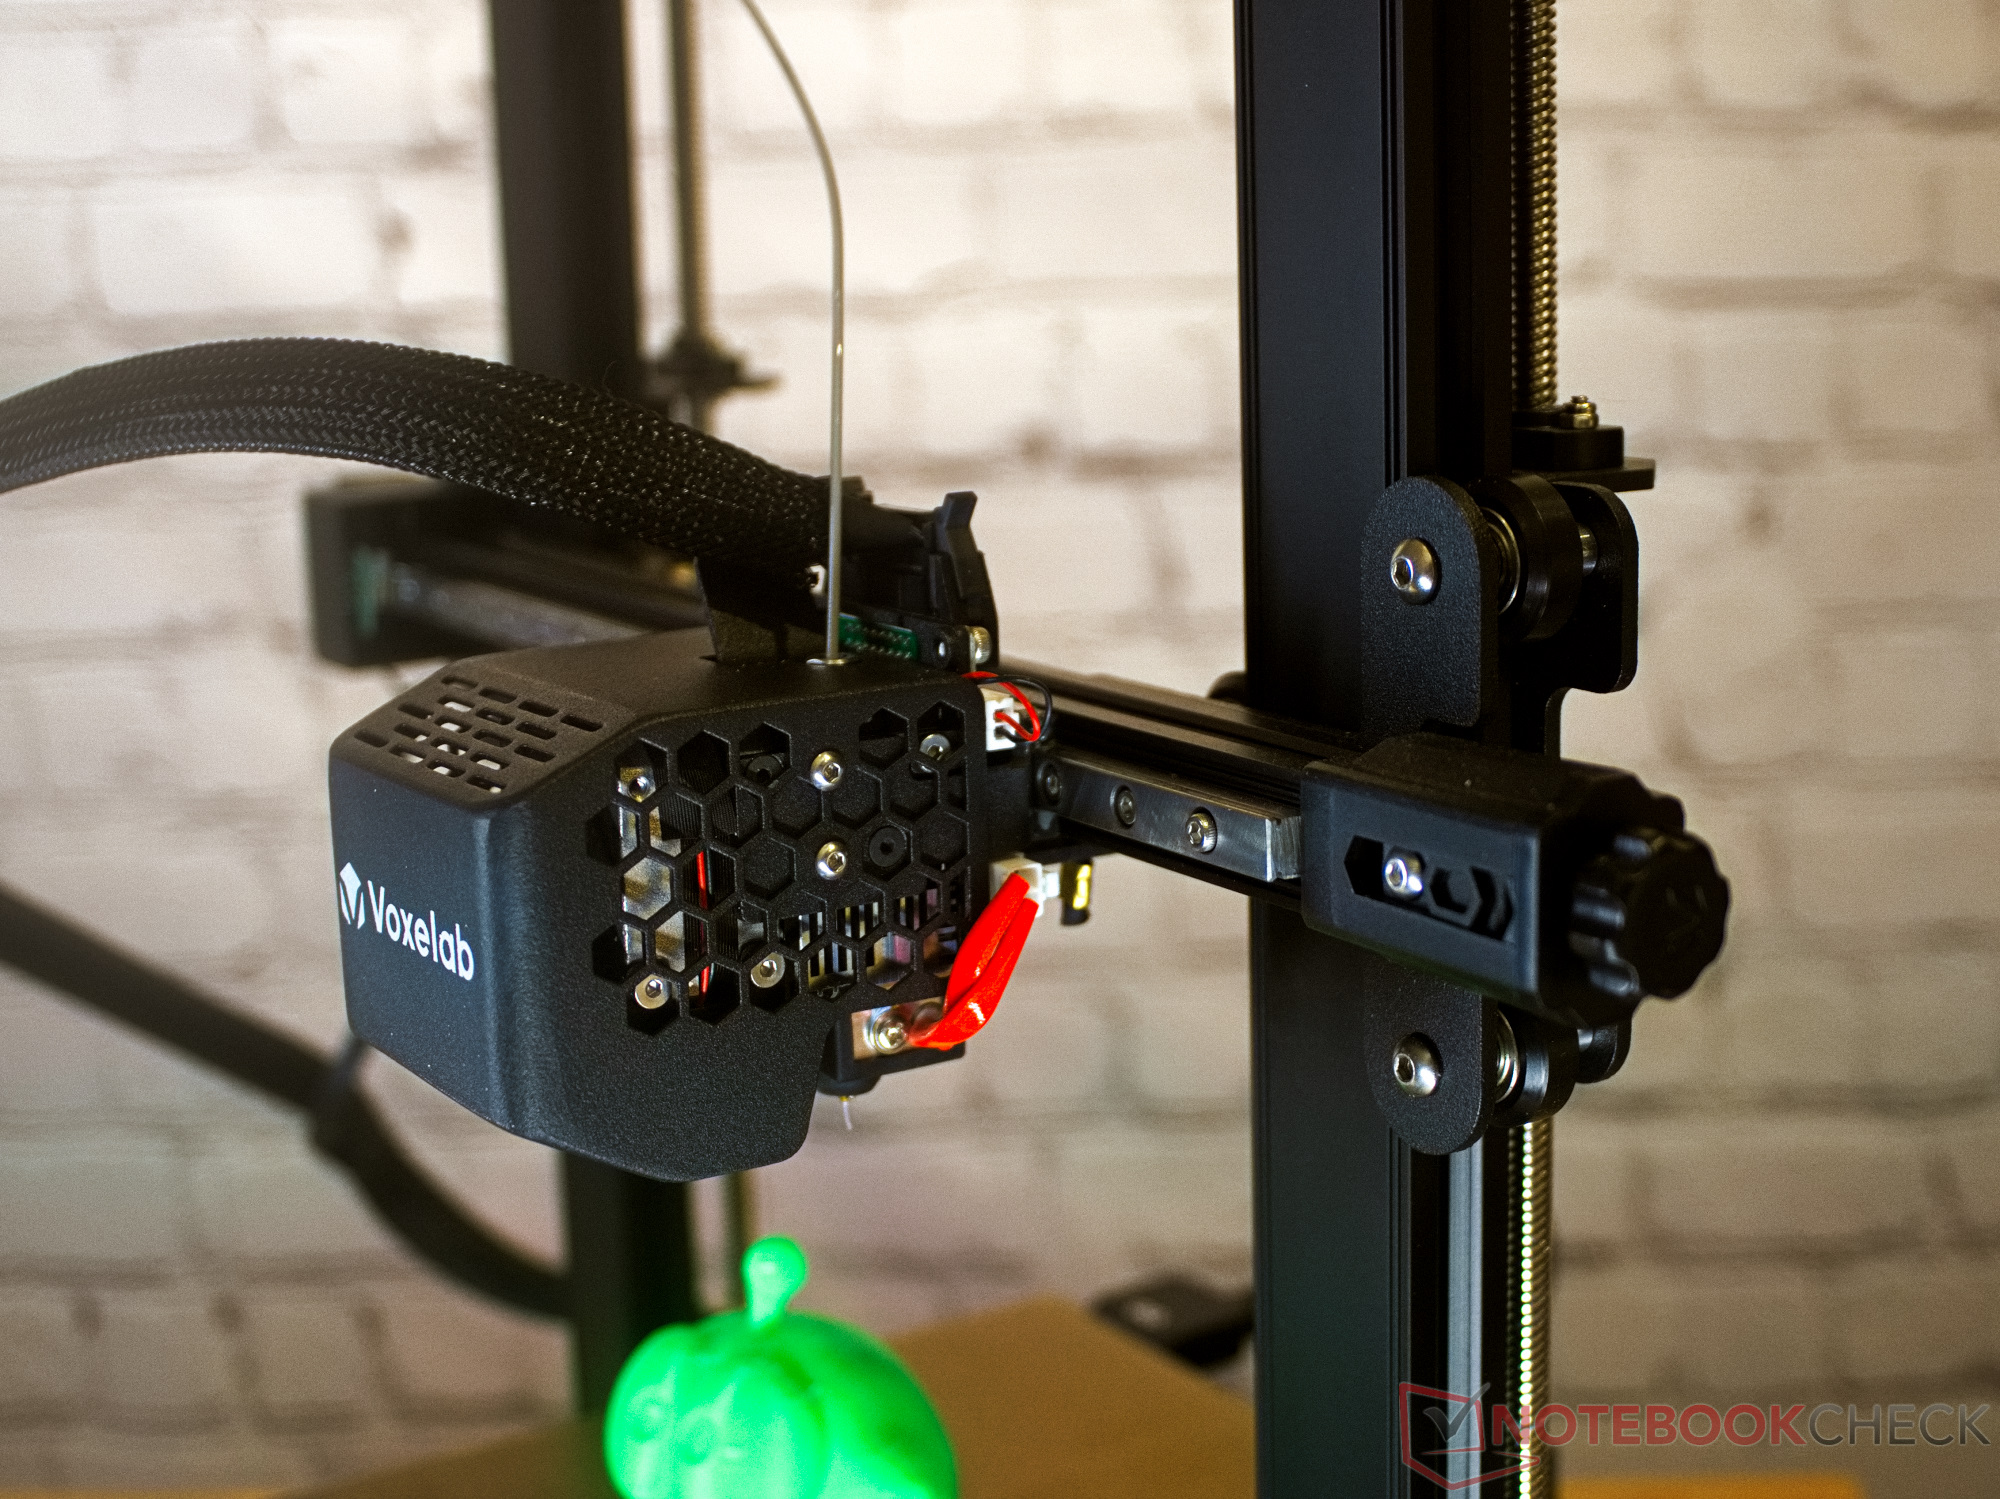
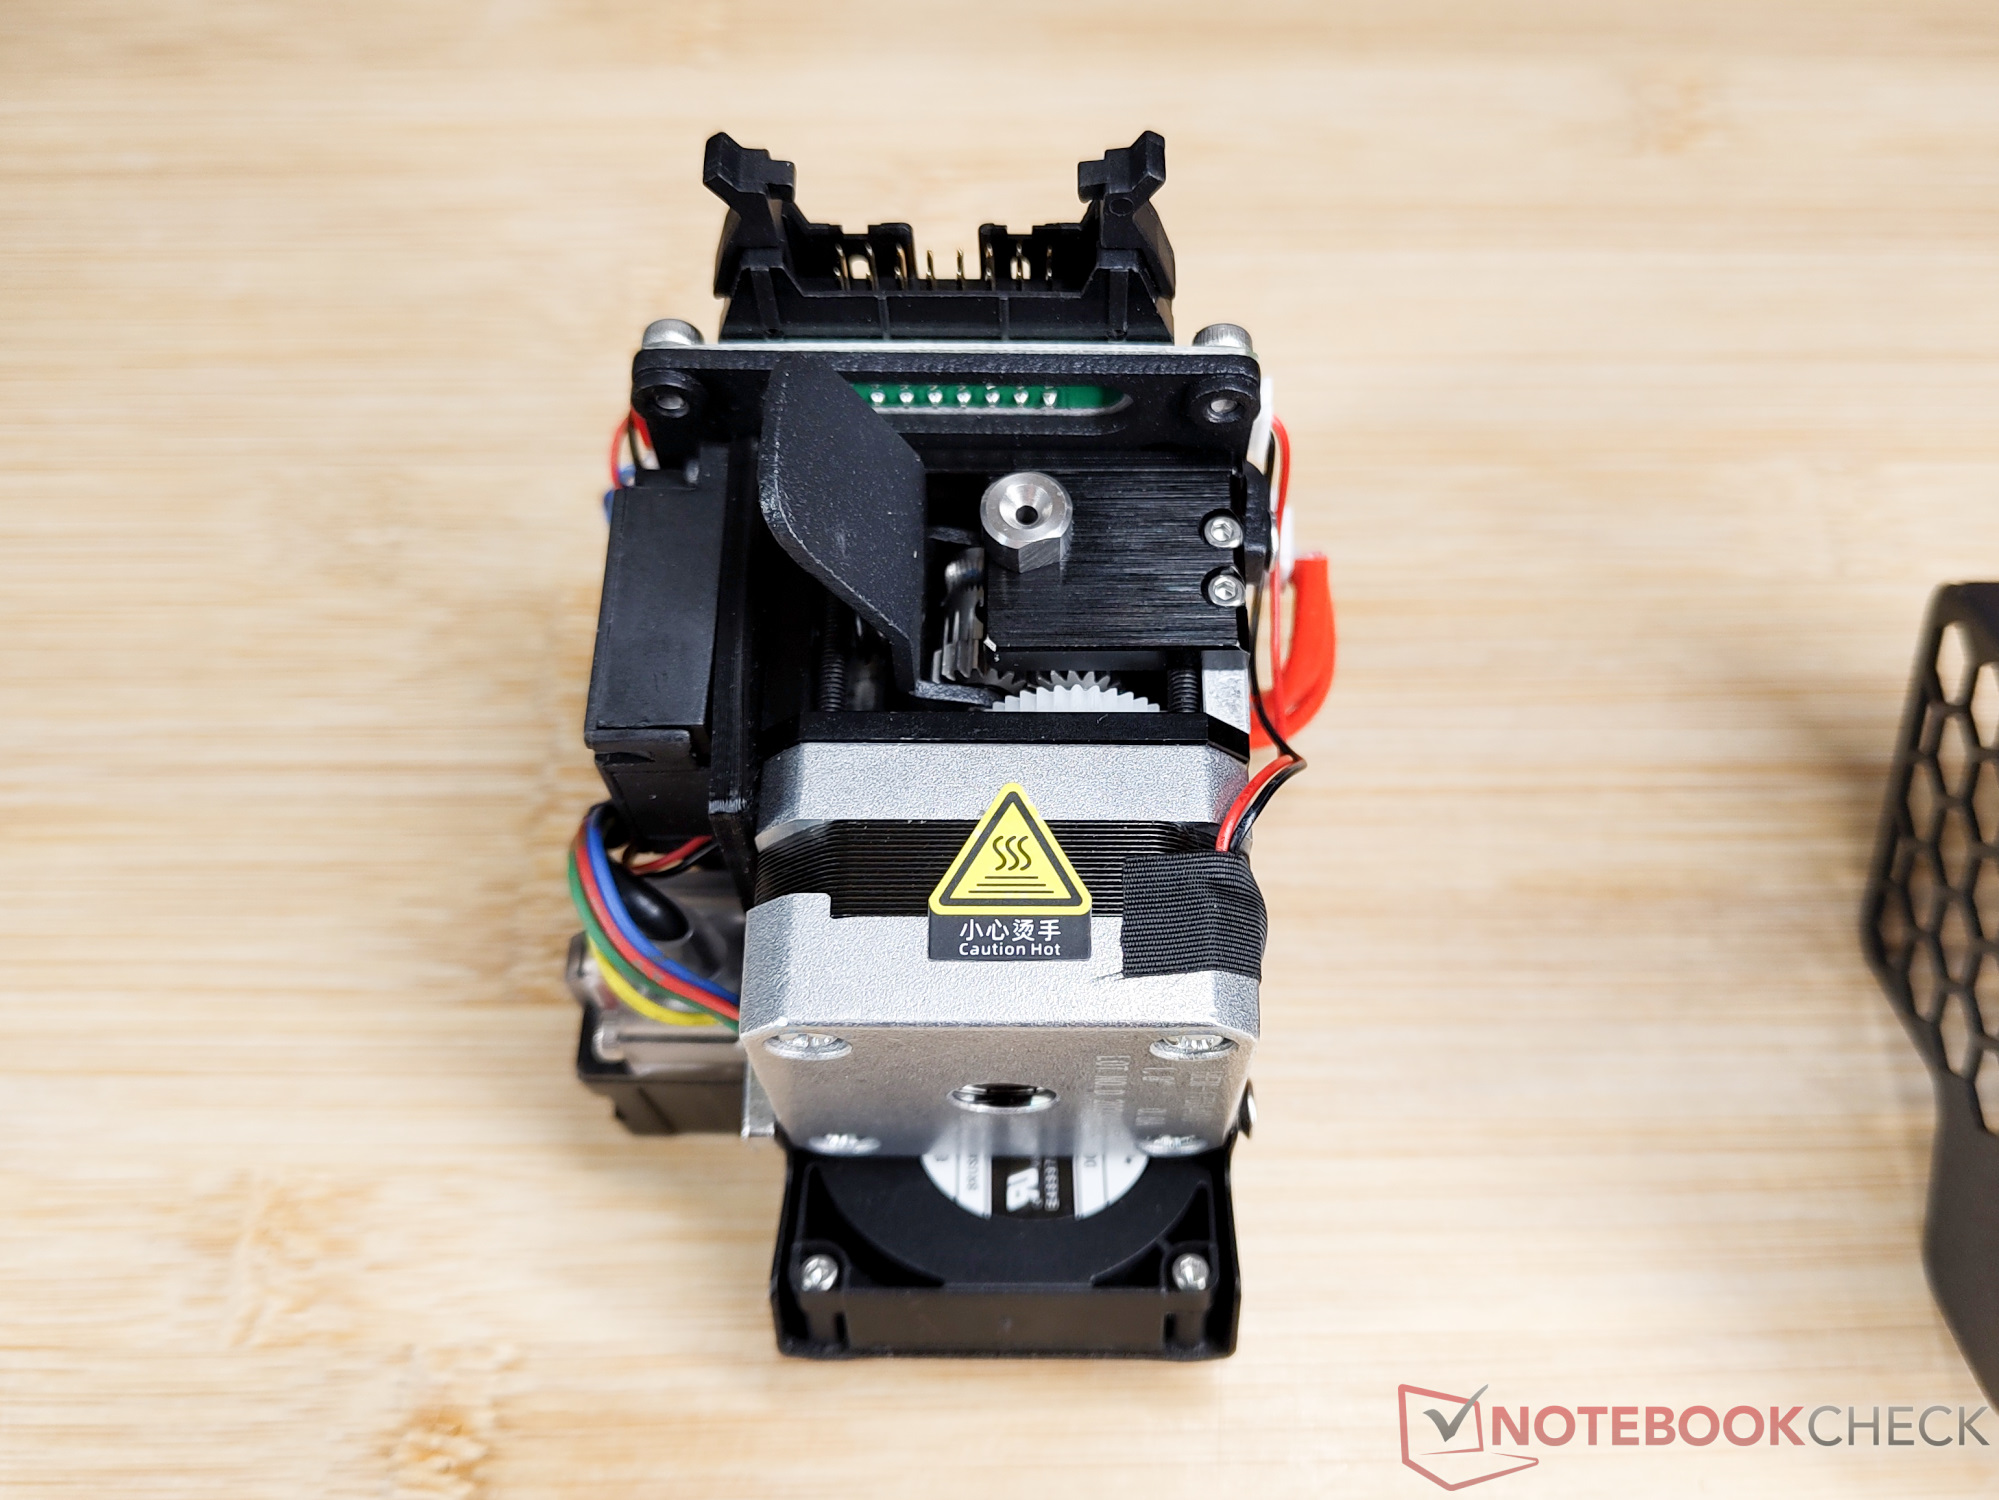
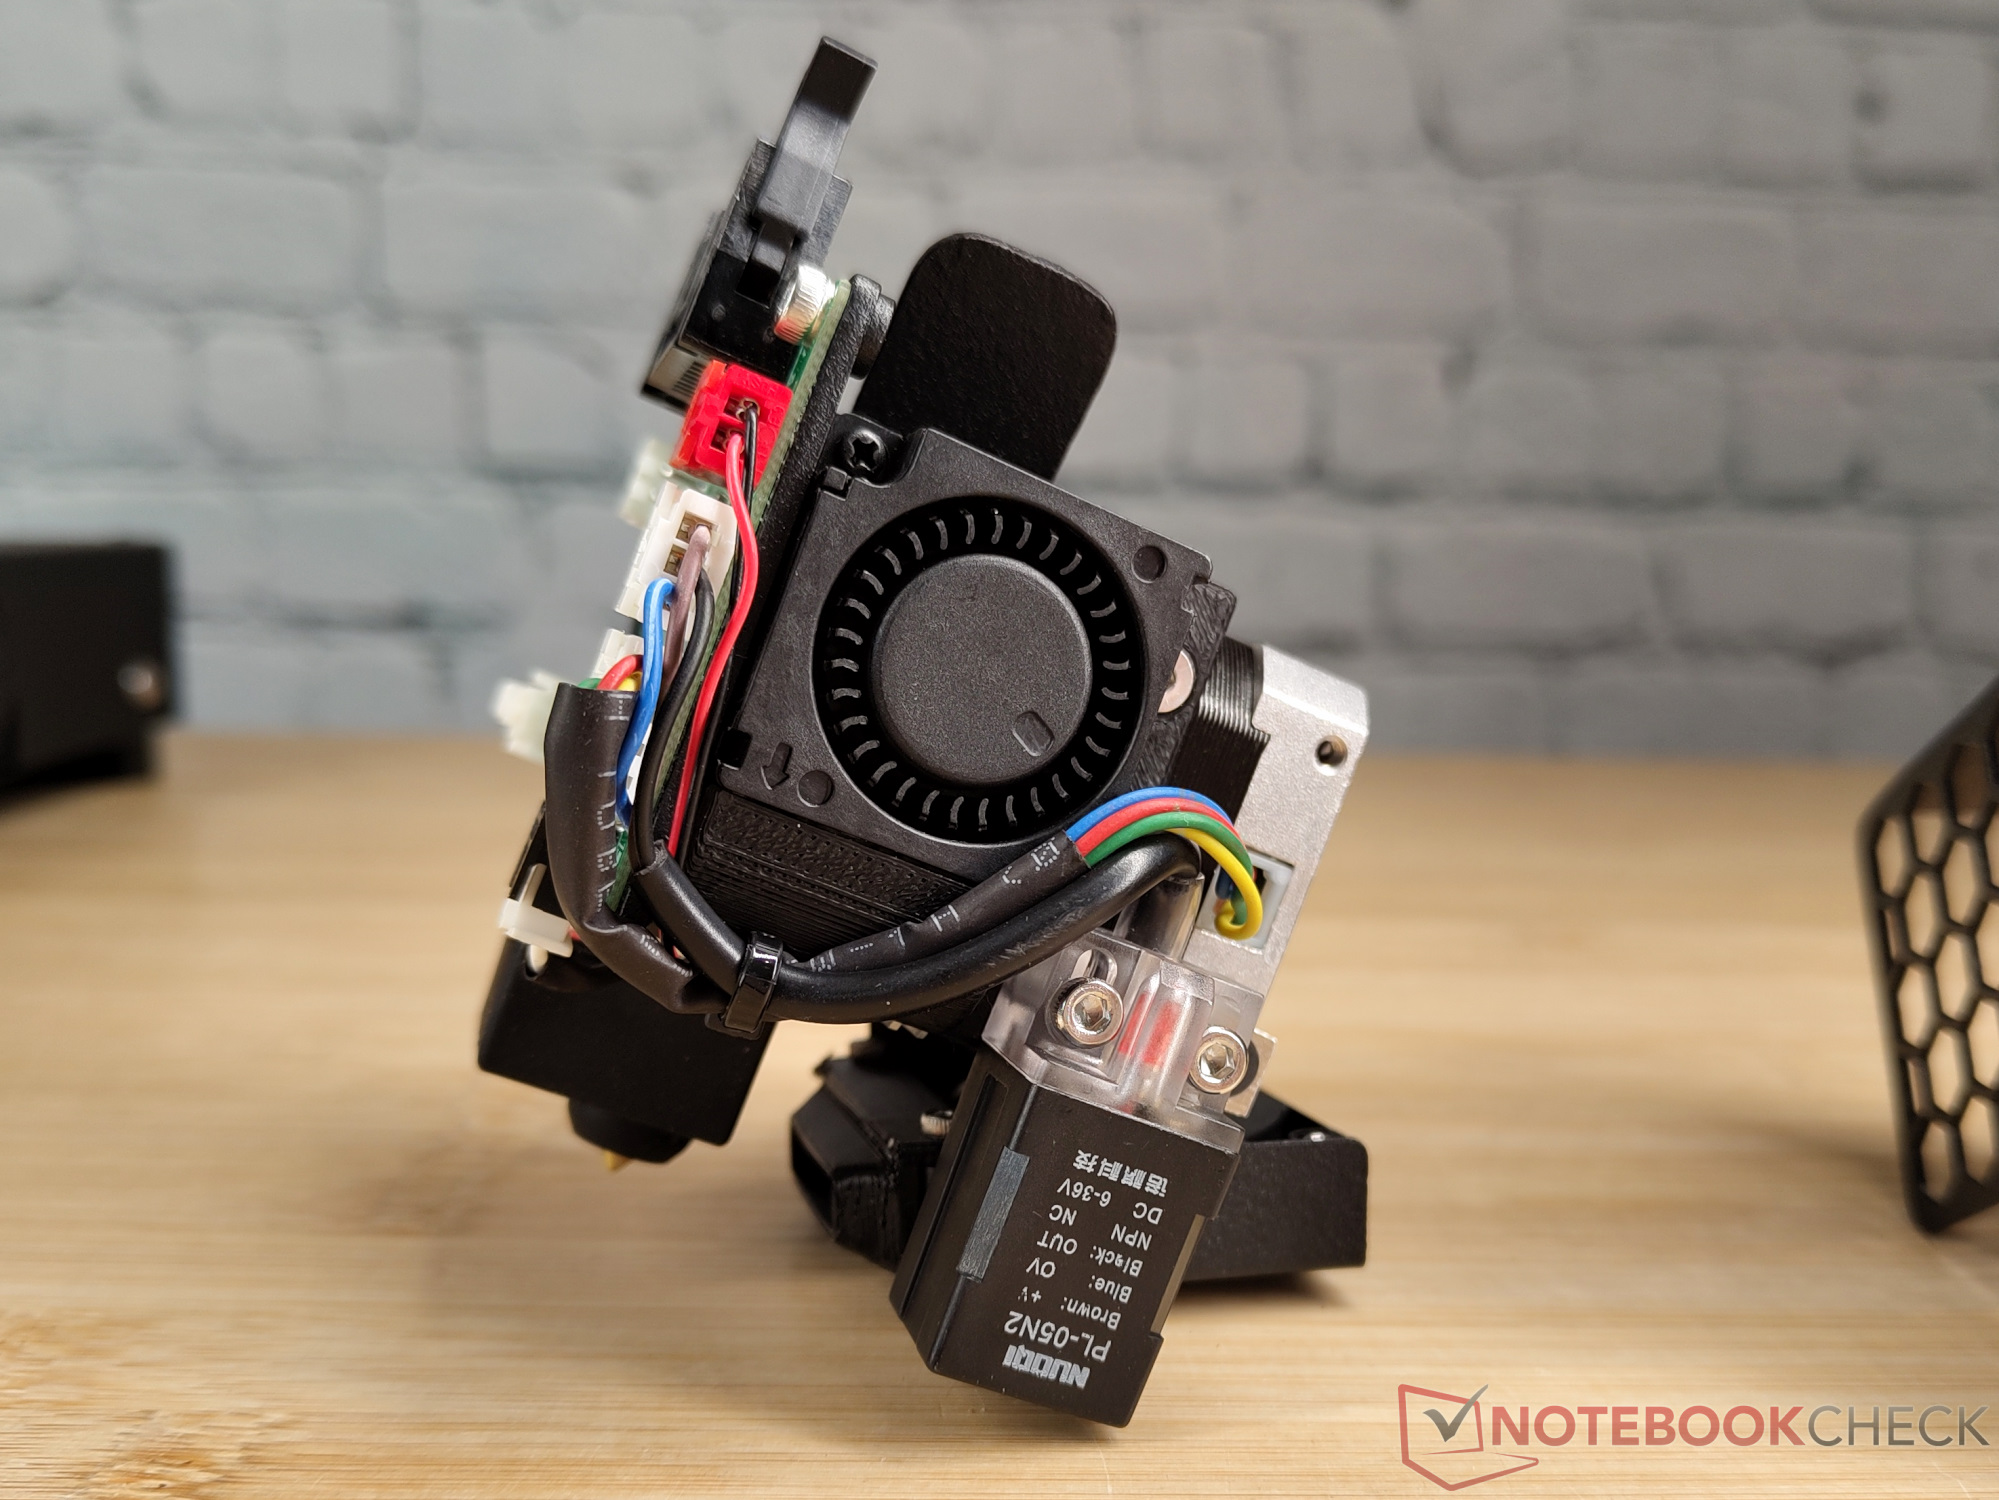
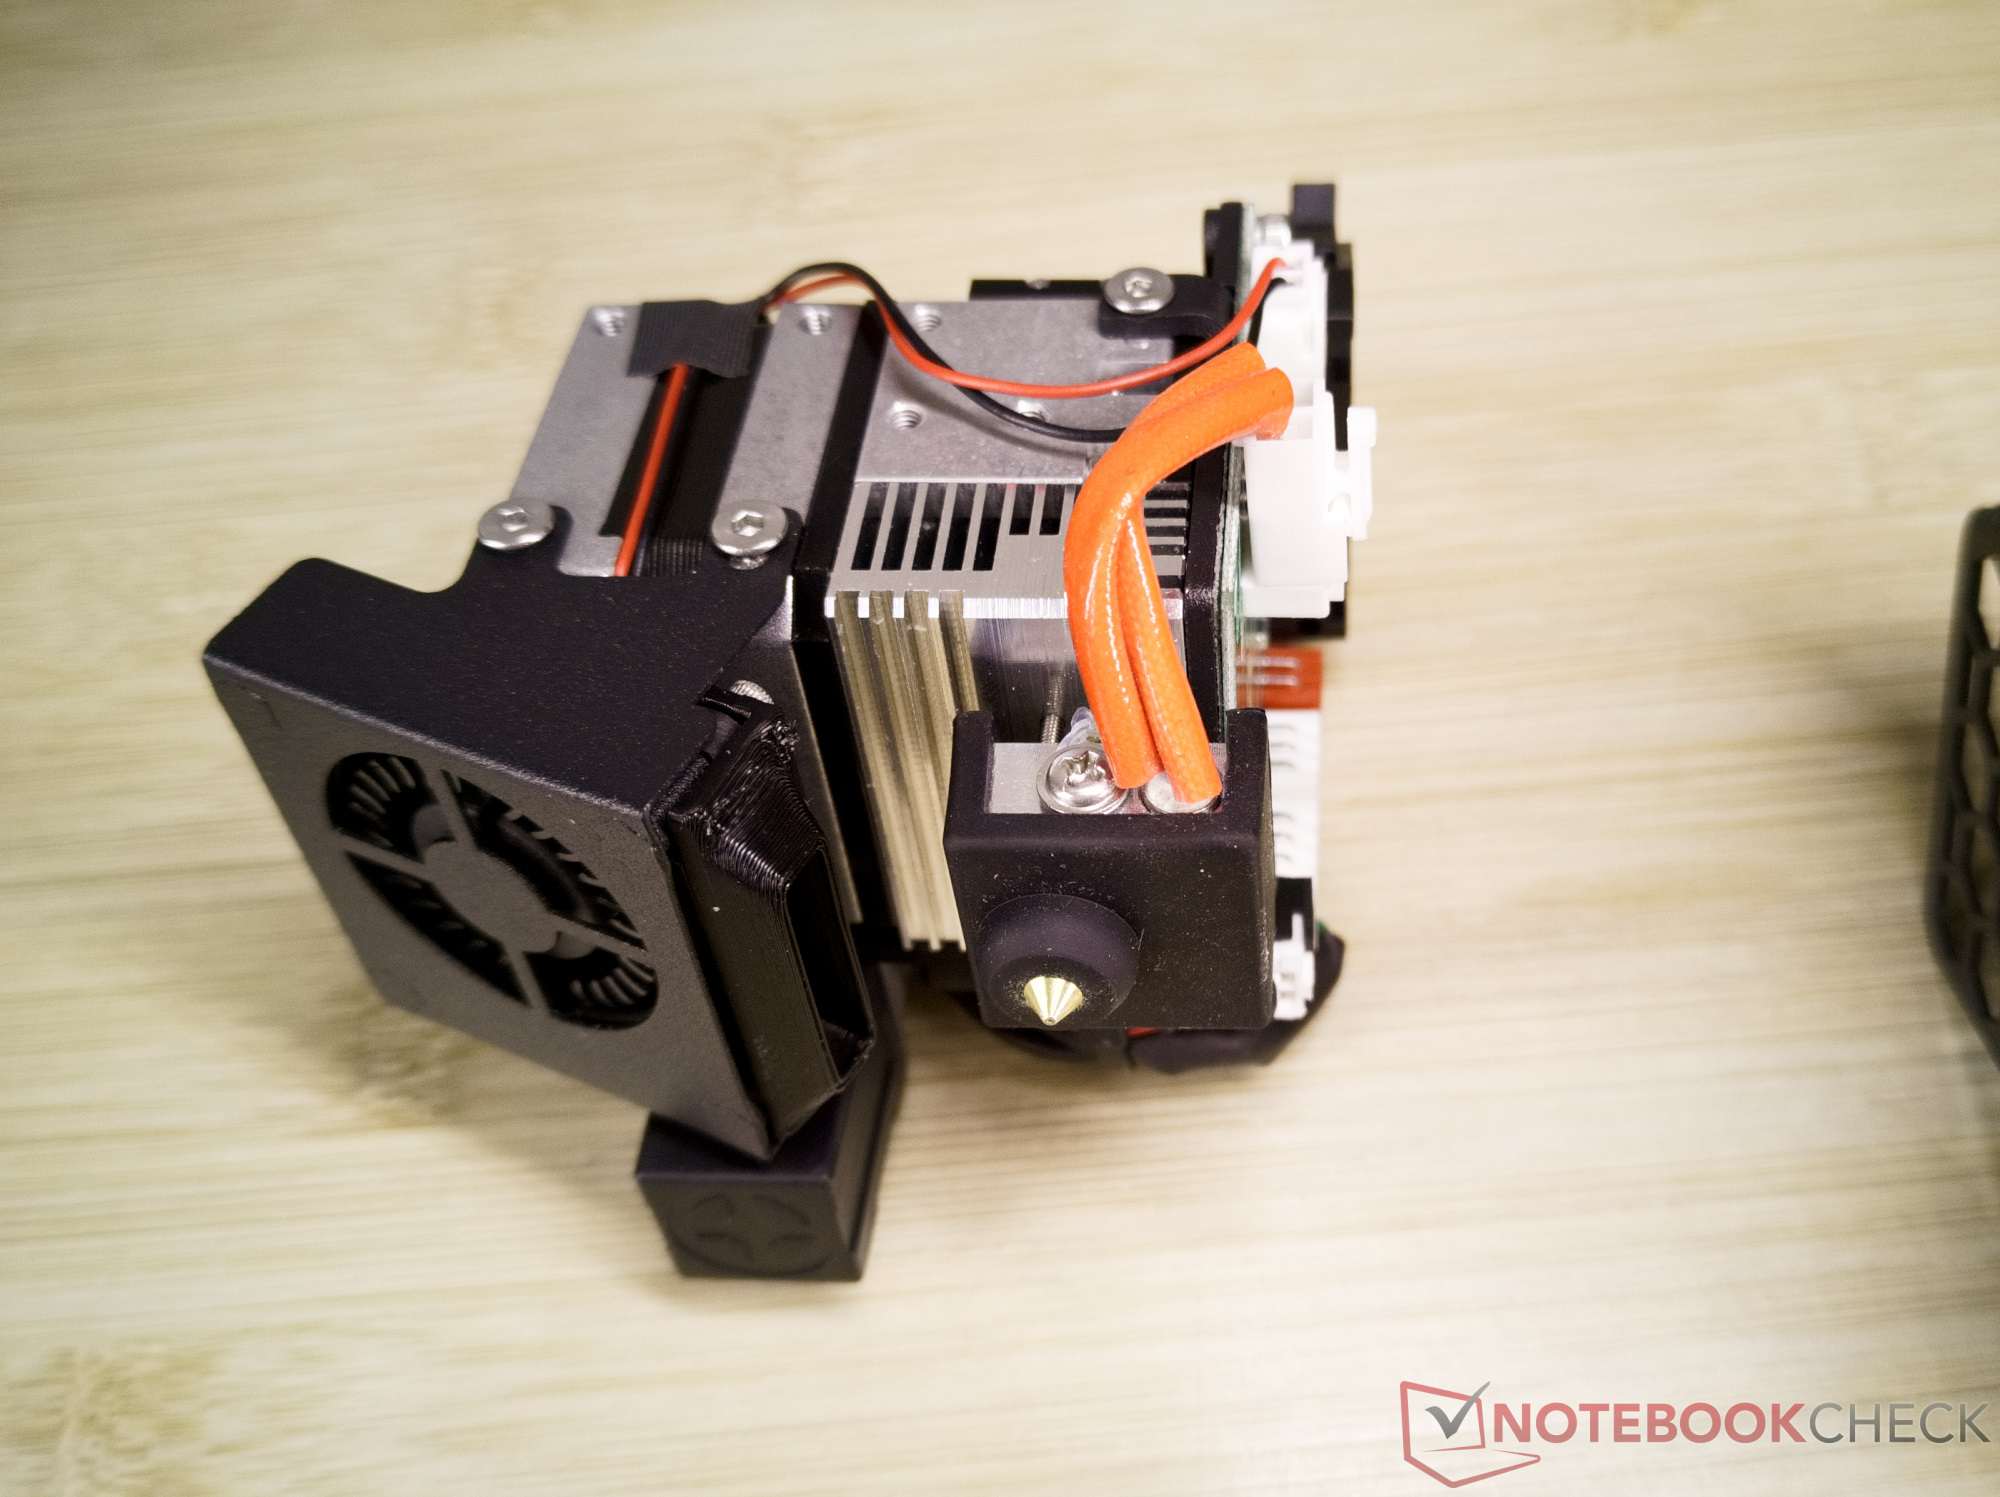
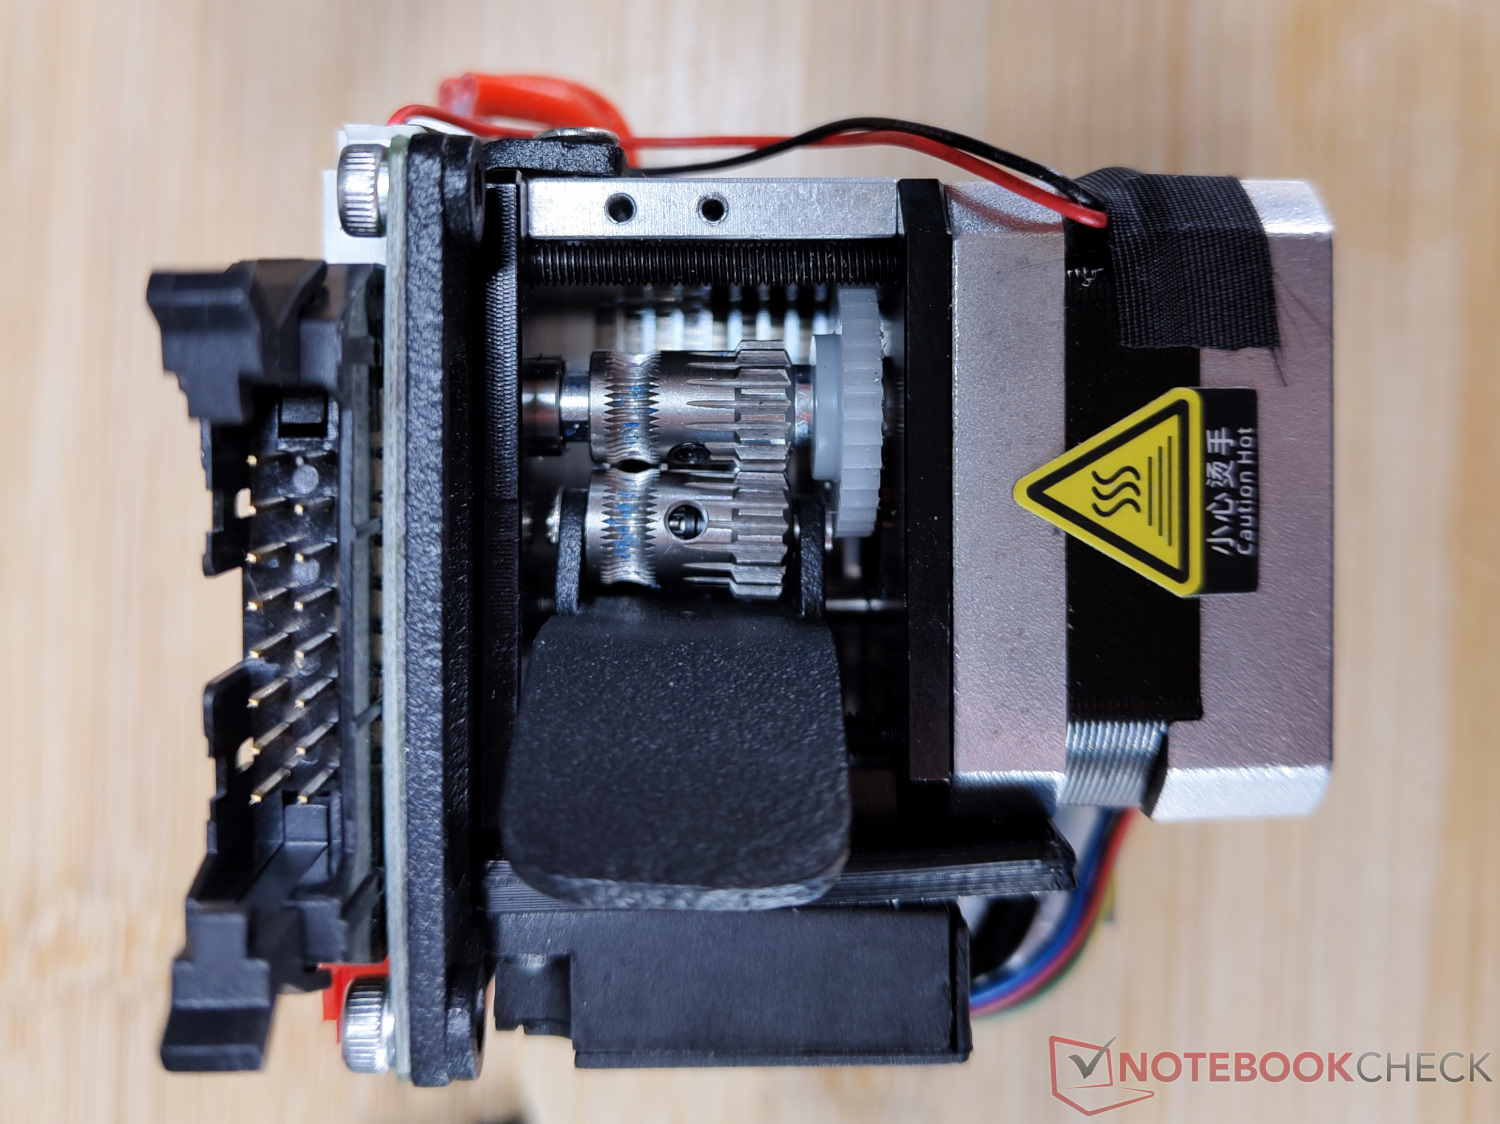
Hotend and extruder
The print head combines the hotend and extruder. The entire design uses very little plastic and should therefore withstand higher temperatures. The hot end can be heated to up to 300 °C. This means that many technical materials can also be processed with the Aquila D1. The print head design itself is largely based on the Creality Sprite extruder, but several parts that are made of plastic at Creality have been replaced with aluminum components. For example, the hot end does not need a PTFE inliner.
PLA, PETG, and ABS are probably the most common 3D printing materials, and the Aquila D1 masters these without problems even at higher printing speeds thanks to the powerful extruder. Nylon, polycarbonate, and other technical materials are also conceivable here. However, you should not rely on the same high speeds as for processing PLA.
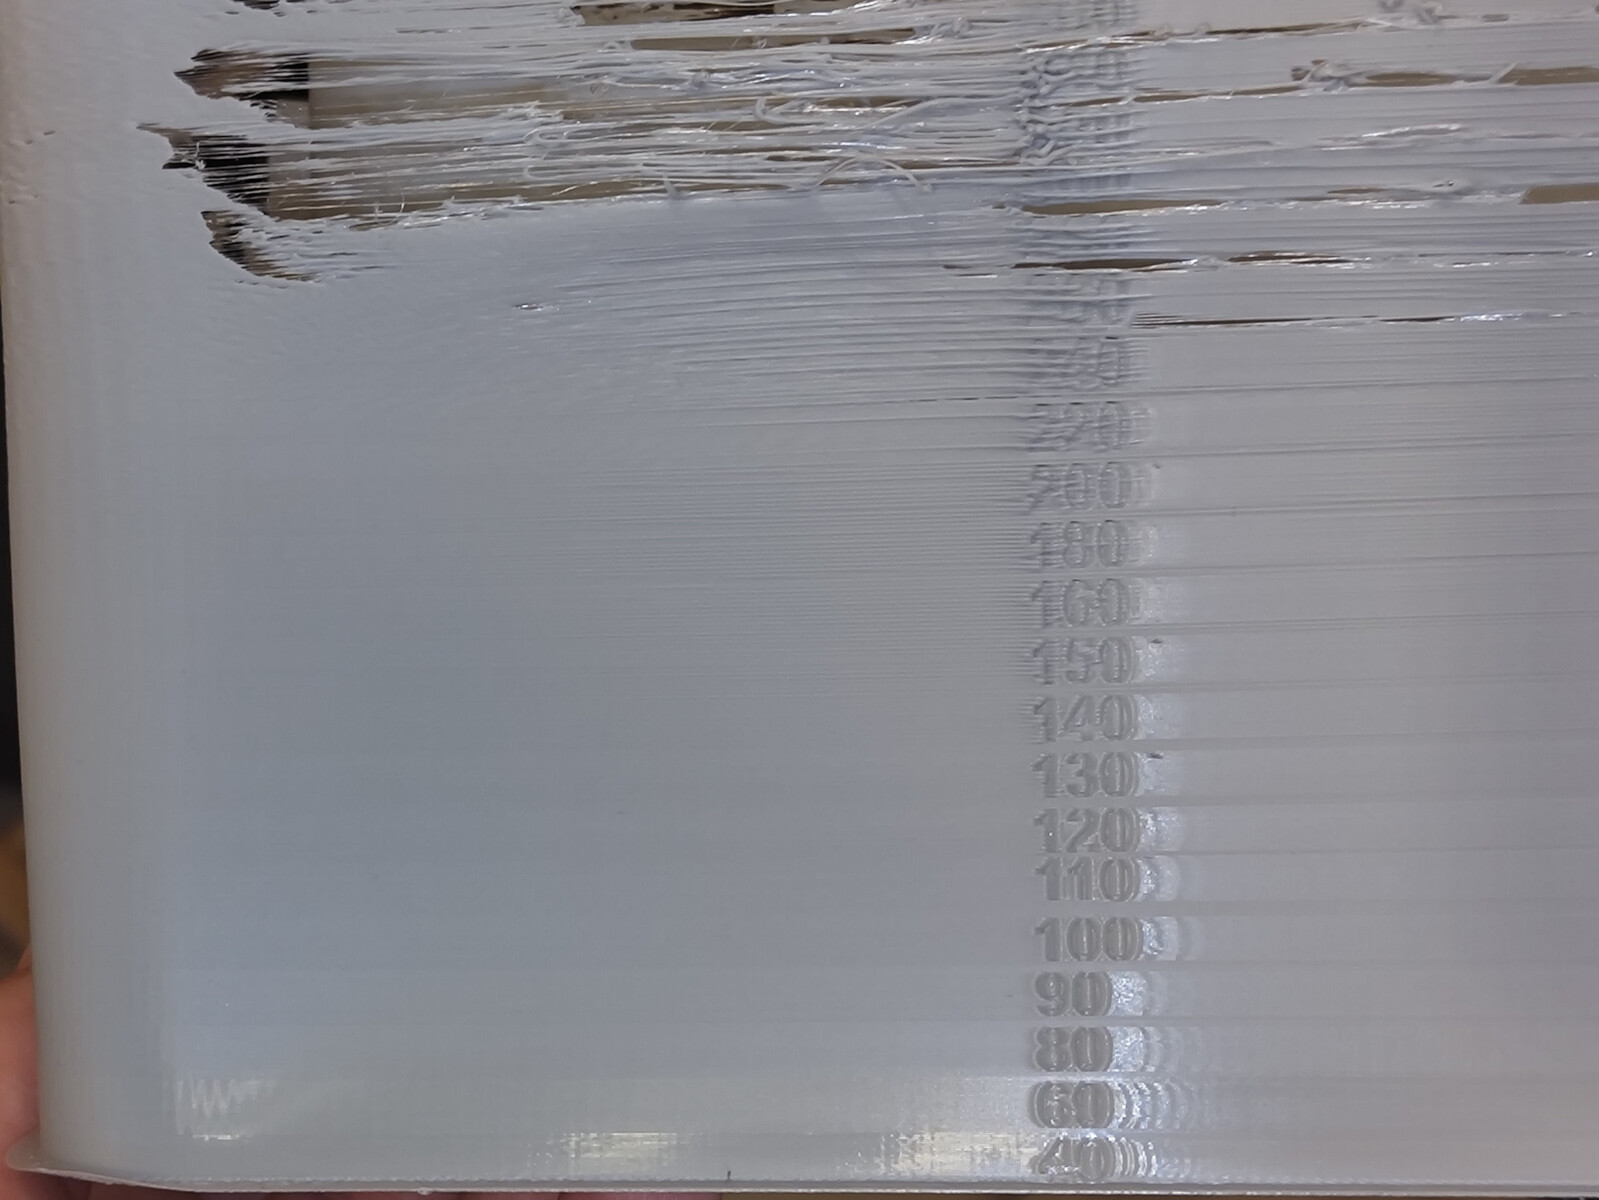
Voxelab specifies a typical printing speed of 100 mm/s for the Aquila D1 and suggests a maximum speed of 180 mm/s. At a printing temperature of 220 °C, the 3D printer achieves a higher speed of 220 mm/s at least with PLA filament without significant dropouts, but with significant quality losses. Above 240 mm/s, dropouts of the extruder and a somewhat too weak motor of the Y-axis cause some gaps in our print speed test, where the 3D printer increases its speed every 5 mm. Nevertheless, under certain circumstances, some areas of 3D printing at speeds of up to 260 mm/s would be possible.
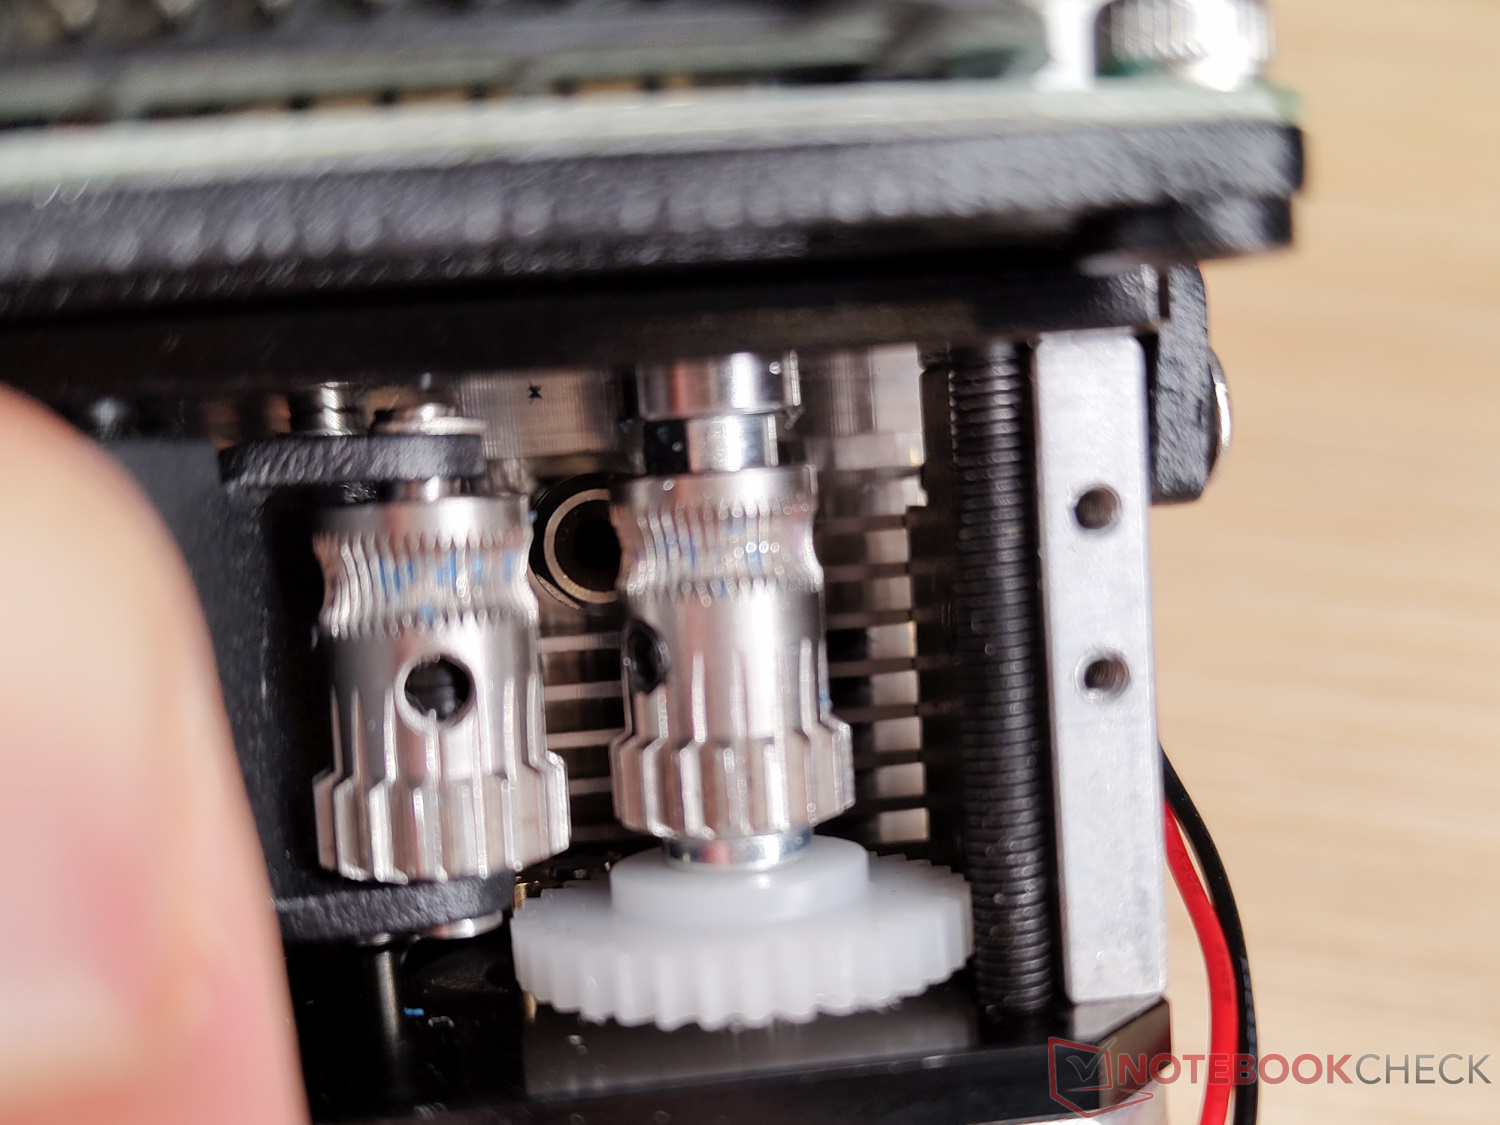
As is typical for direct-drive extruders, you can clearly see the teeth of the filament drive wheels in the print image at slower print speeds. At higher print speeds, this effect is visibly diminished. In fact, the range of 90 to 120 mm/s seems to be the optimum for speed and quality. In this range, the Voxelab Aquila D1 produces a pleasing print image.
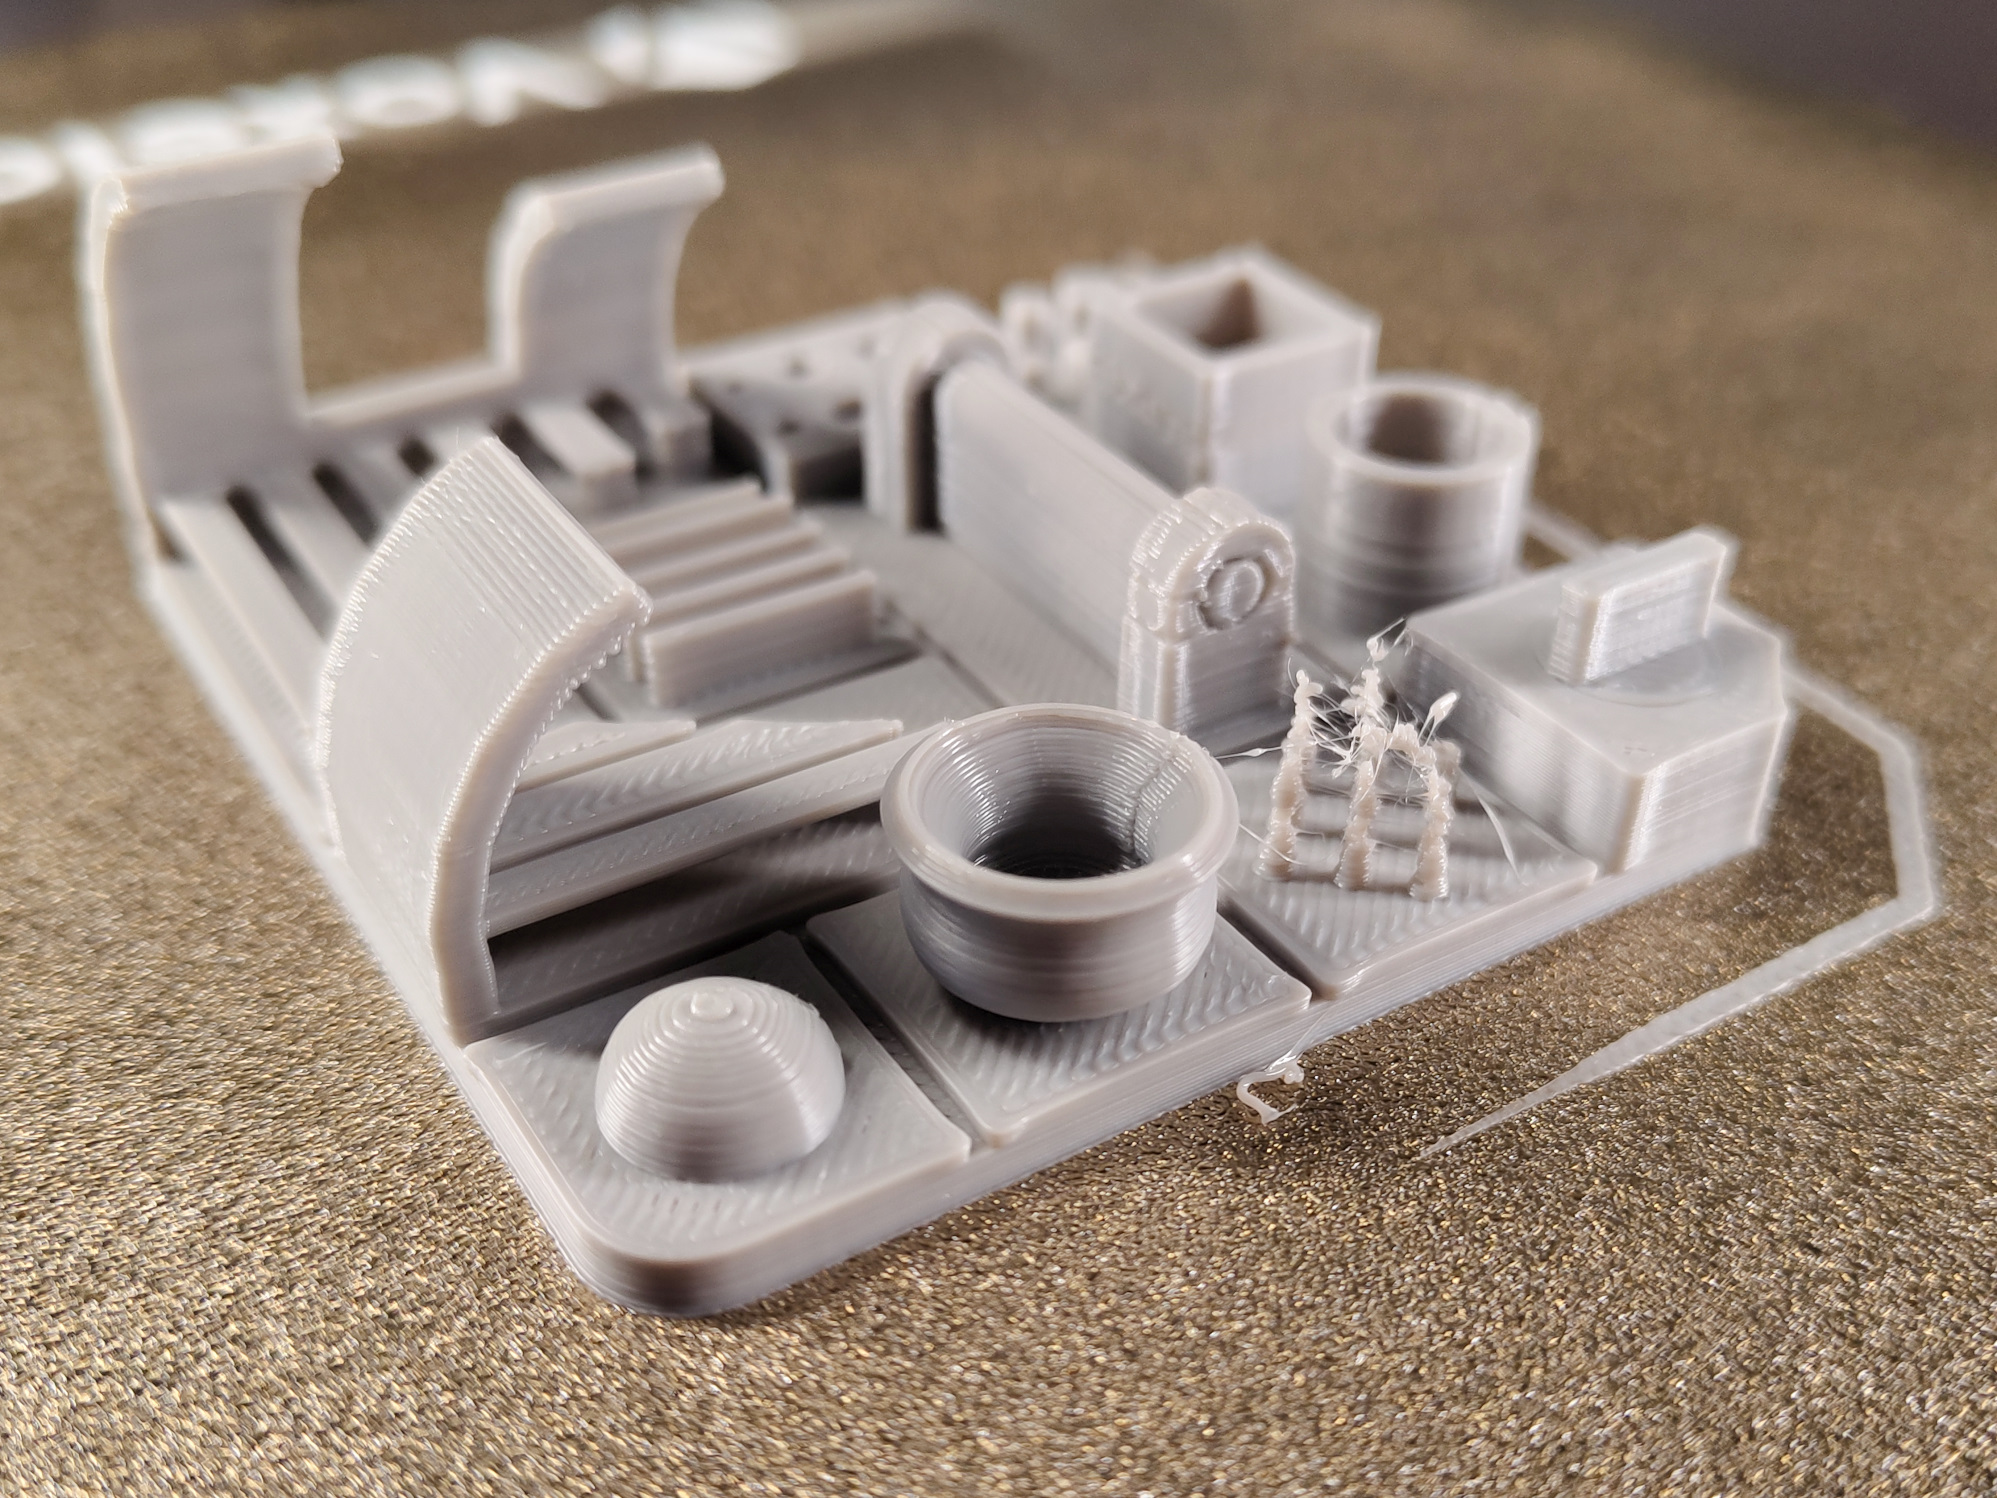
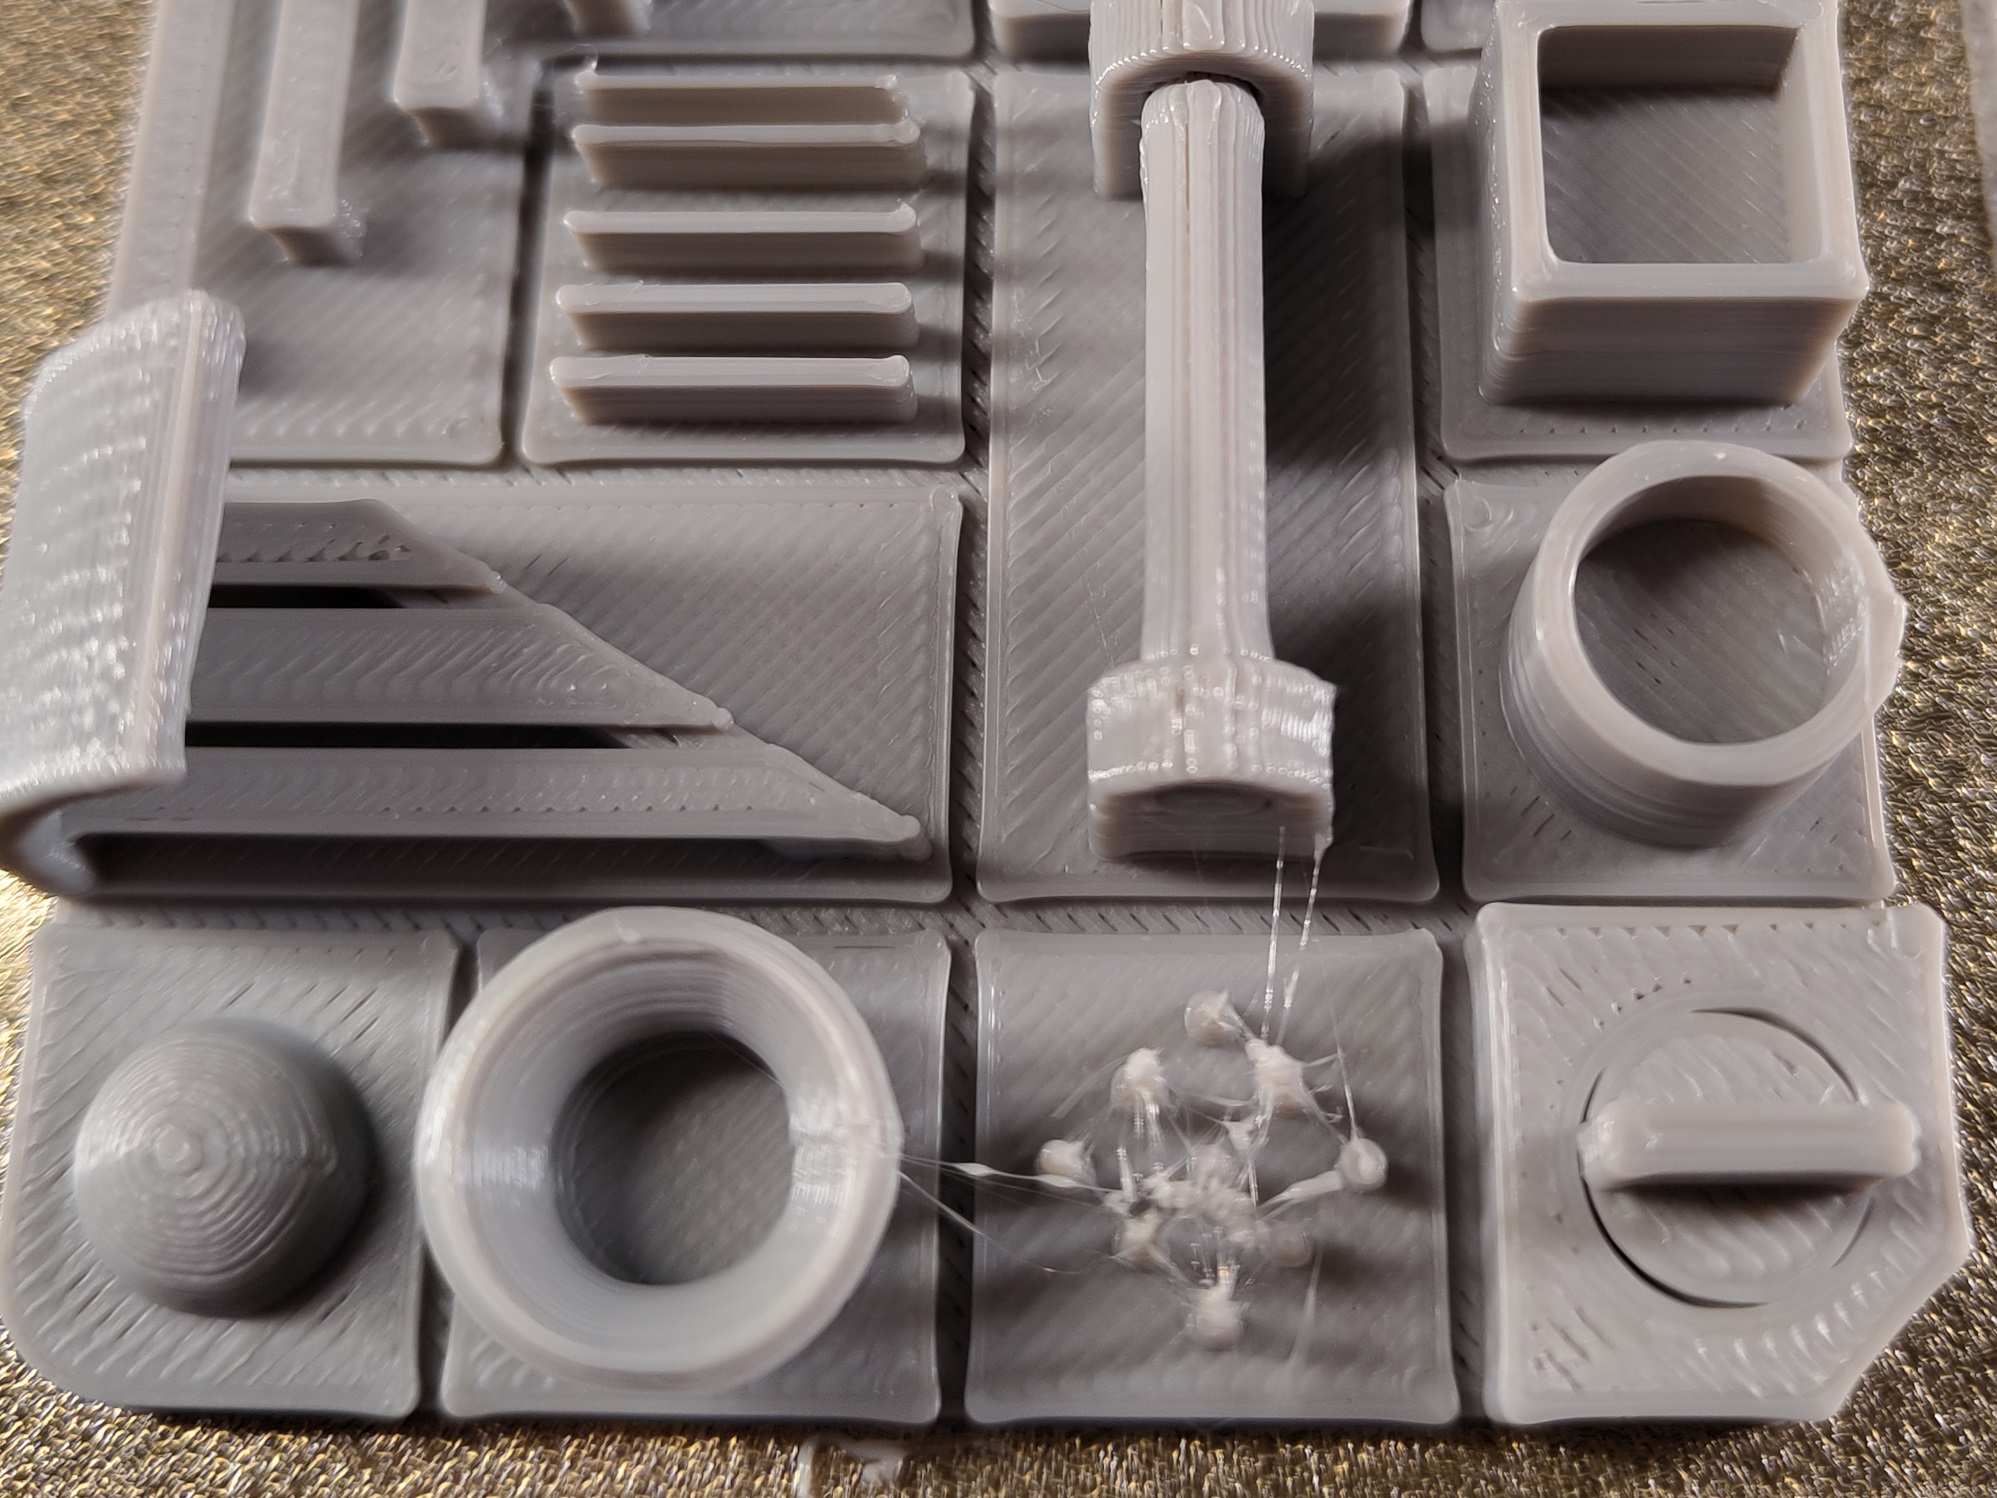
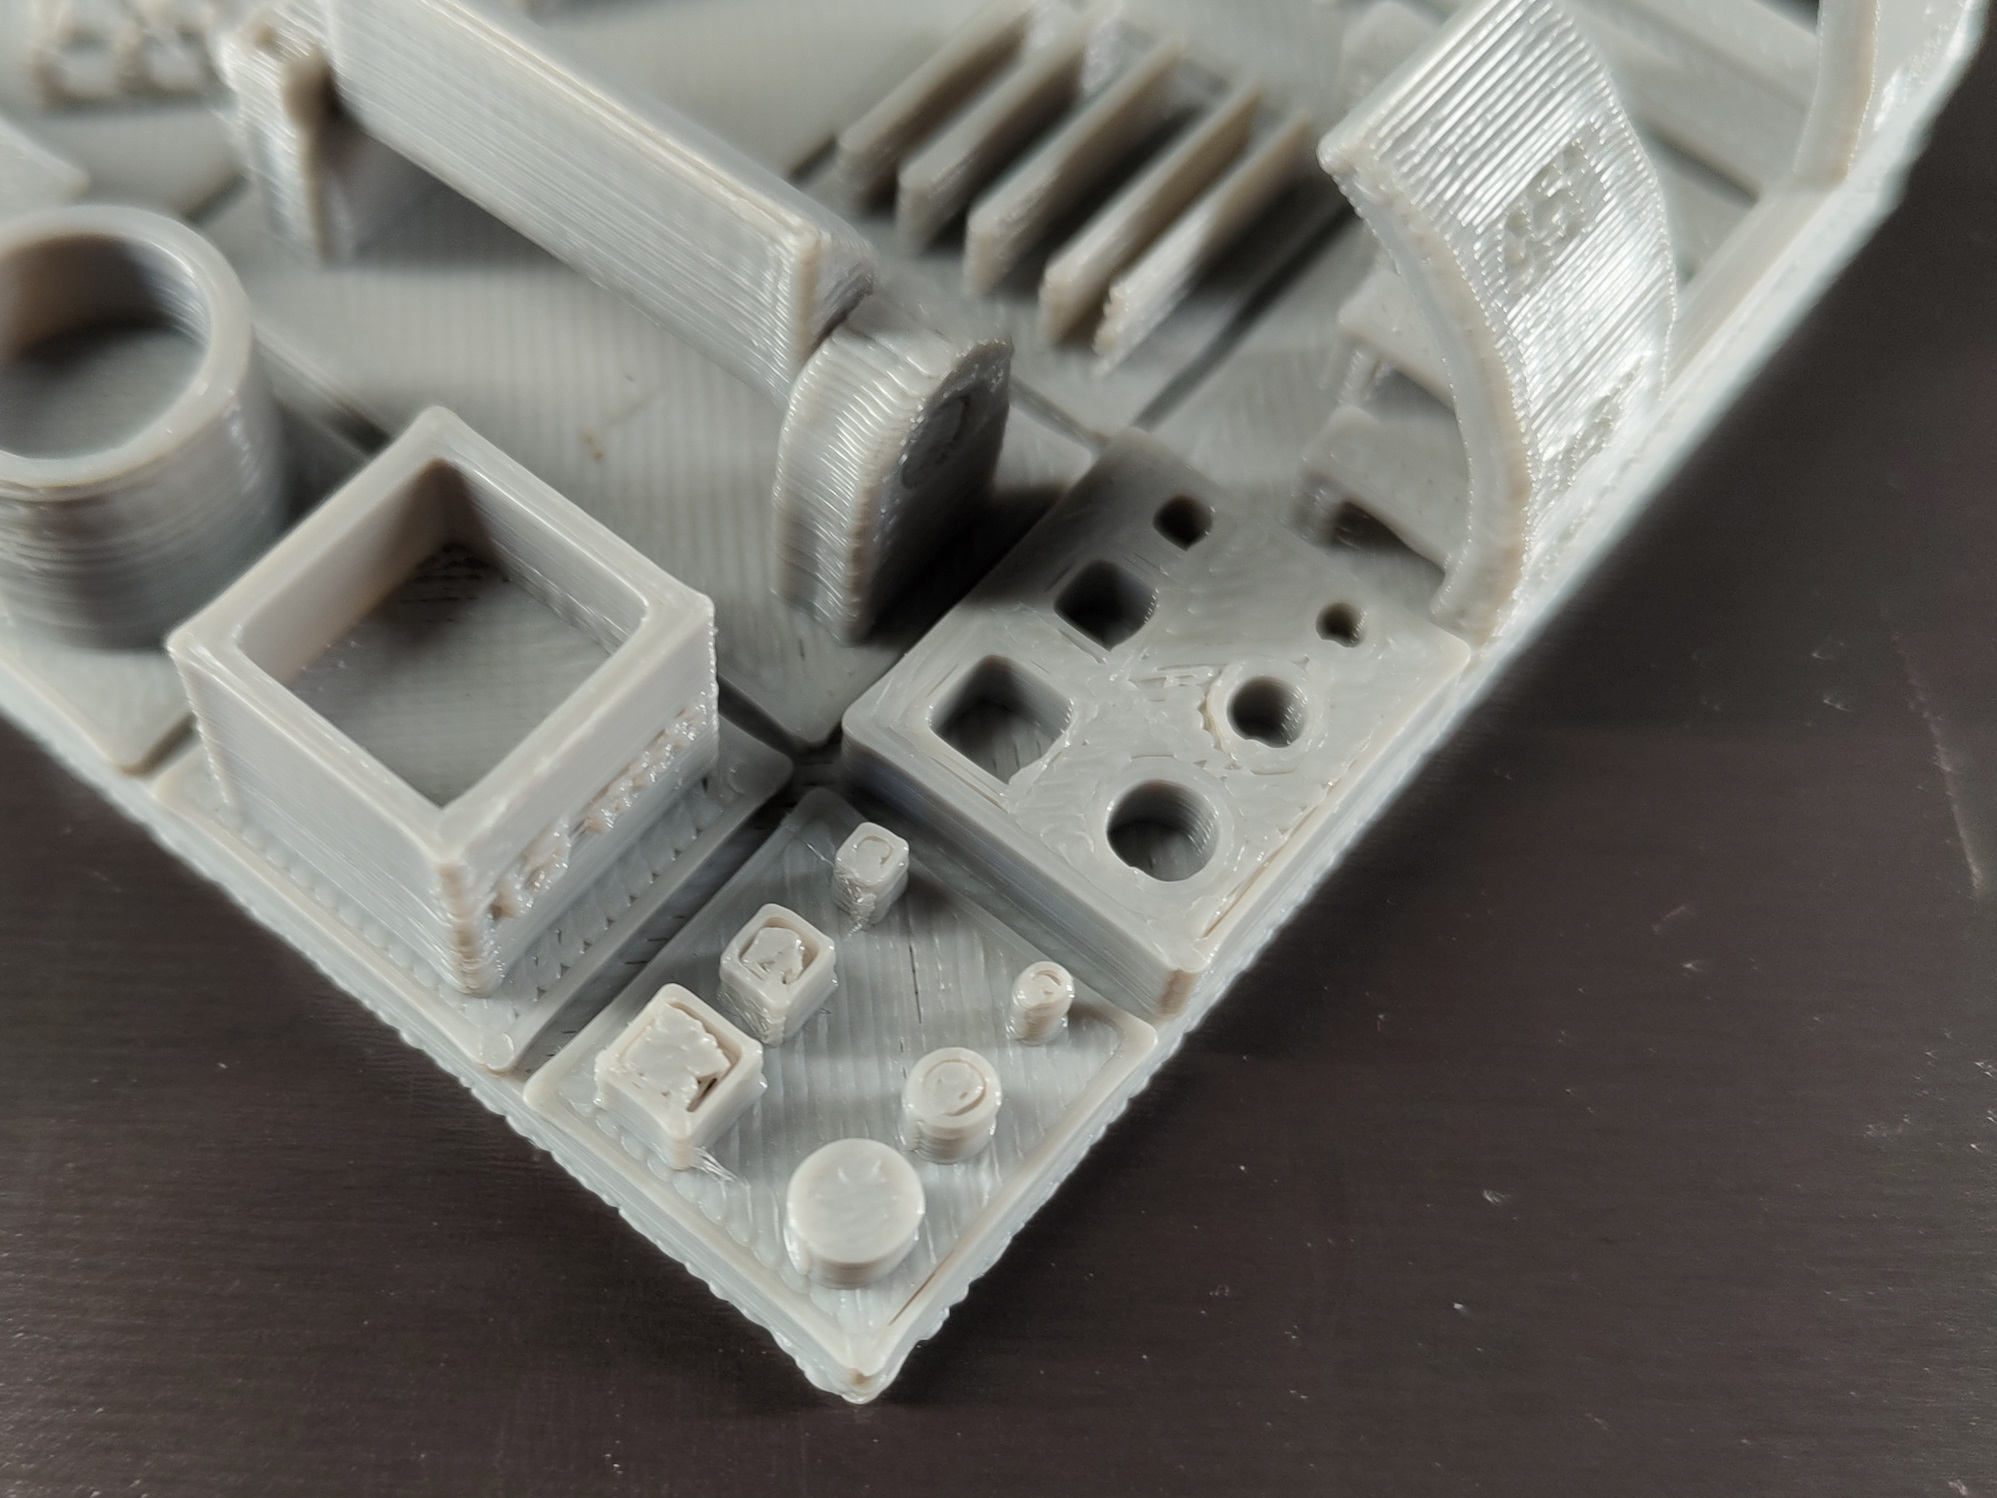
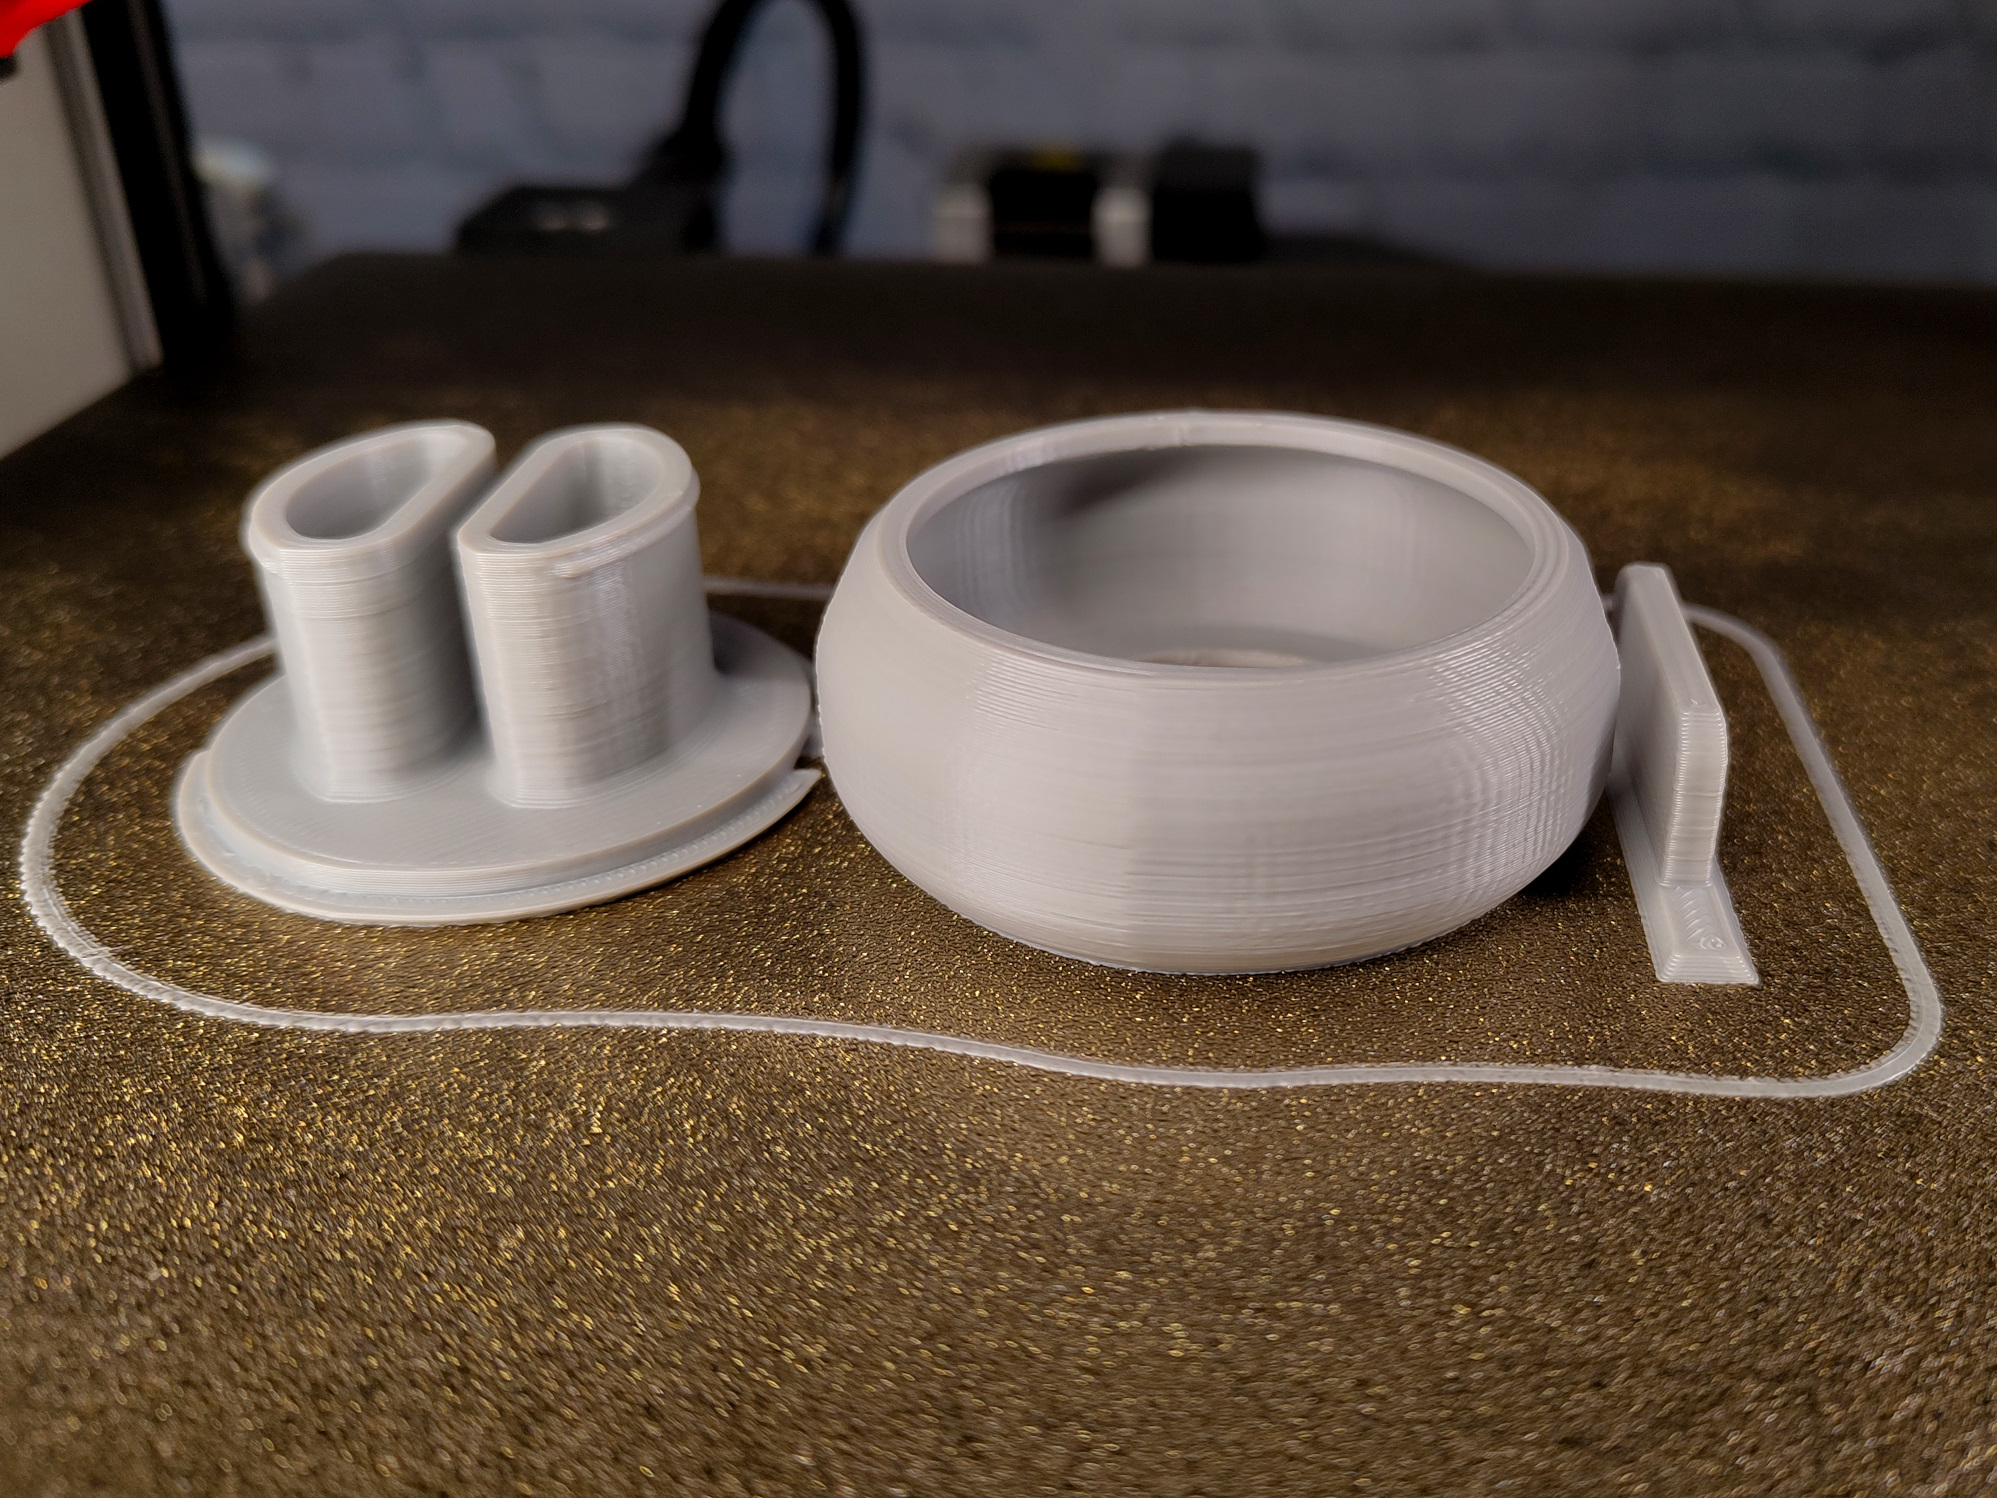
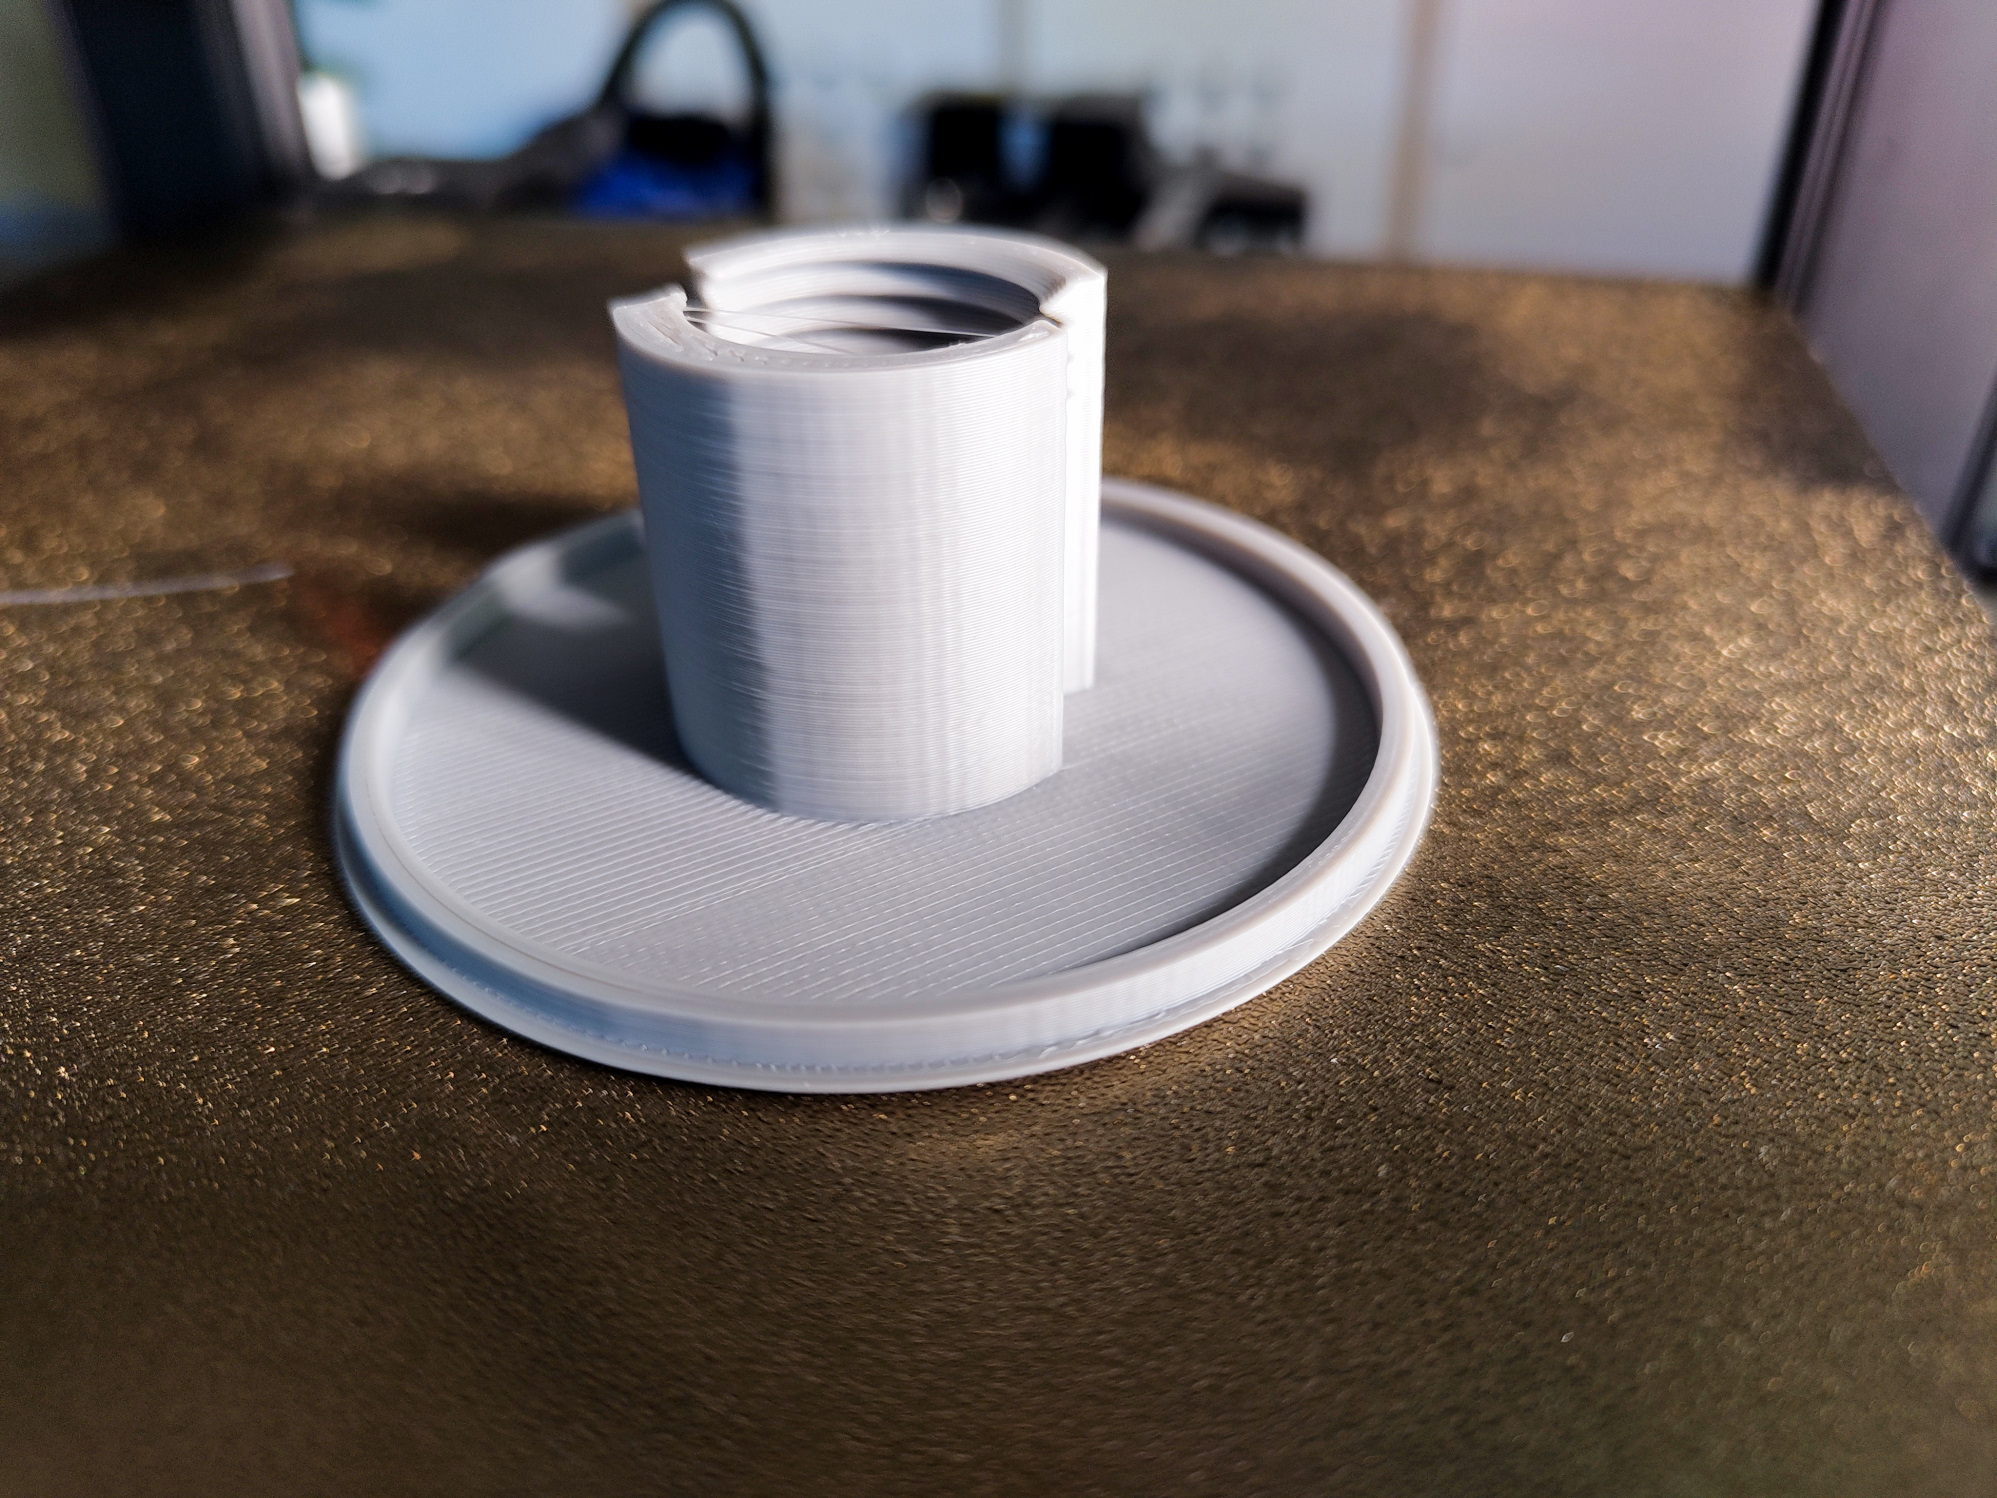
Print quality
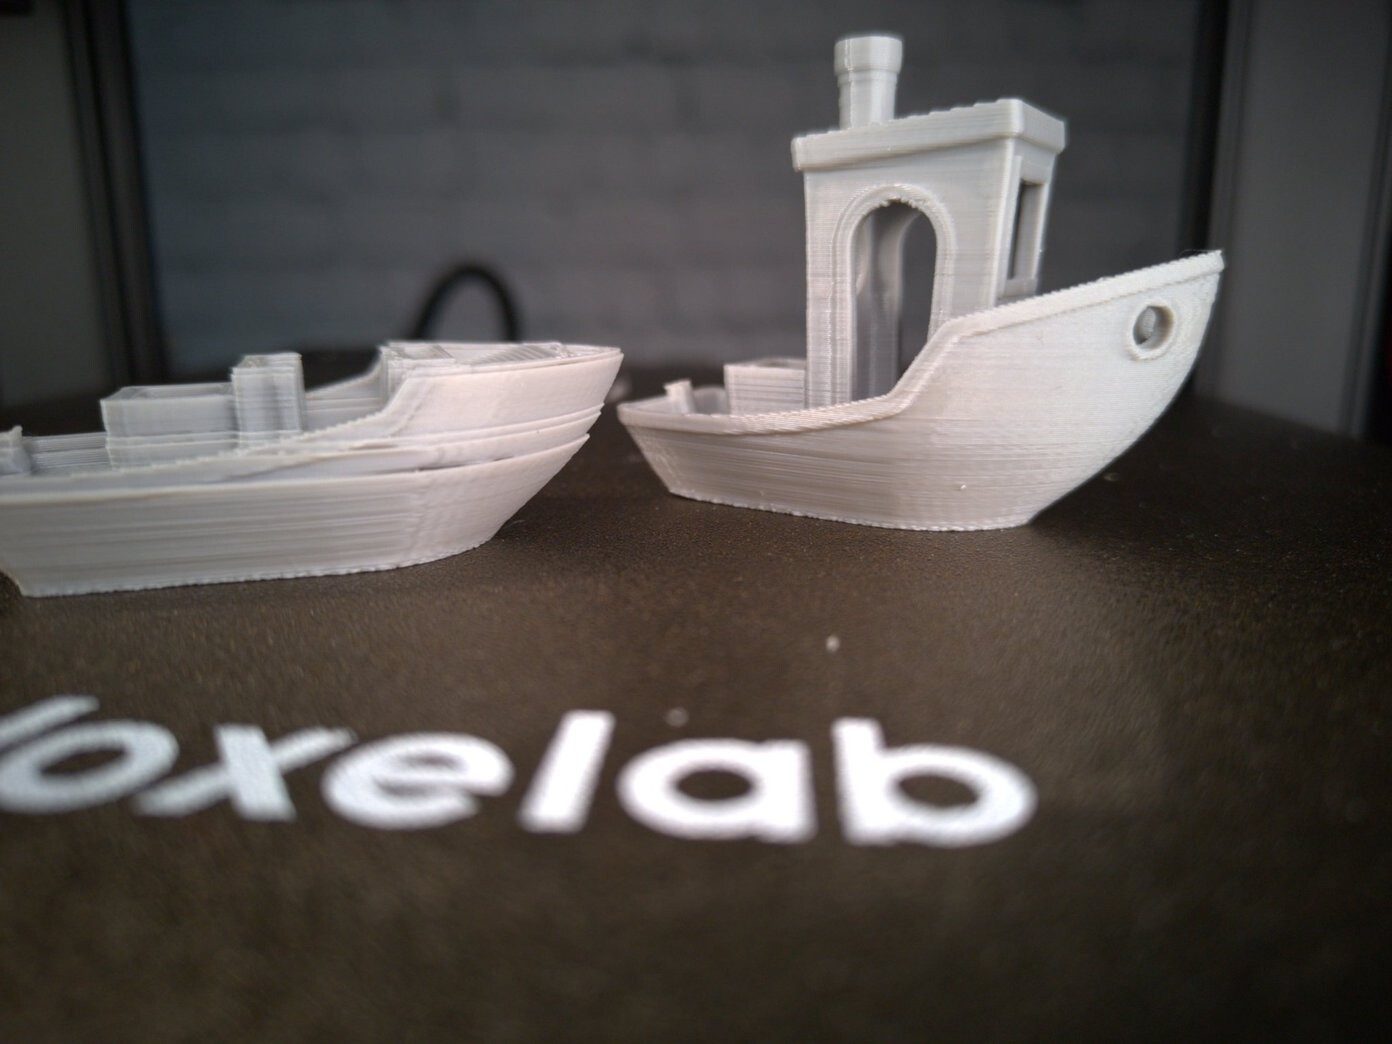
Normally, we use Ultimaker Cura in the latest version to prepare our test prints. However, since the manufacturer provides its own slicer, Voxelmaker, we decided to use it. Unfortunately, the result shows quite a few problems, most of which can be attributed to a lack of optimization of the print settings here. First and foremost is probably the retraction behavior before the print head has to pass over empty areas of the print object. Thus, we notice excessive stringing and blobs in several places. These are threads and filament residues that could be almost completely avoided by better settings. This also leads to problems at the beginning of the lines, as the un-retraction moves are also not quite coherent. It is also noticeable that the settings for the solid infill, i.e. the cover layers in the slicer, do not fit. As a result, these areas partially detach from the side walls. Both problems can be fixed by experienced users by making small adjustments. We adjusted our gray PLA filament from Anycubic almost perfectly in the Ultimaker Cura slicer. In the Voxelmaker, we used the default settings for PLA. Thus, the 3D printer has a small disadvantage over its competitors in this area as well.
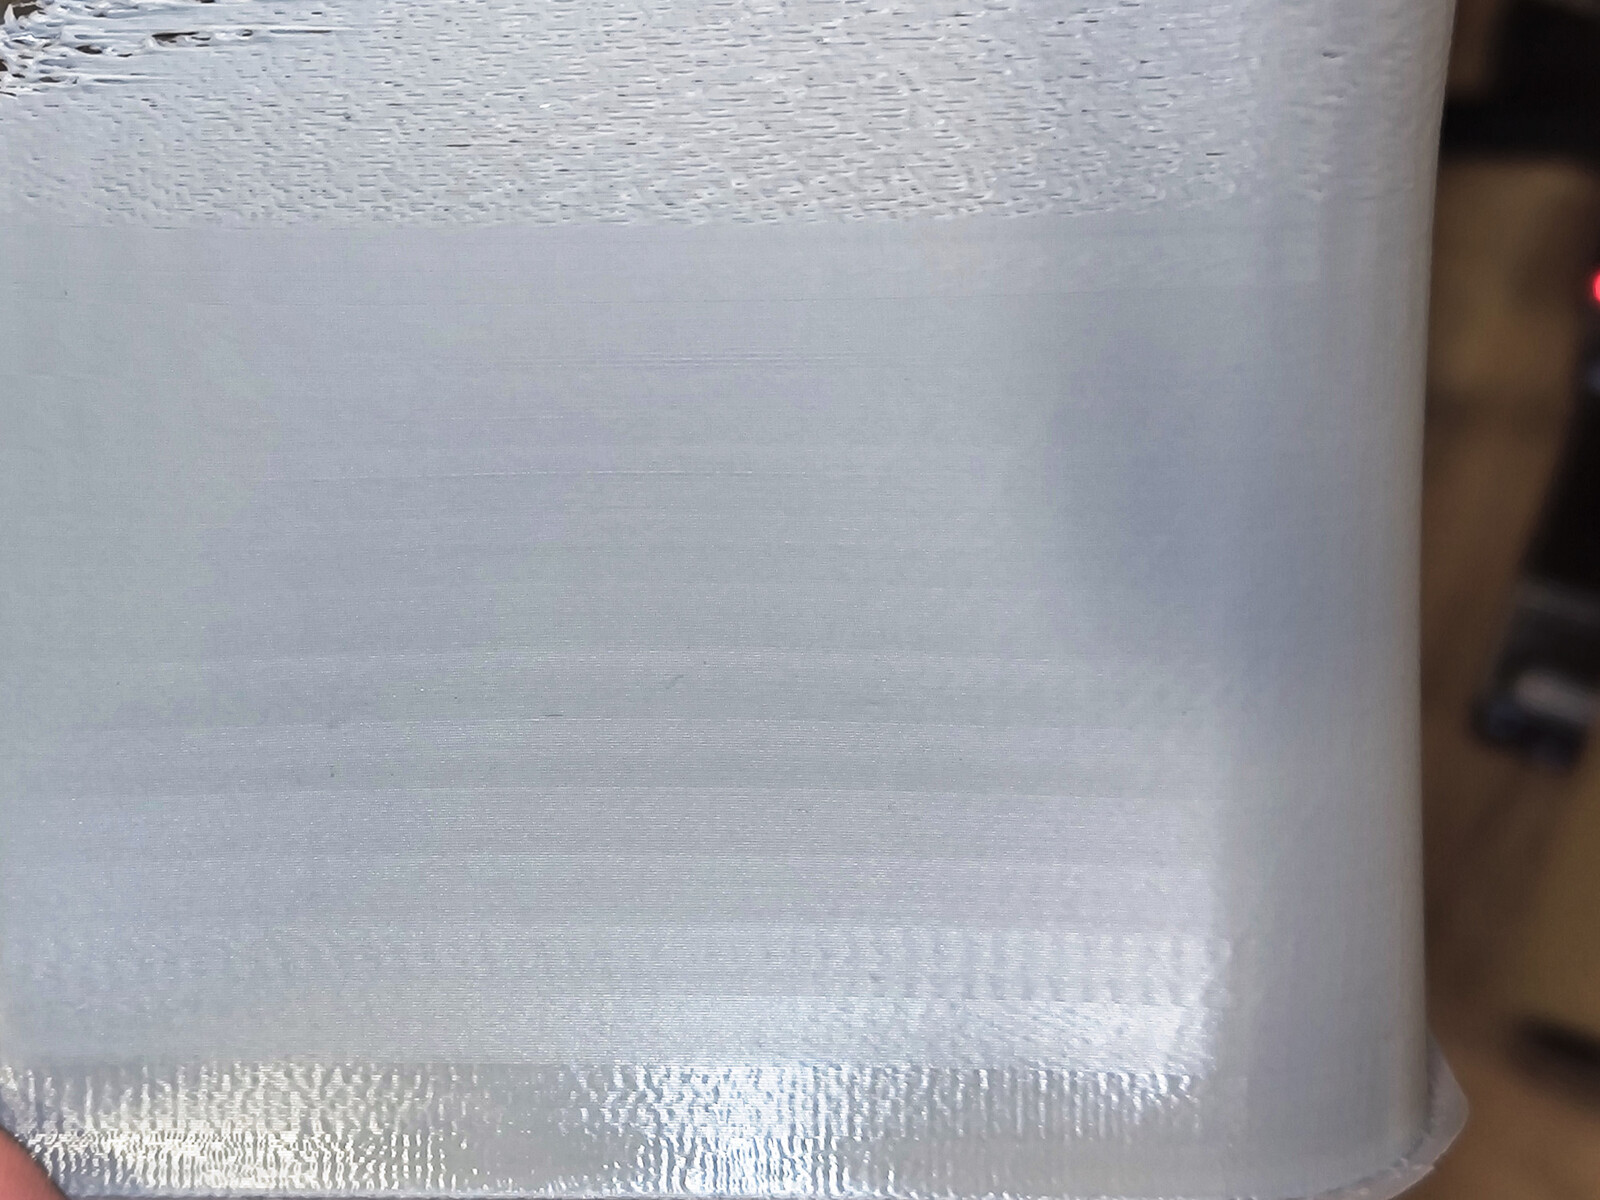
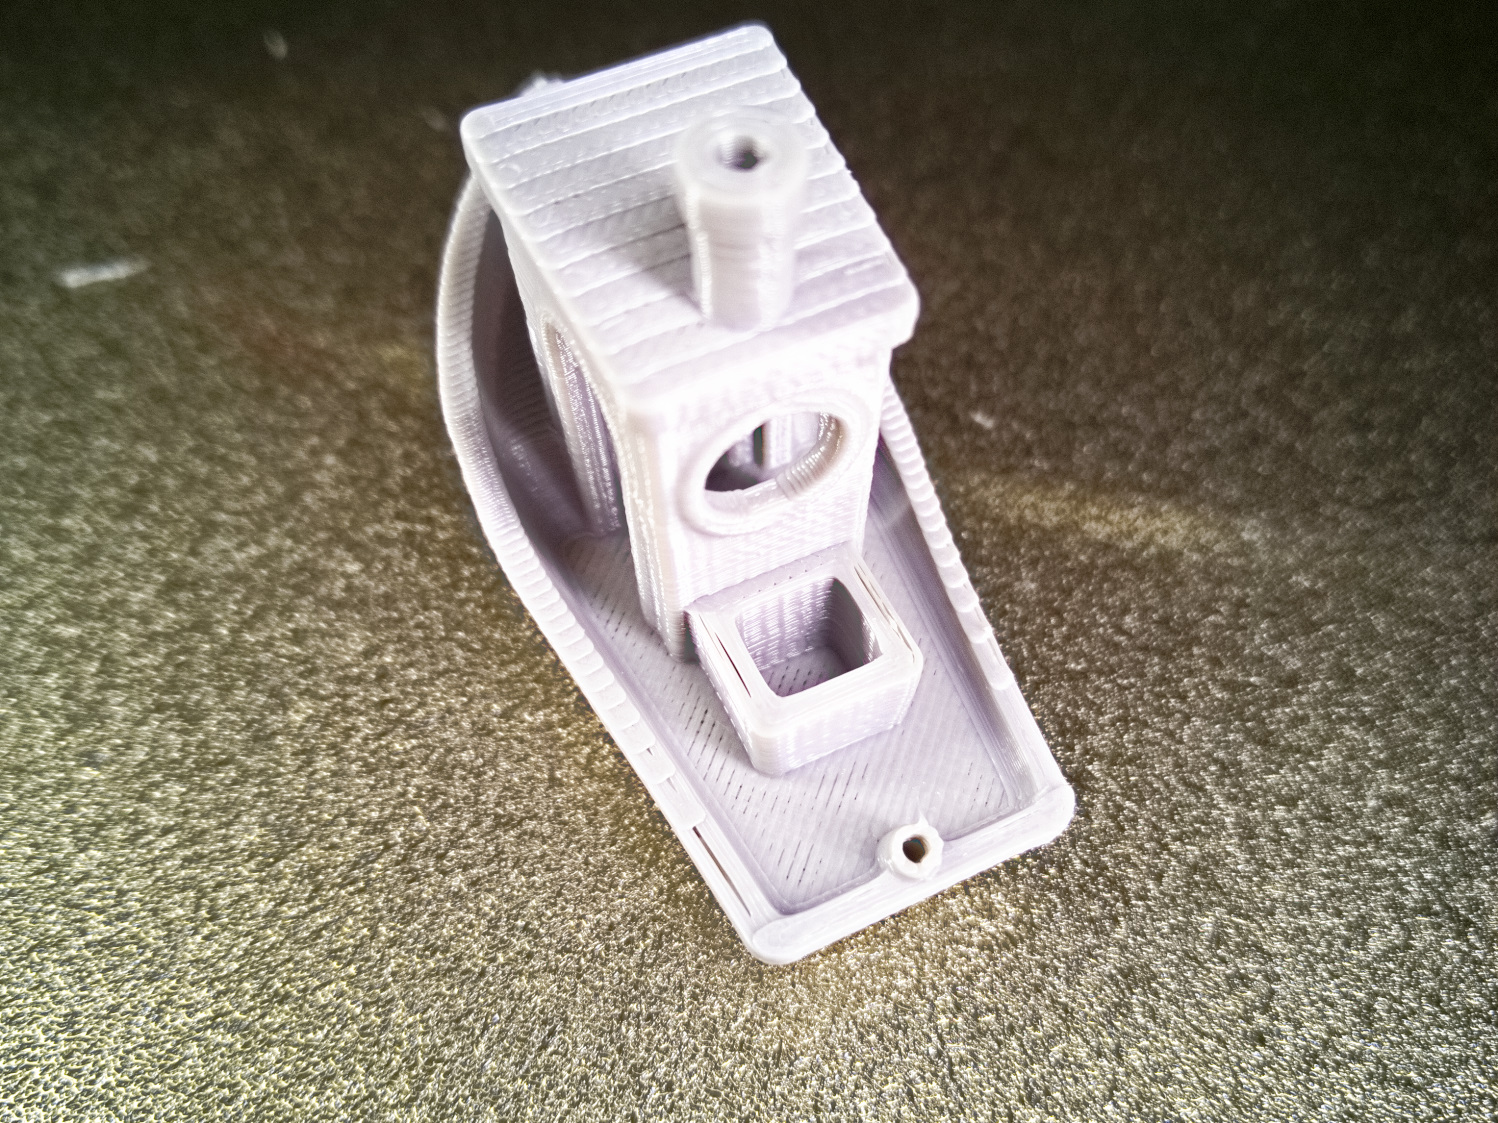
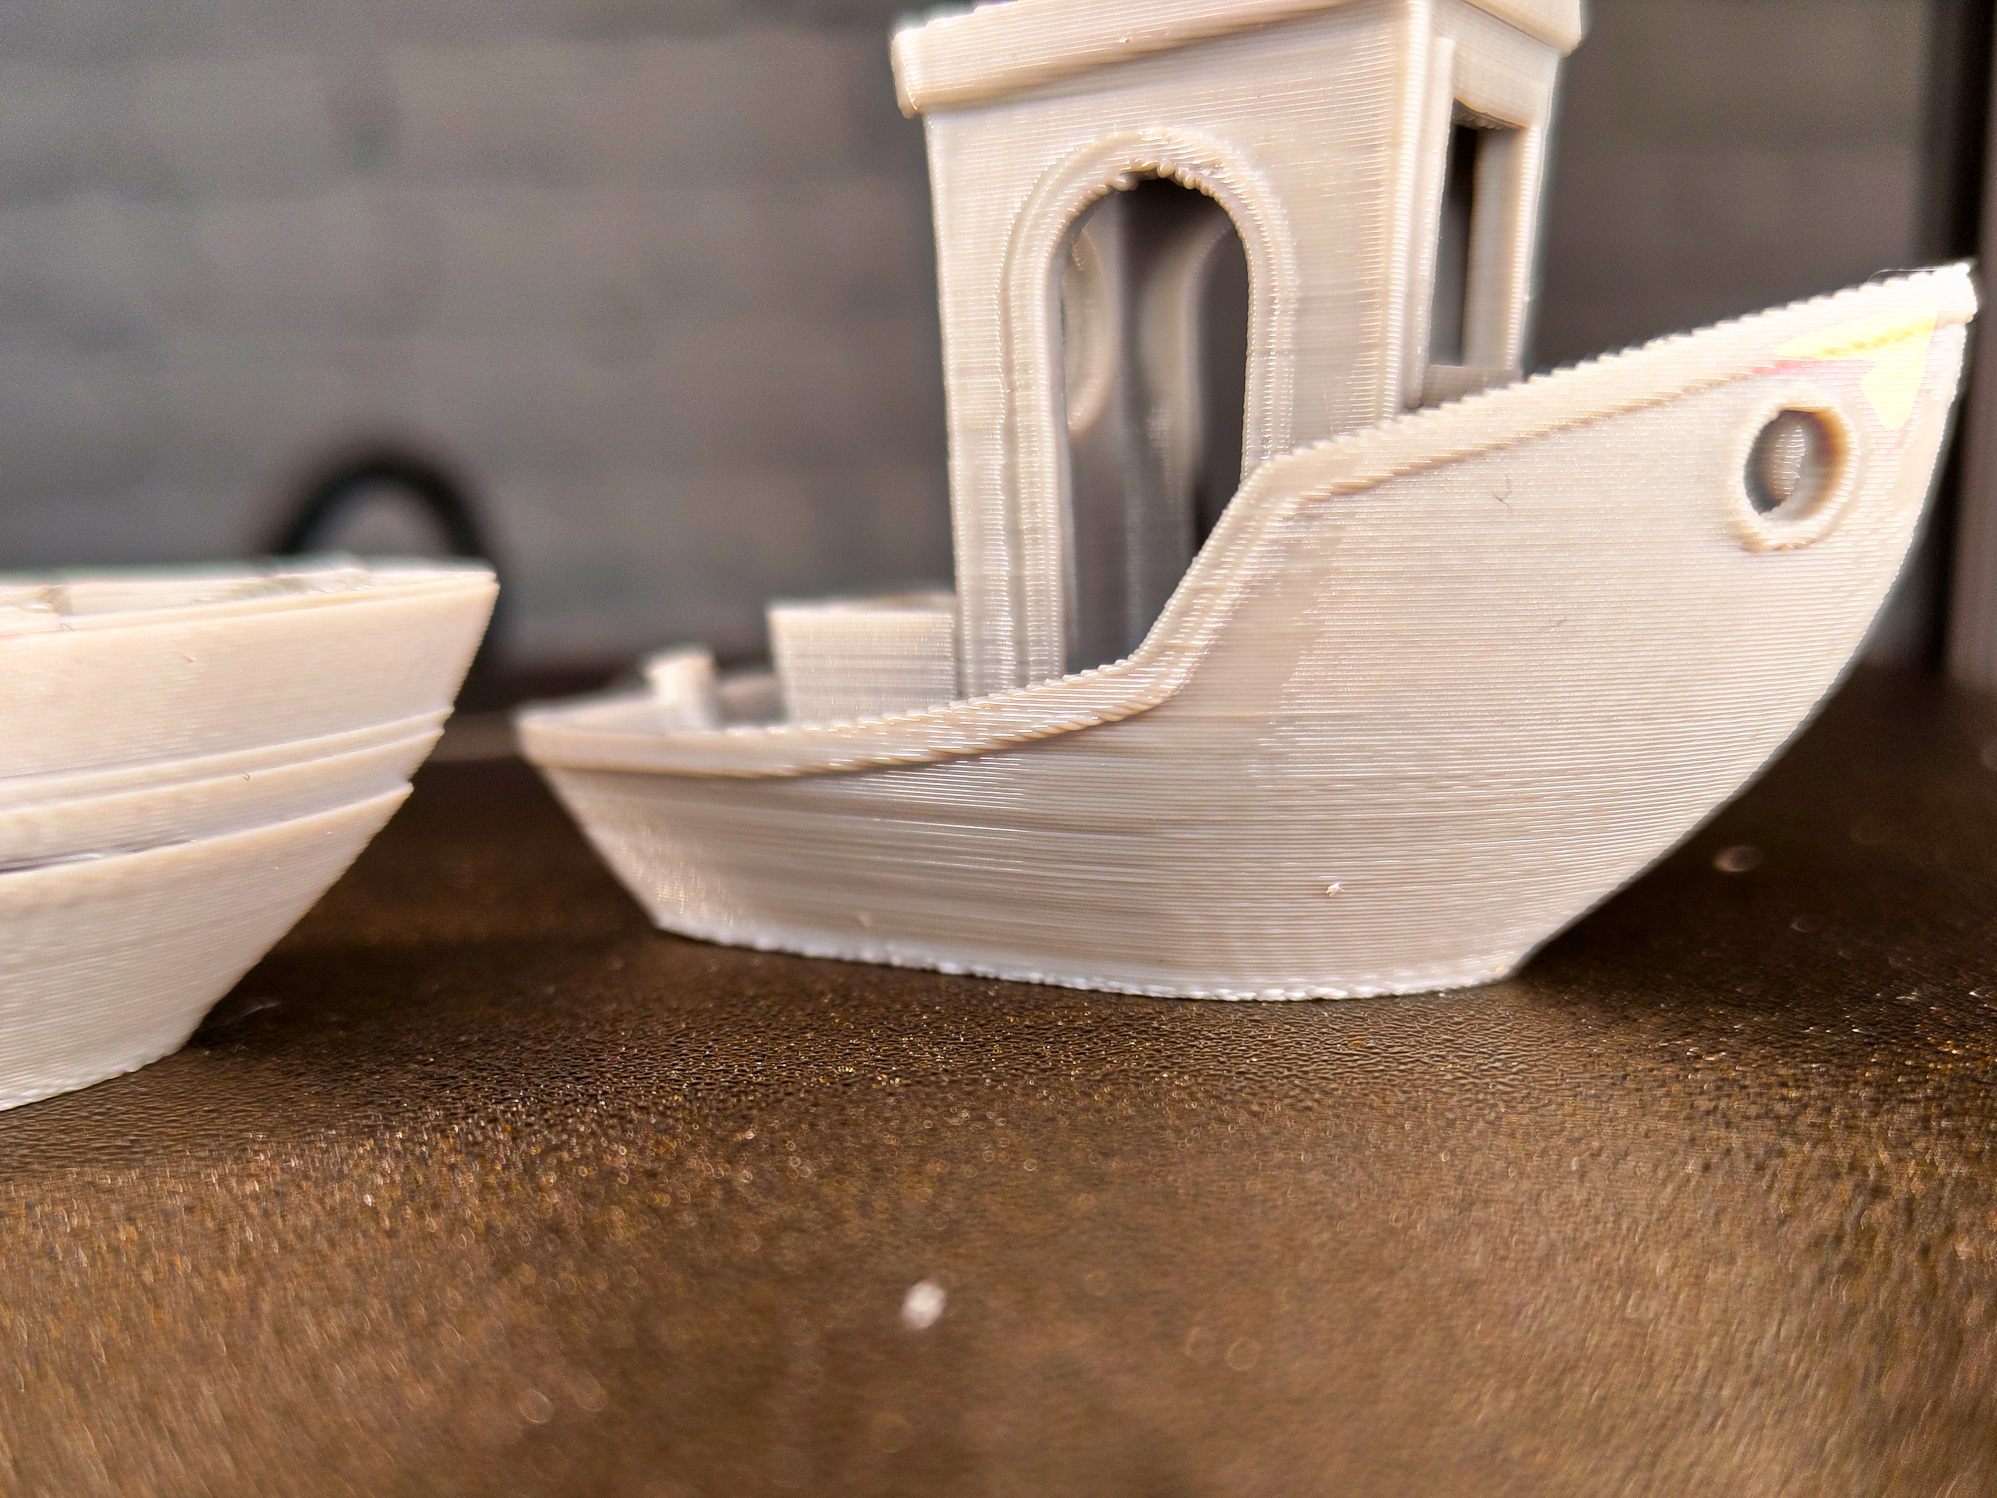
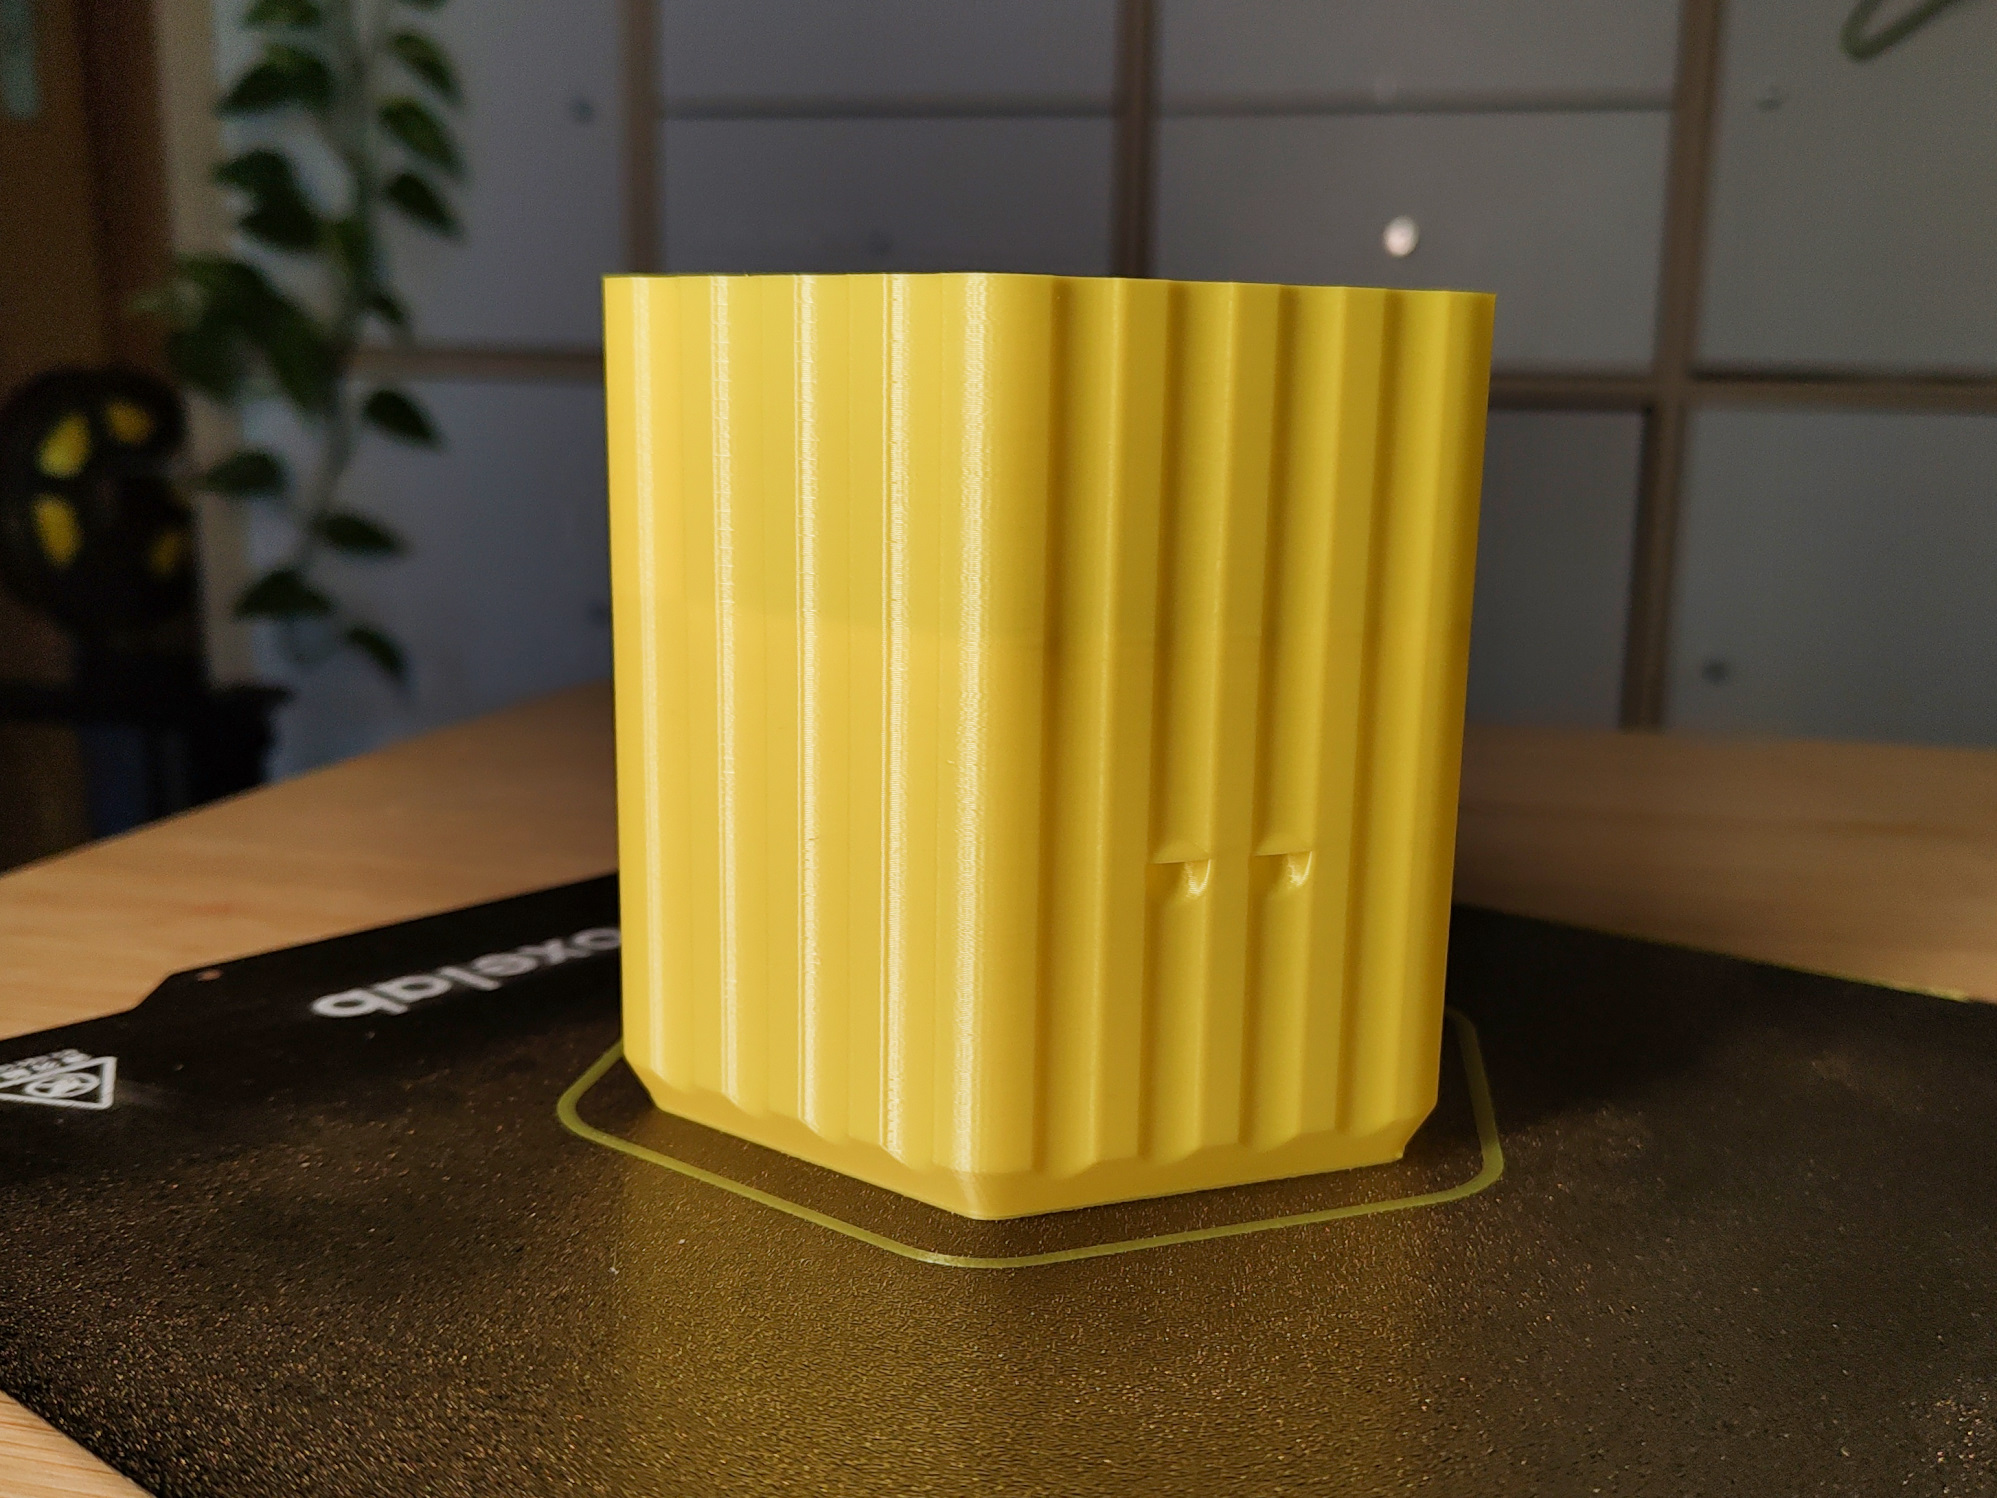
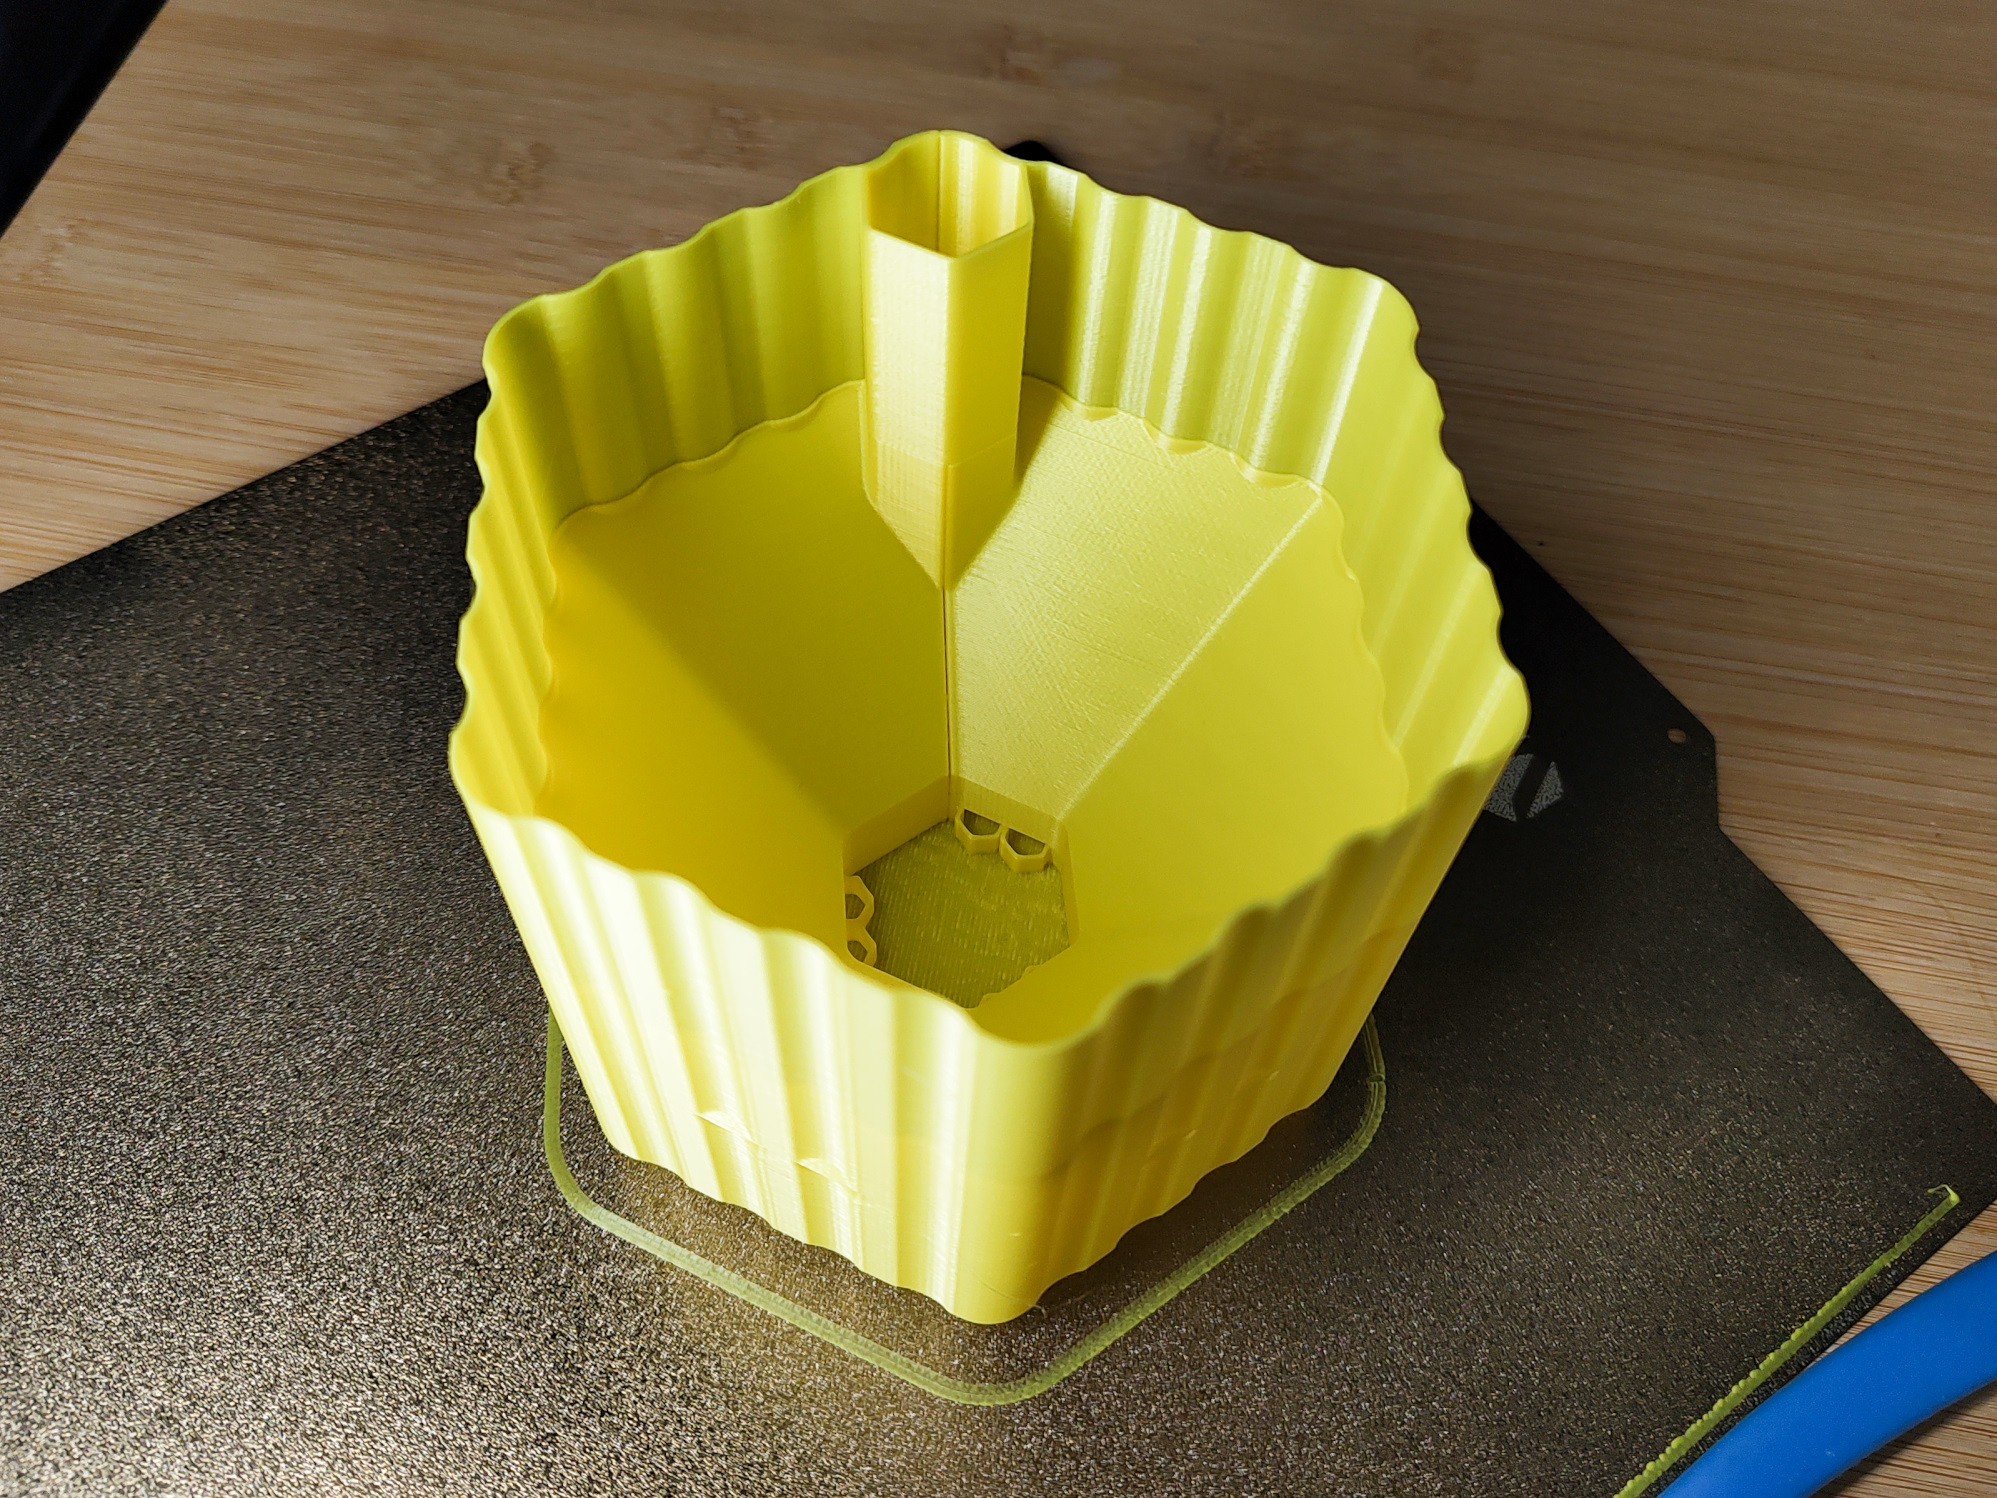
A certain amount of rippling can be seen between the individual layers. We suspect Z-banding here, which can be triggered by the unclean guidance of the Z-axis.
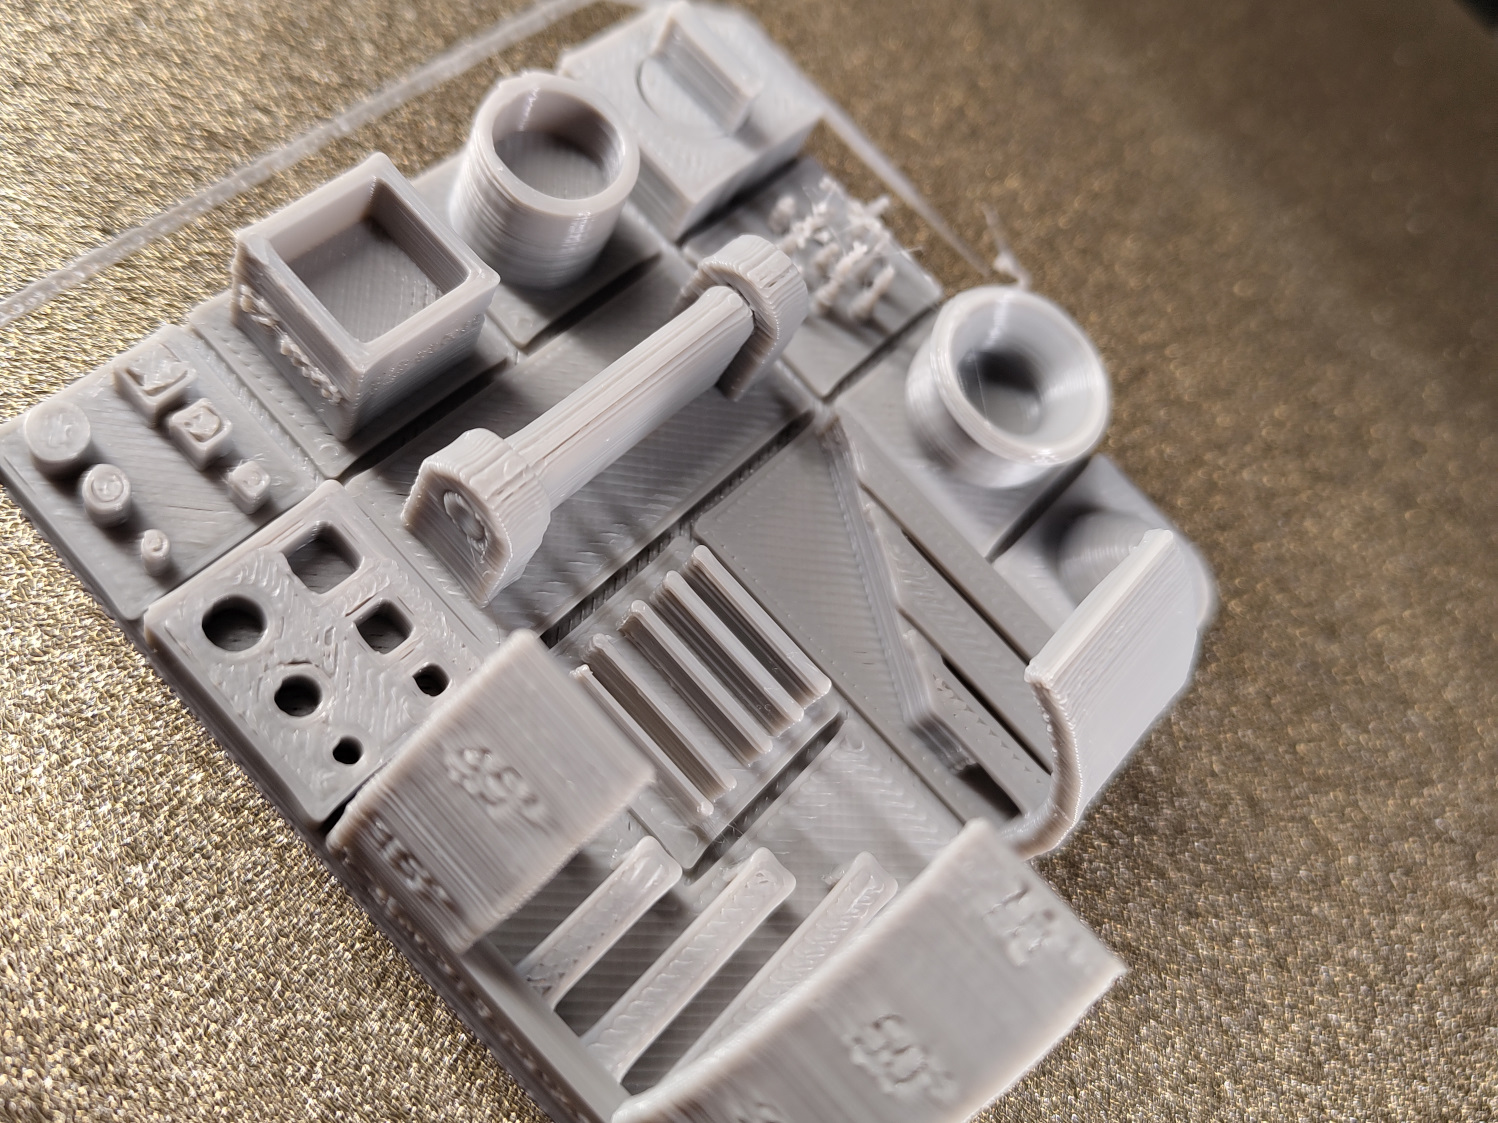
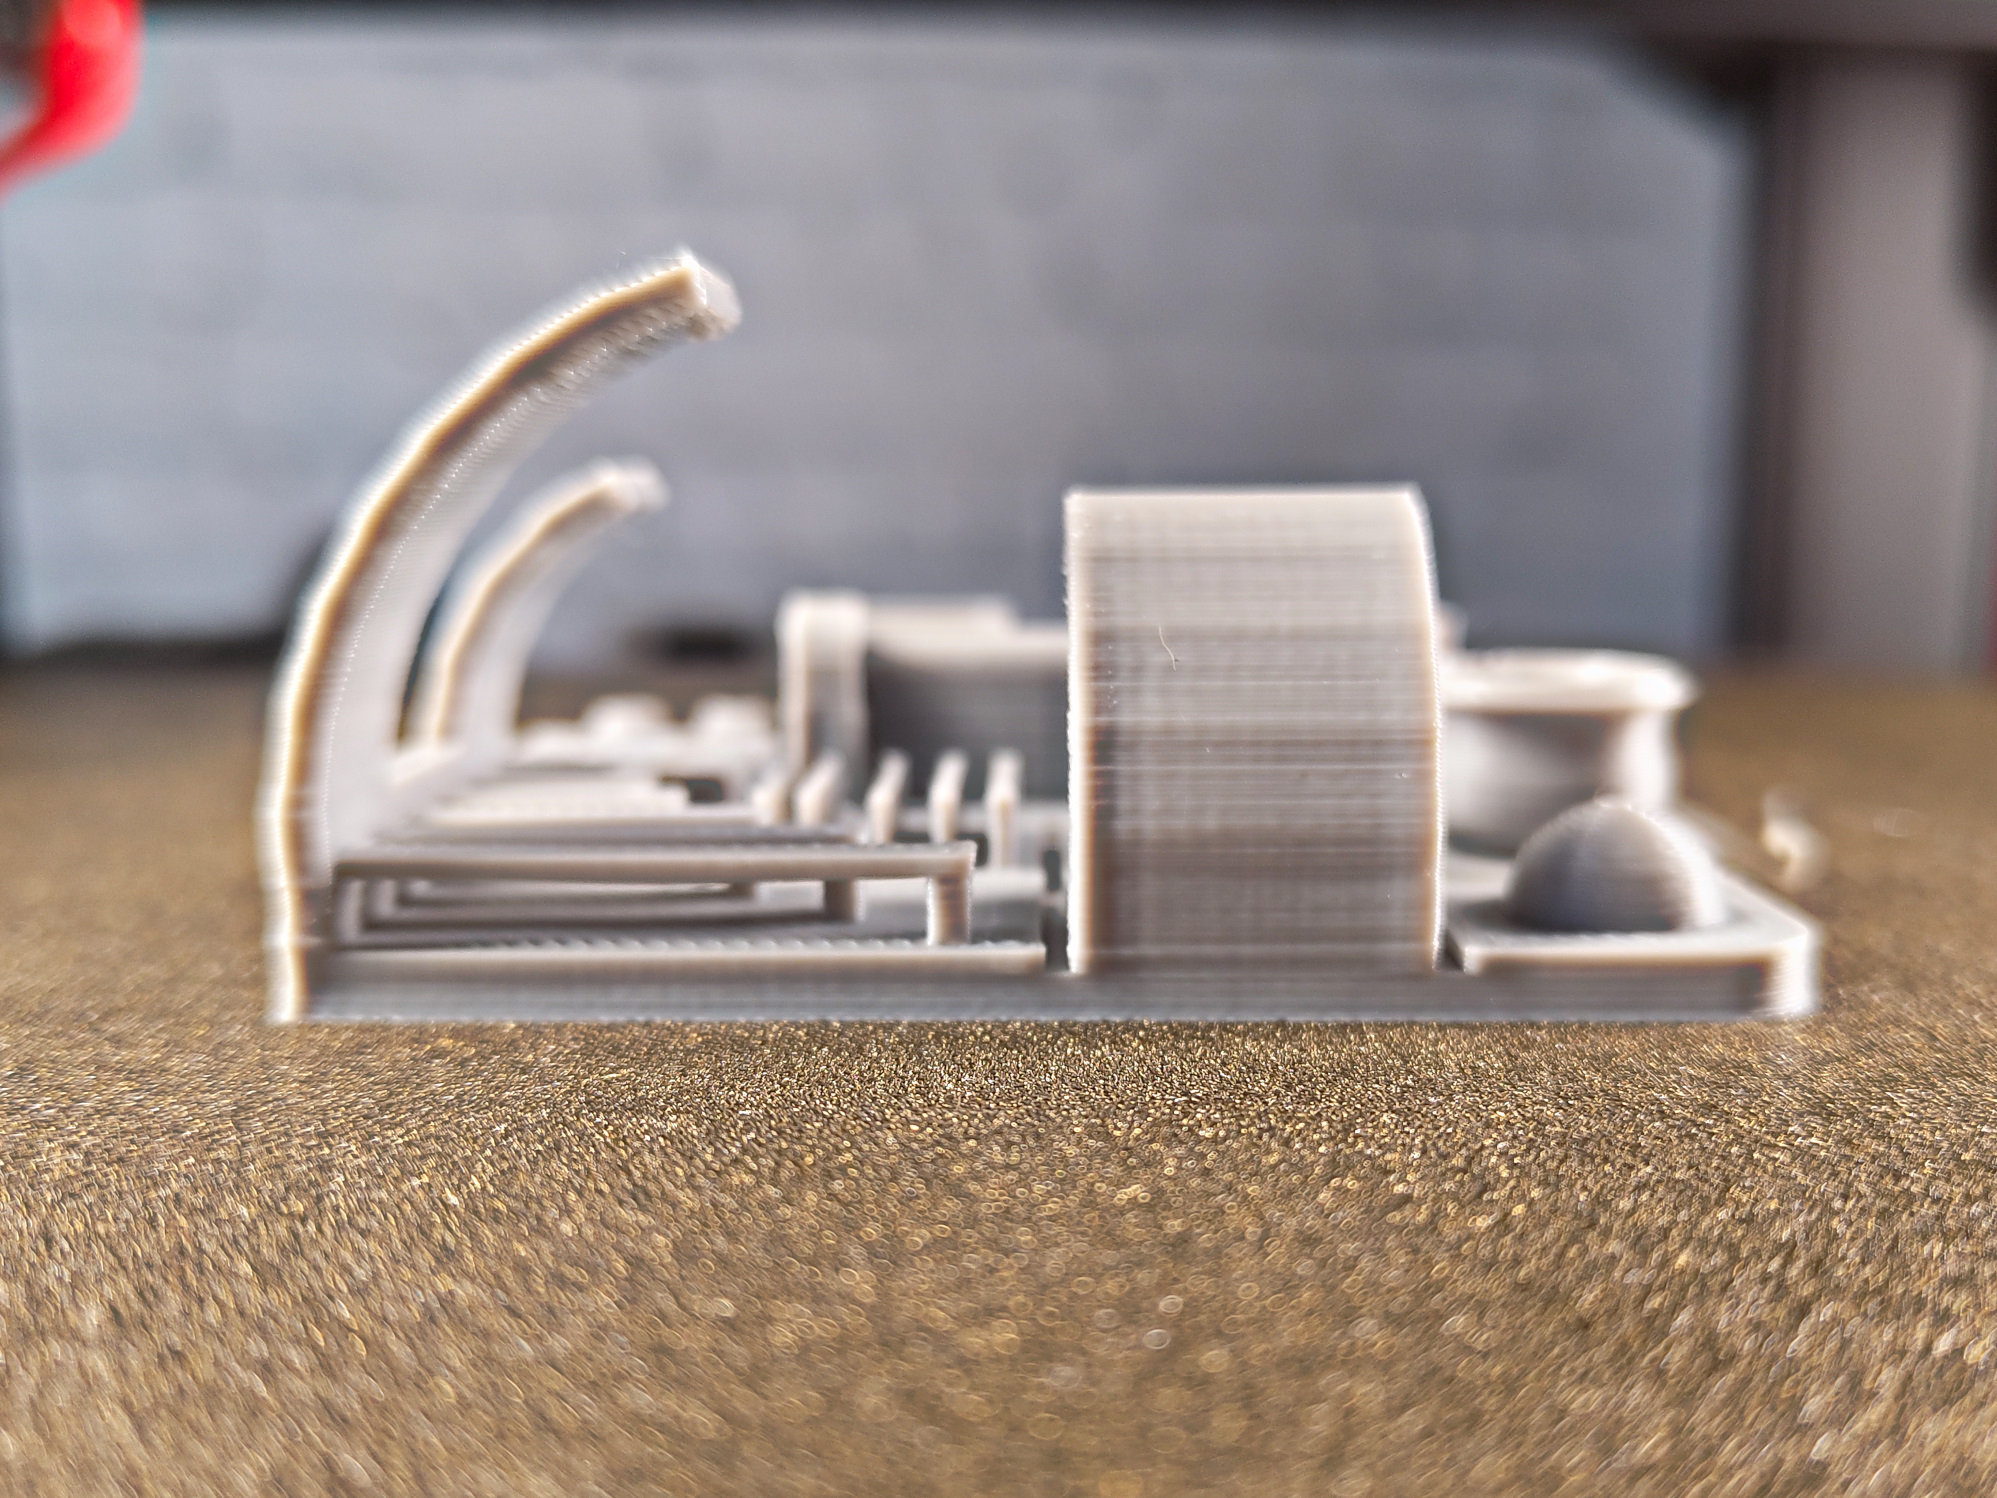

In practice, you will probably have to make some adjustments to the print settings to achieve a reasonable print quality. Ultimately, this is possible, as the following images show. For newcomers to 3D printing, this would probably require a steep learning curve. Those who are already well acquainted with 3D printers should also quickly get to grips with the Voxelab Aquila D1.
For example, we also used a pre-built configuration from the Creality Ender 3 S1 for the Aquila D1 in the test in Cura. Since the features of both machines are very similar, this profile provides a good start for setting up the Voxelab 3D printer reasonably.
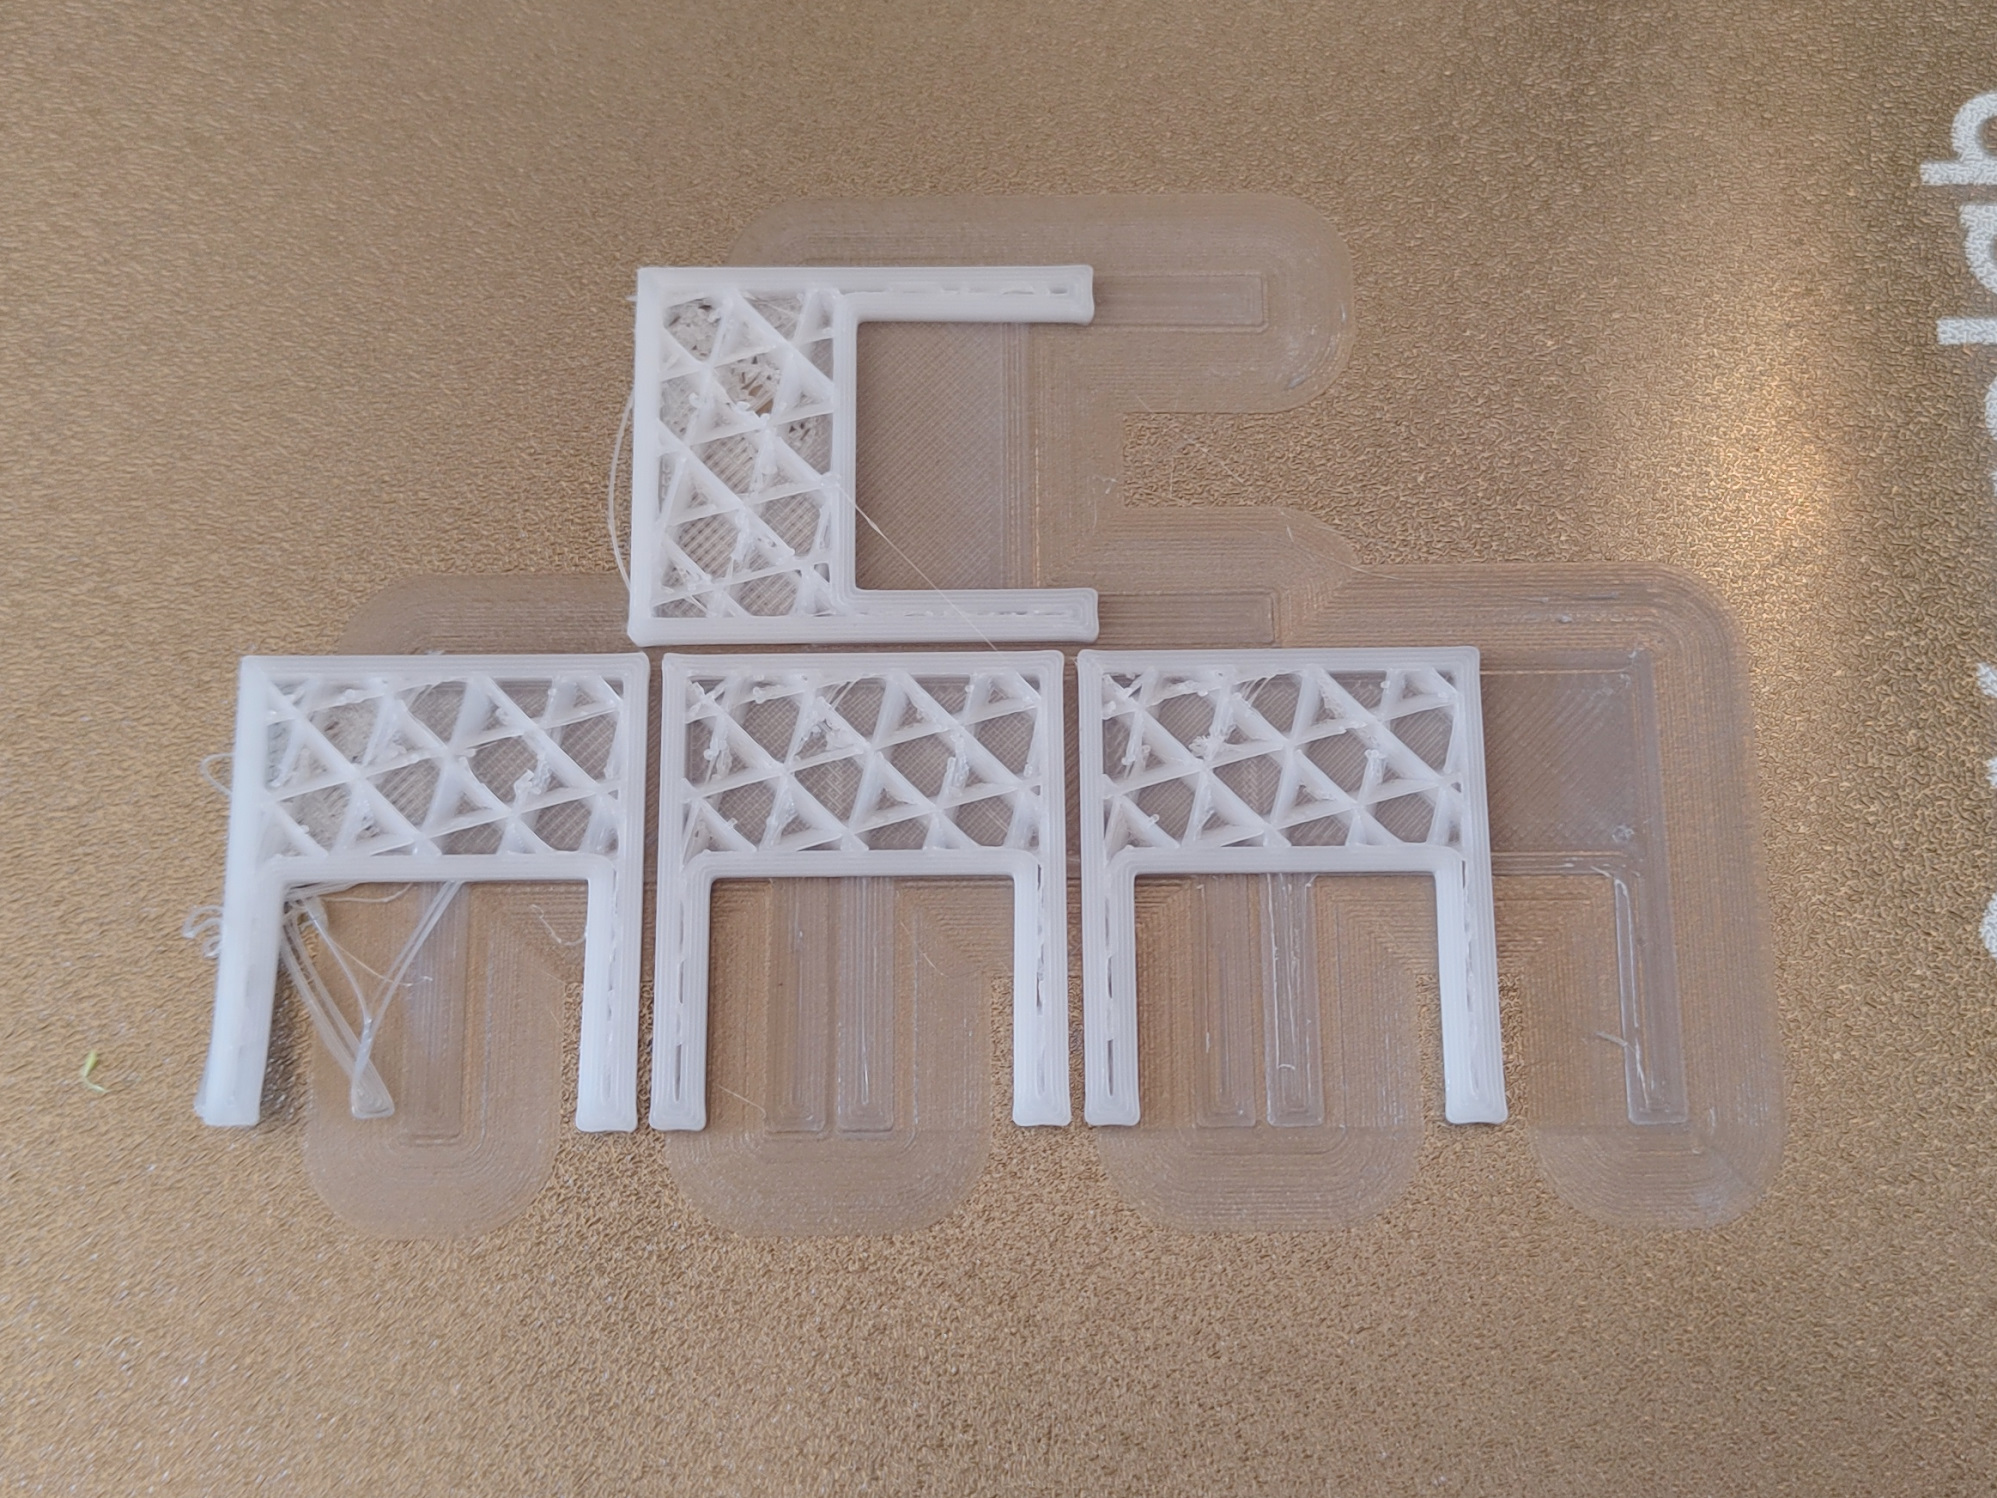
Unfortunately, it has also been shown in practice that the 3D printer is quite susceptible to layer shifts as soon as the belt tension is not set perfectly. Here, you should at least initially make sure to carefully tension the drive belts of the X- and Y-axis, while also repeatedly monitoring the motor temperatures.
Safety
As usual, we also checked the behavior of the 3D printer in case of problems with the temperature sensors in the Voxelab Aquila D1. Here, the 3D printer reacted flawlessly to short circuits, disconnected sensors, and sensors detached from the print head or print bed. In all cases, all heating elements were switched off. Otherwise, there would be a considerable risk of fire if the printer malfunctioned.
We also checked whether all metallic components were connected to the protective conductor. Again, we are satisfied with the 3D printer.
To prevent jamming on moving components, Voxelab has at least completely encapsulated all deflection rollers. Thus, the 3D printer is in a top position in terms of operational safety.
Emissions
With the Chinese stepper motor drivers from Ruimeng Technology, the Voxelab Aquila D1 is not as quiet as other 3D printers with TMC drivers despite 256 microstep interpolation, although the fans here are quite quiet at around 40 dB(A). The stepper motors, on the other hand, generate quite a high noise level during operation. At a distance of one meter, we measured 51 dB(A) with the Voltcraft SL-10 sound level meter during a normal printing process at 100 mm/s. In the print speed test, the motor noise increased significantly with increasing speed. Over 63 dB(A) must be endured here at high printing speeds.
Another point to consider with this printer is the open design: Since the Aquila D1 is also capable of processing technical materials such as ABS, polycarbonate, or nylon, one should definitely be aware of the pollutants that can be produced when processing these plastics. ABS in particular produces a lot of vapors when heated. A well-ventilated room is therefore appropriate for the 3D printer.
Power consumption
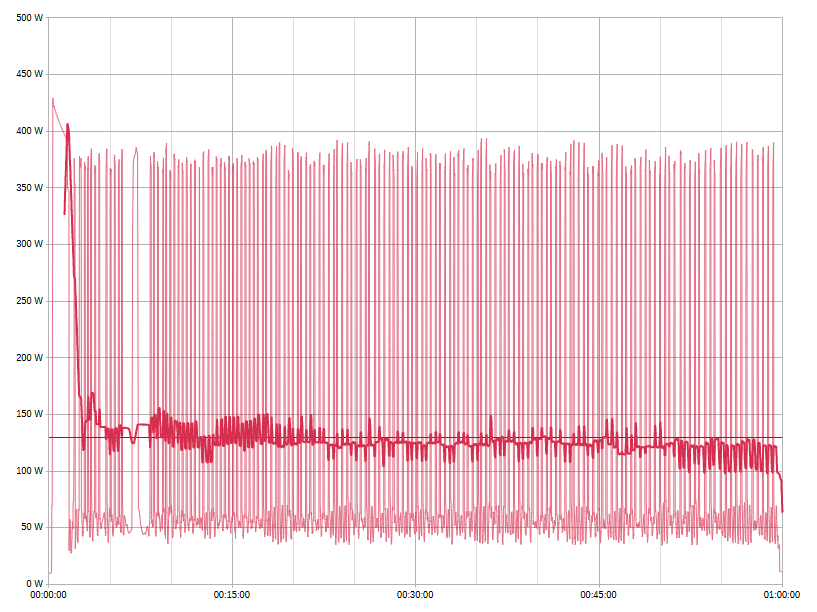
With an average power consumption of 130 watts, the Voxelab Aquila D1 requires significantly less energy than the last tested Anycubic Cobra 2 and AnkerMake M5. However, the true energy-savers among our test devices are still the Artillery Genius Pro and the Wizmaker P1. Both 3D printers needed less than 100 watts on average in our tests.
The biggest power consumer in 3D printers is often the print bed. In the case of Voxelab's printer, this is apparently supplied with power via a bang-bang control. In the case of the heated Aquila D1, the print bed converts more than 300 watts into heat.
The bang-bang control loads components such as MOSFETs and microcontrollers significantly less, since switching is less frequent, but it also causes higher load peaks in the power supply unit and the power grid. According to our findings, the average energy consumption of a 3D printer is hardly affected by this.
Pros
+ mGN linear guides
+ all-metal hot end creates 300 °C
+ pEI print bed
+ touchscreen
+ filament sensor
+ automatic mesh bed leveling
Cons
- cable harness to extruder without strain relief
- translation error in German touchscreen interface
- double MGN guide at base without clearance can cause problems
- hardly any suitable pressure settings in VoxelMaker
Verdict
Voxelab does a lot right with the Aquila D1, but also blunders far too clearly in some places. It is noticeable that this is a 3D printer that is rather intended for technical applications and also wants to be operated by people who have the corresponding basic knowledge. When it comes to the optical quality of the parts printed by Aquila, the printer can only compete with devices like the Anycubic Cobra 2 or the Artillery Genius Pro. This is a pity because the built-in hardware should be capable of more. Actually, it is impeccable, with the exception of the too tightly screwed guide rail and the poor cable management to the print head. Thus, we wonder whether an optimized firmware from GitHub would achieve better results.
MGN bearings and rails cannot always be the last word, especially since we suspect that Voxlab did not make the best selection, at least for the bearing slides. Too often, the consequences of small vibrations become visible on the printouts.
The Voxelab Aquila D1 is a 3D printer that comes with a lot of potential from the factory. To take advantage of this, you have to do a lot of fine-tuning, which other 3D printer manufacturers have already done for their devices.
Overall, the Aquila D1 turns out to be not very beginner-friendly. However, those who are well acquainted with 3D printers, Marlin, and the various settings in slicers should make a good choice with the 3D printer from Voxelab.
Prices and availability
Amazon US lists the device for $299. The manufacturer charges 299 US dollars for the Aquila D1 in direct sales.
Sources

