Guide: How to check a new laptop for issues

Nothing is worse than getting a new notebook that has problems right out of the box. Well, perhaps one thing: thinking everything is fine only to discover defects after the return or exchange period is up!
This guide aims to walk you through a checklist of issues to run through with any recently purchased laptop. If this check reveals any issues or defects, it's best to exchange your unit for a new one (or, if the defect is found in all models, consider a different laptop altogether). This guide will show you how to check for common issues in the screen, chassis, keyboard, trackpad, and internals of a modern notebook.
Let's begin with one of the first things you'll notice when using your laptop: the screen.
Screen
There are more issues to check for in a screen than you'd think. This section will guide you through checking for dead or stuck pixels, backlight bleed, or uneven lighting. We will begin by checking for dead (black) or stuck (bright) pixels: download the backgrounds below and let's get started.
Open the black background in your imaging program of choice and set it to full screen. Turn your brightness up to maximum. Carefully examine the screen for any non-black pixels; these may be stuck on as either red, green, or blue. While a stuck pixel used to be very obvious when screens were 640 x 480, remember that on a high DPI screen (such as QHD+ or UHD), the pixels are very tiny. As such, you will need to look a bit closer and spend a little more time on this than you'd think. If there are no stuck pixels visible, open the white background and conduct your inspection again. Make sure there are no pixels that remain unlit. If nothing shows on a black or white screen, congratulations — you have no pixel problems! However, we still need to check for backlight bleed and uniform lighting.


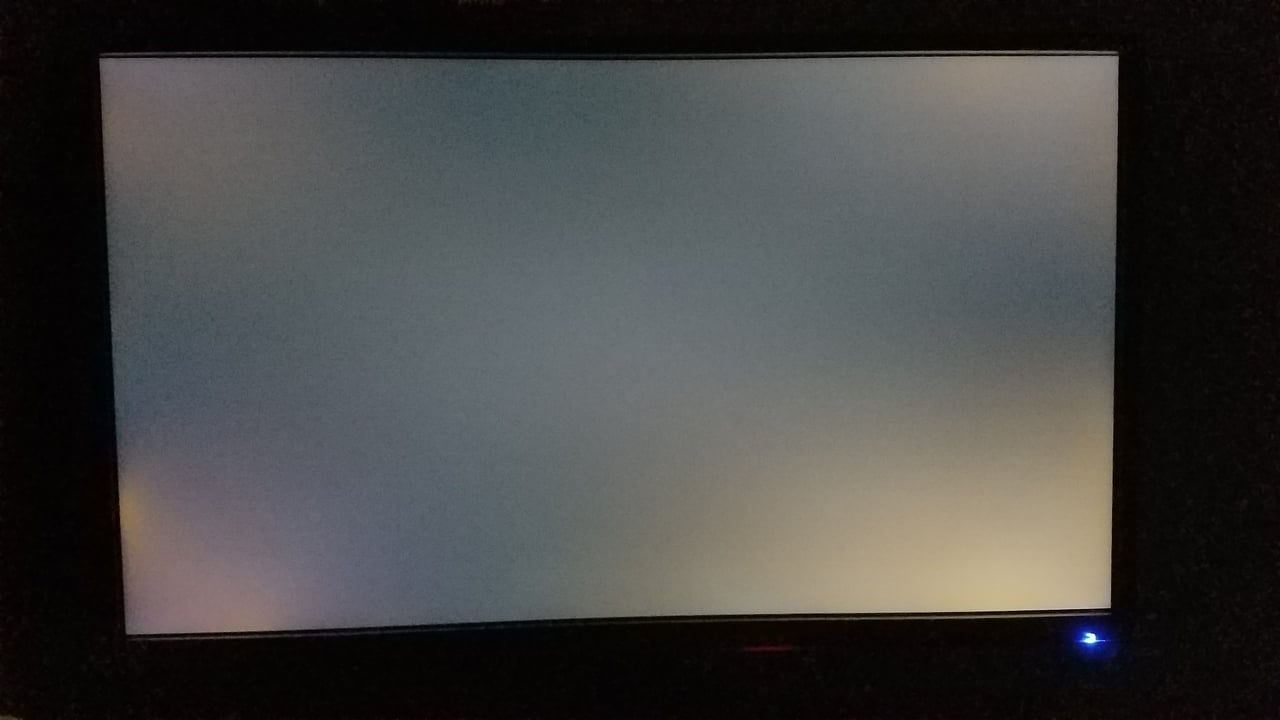
To check for backlight bleed, you'll need a dark room with no other sources of lighting, i.e. a bathroom. If you don't have access to one, then you'll have to wait until it's night. Open the black background to full screen again and set your brightness level to maximum. Most IPS panels have mild backlight bleeding as a result of the technology, but if you notice any uneven or distractingly obvious beams of light, you may want to consider returning or exchanging your laptop. A dark room and black background will make backlight bleed more far more obvious than in any other situation, so keep that in mind when determining whether it will bother you in day-to-day use.
If your panel is not an IPS or VA then it shouldn't suffer from much backlight bleed (if any at all). OLED panels, for example, are lit differently than IPS, VA, or TN panels, and should have absolutely no backlight bleed.
To check for even lighting, use the white background and set it to full screen again. Look for any parts of the screen that appear non-uniform in lighting or shade. Move around to observe the panel from multiple angles. Finally, just to be sure, repeat the test with the light blue background (I find that a light blue background helps bring out any "hot spots" or issues with the back surface of the LCD.


Chassis
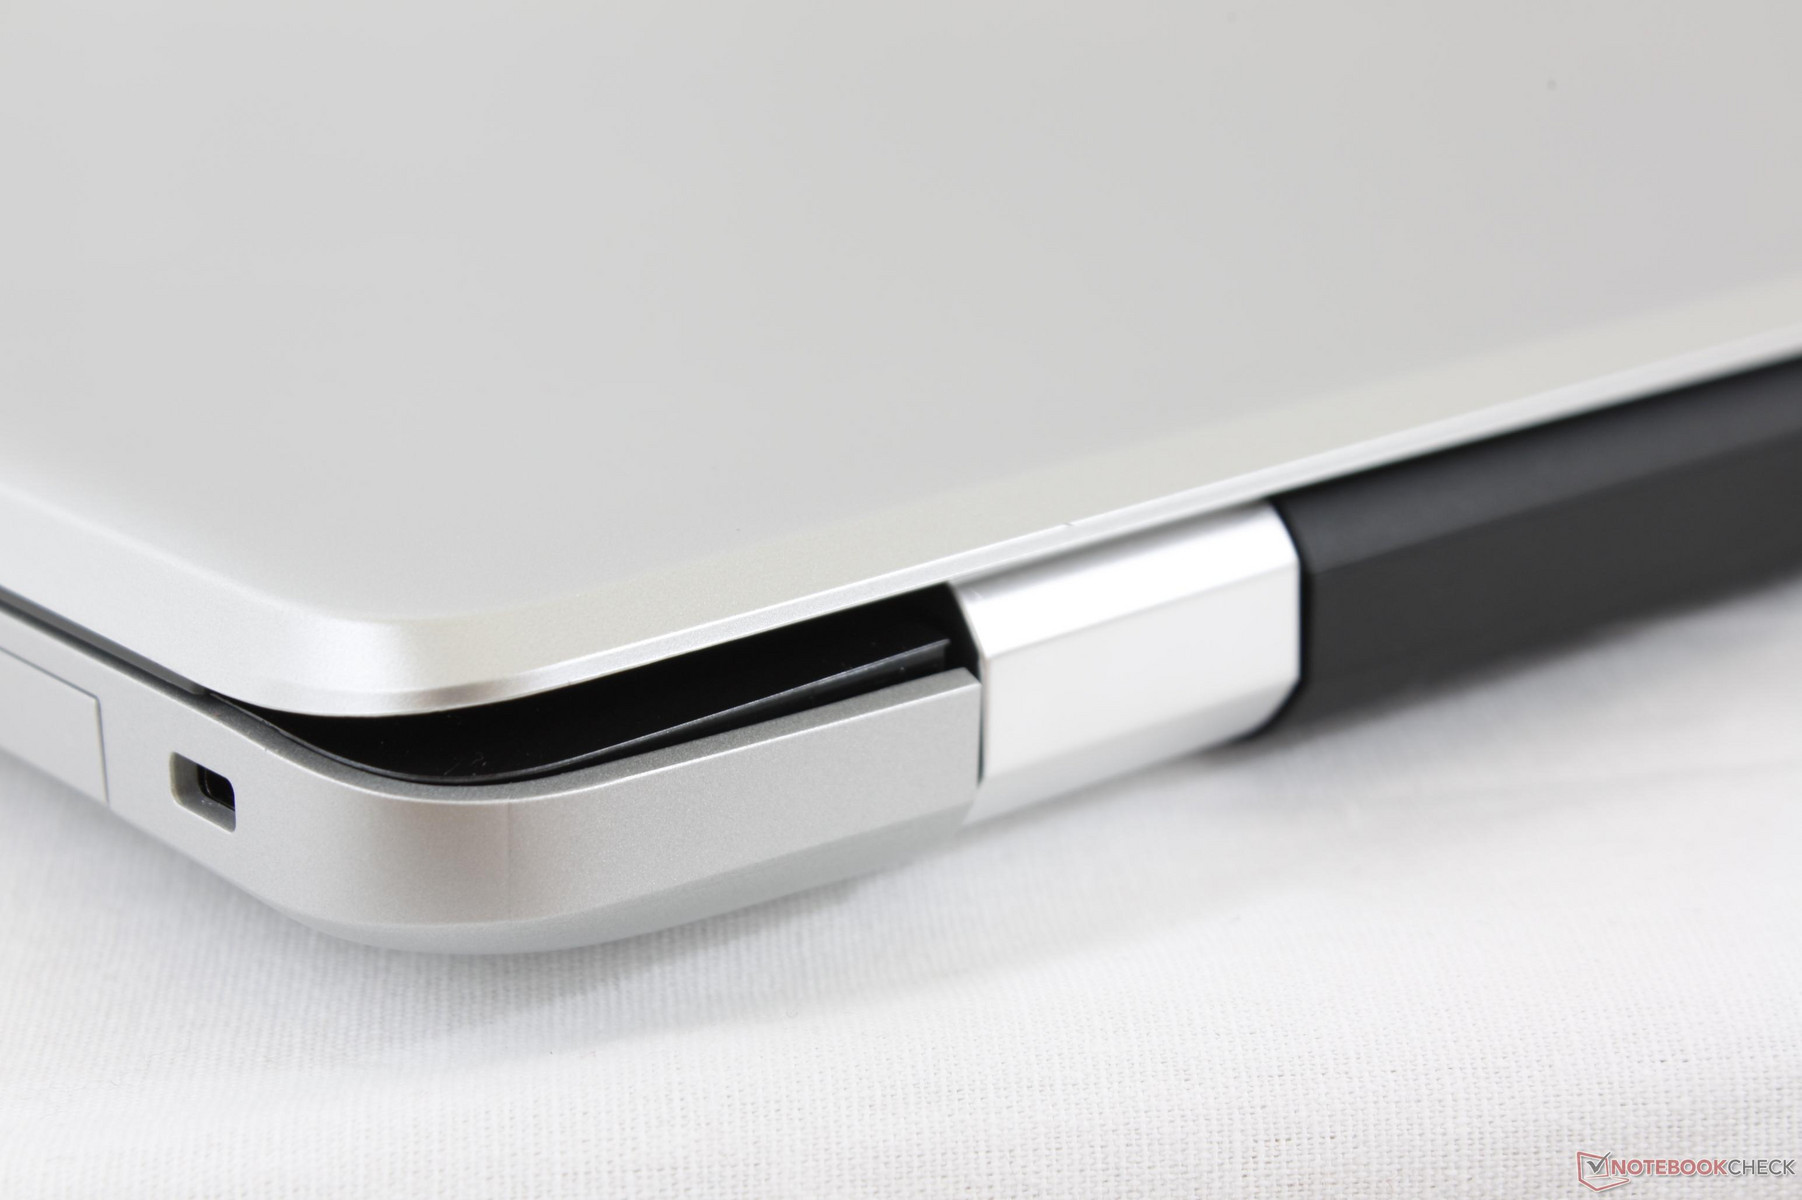
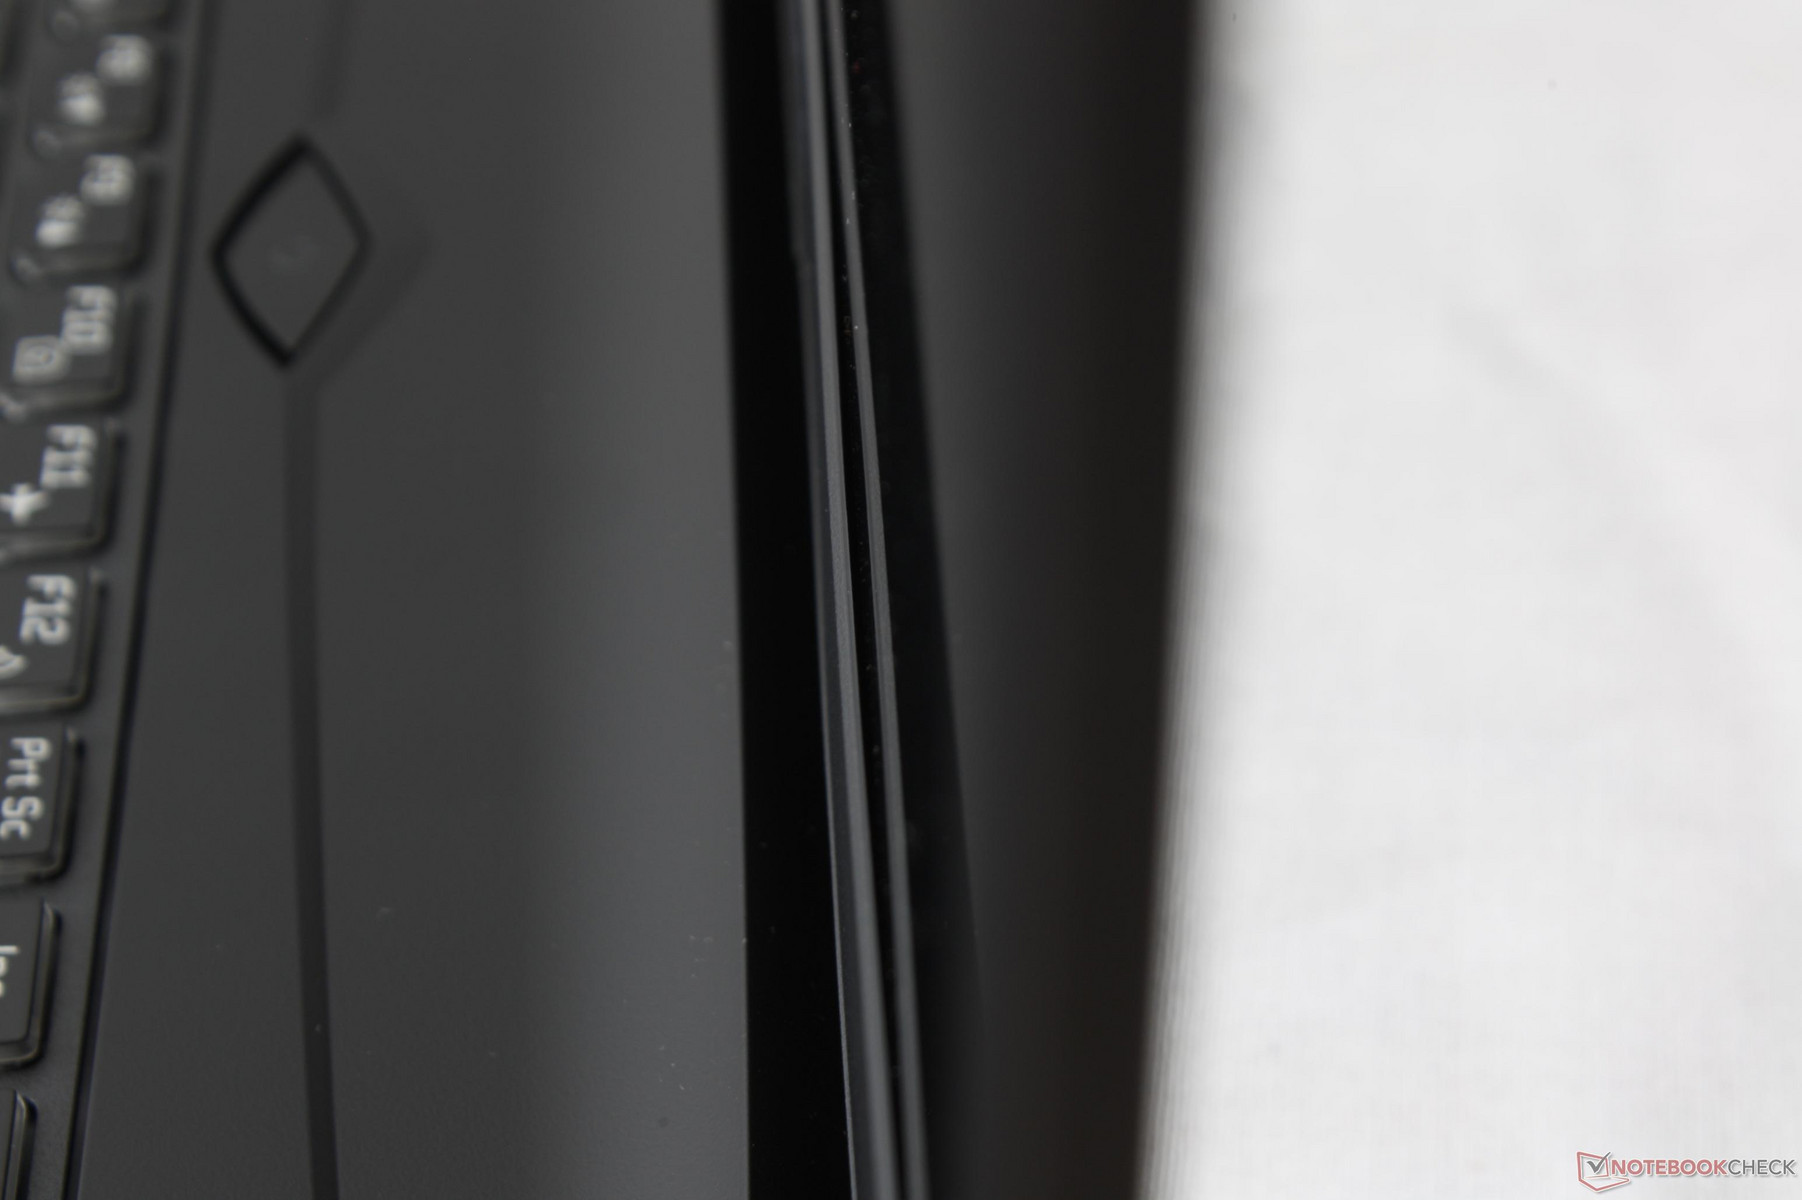
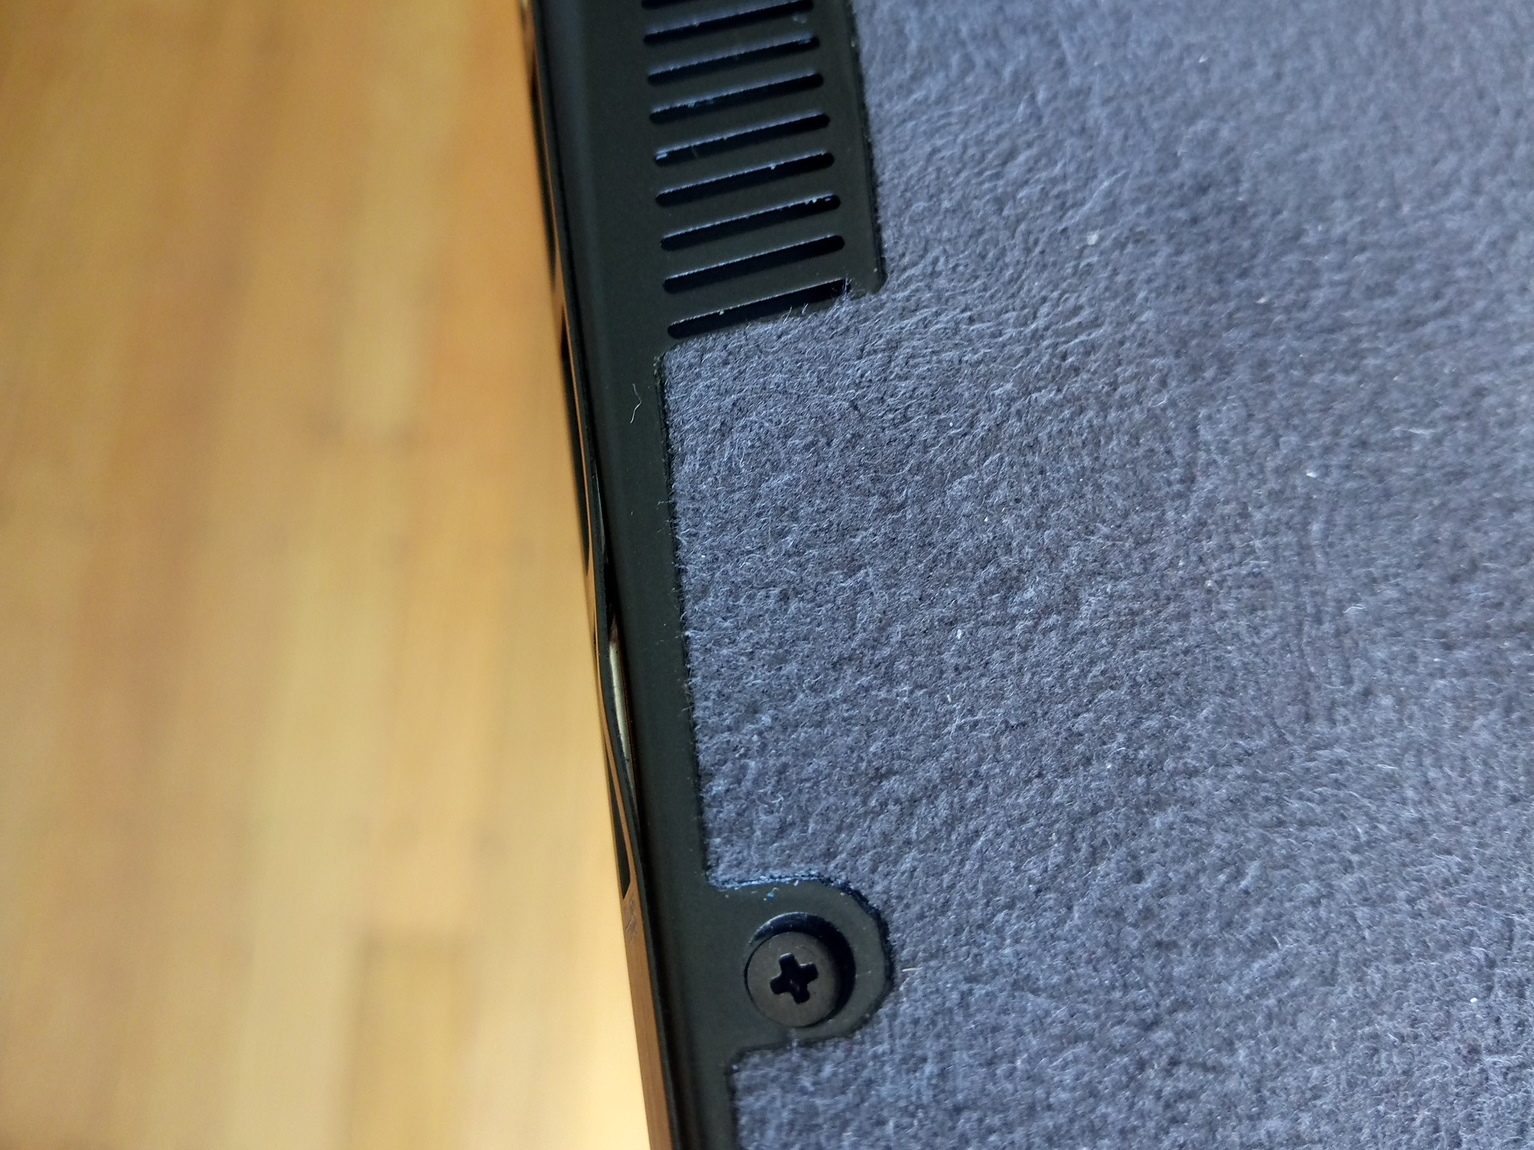
Although the presence of a scratch or dent has no affect on performance, nobody wants to have a laptop with a physical defect out of the box. It's unsightly to be sure, more importantly, it will drastically reduce the value of your machine should you wish to sell it in the future. Check the top panel, display surface, palm rests, bottom panel, and edges for any nicks, scratches, or dents. At the very least, even if you find something minor that you can live with, there's a good chance you can call up the OEM and get a discount for your trouble.
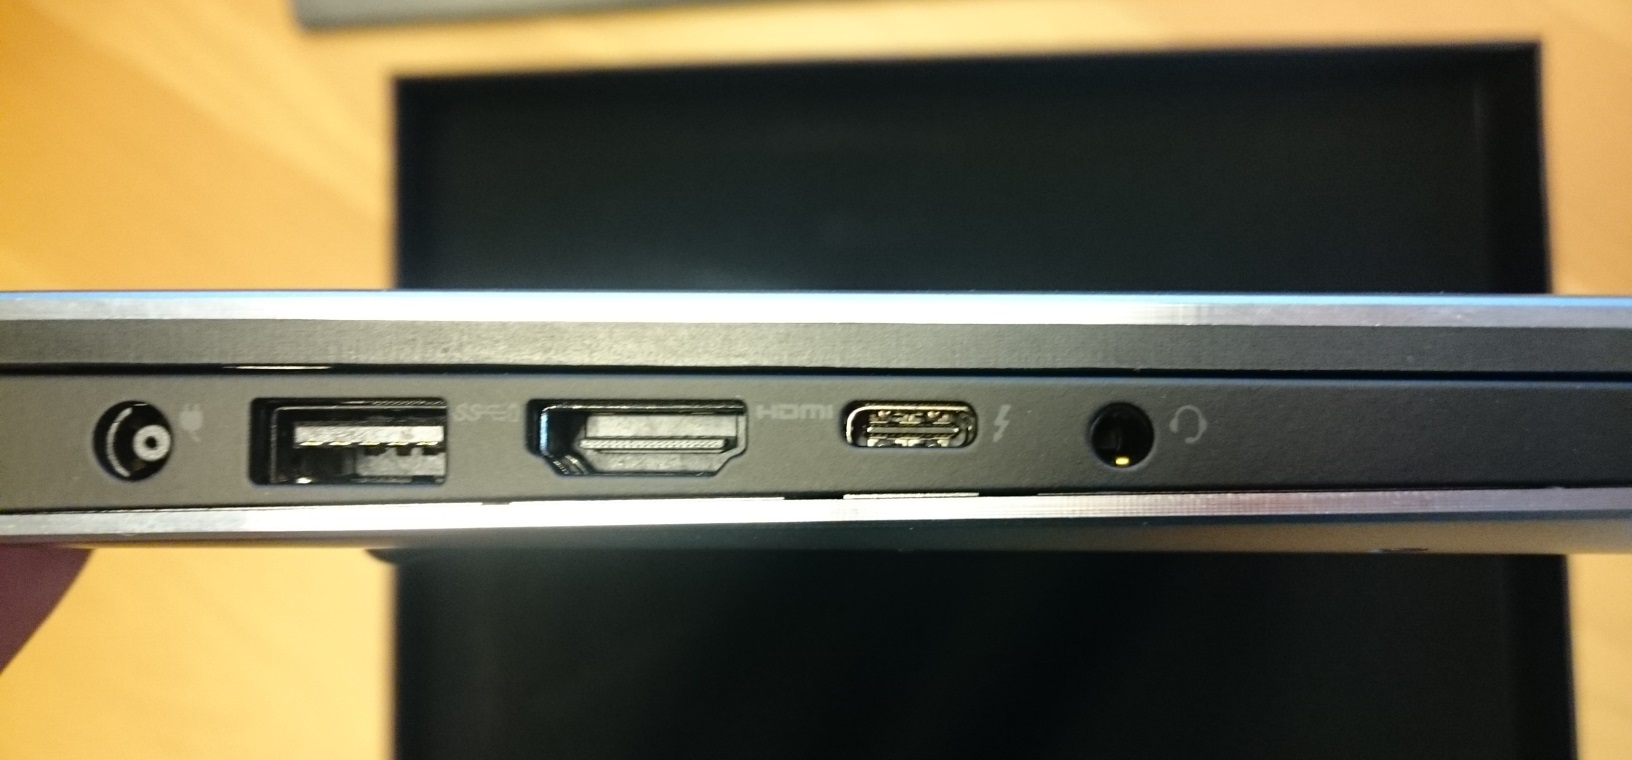
Check for misaligned ports as well. It isn't just a matter of peripherals not plugging in smoothly; a misaligned port with the outer chassis means that the internals will be put under physical stress by the plugging and unplugging of your accessories. Through time, this can lead to physical board damage. If you find significant (more than 1mm or so) misalignment between the board and chassis, you're better off returning or exchanging your laptop.
Keyboard
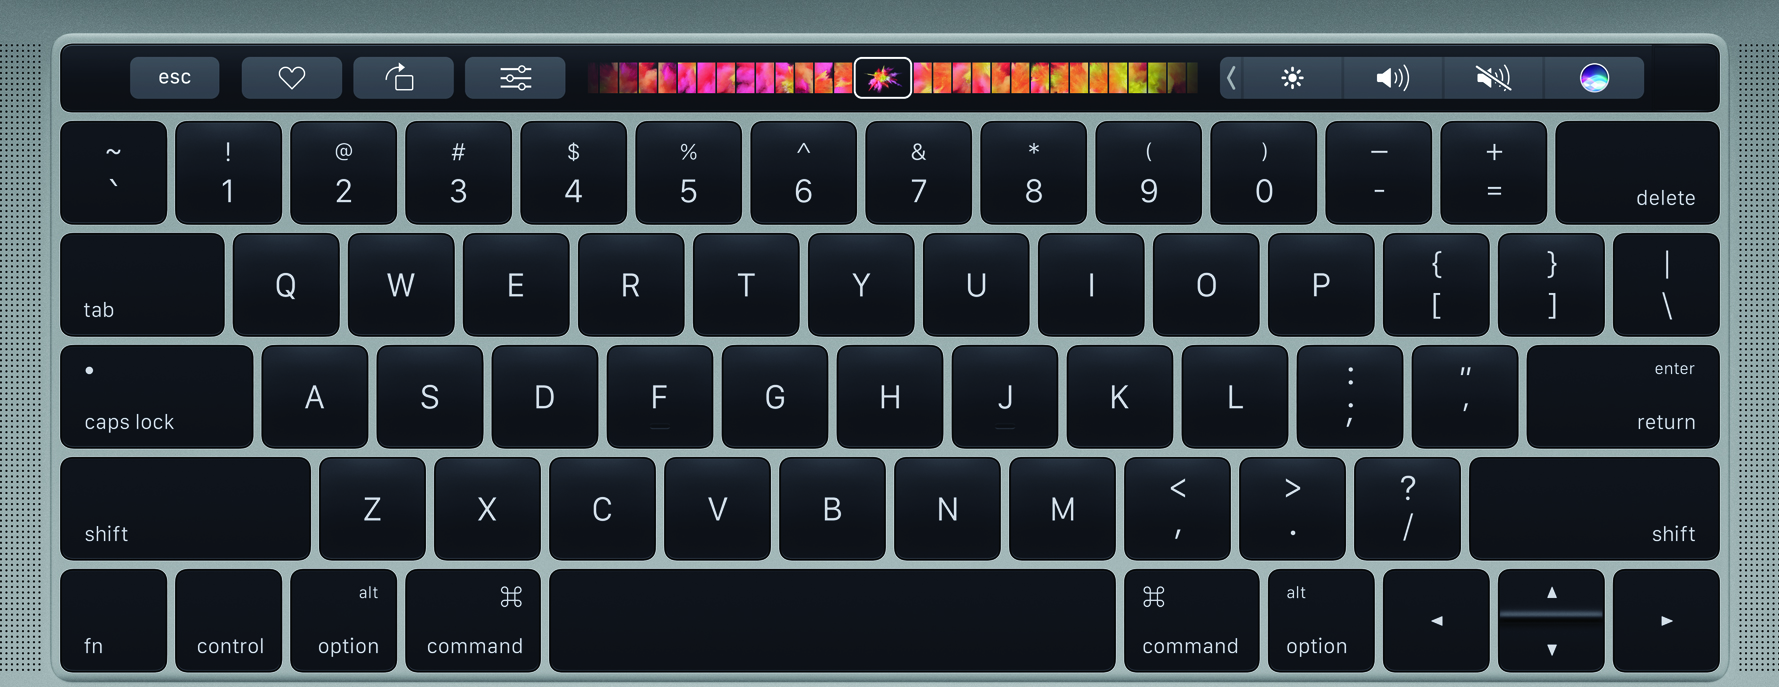
The keyboard is the method of interaction you'll generally be using most with your laptop, so it's important to make sure that the typing experience is as it should be. Pressing each and every key on the keyboard multiple times, check for consistency of feel. Each press of a key should feel identical to the last, and the keys should also feel identical to each other across the board. There should also certainly be no sticking of keys on the way down or up. You'll want to spend extra time testing your Enter, Shift, and Spacebar keys, as they are larger and more prone to have issues.
MacBooks, with Apple's proprietary "Butterfly" switches, are known to have their own sets of issues. The most common complaint on the new MacBooks is of keys "sticking" down — especially when the laptop gets hot. If you have a MacBook, it would be a good idea to run a stress test to heat up the chassis before testing each key individually.
If your laptop is equipped with a backlit keyboard, you'll also want to check that out in a dark room. Make sure that all keys are evenly lit and — if the keyboard is RGB capable — that all colors display properly for each key.
A final thing to check is not exactly a defect, but it can lead to problems down the road: flexing of the keyboard deck. Keyboard flex is bad because it not only makes the typing experience unpleasant, but it can also put the internal components at risk — and it will only get worse over time. Press firmly on the keyboard deck (the area between and around the keys themselves) and note any significant give or flex. The thicker your notebook, the safer a little bit of give is, so you should be more tolerant of this on a (cheap) thicker notebook than a thinner one.
TrackPad
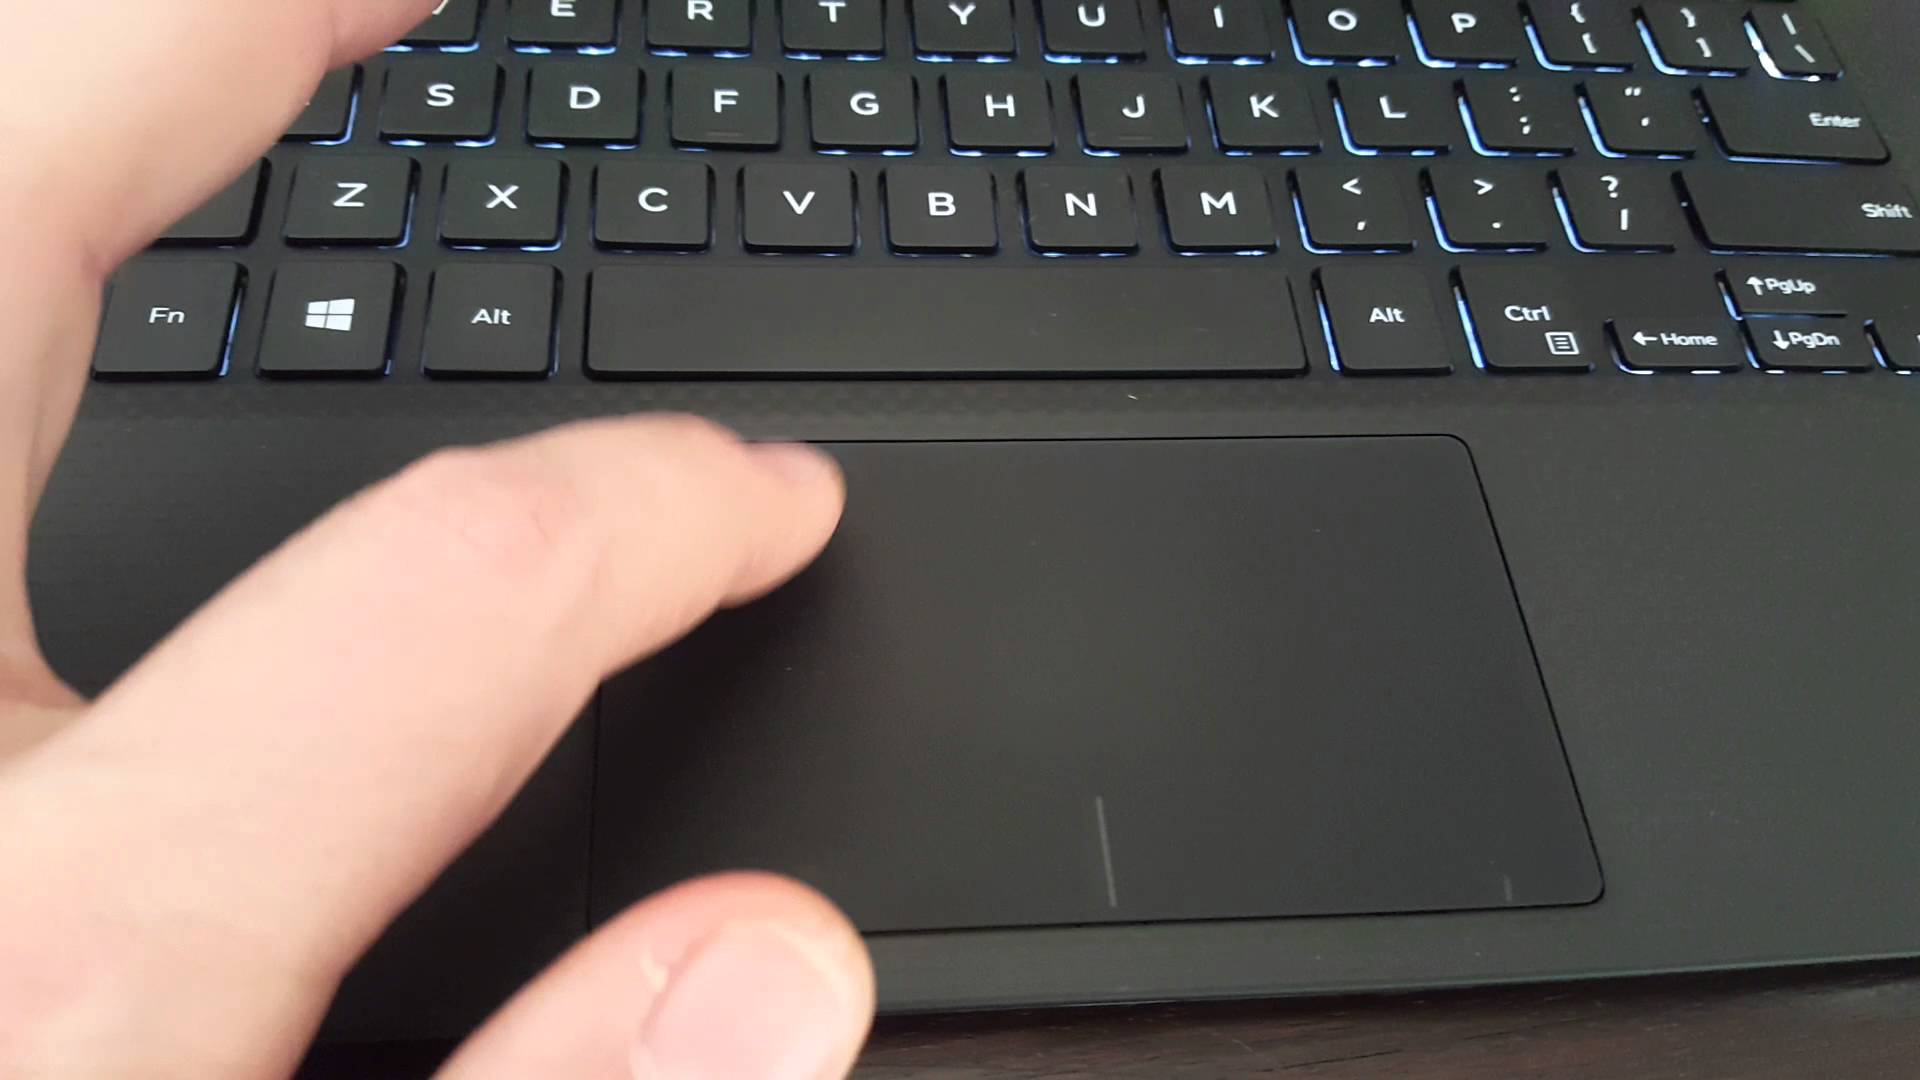
If you've ever used a laptop with a Touchpad that seems to do exactly the opposite of what you tell it to, you know that a bad Touchpad alone can completely ruin the user experience of a computer. The prevalence of Touchpad using Microsoft's Precision drivers has helped this somewhat, but the incorporation of a Precision Touchpad over an ELAN or Synaptics one is still not a 100 percent guarantee of a perfect user experience. Spend some time tracking the cursor around the screen to check for input lag and general responsiveness. Try both left and right clicks to make sure they're properly registered each time. A very common problem with some Touchpad is buggy scrolling; it is extremely frustrating if you happen to be affected by it. Using your browser of choice, open a page with a lot of content and use the two-finger swipe gesture to scroll up and down the page. If there's any involuntary bouncing or loss of the scoll, you may have a defective Touchpad.
CPU and GPU testing
Although it’s quite rare for a CPU or GPU to be defective out of the box, it’s still very important to check these aspects of the laptop’s internals before the return period is up. A CPU issue is extremely rare, but a GPU issue is slightly more common. What is most likely, however, is simply poor cooling (such as a warped heatsink or insufficiently cooled components) rather than defective silicon. Luckily, these issues can be detected using just a few free pieces of software:
Cinebench is a good quick stress tester for the CPU, and TSBench, contained in Throttlestop, is relatively middle-of-the-road in terms of stress testing. All laptops should be capable of completing TSBench up to 1024M without overheating, even if the maximum fanspeed must be used. LinX is another great program that is a bit heavier on the CPU than TSBench. Unigine Heaven or Unigine Valley are interchangeably used for stressing the GPU and CPU, and are especially useful for laptops with shared cooling solutions.
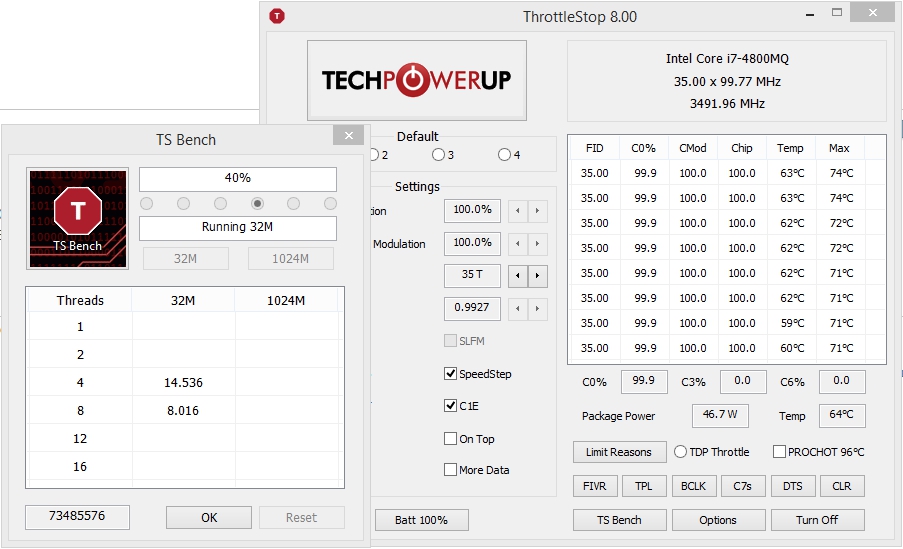
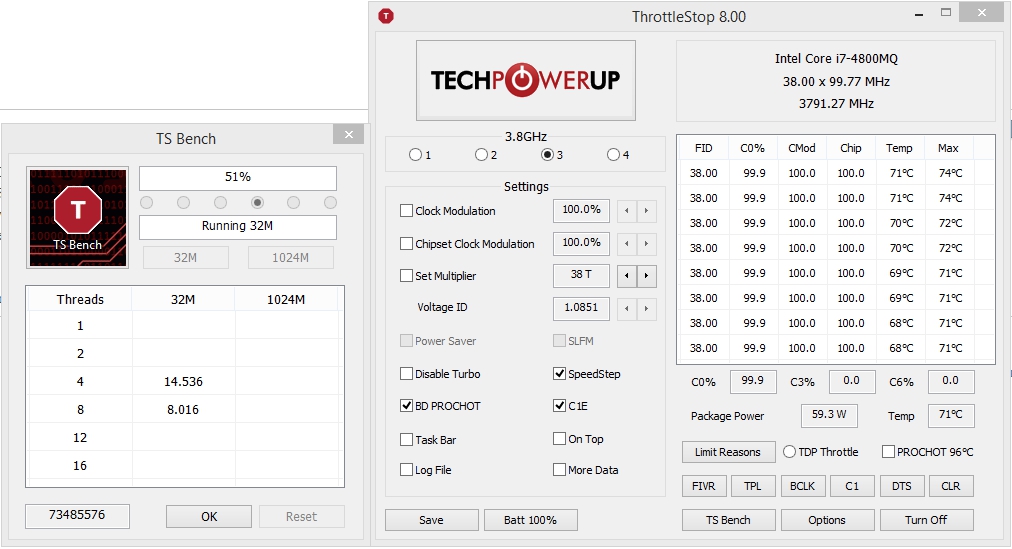
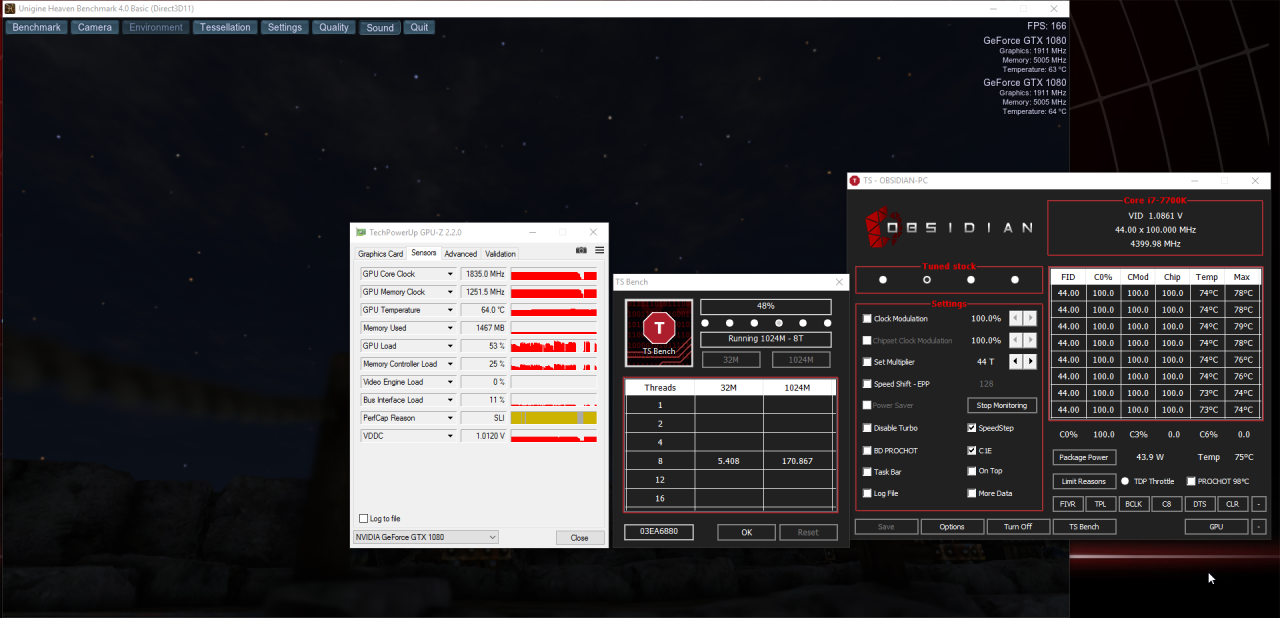
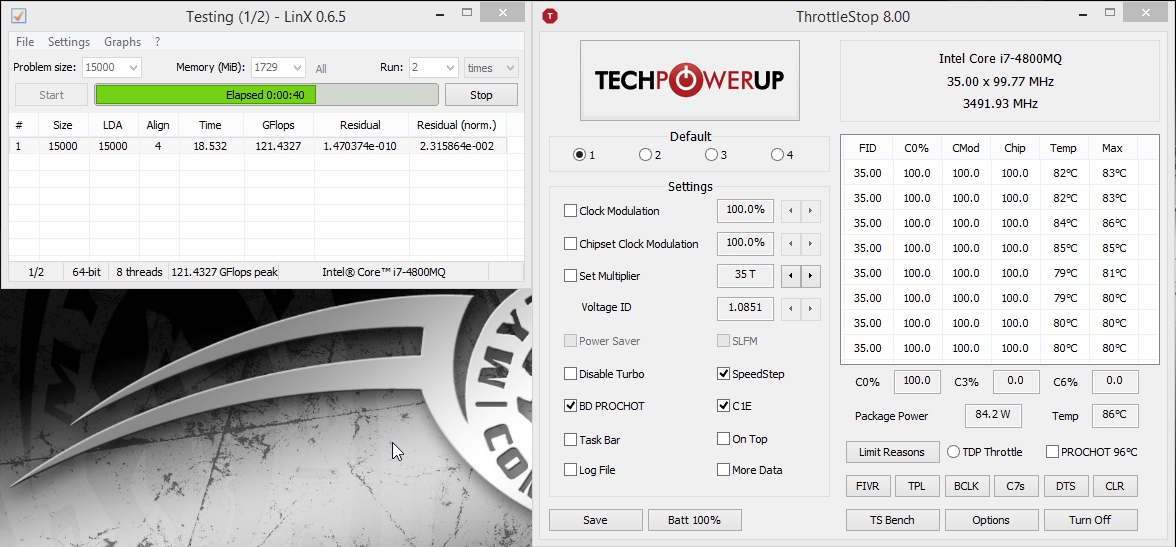
Start with testing the CPU. Open Throttlestop so you can monitor you core temperatures and using one of the stress programs while monitoring for issues. Stressing the CPU should not cause a BSOD or crash a program like Cinebench and TSBench, which would certainly be a red flag. Another warning sign to look out for are significant temperature differences between the different cores of your CPU. Generally, a temperature difference of 8C or more between cores is the sign of either a warped heatsink or bad paste-job leading to uneven contact with the CPU die. Below are some images of Throttlestop being used alongside TSBench and LinX. As you can see, temperatures are uniform and clockspeed is maintained.
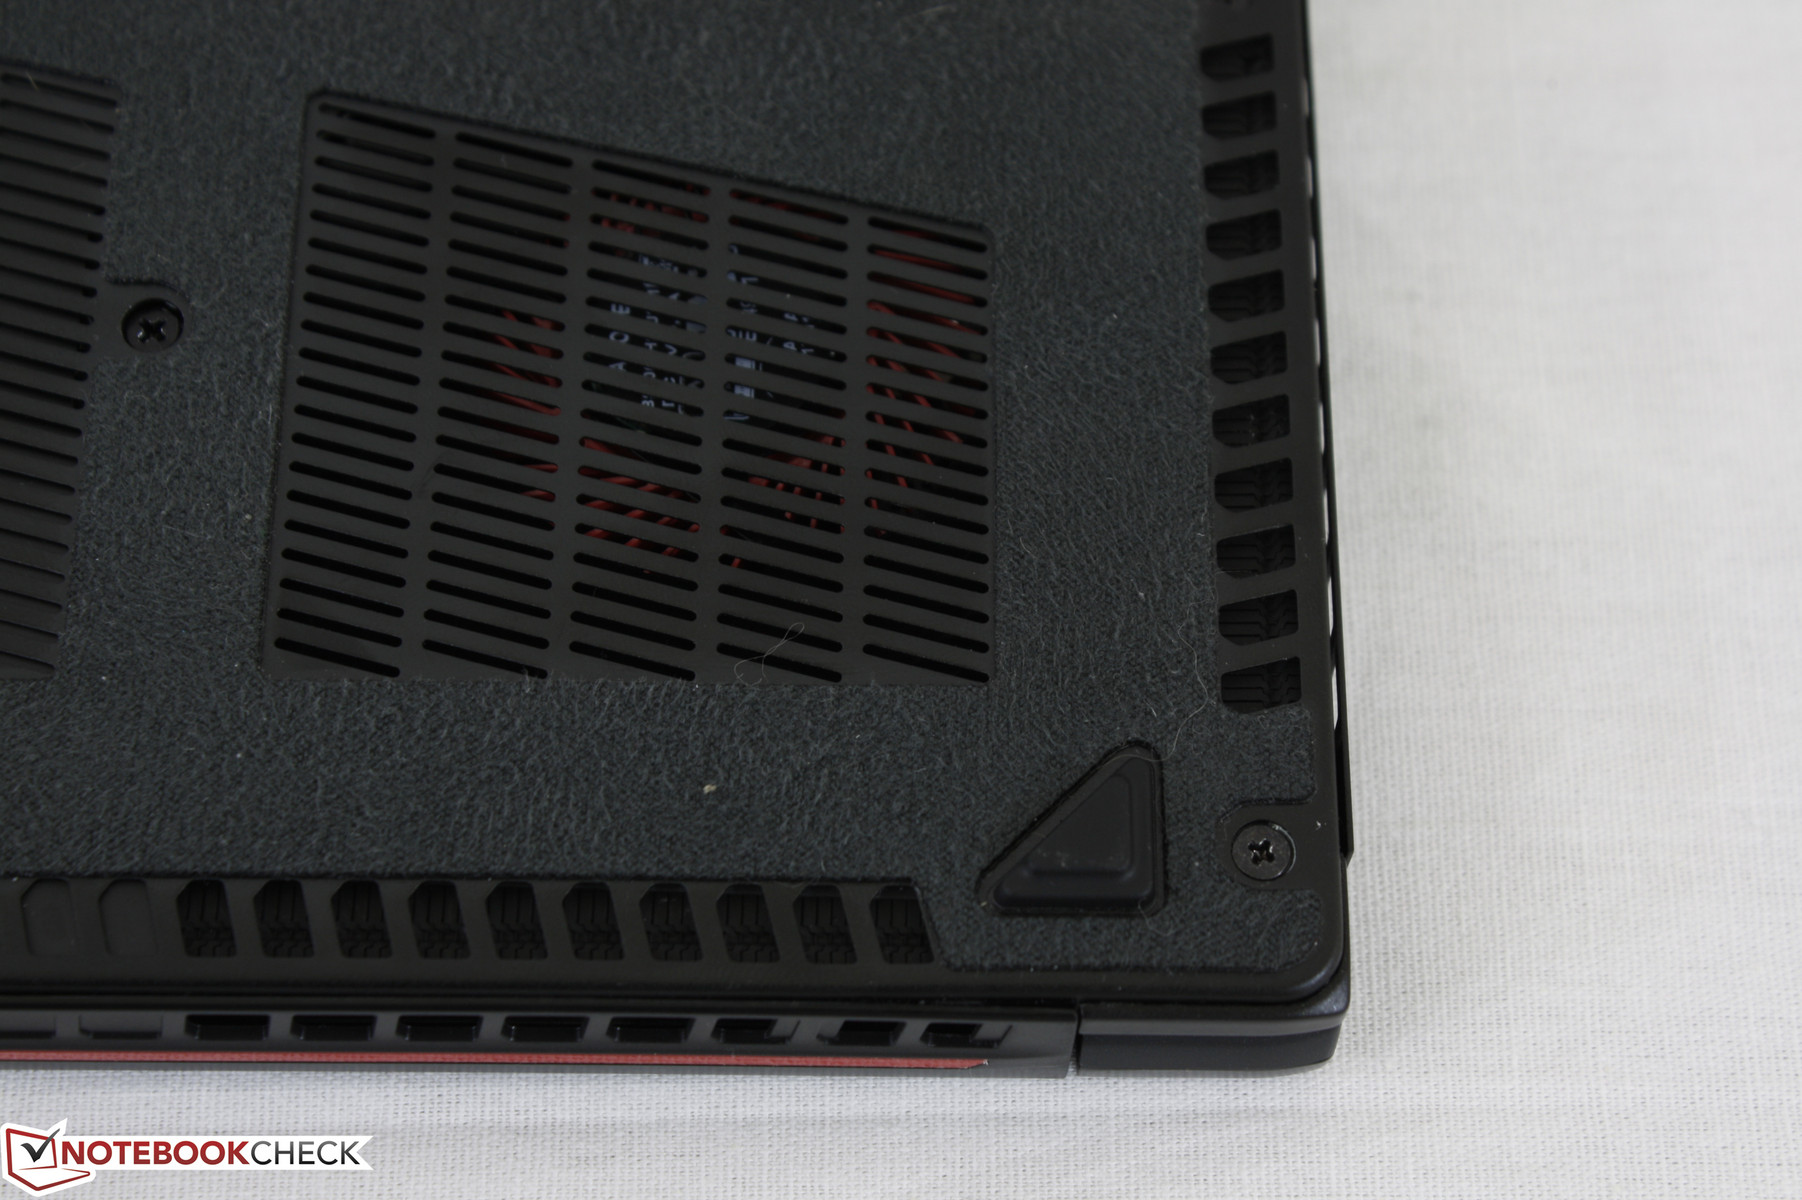
If your laptop has a dedicated GPU (such as an AMD or Nvidia card) then it’s probably a good idea to run a stress test for the GPU as well as the CPU together. In fact, most laptops will have a shared cooling solution — either there is one heatsink used to cool both the CPU and the GPU, or two separate heatsinks which connect to each other (touching, but not the same piece of metal). If the laptop has a shared heatsink (and if you don’t know, you should assume it does), then Unigine Heaven or Unigine Valley should be looped in the background while the CPU test is completed. This is because a shared heatsink denotes that the CPU or GPU can offload heat into each other’s heatsink, meaning that the heat from stressing both components together will significantly affect the ability of the laptop to cool itself off.
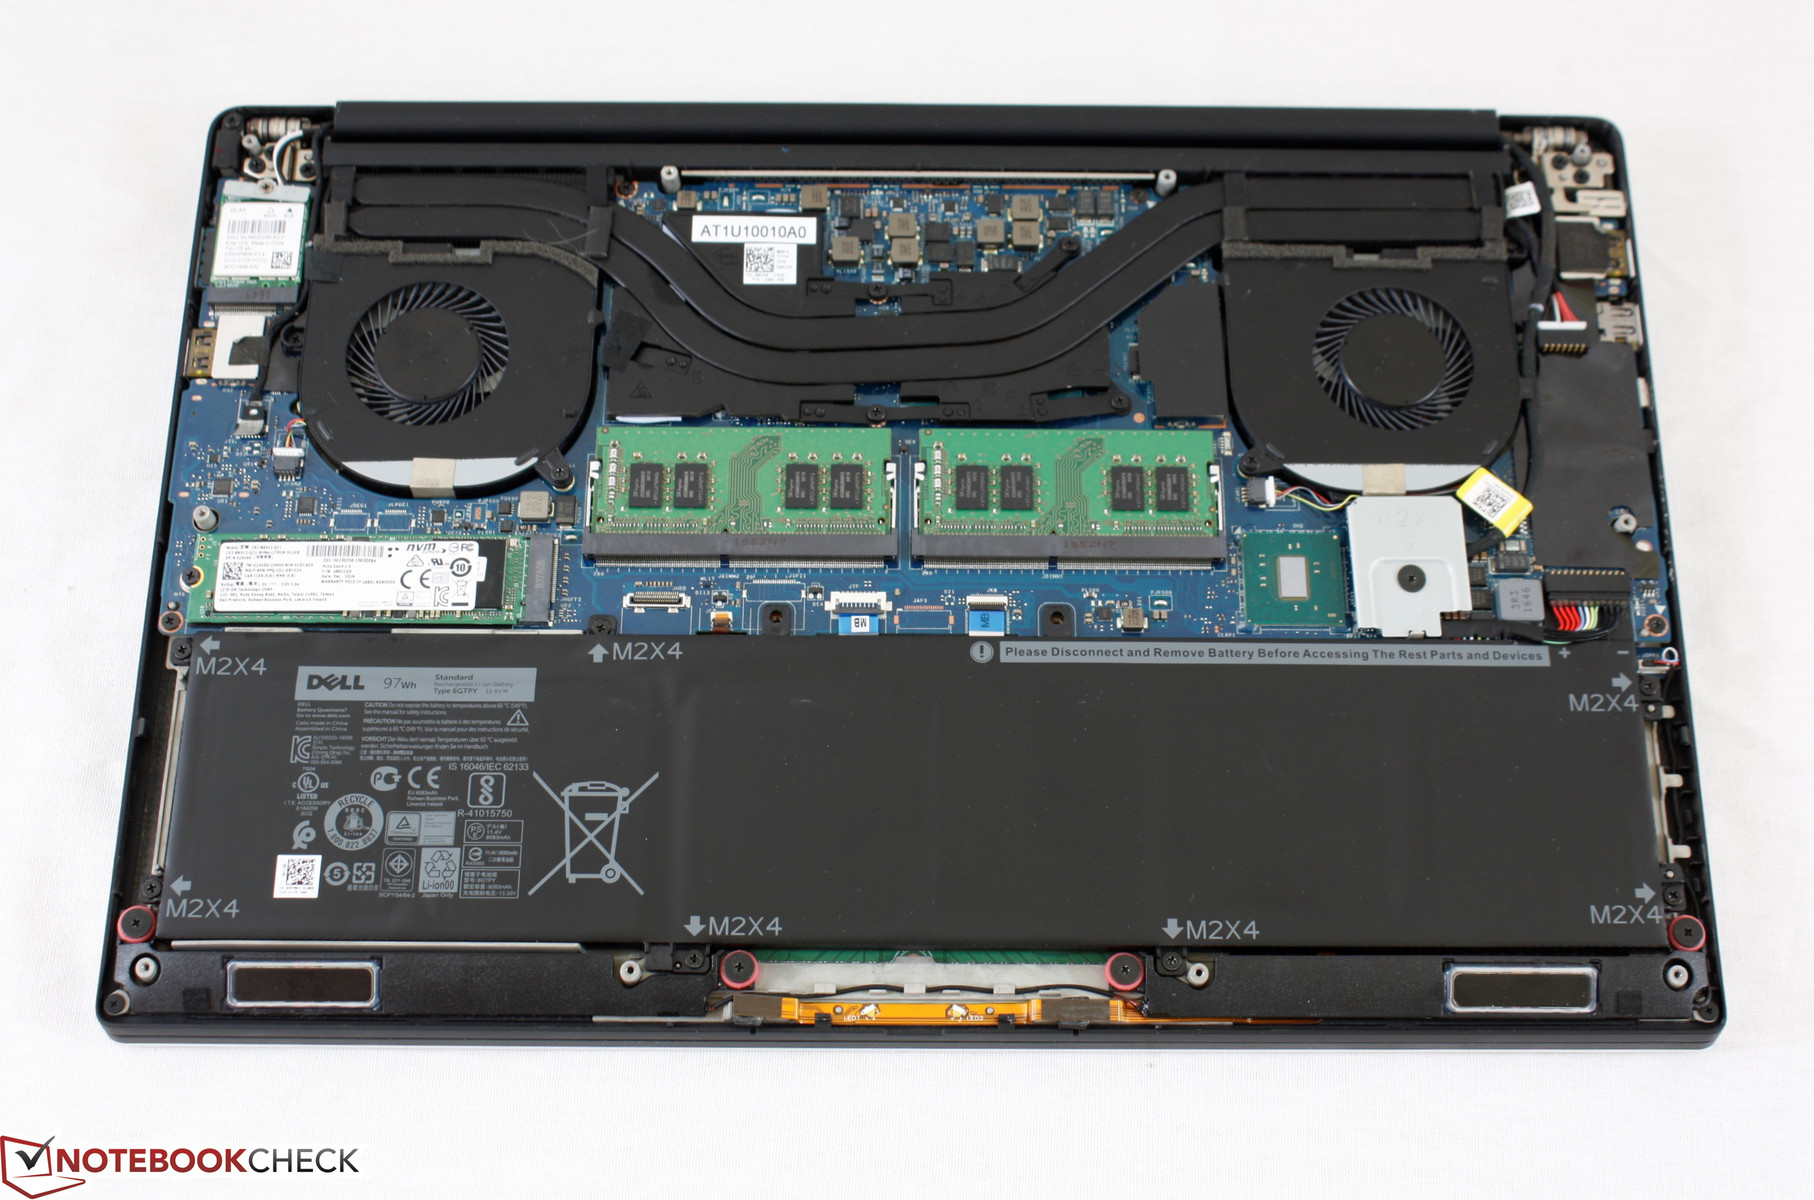
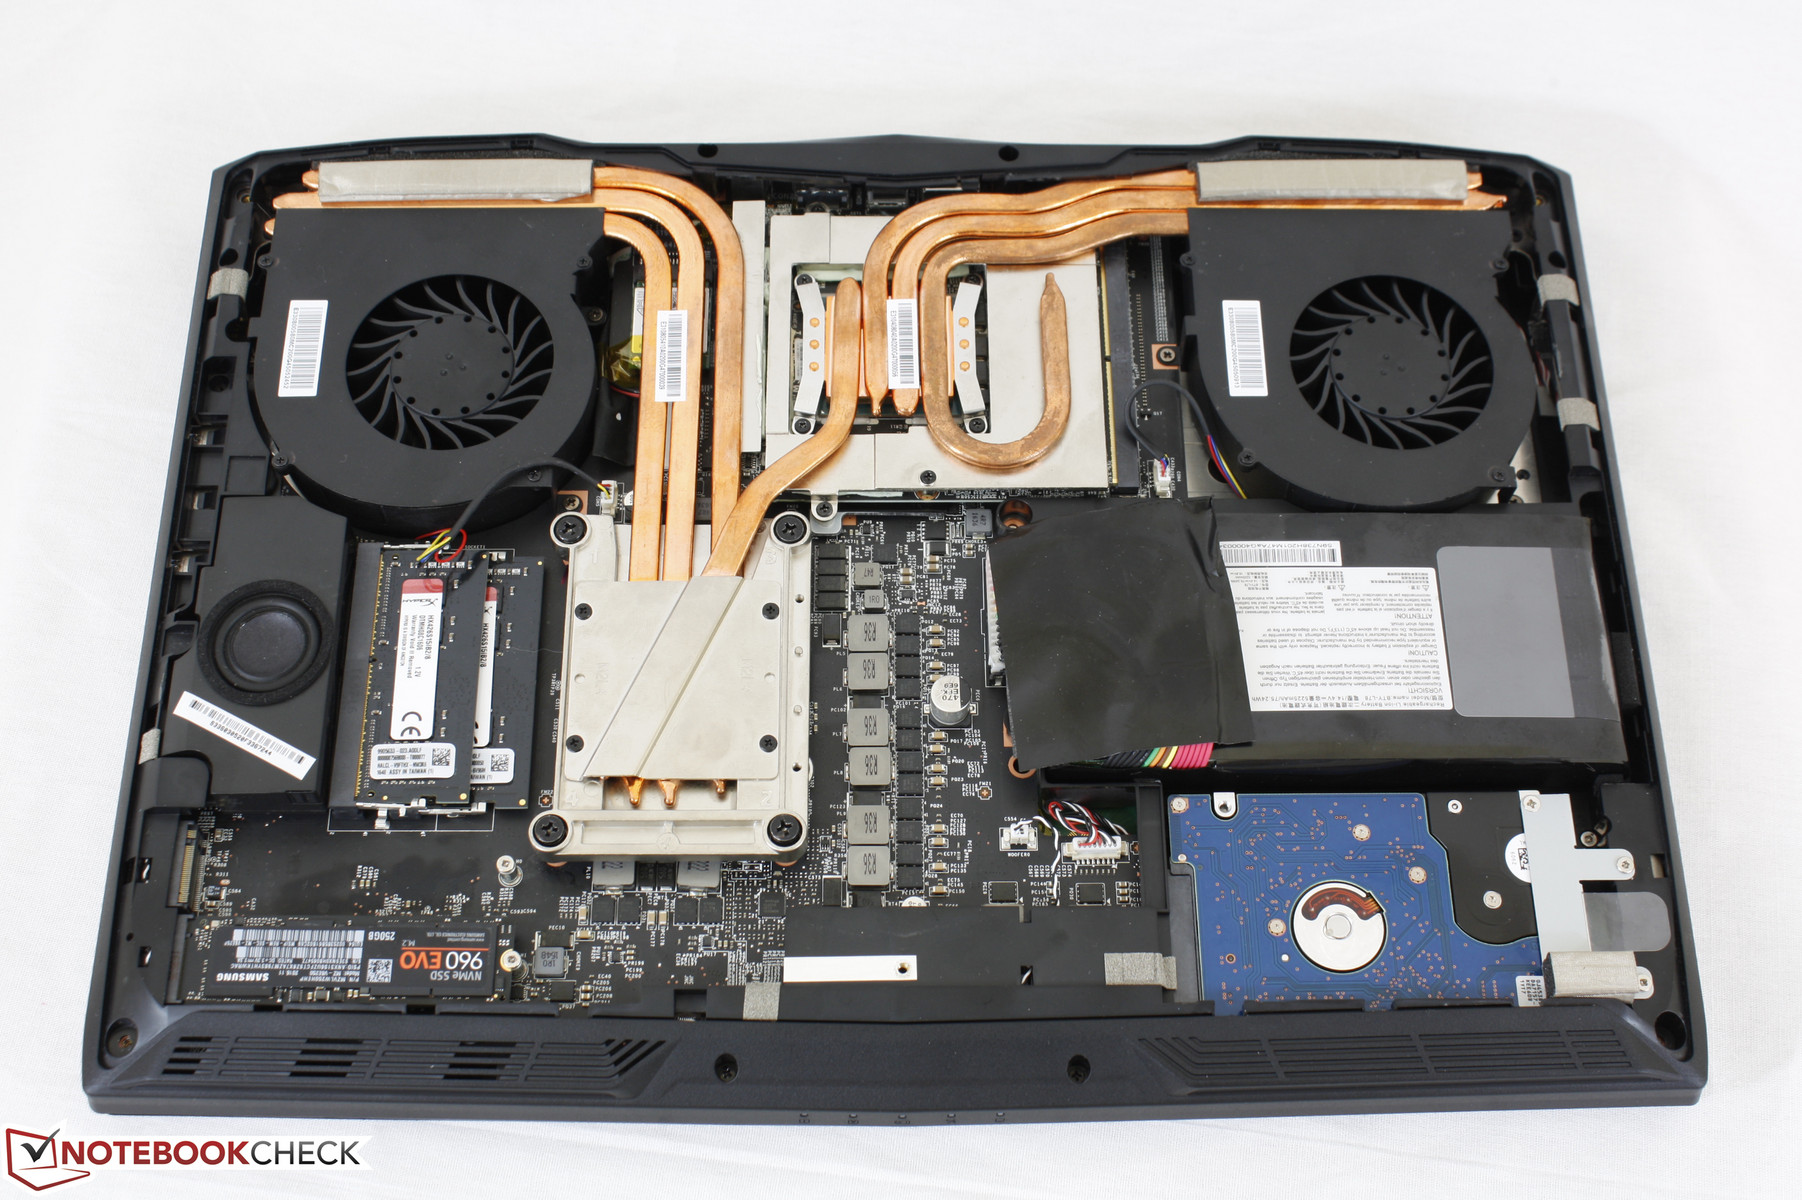
Conversely, an idle GPU means that the CPU has “extra” cooling power, and an idle CPU means that the GPU has “extra” cooling power. In a separate cooler scenario, the heat of one component doesn’t affect the heat of the other at all, but again, this cooling setup is generally reserved for enthusiast-level gaming laptops. Please do note: running Unigine Heaven and Valley while running TSBench or Cinebench is likely to cause issues with loading new scenes sometimes. The Unigine programs may appear to freeze, but they will eventually load, so don’t panic or force them closed. The reason is they require CPU time to load the new scenes, and your CPU will be busy with Throttlestop (or your chosen CPU stress tool), so the programs just hang until they get their CPU cycles sorted out.
As for the GPU alone, one should be able to run a series of benchmarks without issue. Unigine Heaven and Valley, as well as 3DMark Firestrike (there is a free version) are good tests (note that Unigine Valley and Heaven will improperly report GPU clockspeeds on Pascal, instead constantly reporting maximum boost clocks even if your card is not attaining it). Any artifacting (weird lines, triangles, flashing, etc) is a dead giveaway of a problem card. There should also be no crashing. Another kind of problem indicating an error is a black screen crash. This crash can go so far as to restart the PC as soon as it happens; your screen will go black and then your PC will all of a sudden be booting up as if nothing happened. If not overheating (90c+ on the video card) then this usually means that something on the video card that is NOT the GPU core is overheating. VRMs (voltage regulation modules), Chokes, and/or power phases are the likely culprit that cause these kinds of crashing and errors.

If your GPU drivers keep crashing for some reason, try other driver versions. For the sake of testing, one should use DDU (Display Driver Uninstaller) to clean and remove the driver in safe mode (the program will offer the option to do so on its own), to make sure any bad registry keys or anything leftover from the previous driver is completely gone. This makes certain that if it happens over multiple drivers, the problem is your video card rather than something on the system.
The reasons these tests are chosen is because for modern systems, they are relatively manageable in actual system stress. They will indeed generally use your CPU and GPU to the maximum utilization, certainly, but many other programs and situations will do far worse in terms of drawing power or producing heat. Some of those programs are Linpack for the CPU, and Furmark or MSI Kombustor for the GPU. These programs draw so much power, and produce so much heat that they are likely to over-stress components (especially on a cheaper motherboard) as well as your cooling system, and can heavily reduce the lifespan (or outright destroy) a system. To be clear, one tested system using an i7-4800MQ drew an average of 46W using TSBench and an average of 85W using Linpack. Even after overclocking and raising voltage, TSBench was only able to use around 60W from the processor. The tested system was top of the line and arguably has the best laptop motherboard of its time of release and can handle that kind of CPU abuse; many other systems would have failed outright and pictures provided are only provided for factual reference, and no Furmark tests are provided because even that system is not safe from it. Our suggestion is to avoid those above mentioned programs entirely, lest you risk damage to your computer.
Now, if you have completed the CPU and GPU stress tests and are getting no errors, the final step is checking that speeds and such are proper. A good tool is to use GPU-Z’s sensors tab for the GPU, and Throttlestop or intel XTU for the CPU. Look out for heavy spikes of throttling (CPU dropping from 3.4GHz to 800MHz and back on an i7-7700HQ, etc). Once everything looks to be in order and temperatures are deemed acceptable for you, you’re good to go!
Conclusion
If you followed this guide from start to finish, you should have inspected your new laptop's screen, chassis, keyboard, touchpad, and then checked the internals for performance or heatsink issues. There is no guarantee that your laptop will last you forever, but familiarizing yourself with your laptop and having a good idea of its performance on arrival will help notice issues in the future. Thermal paste can degrade; temps will shoot up seemingly within as little as a couple of days. Hitches and stutters can occur, artifacting can happen, and even GPUs can randomly die. It's important to know at least the basics about your machine so that if anything happens you can get it sorted out with your manufacturer quickly. And if errors are found, one may return the laptop or schedule a RMA service instantly.
Please, if there are issues with your new laptop, do NOT let it slide. Make sure you get issues fixed promptly, and re-check the machine after any warranty service.
Helpful articles:
- How to Lower Temperatures, Stop Throttling, and Increase Battery Life: The ThrottleStop Guide (2017).
- Benchmark list of all mobile and desktop graphic cards - Compare desktop and mobile video cards according to their performance.
