CheckUp | How to delete an undeletable partition in Windows without using third-party tools
CheckUp - hacks for a better tech life
As most advanced level PC users know, diskmgmt.msc, a tool built into every Windows 10 and Windows 11 computer, lets one edit existing partitions, remove them, and even create new ones. It's a shame that the tool is not omnipotent and at times refuses to delete certain partitions - ones created by Linux operating systems, among other examples.
Thankfully, Disk Management has a more powerful relative, named DiskPart. The latter is free and relatively easy to use.
Please make sure to back up all your important data before attempting this process.
Delete a partition with DiskPart: A short guide
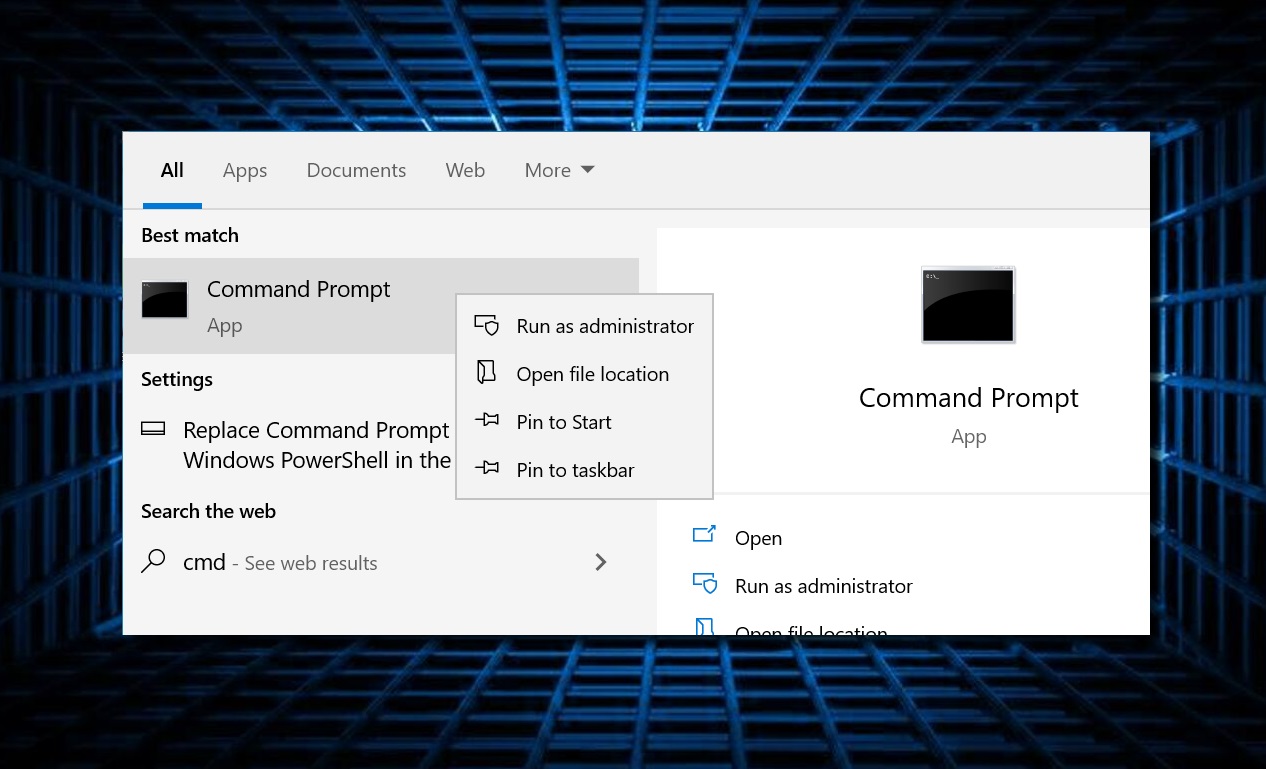
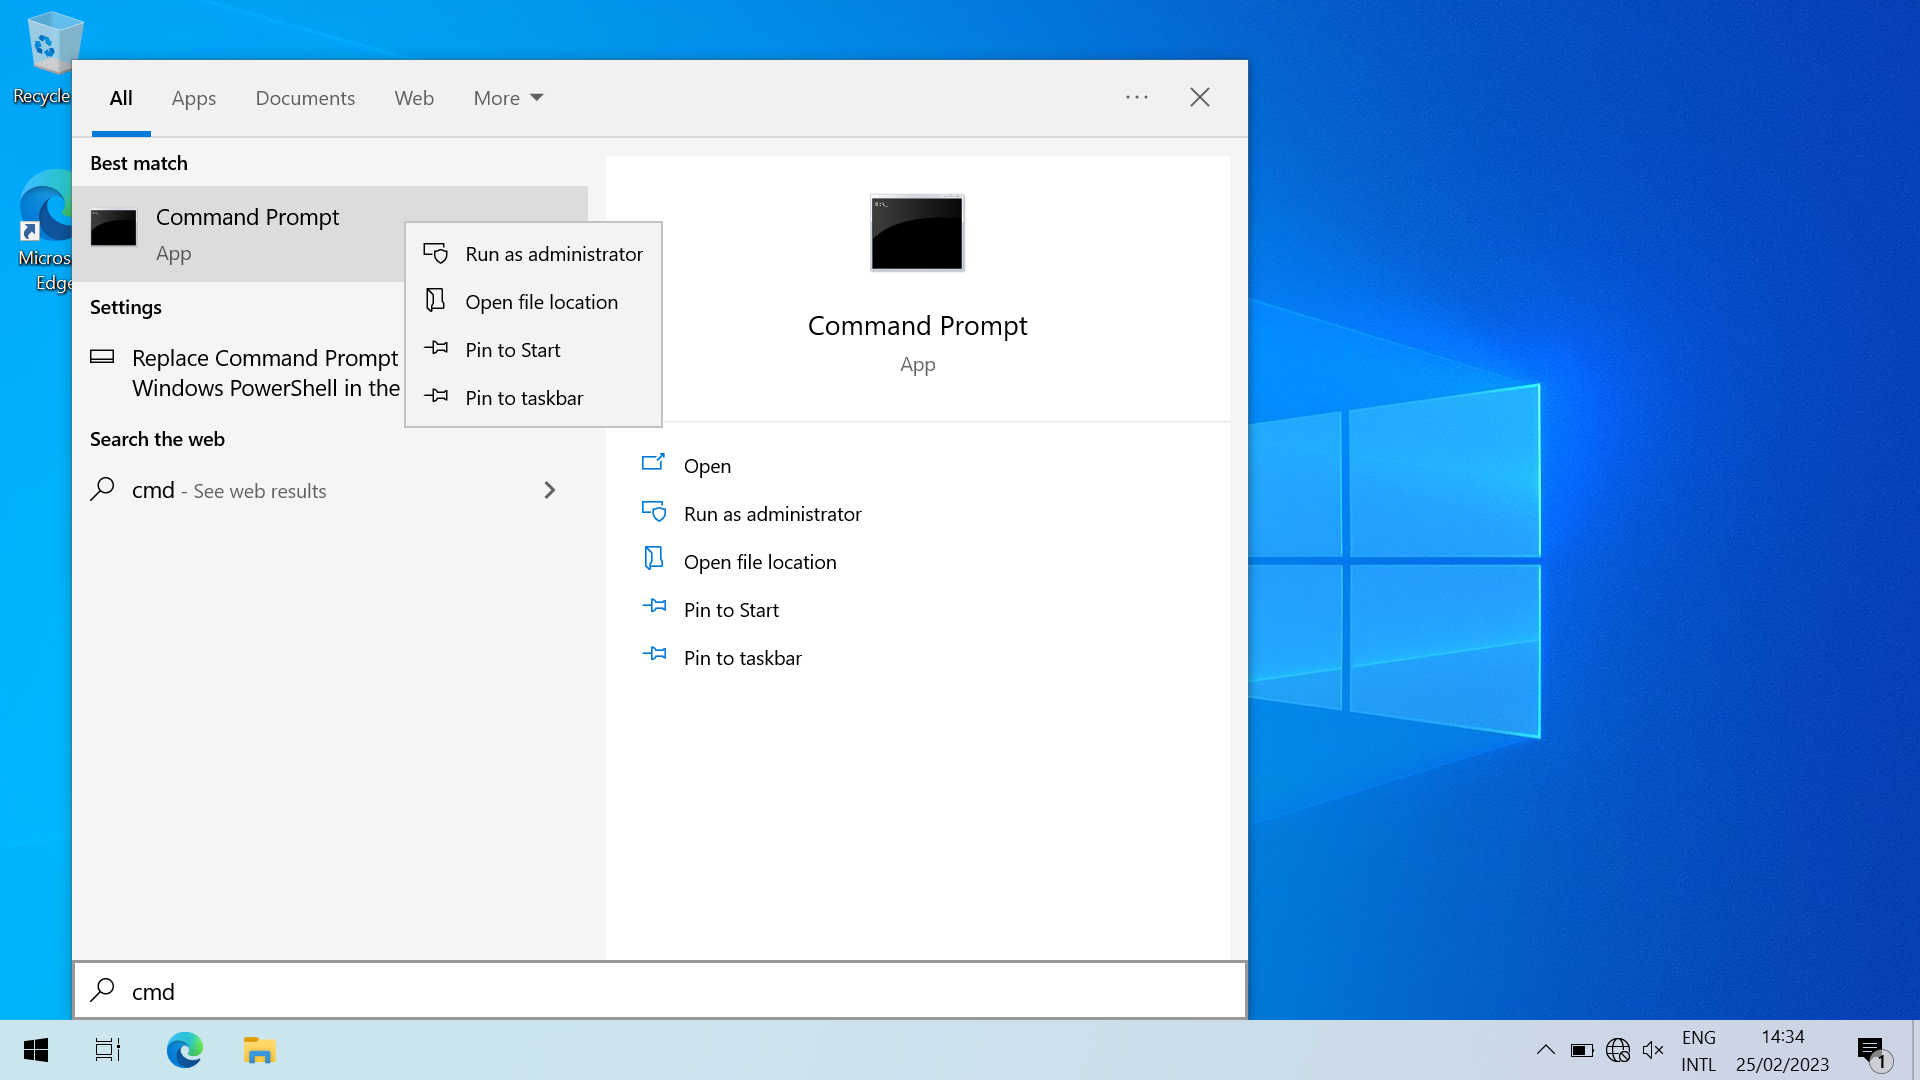
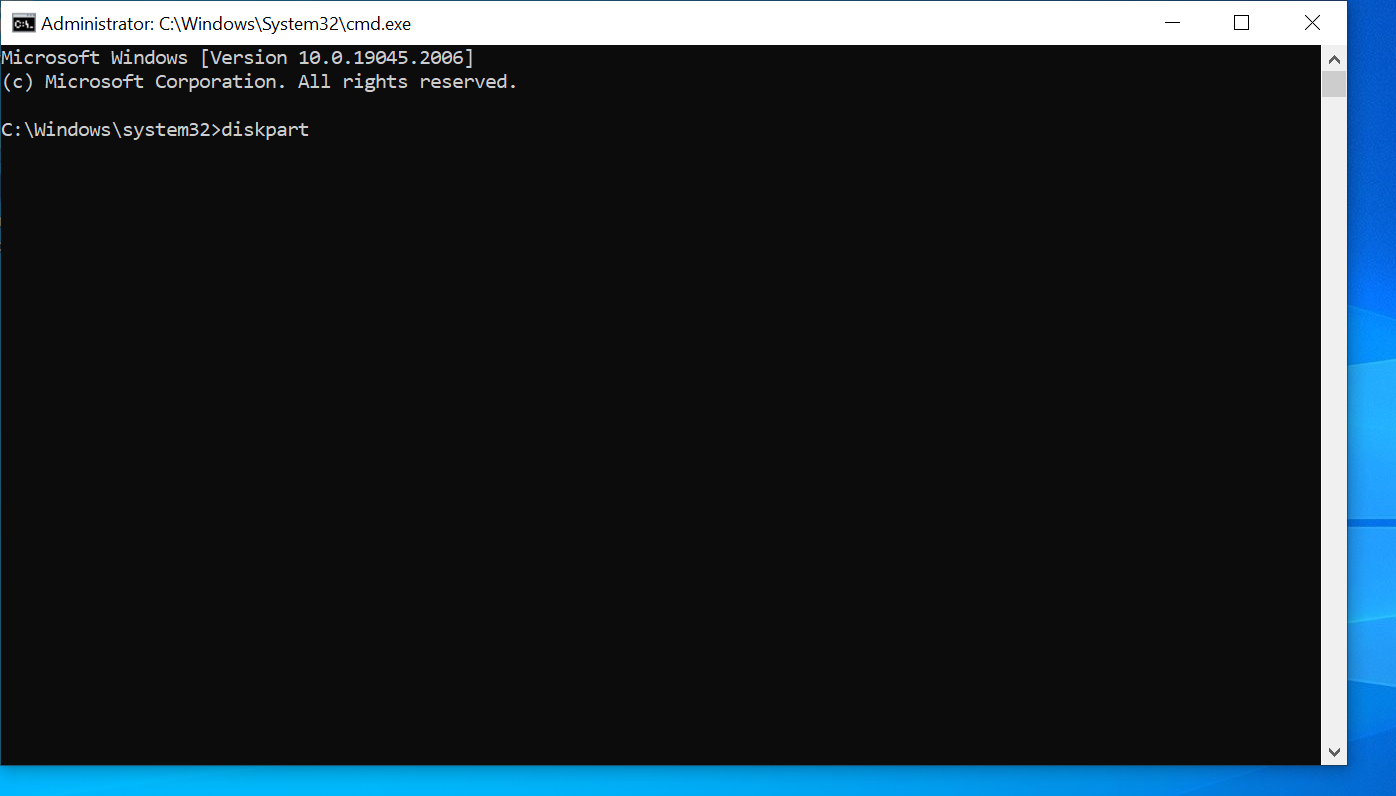
First and foremost, we need to launch DiskPart. Press the Windows key on your keyboard and type "cmd". Right-click the top-most result and run it as administrator (which will give it elevated rights). If you get a prompt from the OS a second later asking you whether you want to launch the command line or not, give it an approving nod.
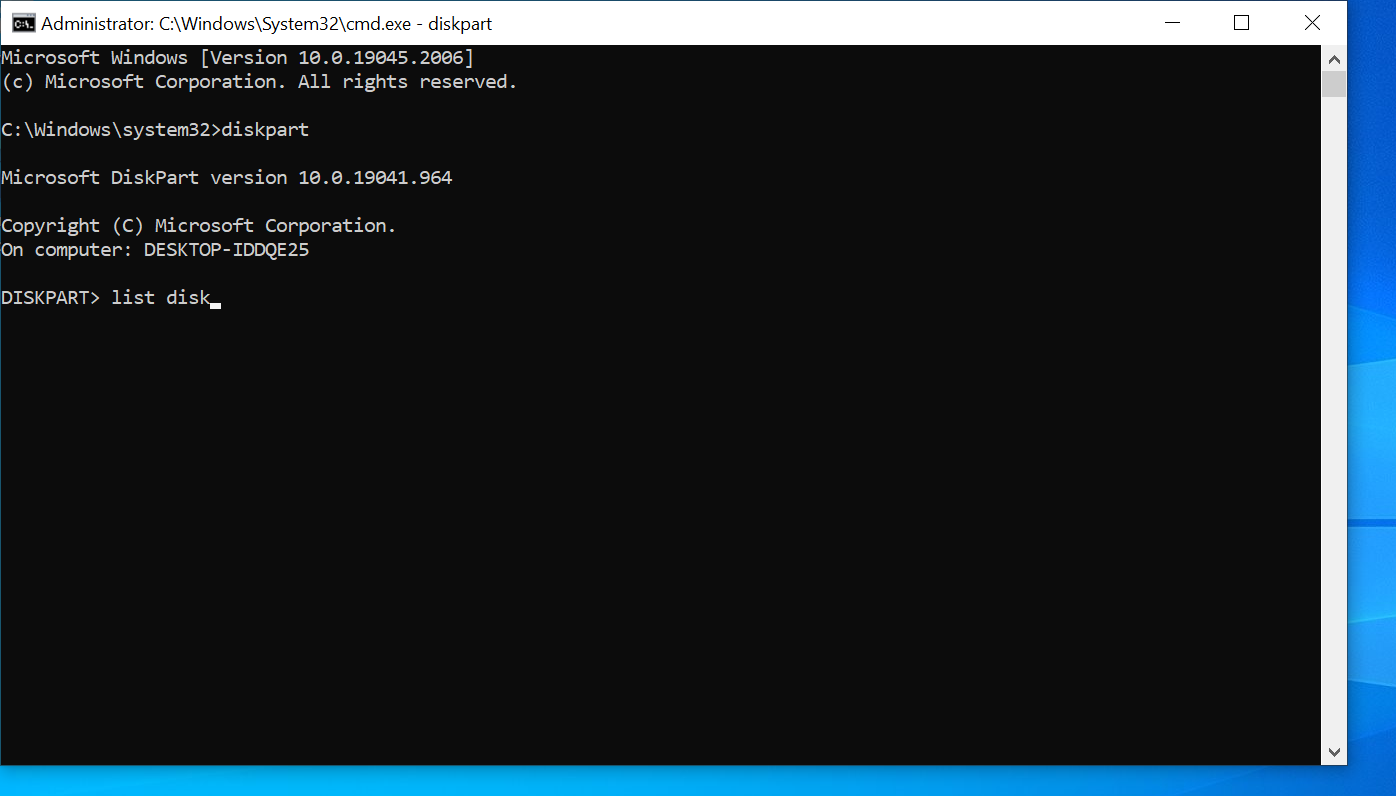
You can now see the command line window. Type "DiskPart" and hit the Enter key. There is a chance you will get another security prompt from the OS; this is normal. Please click "Yes" one more time.
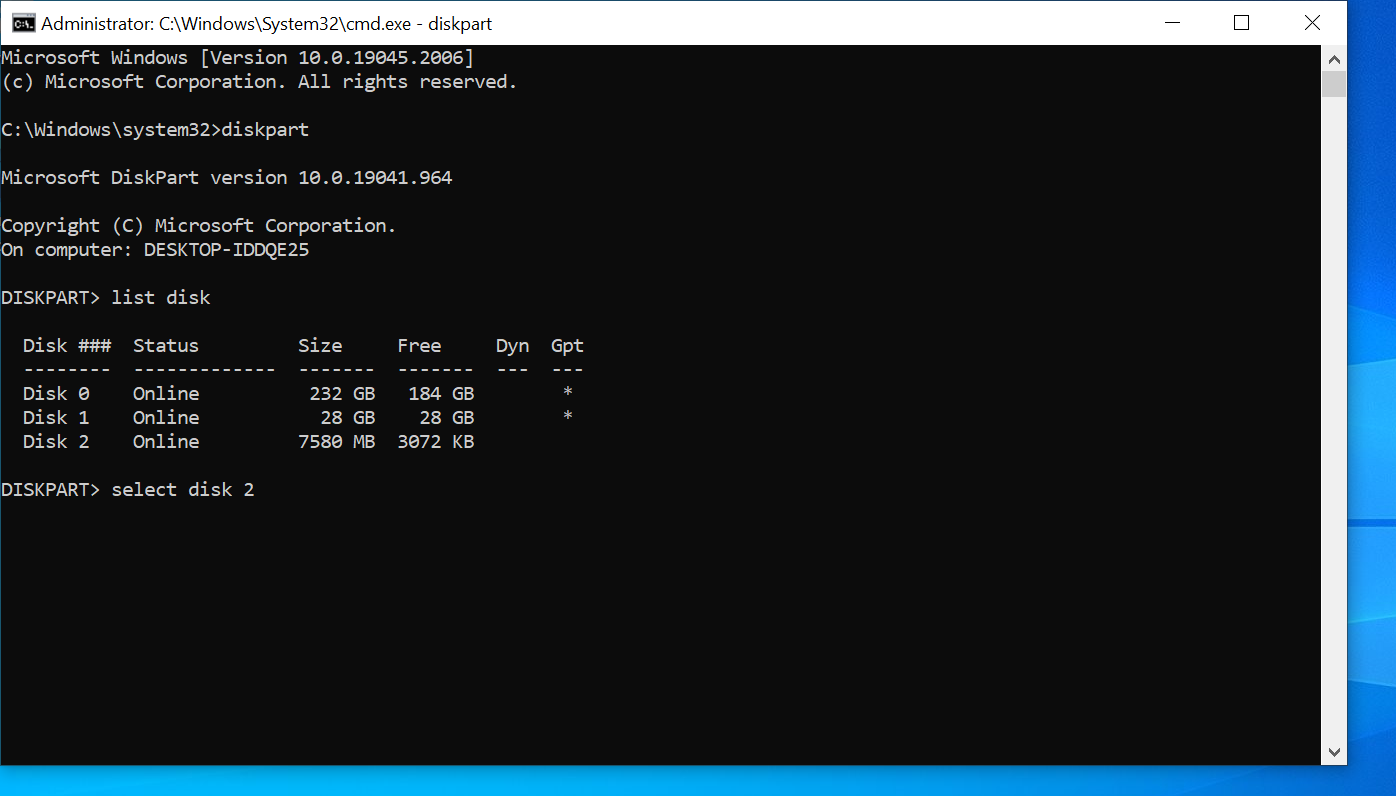
We now need DiskPart to give us a list of disks. Type "list disk" and hit Enter.
Doing this will make the tool output a list of physical drives currently attached to the computer. The easiest way to distinguish between them is to look at the full capacity of each drive.
In the picture below, you can see three drives; let's select the third one, the smallest of all. Unlike the other two options, this is a pen drive and not an SSD. This does not really matter to the tool.
Type "select disk #", replacing the "#"" symbol with the number of the drive that contains the unwanted partition you want to get rid of, and then hit Enter.
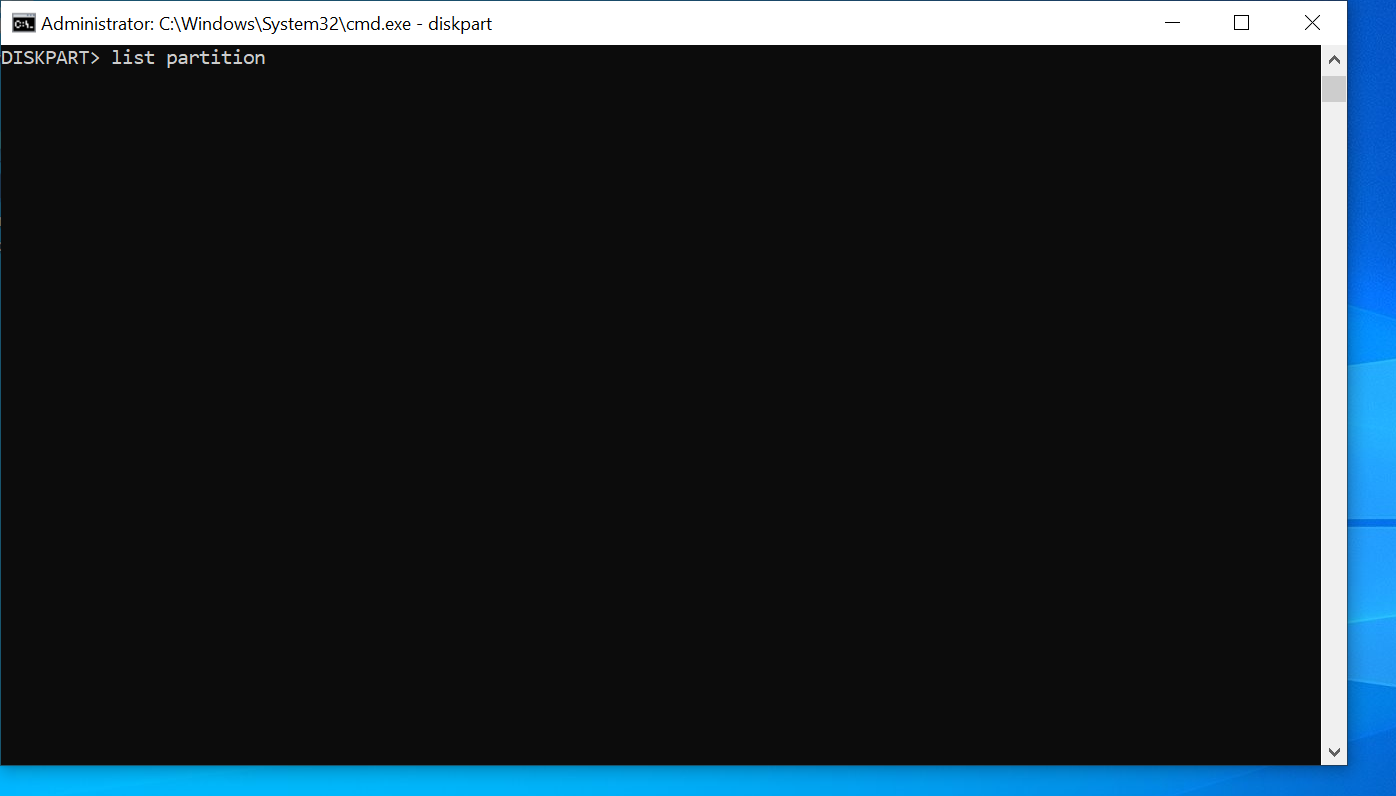
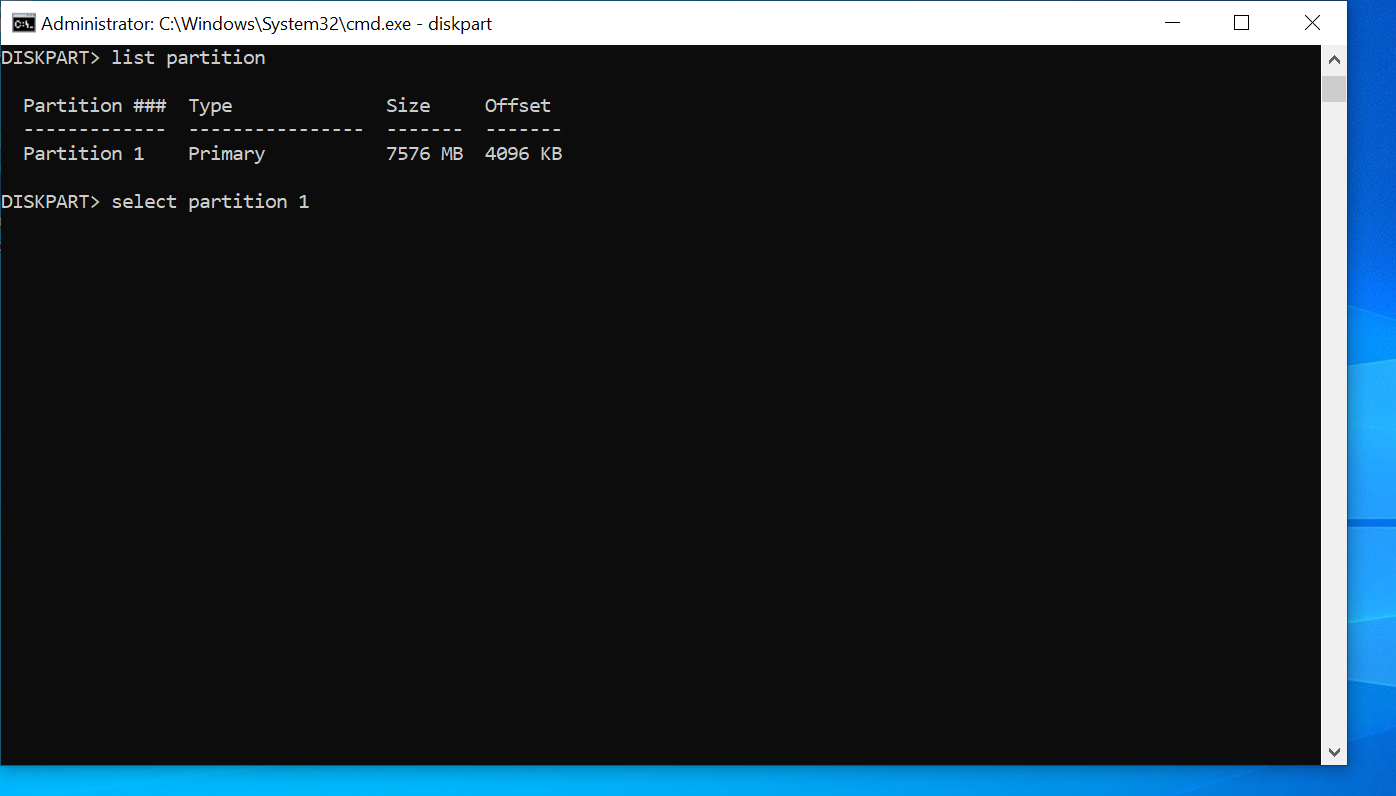
Having selected the drive, we can get the list of partitions located on it. Type "list partition" and hit Enter.
This part is probably the most important as it is so easy to remove the wrong partition by accident, losing lots of important data as a result. While there is just one partition on our pen drive, it is hard to predict how many partitions will be on your SSD or hard drive. It is normal for modern Windows operating systems to create four partitions while they copy their files onto a clean, freshly purchased drive during a clean installation process. ChromeOS Flex, on the other hand, appears to need more than twice as many partitions to be able to function properly.
The easiest way to be sure you are deleting the right partition is to keep in mind its size and double check everything prior to removing anything. Either way, it is recommended to back up your most important files prior to deleting a partition.
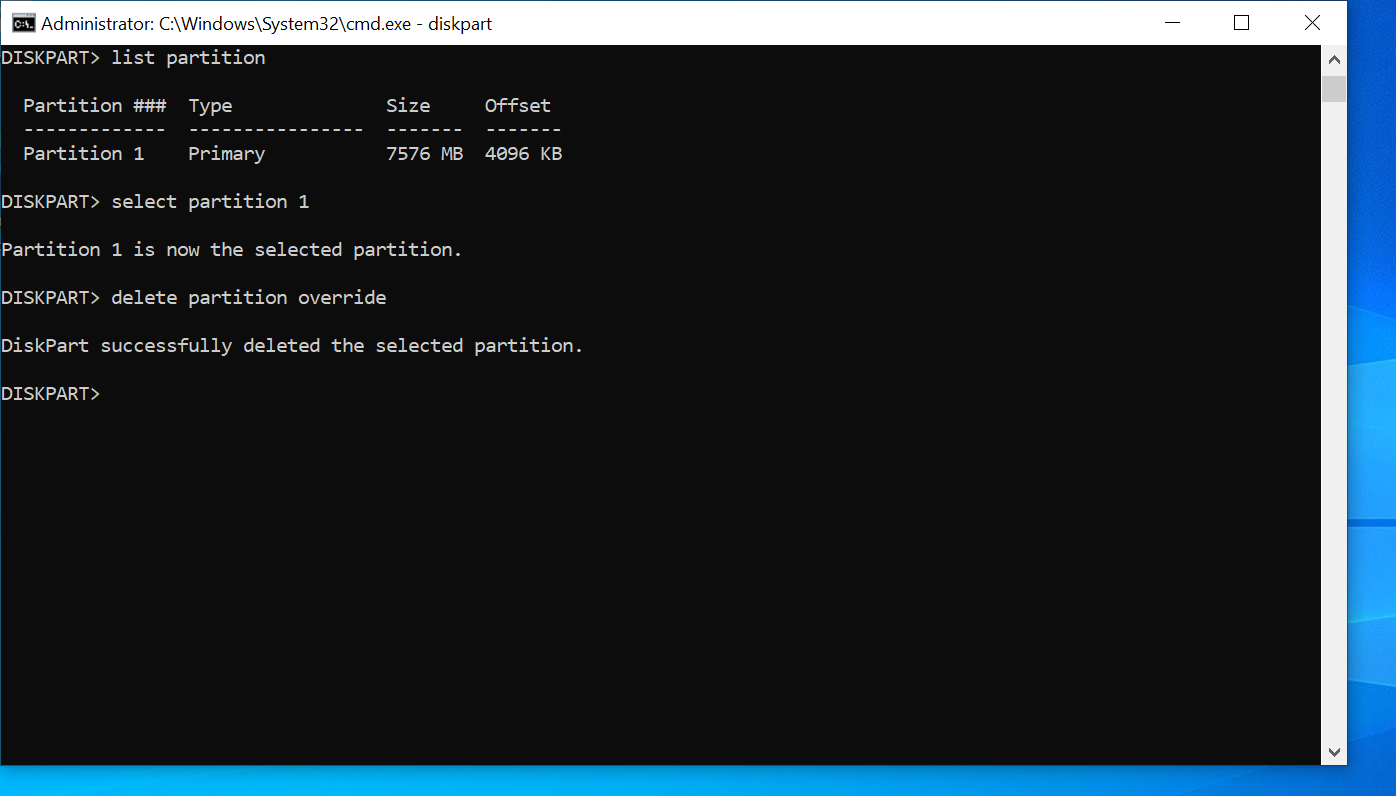
Type "select partition #", replacing the "#" symbol with the number of partition that you need to delete. Hit Enter. Then, type "delete partition override" and hit Enter one more time. That should be it.

Perhaps DiskPart proved unable to remove the partition that you want deleted? Booting from a live USB image is the next option we'd try. Many Linux distros have a built-in partition management software. ElementaryOS comes with GParted, to give you an example.
Source(s)
Own
Teaser image: Own & Lysander Yuen on Unsplash
