Dwarf Mini: The compact, smart telescope for great astrophotography
Small meets Compact.
With the Dwarf 2 and 3, Dwarflab has made it easier for astrophotography enthusiasts to capture images of the galaxy. Now they’re making the Dwarf even smaller: Introducing the Dwarf Mini.Marc Zander (translated by Marc Zander) Published 🇩🇪 🇳🇱 ...
A great telescope, not just for enthusiasts
The Dwarf Mini surprises in testing: While its resolution is half of that of the Dwarf 3 on paper, this doesn’t matter given the excellent photo results. So who is the Dwarf Mini best suited for? If you already own a Dwarf 3 or a similar telescope, you could theoretically sit back and relax (spoiler: the Dwarf Mini is a great addition). If you just want a smart telescope and aren’t put off by the $ 120 USD premium for the Dwarf 3, you’ll get more flexibility, higher resolution, additional features like bird tracking, slightly better images of the sun and moon, and a protective carrying case for about a 25 percent surcharge.
If you’re looking for the absolute most affordable entry into astrophotography and want to get good results quickly, the Dwarf Mini is a great companion. That’s why I recommend this device especially for those who are interested in astrophotography but haven’t yet purchased a smart telescope. Thanks to its automation, you don’t need any prior knowledge of astrophotography and don’t have to worry about details like tracking.
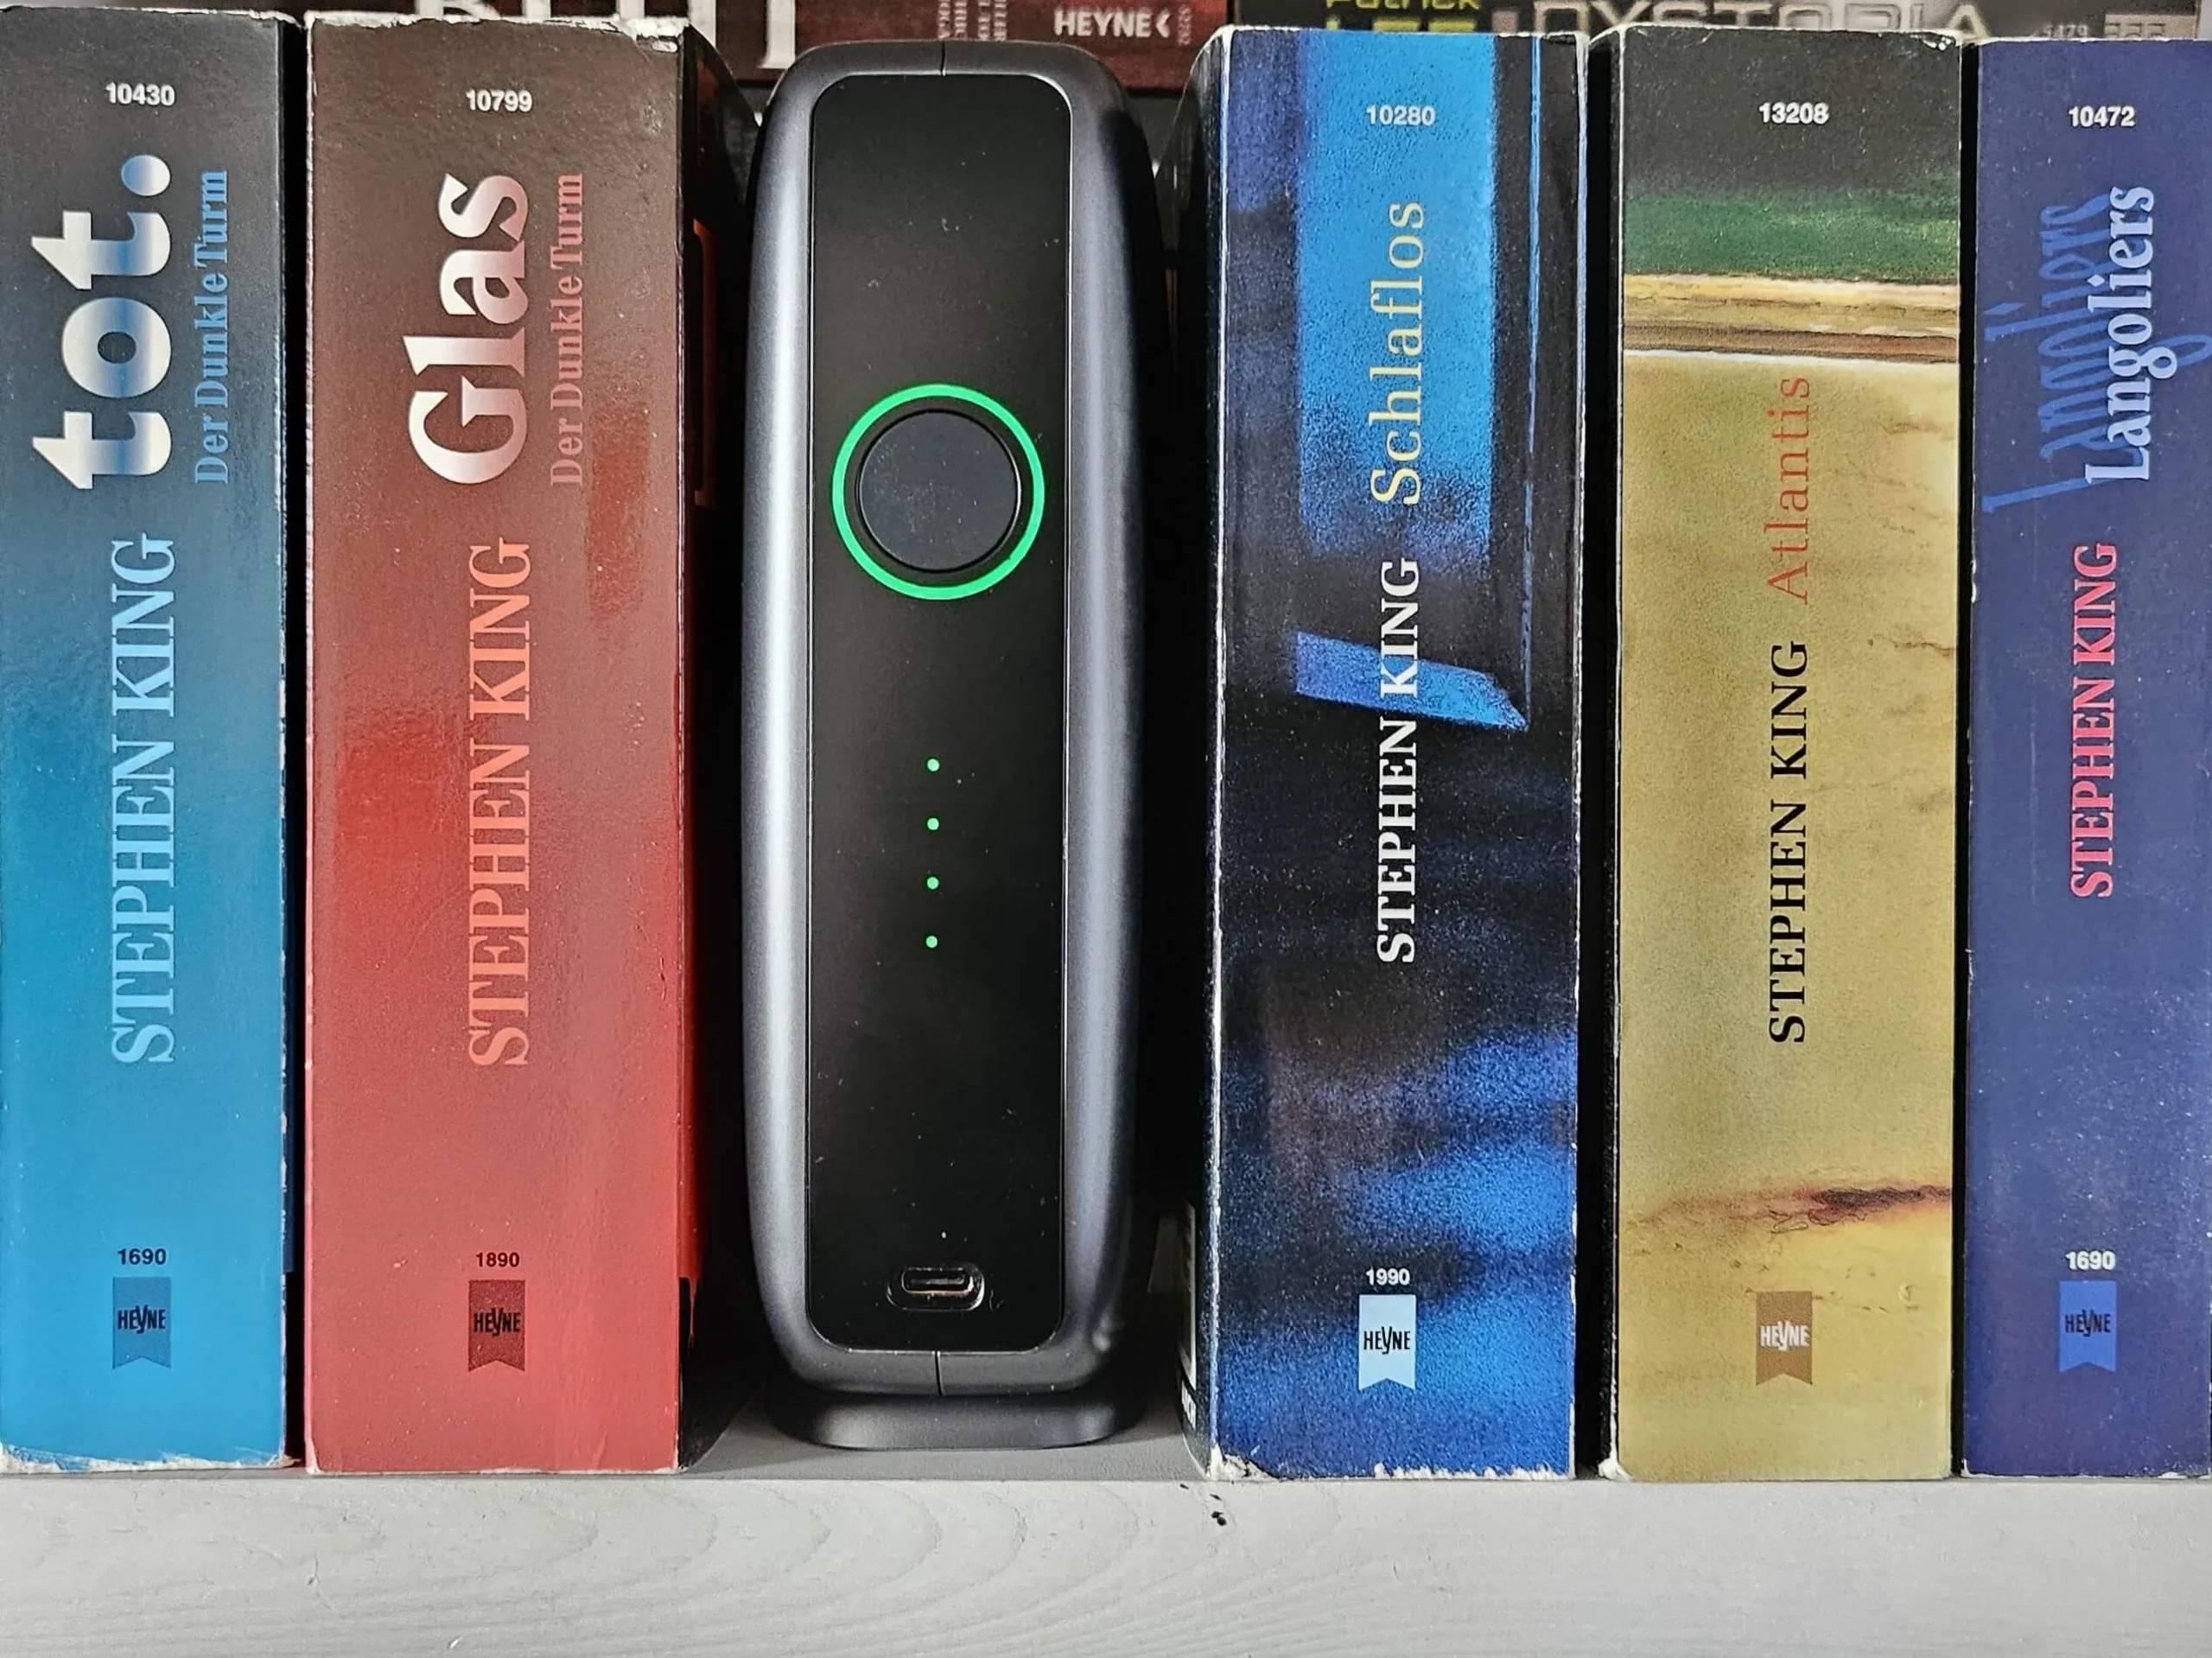
Personally, I have to say that I enjoy deep-sky photography more with the Mini than with the Dwarf 3, since the results look better and, in my opinion, are easier to achieve. The biggest advantage: Thanks to its “pocket-book size,” you can simply take the Mini with you anywhere, just like a book, whereas the Dwarf 3 is used more for specific purposes. That’s why the Dwarf Mini is also an ideal, very compact backup camera, for example when traveling or on outings.
Pros
Cons
Preis und Verfügbarkeit
The Dwarf Mini Telescope is available directly from Dwarflab. It costs $ 399 USD and is shipped free of charge, plus approx. $35 USD additional taxes/import fees.
The Dwarf Mini's specifications
The Dwarf Mini features a 2-megapixel Full HD sensor (instead of the DWARF 3’s 8.3-megapixel 4K sensor) from Sony (model IMX662, 2.9 μm pixels) and combines a telephoto lens (150 mm, f/5, 30 mm aperture) and the wide-angle lens for photographing landscapes or the Milky Way in one. The built-in 7,000-mAh battery theoretically lasts up to four hours, though this does not apply to photography involving up to 999 stacked photos; in that case, the battery runs out after about two hours. Given the exposure time of around four to five hours, a connection to a power outlet (if nearby) or a power bank with at least 10,000 mAh is necessary. Equipped with a 20,000-mAh power bank and a fully charged Mini, I was able to easily get through the four hours for about 850 stacked photos, and the power bank still had 60 percent capacity left afterward.
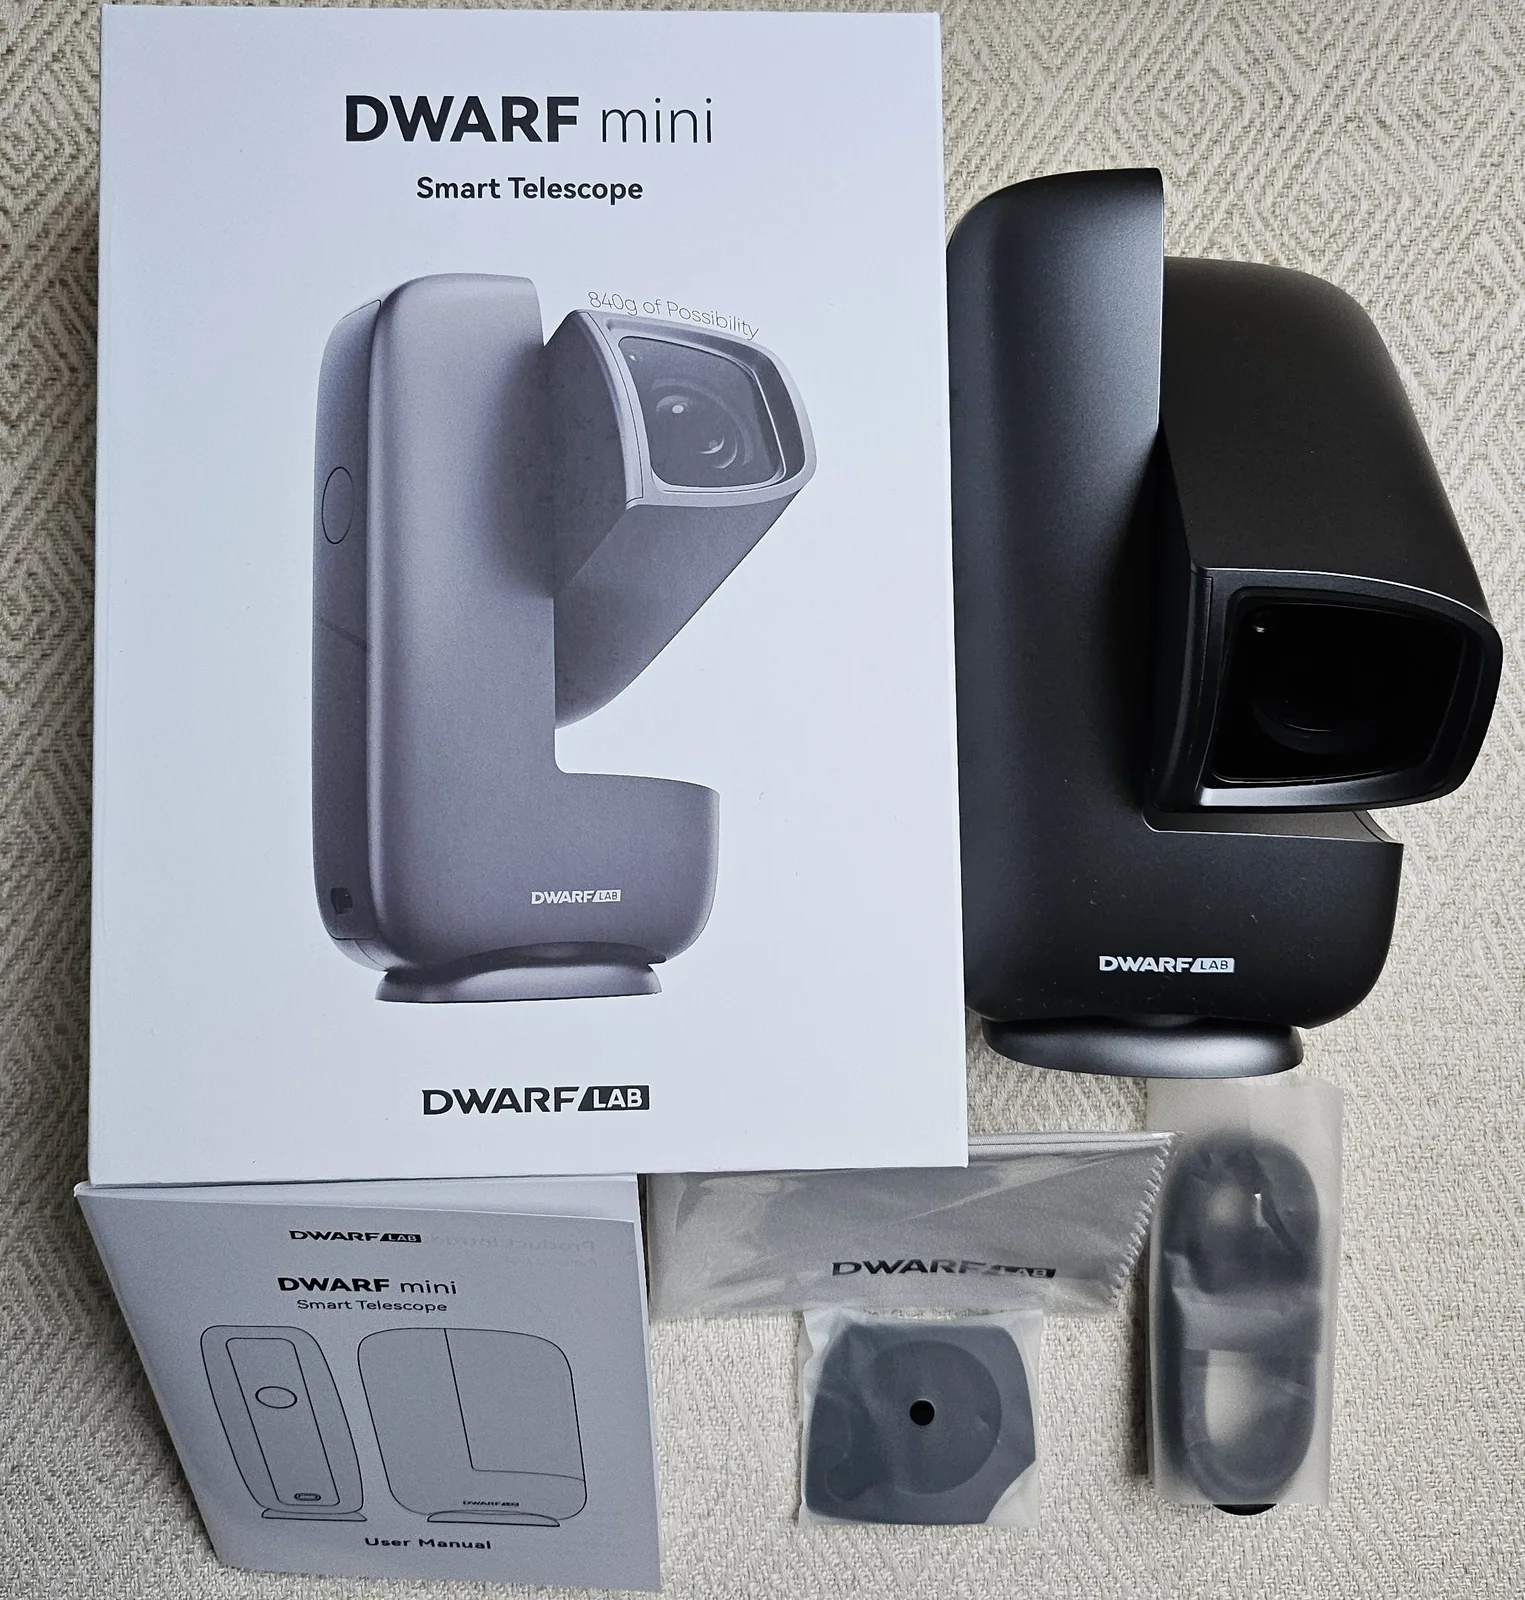
What’s included with the Dwarf Mini
The quite attractive packaging contains the telescope, a USB-C-to-USB-C cable for charging the internal battery, a magnetically attachable sun protection filter, a cleaning cloth, and a quick start guide in six languages.
The smart Dwarf Mini Telescope can do all of this
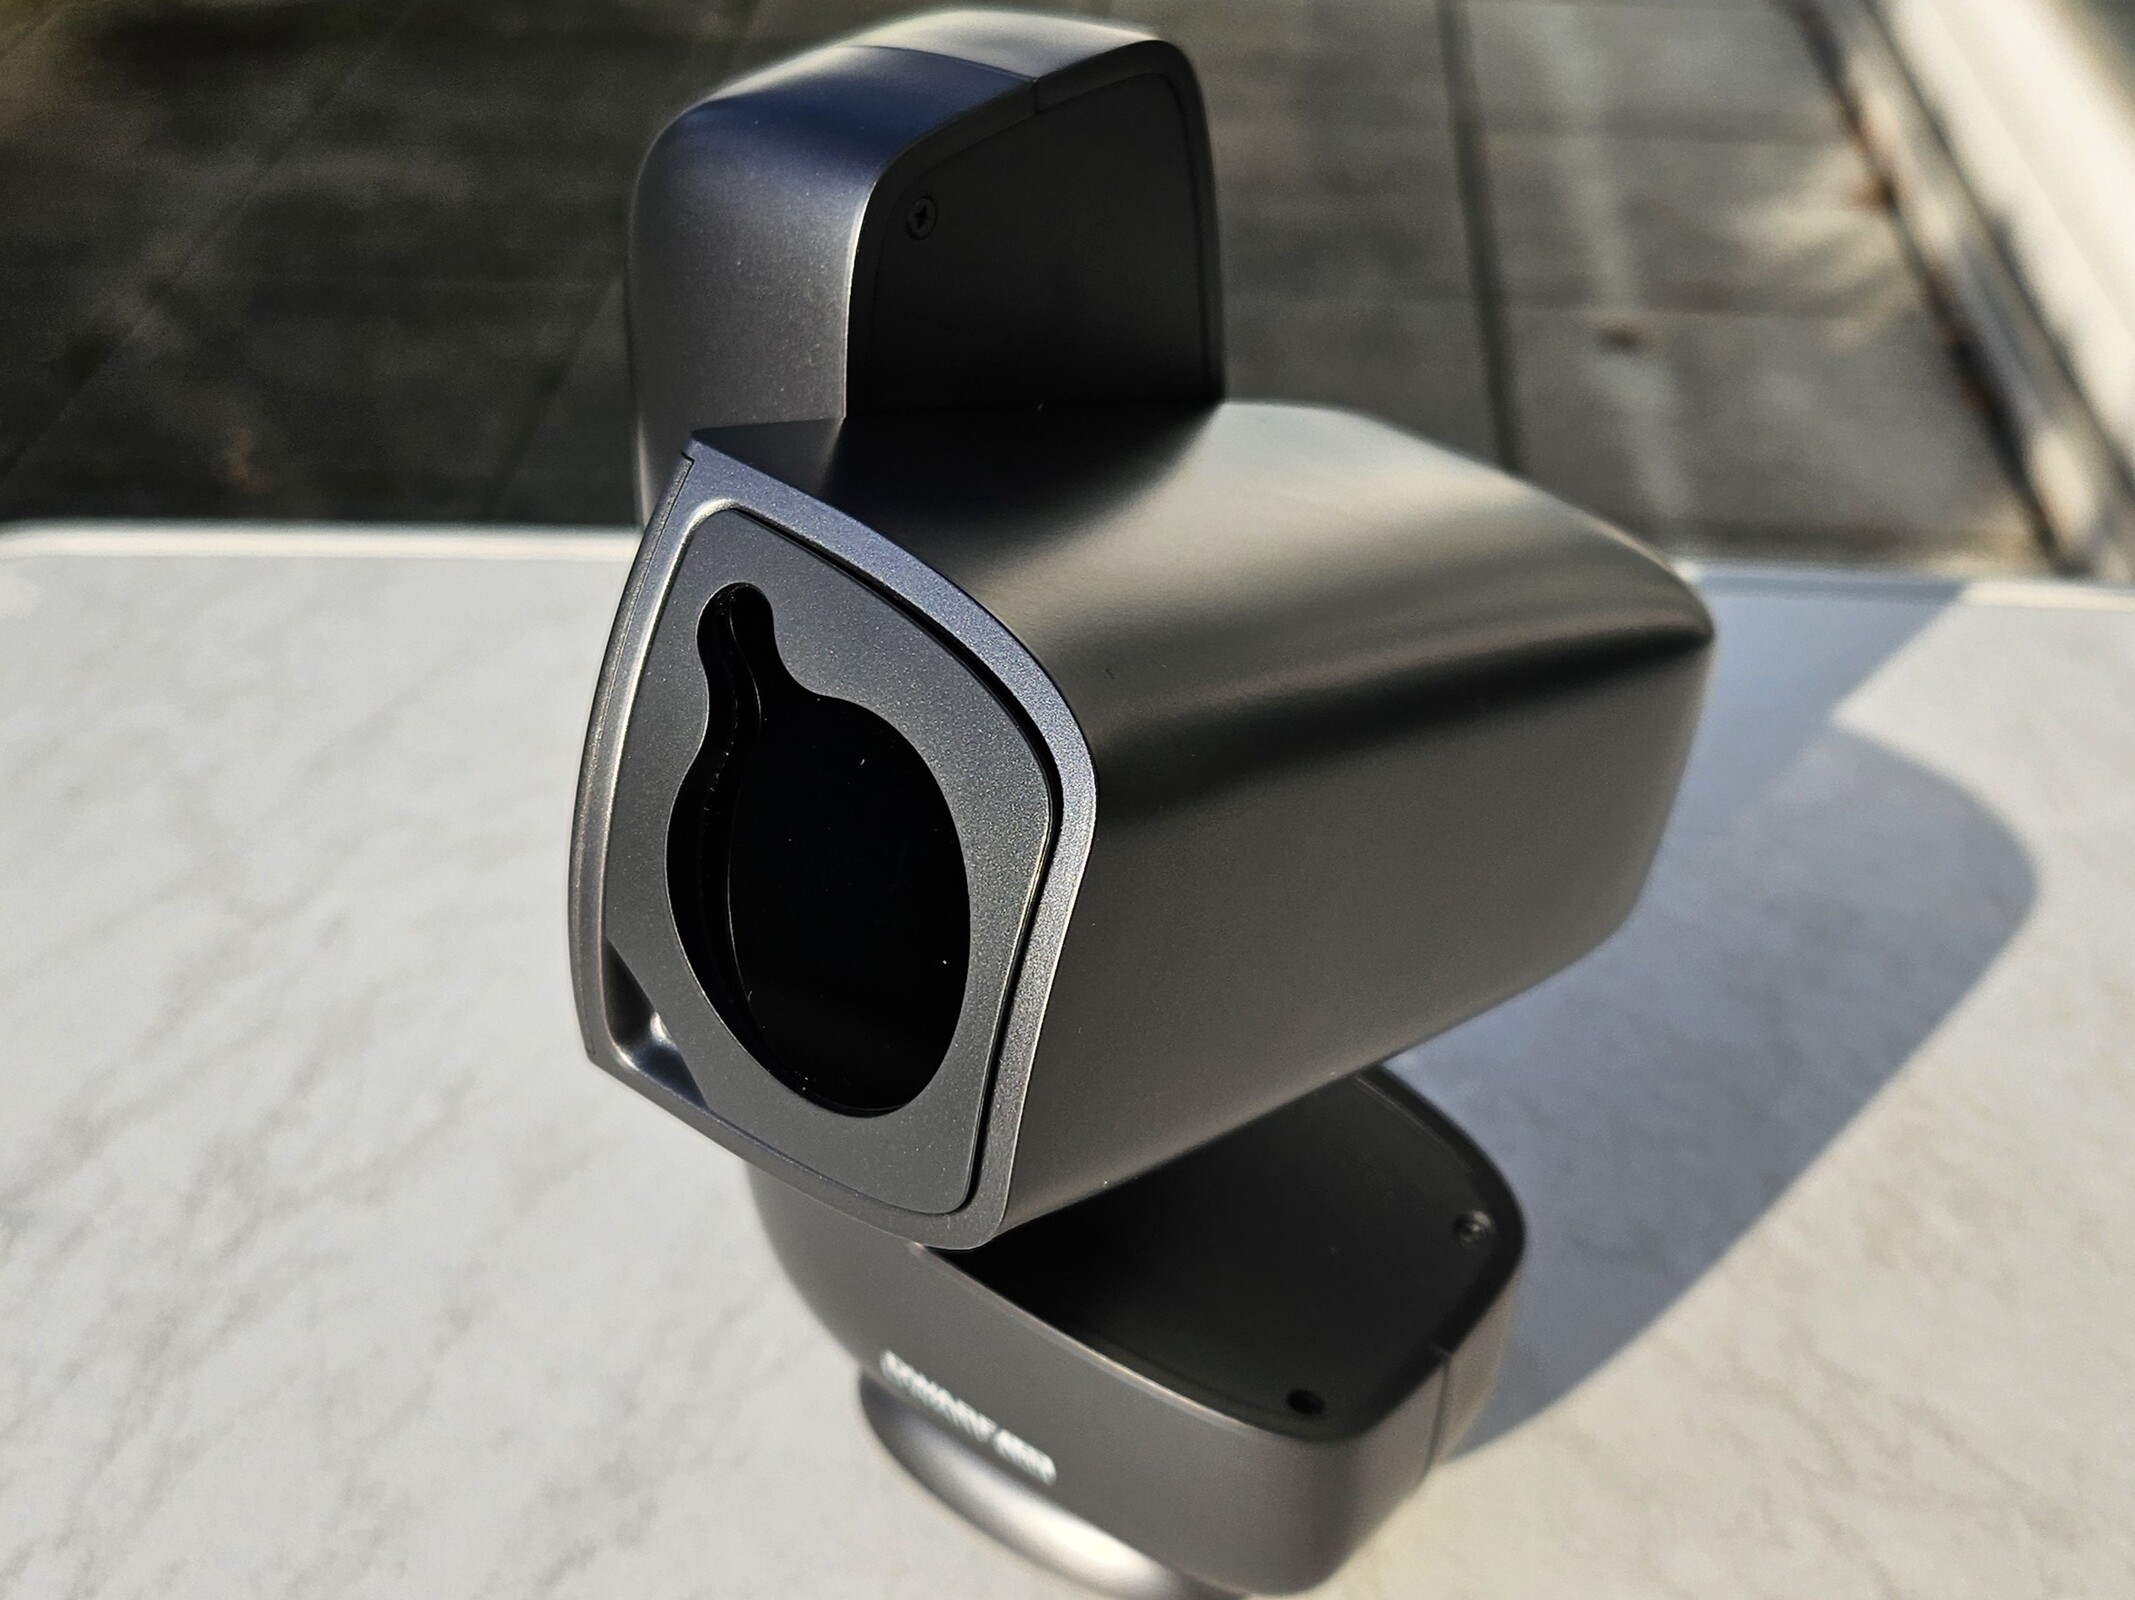
As a rule of thumb, you could say that almost everything on the Dwarf Mini has been halved compared to the Dwarf 3 (you can find the review of the Dwarf 3 here): It has just under half the storage (64 vs. 128 GB on the Dwarf 3, of which 53 GB is usable for photos; however, since 1080p photos require less storage space, this isn’t a significant factor), the device is only about half the size, the Mini has just one lens instead of two, it features a Full HD sensor instead of a 4K telephoto sensor, and it weighs just 840 g instead of 1,350 g, and instead of the DWARF 3’s dimensions of approximately 22 × 6.5 × 14 cm, the Mini is even more compact at about 5 × 9.5 × 17.5 cm (W × D × H) and can certainly be compared in size to a thicker paperback book.
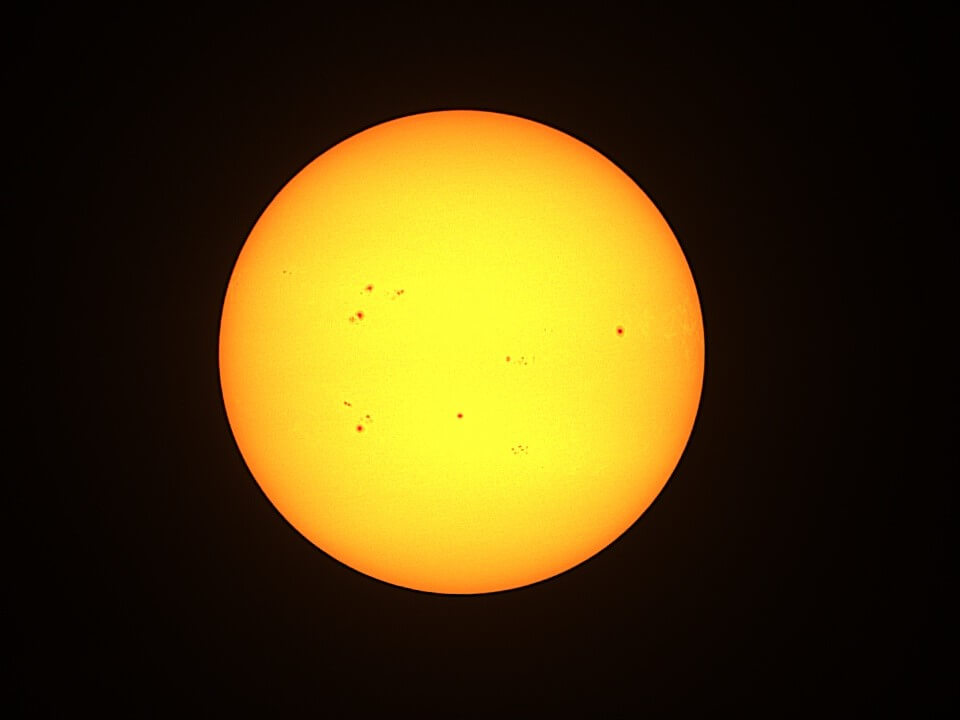
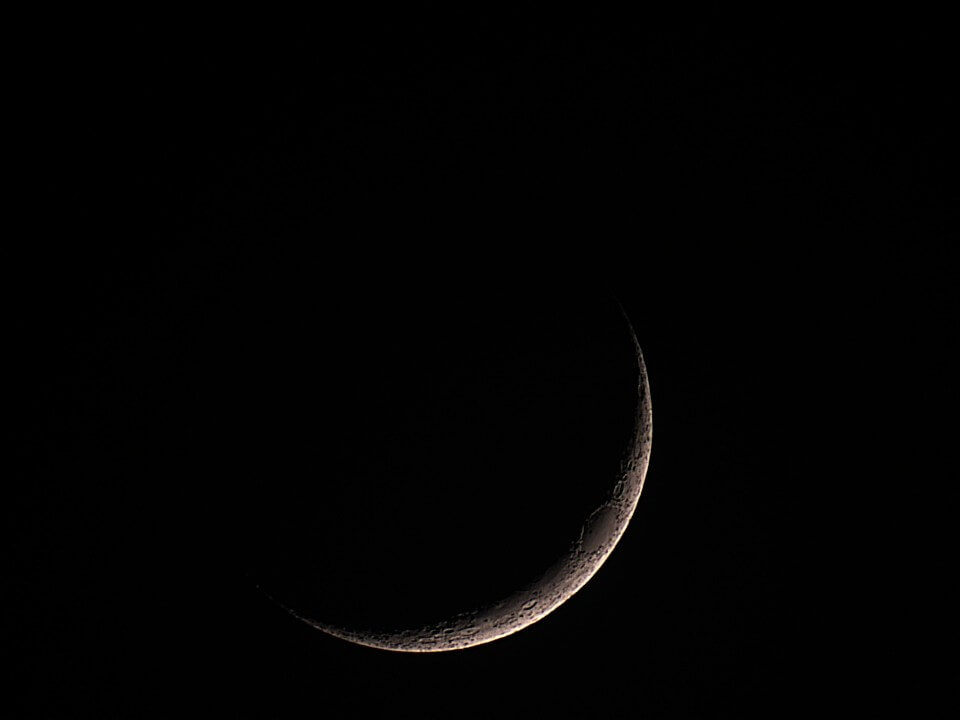
When photographing the sun or the moon, the Dwarf Mini reduces the resolution to 720p because the image is cropped to improve stabilization. The Dwarf Mini operates identically to the Dwarf 3, as both telescopes use the same app; you can find more information about the app and how to use it in our review of the Dwarf 3. The app is available for Android and iOS, so the smart telescope can be used with virtually all smartphones, tablets, iPhones, and iPads (available in the matching “Polar Star” color on Amazon). The Dwarf Mini has a vertical design, while the Dwarf 3 is designed horizontally. Nevertheless, the Mini works well without a tripod: The base stands very stably on flat surfaces and allows for free 360-degree rotation without tipping over. The only potential issue is the attached USB-C cable, which tends to wrap around the base during 360-degree rotation while the device is calibrating and detecting its position. I therefore let the calibration and detection of the object to be photographed complete first and then very carefully connected the USB-C cable. On the Dwarf 3, the USB port is integrated into the base. That wasn’t possible here, as the base is only a few millimeters high.
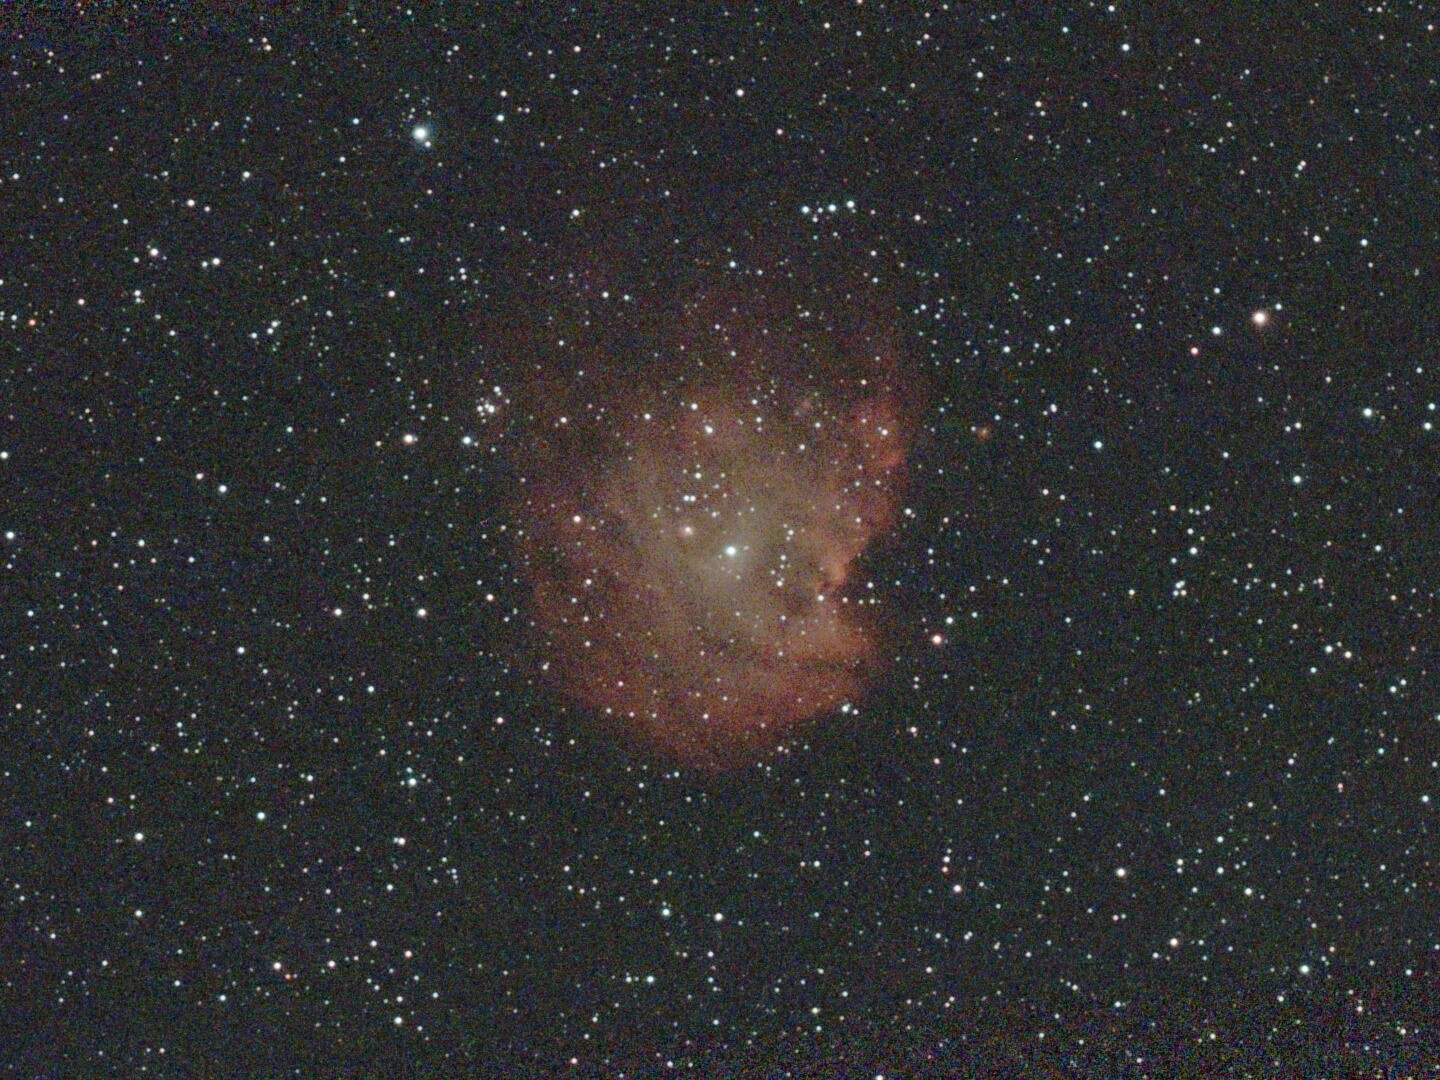
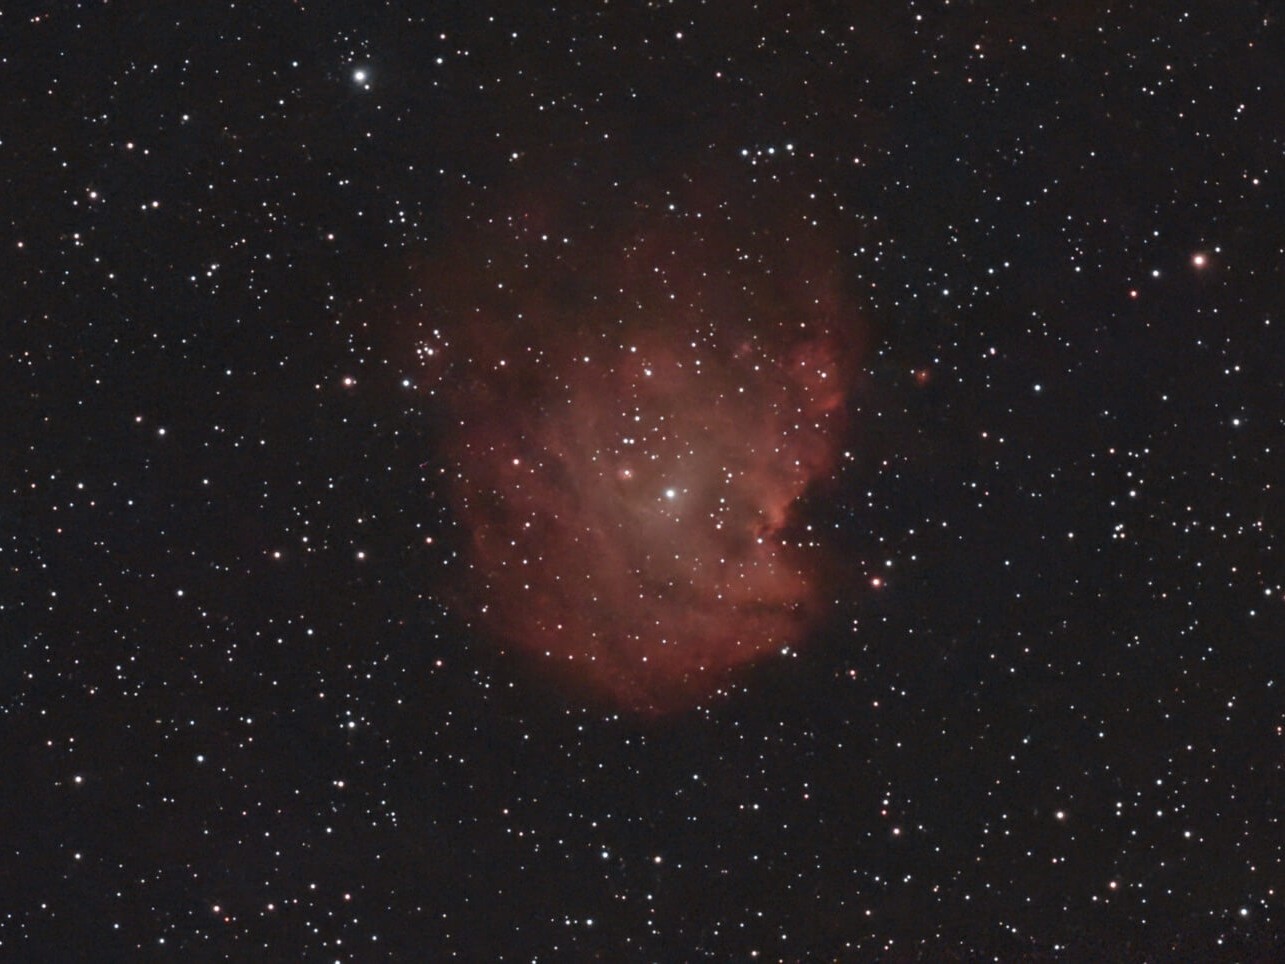
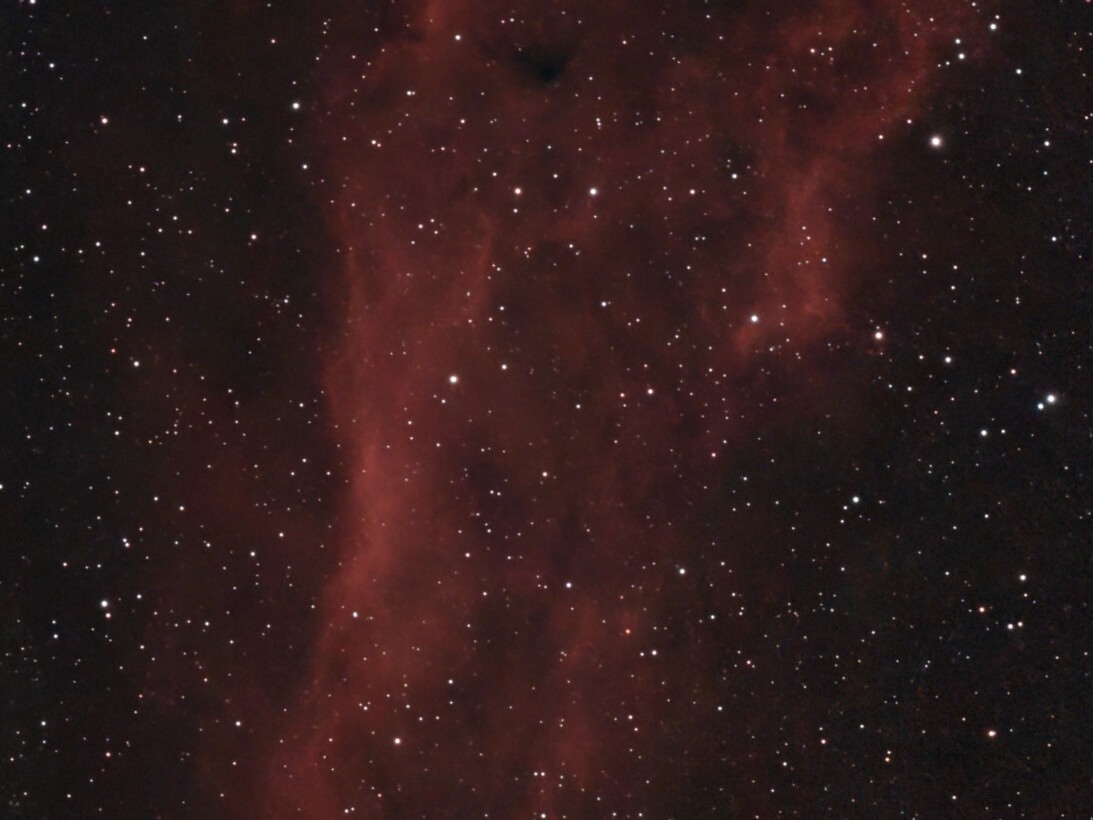
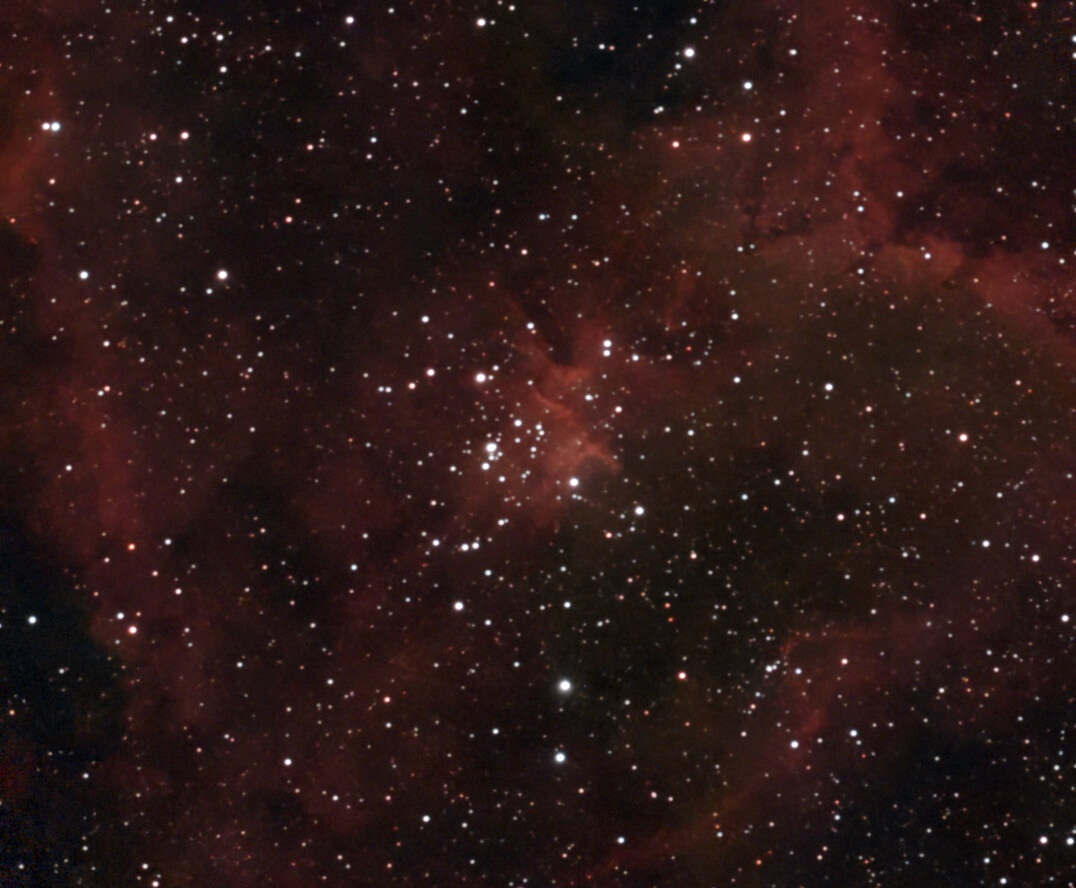
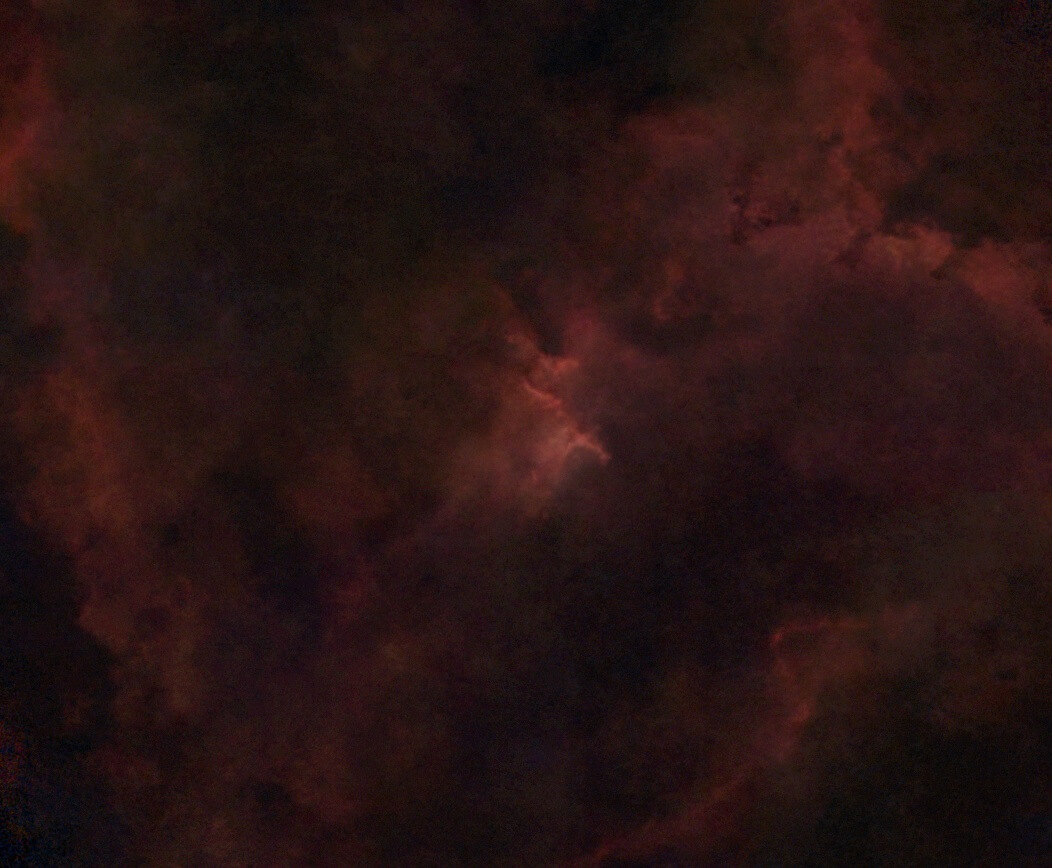
Astrophotographs taken with the Dwarf Mini and a comparison with the Dwarf 3
The images taken prove that pixel count isn’t everything. The Dwarf Mini produces stunning astrophotographs, with even slightly less noise than the Dwarf 3. This is due to the Mini’s pixel size. On the other hand, the Dwarf Mini’s smaller sensor size results in a narrower field of view than the Dwarf 3. When photographing IC 1805, for example, not the entire heart of the nebula is visible in the photo. Nevertheless, deep-sky photos taken with the Dwarf Mini look better than those taken with the Dwarf 3, thanks to the larger pixel size. Several attempts to photograph a planet have so far been unsuccessful, even though the three different planets appeared to be tracked. It’s a shame that the app doesn’t indicate here what might be causing this. While repeatedly tracking Saturn, the Dwarf Mini even crashed.
Personally, I still enjoyed using the DWARF Mini more than the DWARF 3, since I love deep-sky photography and, thanks to its size, I just grabbed the Mini without a second thought - with the DWARF 3, I’ve always set out with a specific goal in mind. Add to that its compact size and ease of use, which let you see results quickly. The automatic corrections to the stacked photos are quick and make the image look even better right away, without requiring you to be a Photoshop pro. By the way, I resized the images below from 16:9 to 4:3 to make better use of the space side by side. Consequently, there are actually even more stars or space to see on the left and right. All features of the app and Stellar Studio are included with the purchase of the smart telescope and can be used for free; there may occasionally be a queue that lasts a few minutes. The photos shown here are all done with the Dwarf Mini.

Transparency
The selection of devices to be reviewed is made by our editorial team. The test sample was given to the author by the manufacturer free of charge for the purposes of review. There was no third-party influence on this review, nor did the manufacturer receive a copy of this review before publication. There was no obligation to publish this review. As an independent media company, Notebookcheck is not subjected to the authority of manufacturers, retailers or publishers.
