 Deutsch
 English
 Español
 Français
 Italiano
 Nederlands
 Polski
 Português
 Русский
 Türkçe
 Svenska
 Chinese
 Magyar
Tutorial: Get started with the Android Subsystem on Windows 11 — Sideload APKs and even enable Google Play Services
Earlier this week, Microsoft released the first version of Windows Subsystem for Android (WSA) to Insiders in the Beta and Release Preview channels. Though originally meant for Insiders to test out, any compatible Windows 11 install can get WSA up and running in no time.
Microsoft offers WSA through the Amazon Appstore. However, this currently works only with PCs set to the US region and with an Amazon US account. The good news is that you do not actually need the Amazon Appstore to run WSA.
In this tutorial, we will show how to get WSA and up and running without an Amazon Appstore and sideload many popular Android apps via ADB. We also take things a step further and show how you can enable Google Play Services and use the Play Store with some command line magic.
The Beginnings: Project Astoria
Microsoft's fascination with Windows and Android interop is not really new. Back during the Windows Phone era, Microsoft toyed with the idea of running Android apps on Windows 10 Mobile via a tool called Windows Bridge for Android. Called Project Astoria, this was seen as a way to get Android developers to reuse code for easily porting apps to devices running Windows 10 Mobile.
Windows 10 Mobile, though a very capable OS, didn't have a well-populated, worthy-enough app store. Adding insult to injury was the bitter face-off between Google and Microsoft that led to non-availability of popular Google services for Windows Phone users.
Though it seemed great on paper and in the few demos that Microsoft showed off back then, Project Astoria never really took off. Microsoft dumped the idea and instead said it would rather focus on Windows Bridge for iOS and Xamarin.
But that was more than five years ago. Today, the Windows Subsystem for Android is a reality and is available for anyone running a compatible Windows 11 PC.
What is the Windows Subsystem for Android?
Just like the Windows Subsystem for Linux (WSL) 2, the Windows Subsystem for Android (WSA) is a virtual machine running in Hyper-V that enables users to run Android binaries on Windows 11. The WSA layer enables on-the-fly translation between Android and Windows calls.
This is made possible via Intel's Bridge Technology, a runtime post-compiler that allows ARM code to run on x86 processors. That being said, WSA can be run on AMD and Qualcomm-based Windows-on-ARM devices as well.
With WSA, Android apps get a first-class experience on Windows 11. They can make use of native Windows 11 notifications, new window controls including Snap, and other platform-specific features. However, given that Microsoft cannot use Google Mobile Services (GMS), WSA is based on the Android Open Source Project (AOSP) and leverages Amazon's Appstore to deliver apps that don't rely on GMS.
In the current testing phase, about 50 Android apps are being made available via the Amazon Appstore on Windows 11 with more slated to arrive in the coming days.
Install WSA on Windows 11: Official method
Let's now get down to installing WSA on Windows 11. Before moving on, make sure your PC meets the minimum requirements for running WSA, and note that these are somewhat different from the baseline requirements for the Windows 11 OS alone.
A PC with at least an Intel Core i3 8th gen, AMD Ryzen 3000 series, or a Qualcomm Snapdragon 8c processor along with a minimum of 8 GB RAM and an SSD is required. You should also have the Virtual Machine Platform optional feature enabled in the Turn Windows features on or off settings.
Microsoft is likely to change these requirements based on feedback received during testing. Check out Microsoft's page for more information.
Once these requirements are met, enroll your PC in the Windows Insiders Program either in the Beta or Release Preview channels. Be sure not to opt into the Dev channel as Microsoft is now flighting very early and buggy builds that would form part of the next release of Windows codenamed Nickel (Windows 11's codename is Cobalt).
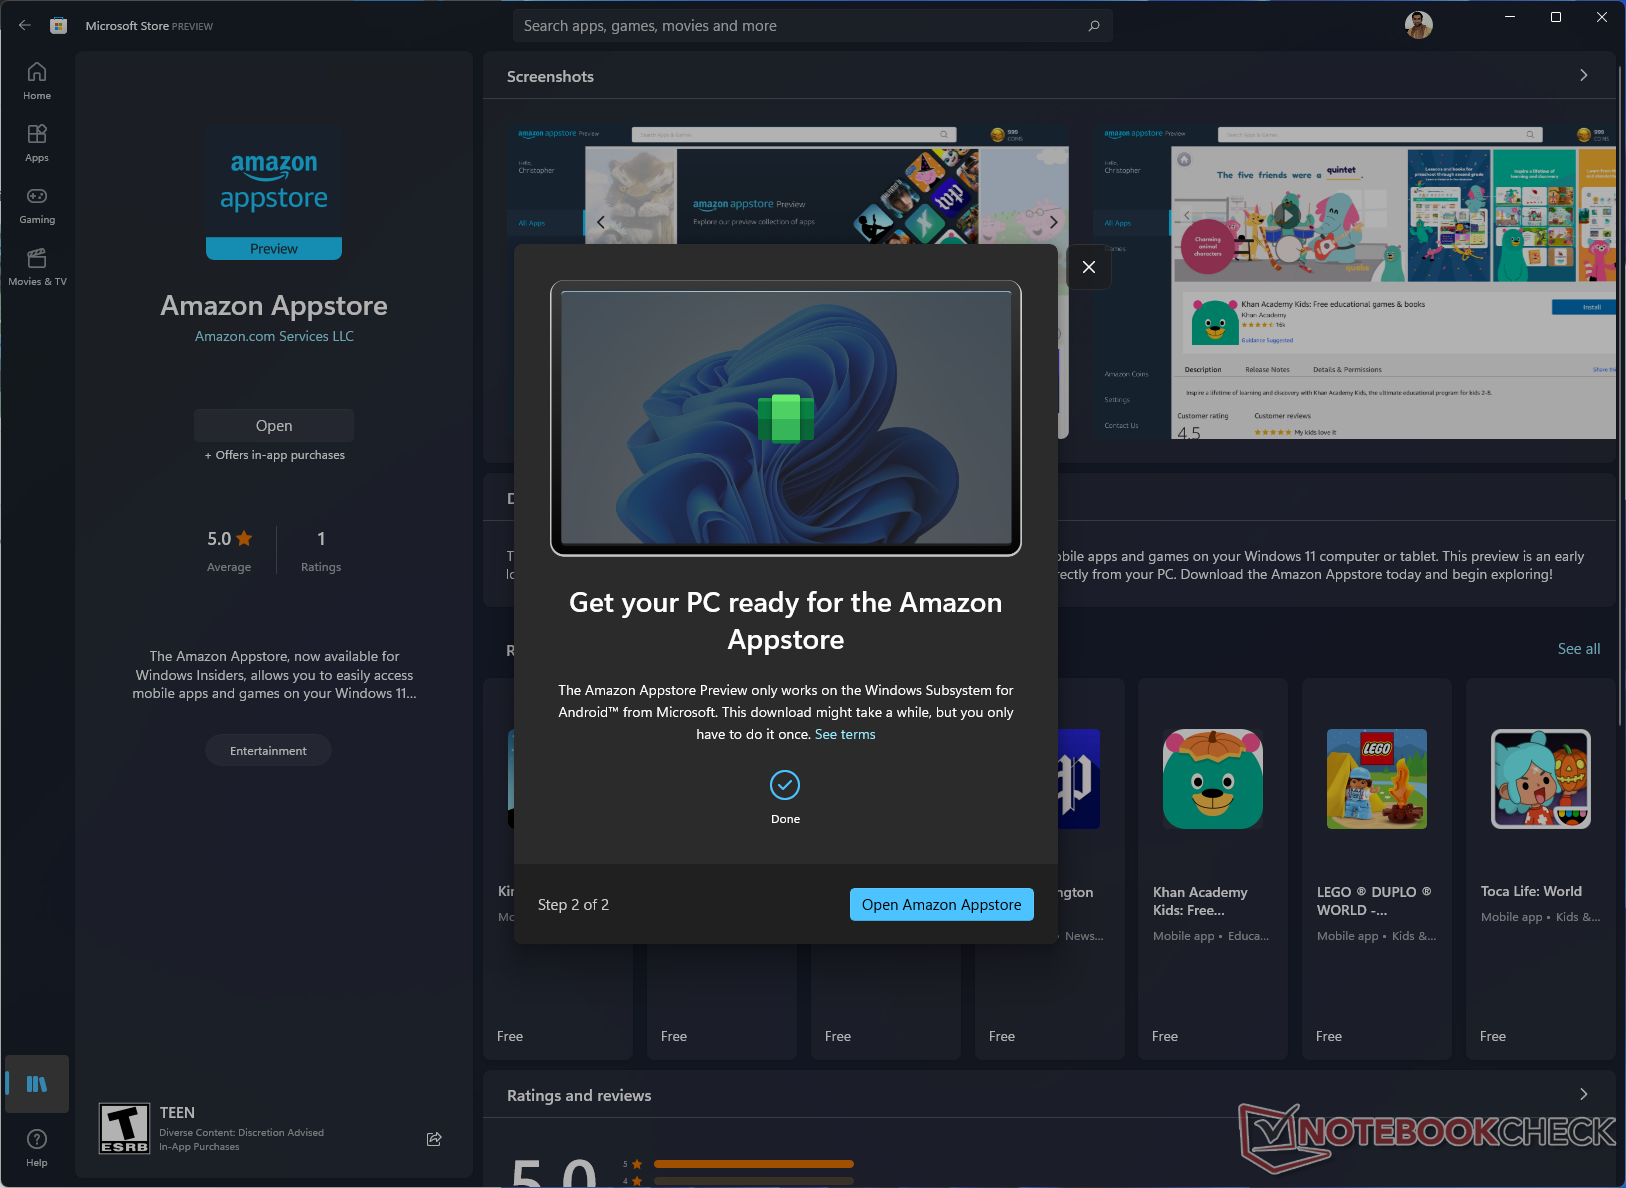
Once enrolled, you should be seeing a landing page for the Amazon Appstore Preview on the Microsoft Store. If not, just manually search for Amazon Appstore and click on the Install button in the first entry that comes up.
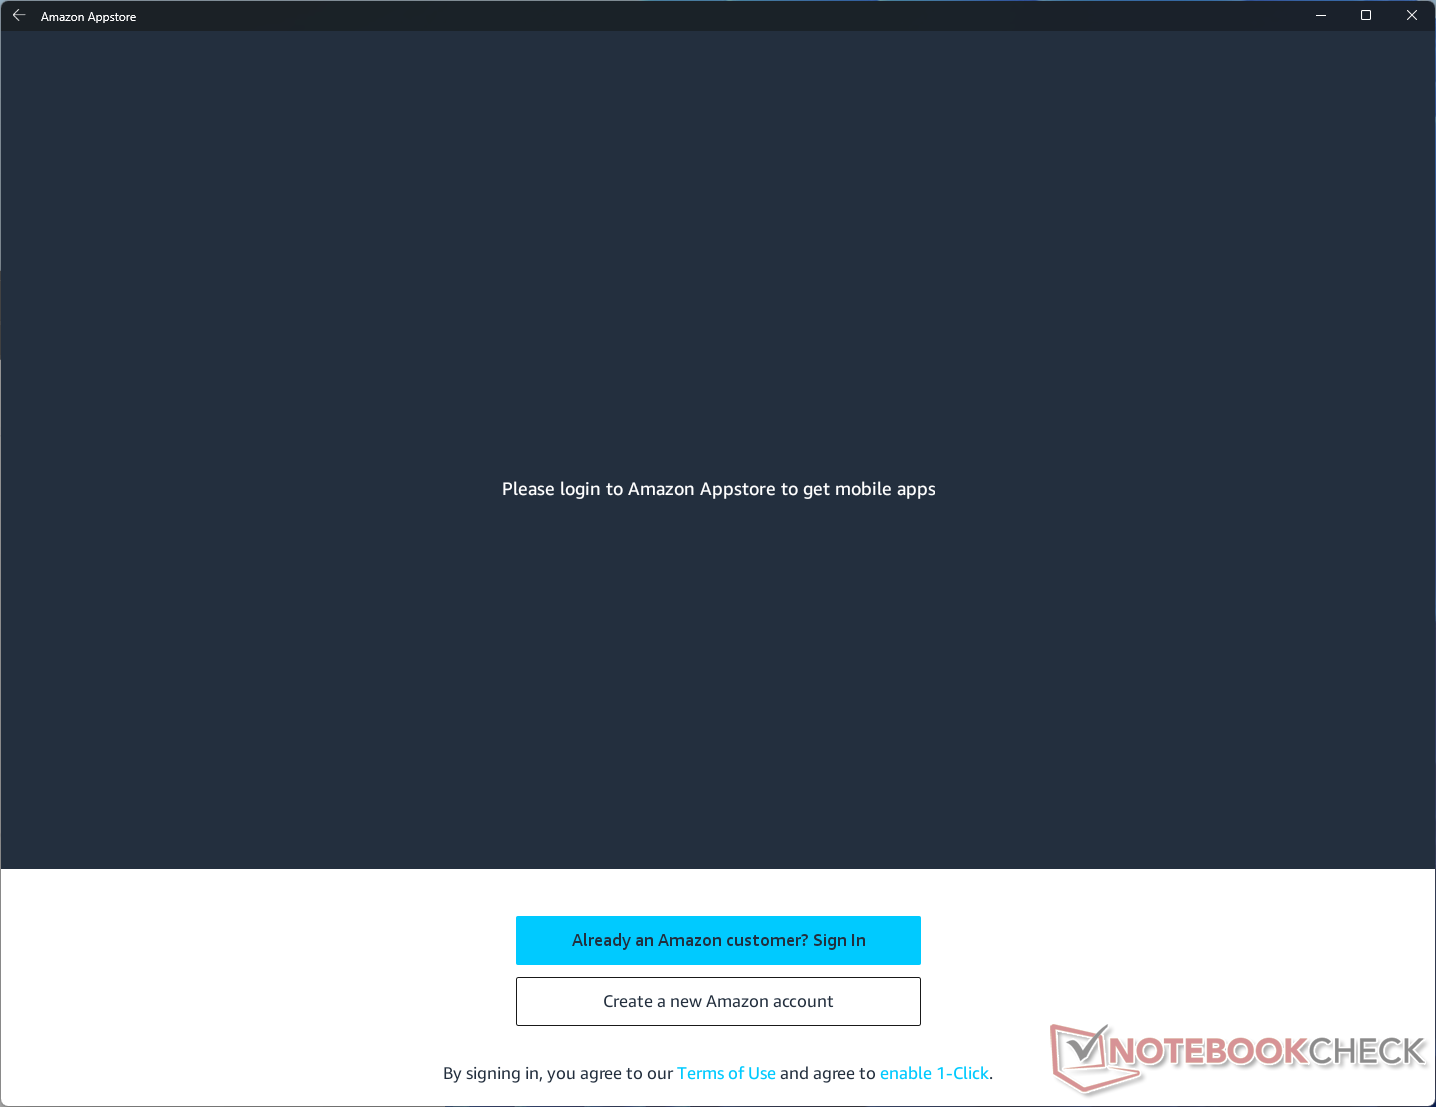
Installing the Amazon Appstore automatically downloads the required binaries for the Windows Subsystem for Android. Once done, open the Amazon Appstore, login with a US-based Amazon account and you should be good to go.


Install WSA without Amazon Appstore: Unofficial method
While the Amazon Appstore route is the recommended method by Microsoft, it requires certain criteria such as being enrolled into the Insiders program and having an Amazon US account. For those who would like to test out WSA without having to worry about the aforementioned requirements, there is a workaround possible.
- Open a browser and navigate to https://store.rg-adguard.net/.
- In the first drop down, select "ProductID". In the text field, enter 9P3395VX91NR and select Slow or RP in the next dropdown and click on the checkmark.
- Navigate to the last result, which is an MSIXBUNDLE installer for WSA. It should be about 1.2 GB in size. Click on the link to download the file and save it to a location of choice.
- Right click on the downloaded MSIXBUNDLE and select Copy as Path.
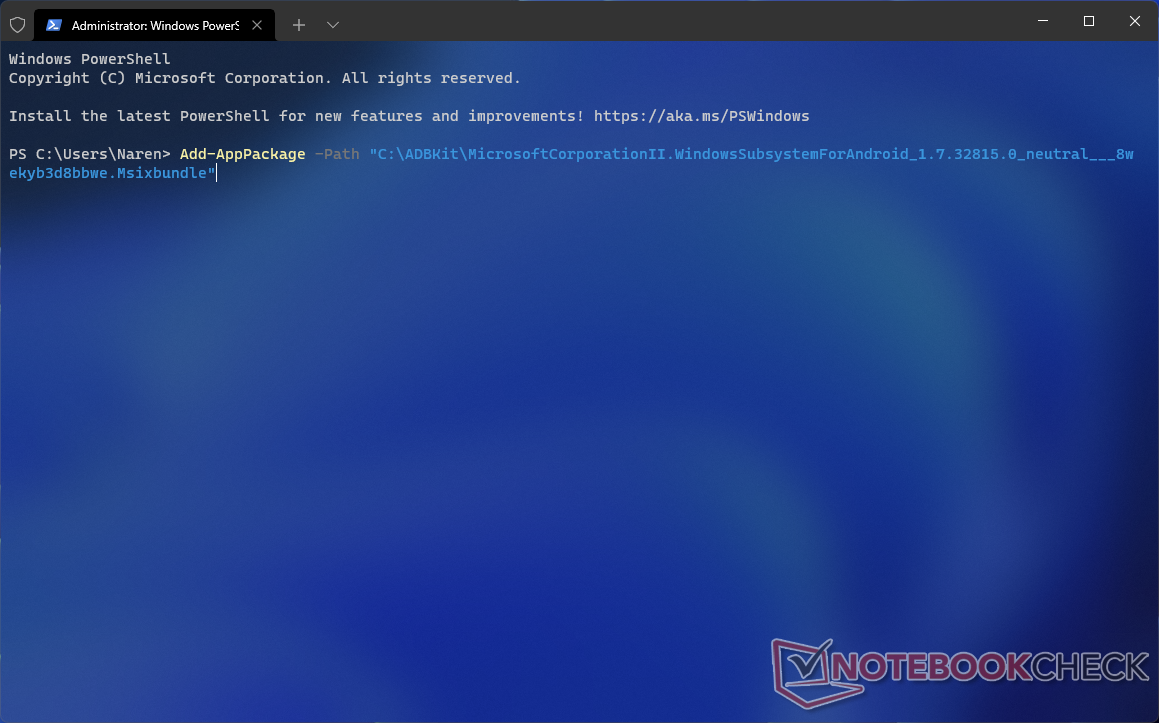
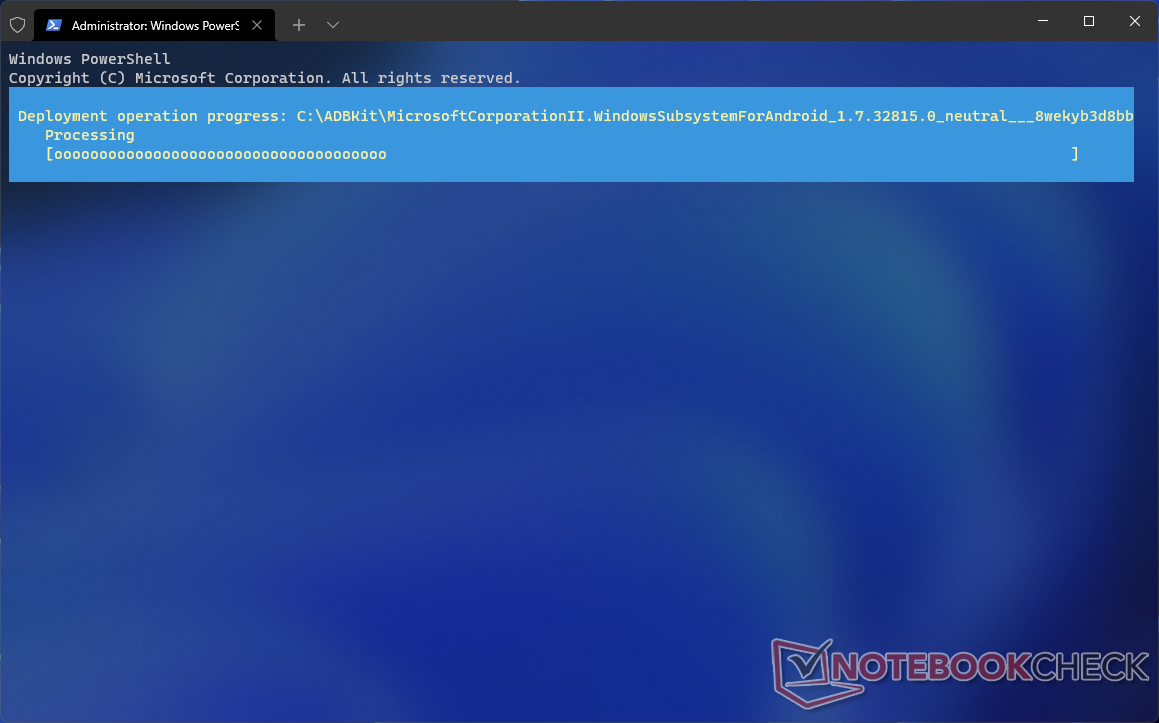
- Now, open an elevated PowerShell prompt and type Add-AppPackage -Path <path to MSIXBUNBLE>. Since we've performed Copy as Path before, simply right click after the -Path switch to automatically insert the file path, and press Enter. PowerShell will deploy the MSIXBUNDLE and the Windows Subsystem for Android entry will be available in the Start menu.
- If you have winget installed, you can reduce many of the above steps by simply typing winget install 9p3395vx91nr -s msstore from an elevated command prompt.
Note that the Amazon Appstore Preview app comes as part of the default WSA package.

Exploring the Windows Subsystem for Android
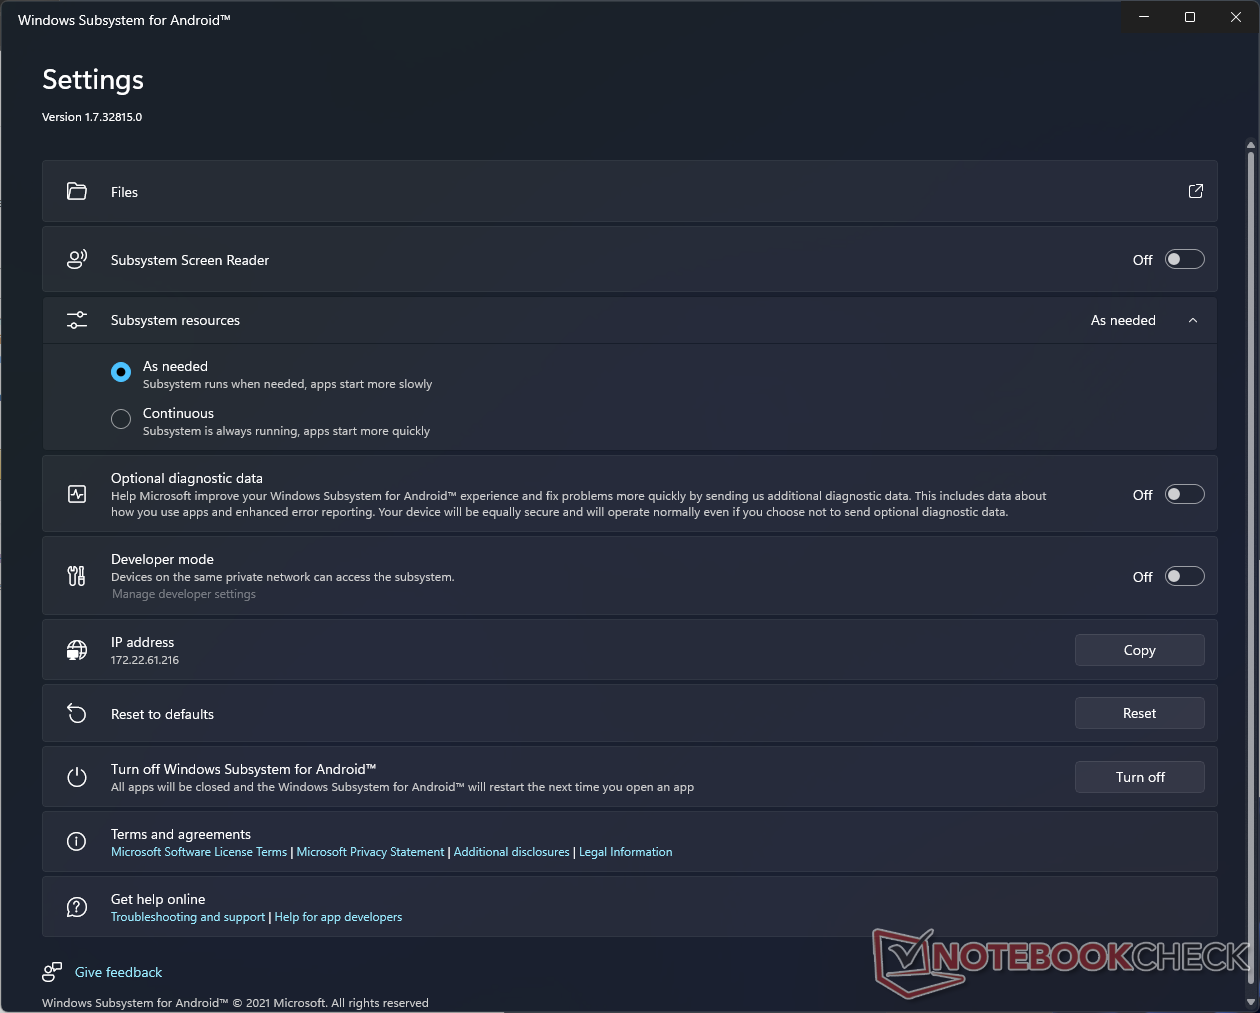
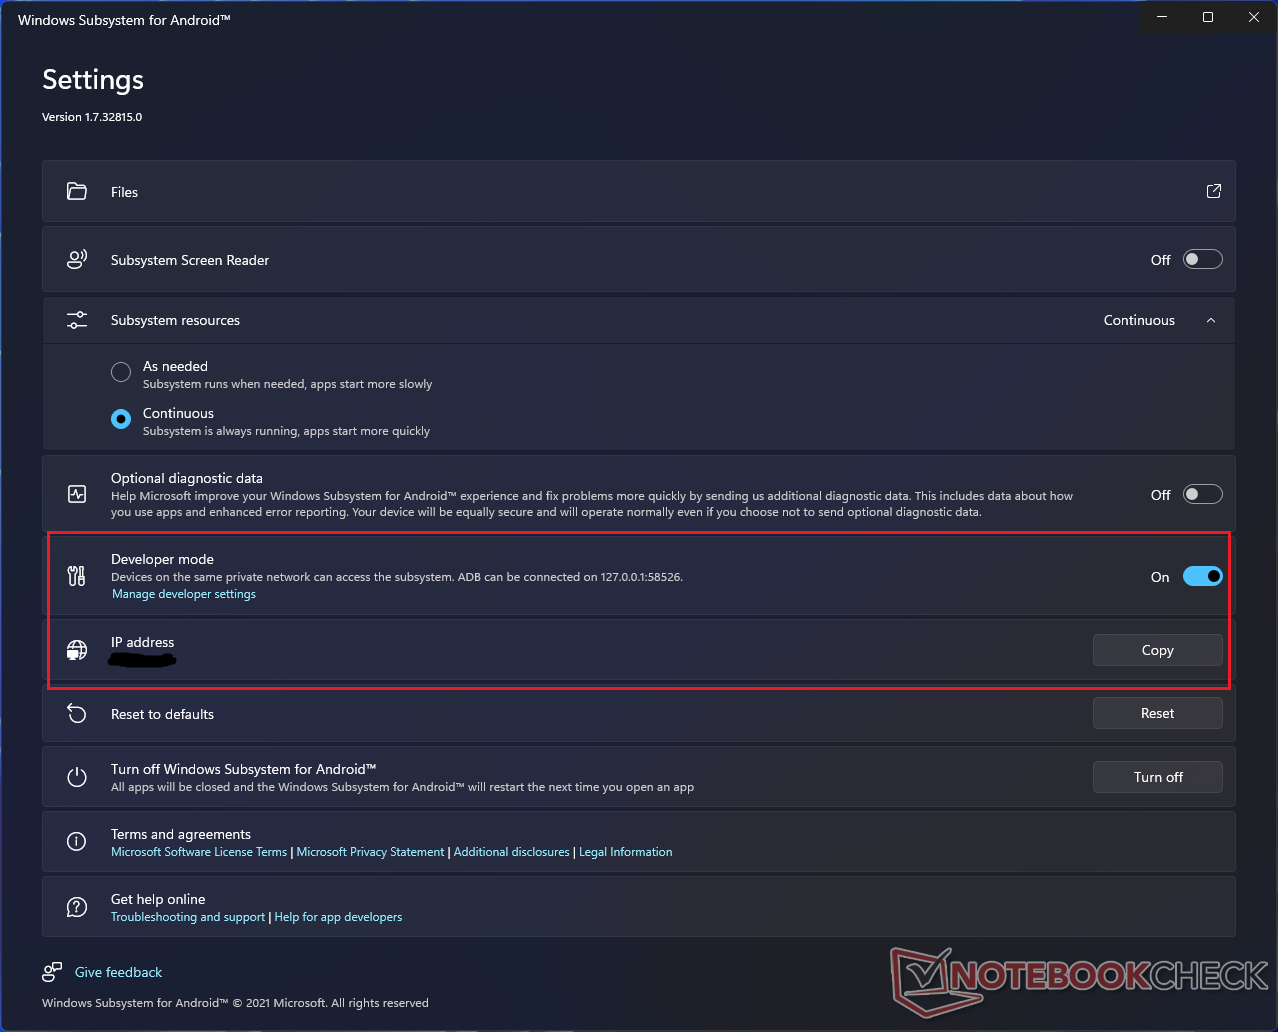
Now that we have WSA installed, it's time to have fun with apps. Open the Windows Subsystem for Android entry from the Start menu to access the settings. Here, you can access the Android file system, set WSA resources, and enable Developer Mode. Enabling Developer Mode allows sideloading Android apps via the Android Debug Bridge (ADB).
Sideload APKs via ADB
The Amazon Appstore Preview has a paltry selection of apps for now, but that need not deter you from trying your favorite apps. Using ADB, we can easily sideload Android Packages (APKs) into WSA. The sideloaded APKs behave in the same manner and have access to the same platform features as do ones downloaded via the Amazon Appstore. Here's how you can accomplish this:
- Visit the Android SDK Platform Tools release notes page and click on "Download SDK Platform-Tools for Windows".
- Save the ZIP file to your drive and extract it to an easy location, such as C:\ADBKit, for example.
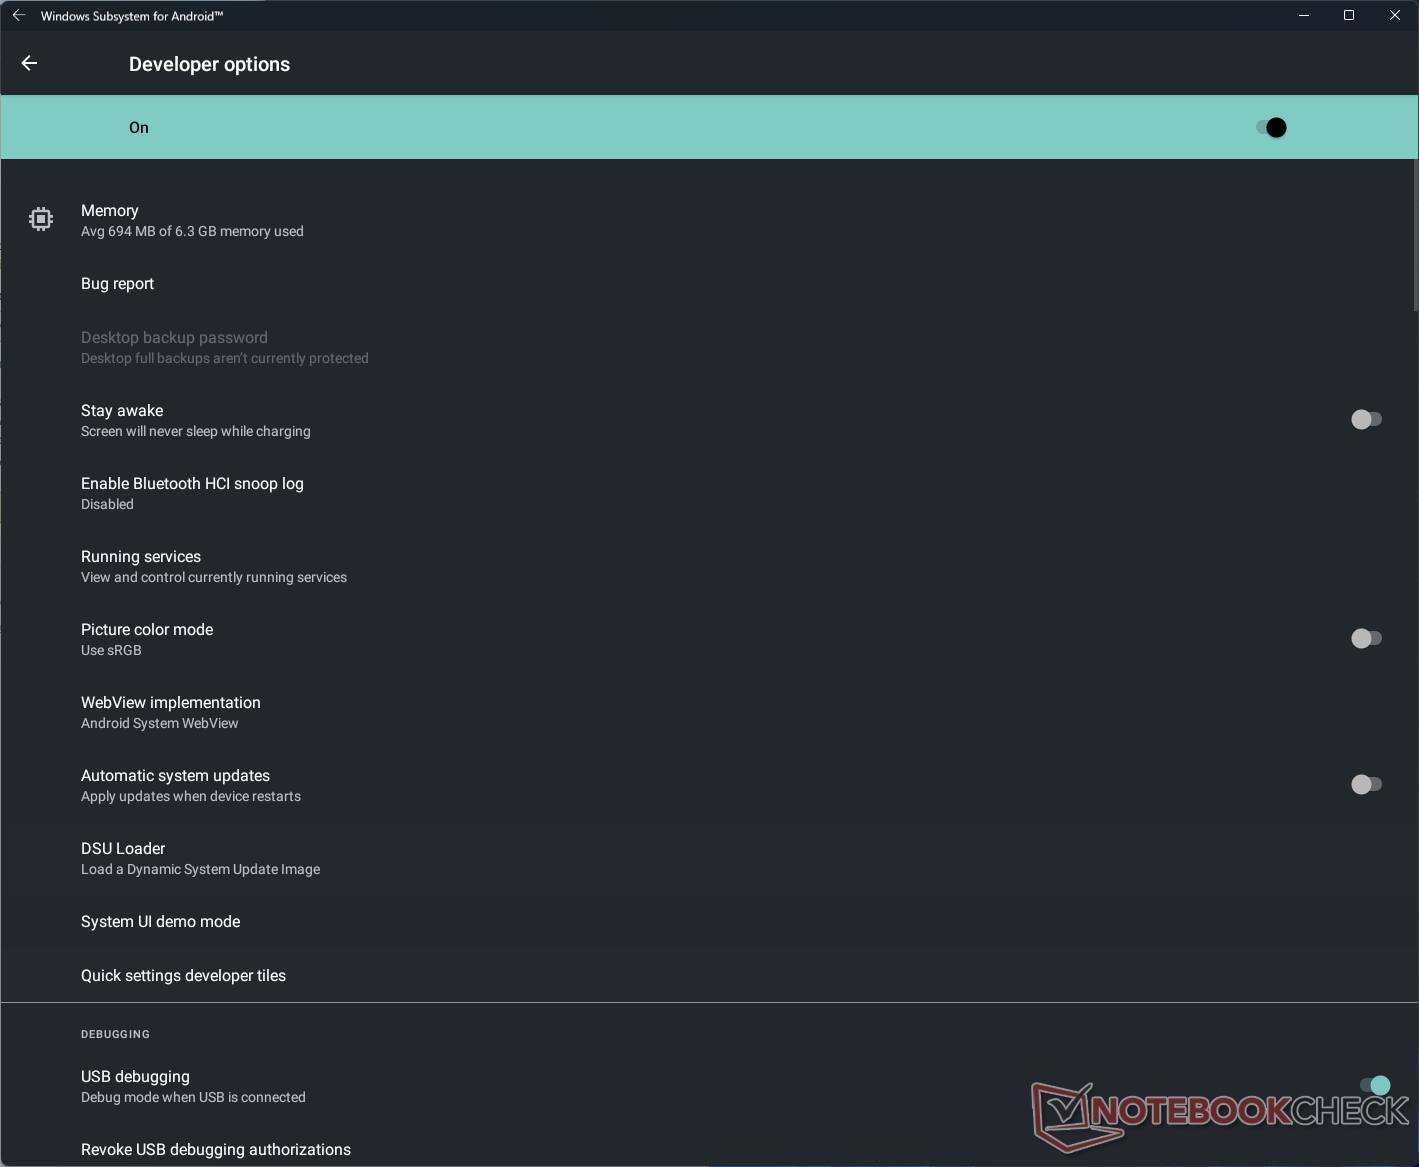
- Open the WSA app from the Start menu and enable Developer Mode. This will start the actual WSA hypervisor.
- Once Developer Mode is enabled, you will see that it allows connecting ADB to the WSA instance via an IP address.
- Now, open a command prompt and change to the directory where you have unzipped the ADB tools.
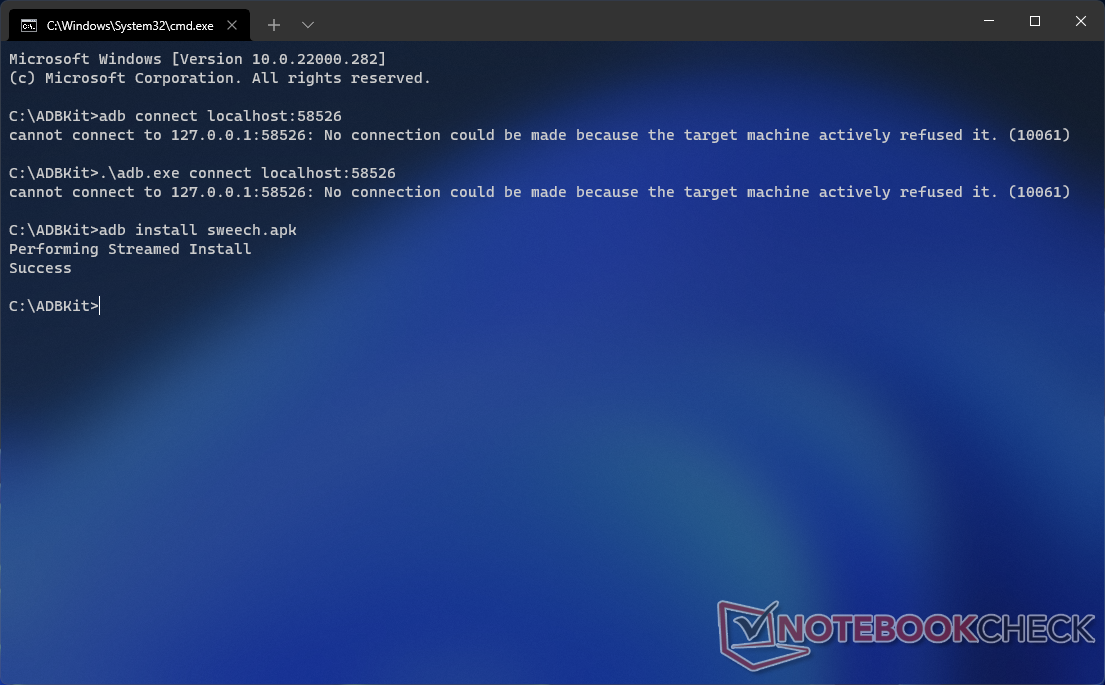
- Connect to the running WSA instance by typing adb connect localhost:58526. It should connect to the WSA instance right away. If for some reason it fails to connect, you can also connect to the IP address mentioned separately in the WSA Settings app. In any case, make sure there is no firewall rule blocking the private network.
- After the connection is established, you can start sideloading apps. In this example, we will sideload a file transfer app called Sweech that is useful for the next section.
- Download the Sweech APK from a reputable APK repository such as APKPure, for example, and save it to the ADB tools directory (in this case, C:\ADBKit).
- In the command prompt, execute adb install sweech.apk. ADB will now stream the bits to WSA and install the package. You should now be able to see the app in the Start menu.
- Repeat this process for any APK that you would like to sideload. Apps that do not rely on GMS should install and work without issues. Note that you need to connect ADB to WSA only once during a session.
If sideloading each app is not your cup of tea, using third-party app stores such as Aurora or F-Droid may help. Aurora is an excellent repository of free, popular Android apps while F-Droid focuses squarely on open-source ones. Download and sideload the Aurora app store and all subsequent app installs can be directly performed and updated from within Aurora if available in the repository.
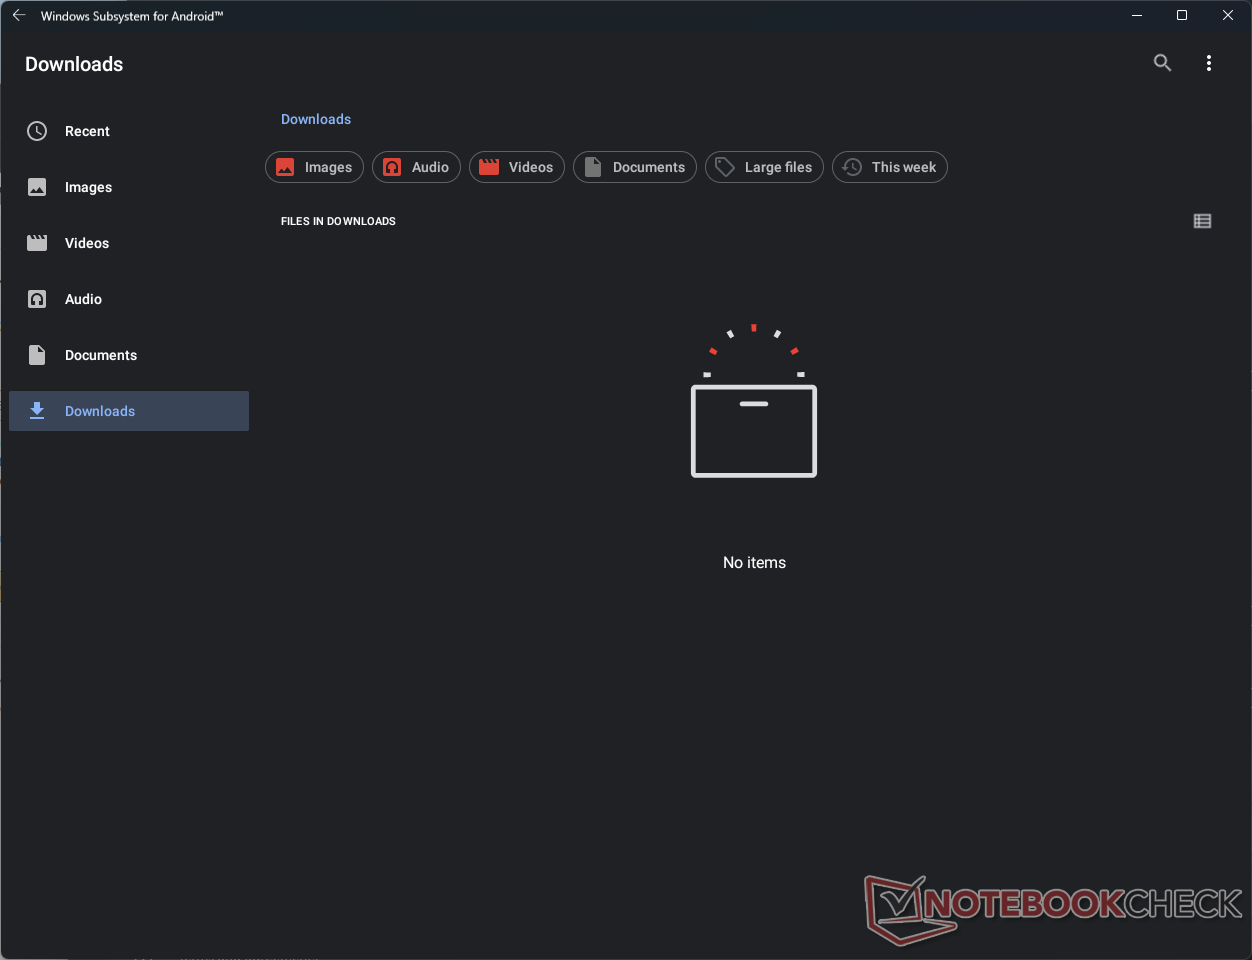
Working with the Android filesystem
An important point to consider here is that, unlike WSL 2 that allows seamless navigation between Linux and Windows filesystems, WSA's filesystem cannot be accessed from within Windows. So, although you can open the Files app from WSA, you cannot drag and drop files or use the file picker UI to import files into WSA. Hopefully, Microsoft will enable this feature in a future WSA update.
For the moment, we can use popular file sharing apps on Android to work our way around this limitation. We have installed Sweech in the earlier step just for this purpose. Of course, you can also try other popular apps such as ShareMe as well.
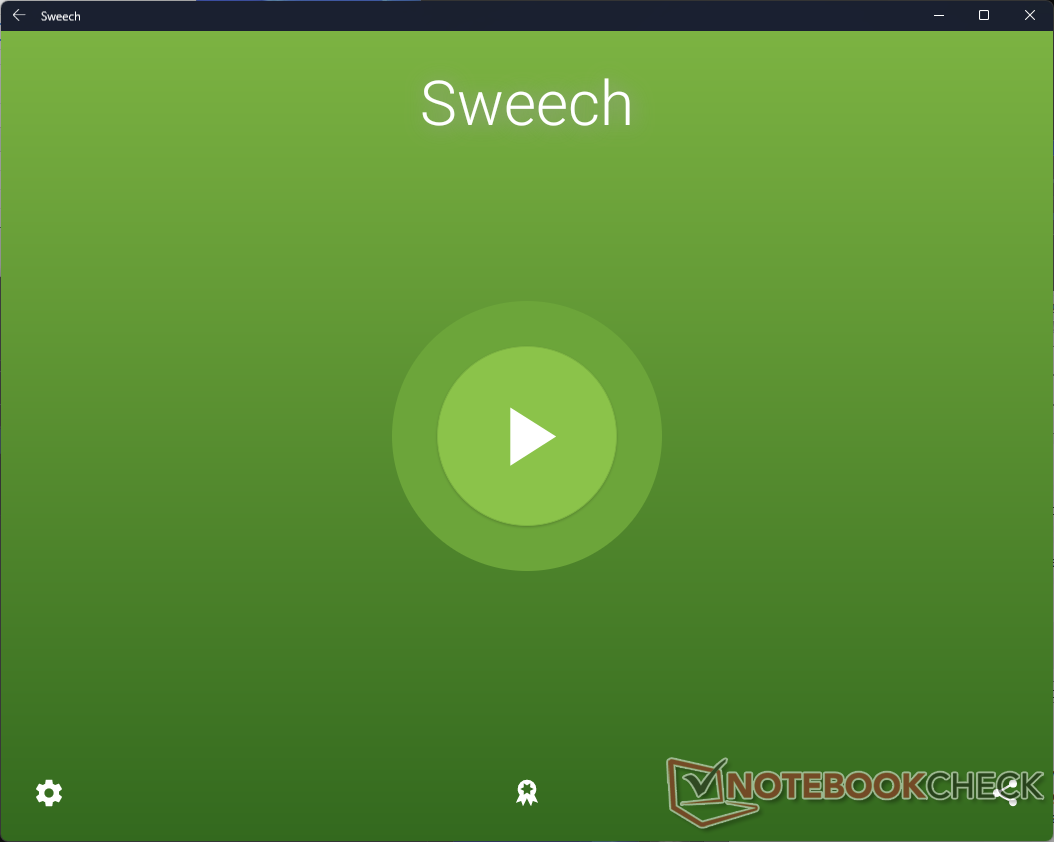
- Open the Sweech app that we have installed in the previous section, from the Start menu.
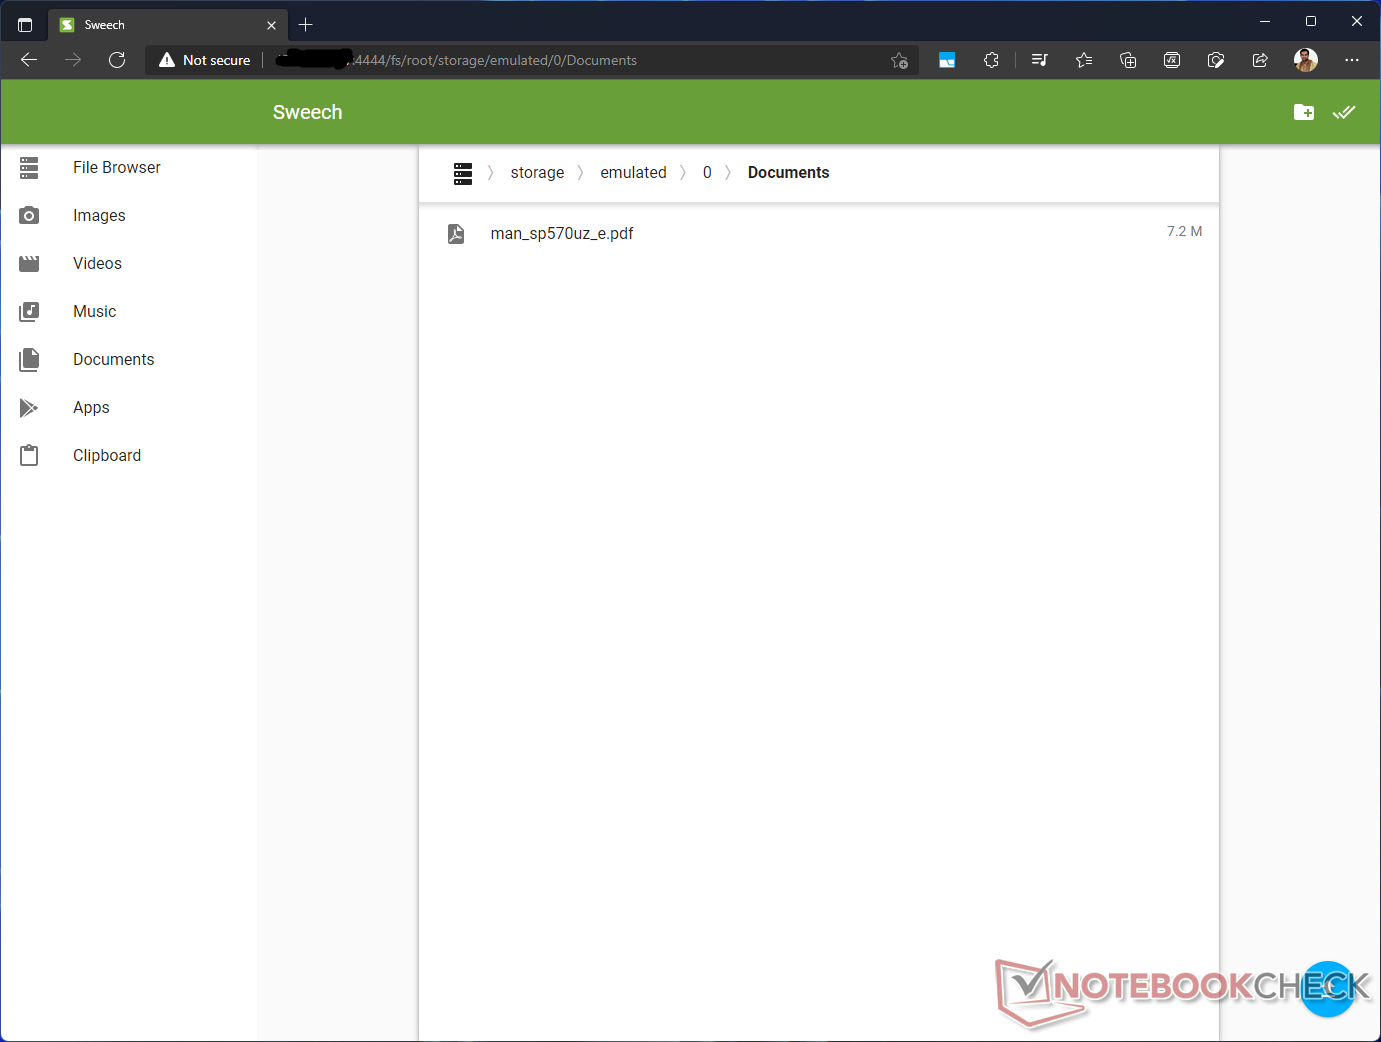
- Press the big Play button in the middle of the app. This opens a port that allows file transfers. This is similar to how file transfer happens between a PC and an Android phone via Wi-Fi except that the Android phone here is WSA.
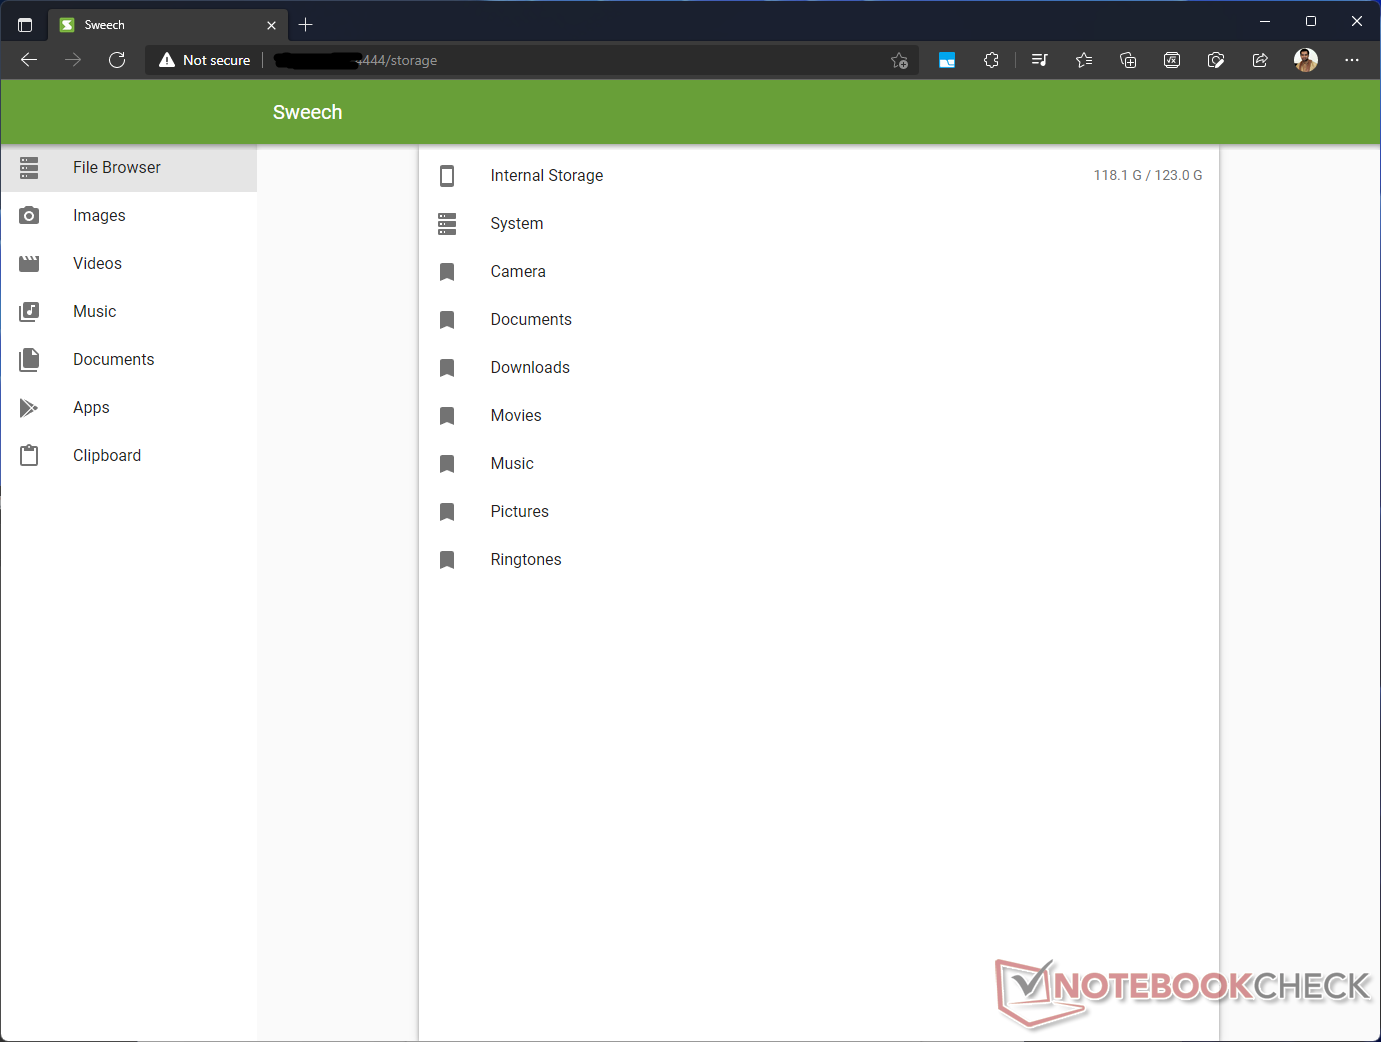
- Open a web browser in Windows and navigate to the IP address shown in Sweech. This will reveal the Android filesystem.
- To upload a file, just navigate to a folder and press the blue upload icon towards the bottom right edge.
- Similarly, just click on any file you need to directly initiate a download.
Note that the free version of Sweech does not use HTTPS, so be sure to turn off file sharing after use.

Enable Google Play Services in Windows Subsystem for Android
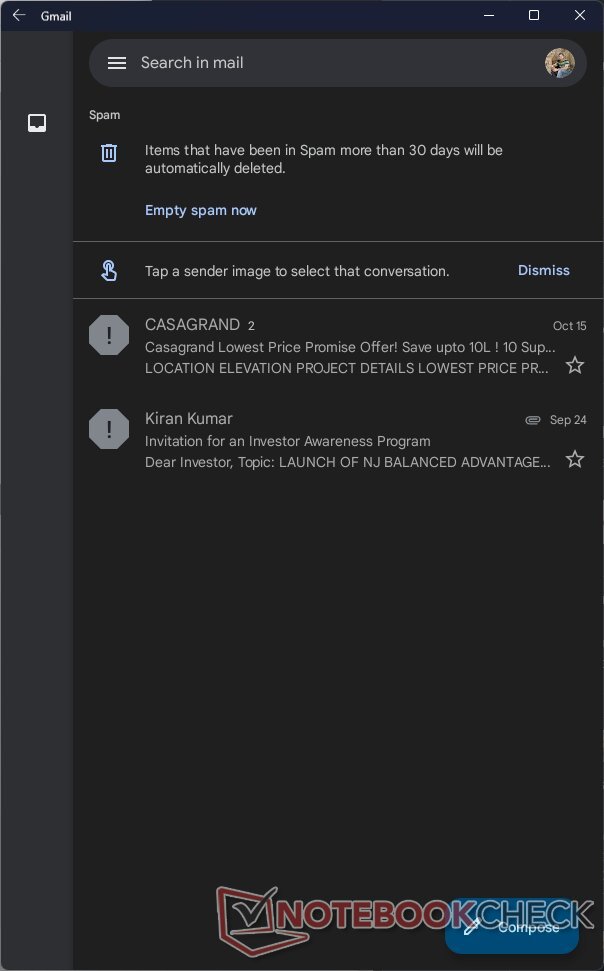
The main draw of Android is the integrated Google Mobile Services (GMS) that allows access to the Play Store and popular Google apps such as YouTube, Gmail, etc. However, custom AOSP ROMs do not come with GMS and the same holds true for WSA as well. Microsoft has also made it increasingly difficult to enable root access to the base Android image, so using fastboot or installing custom recovery such as TWRP is not possible.
GMS can be installed via the OpenGApps project, but that requires flashing a system image using a recovery environment. While there are tools such as Flash Gordon that do not require root access for flashing OpenGApps, they don't seem to work well with WSA.
Custom install WSA with root access and GMS
But Android being Android and Windows being Windows, it is only a matter of time before some enthusiast finds a workaround, and it's here already. Thanks to the efforts of developer ADeltaX on GitHub, it is now possible to install and run GMS, Google Play, and more in WSA. Though it does require a few extra steps, the end result works surprisingly well.
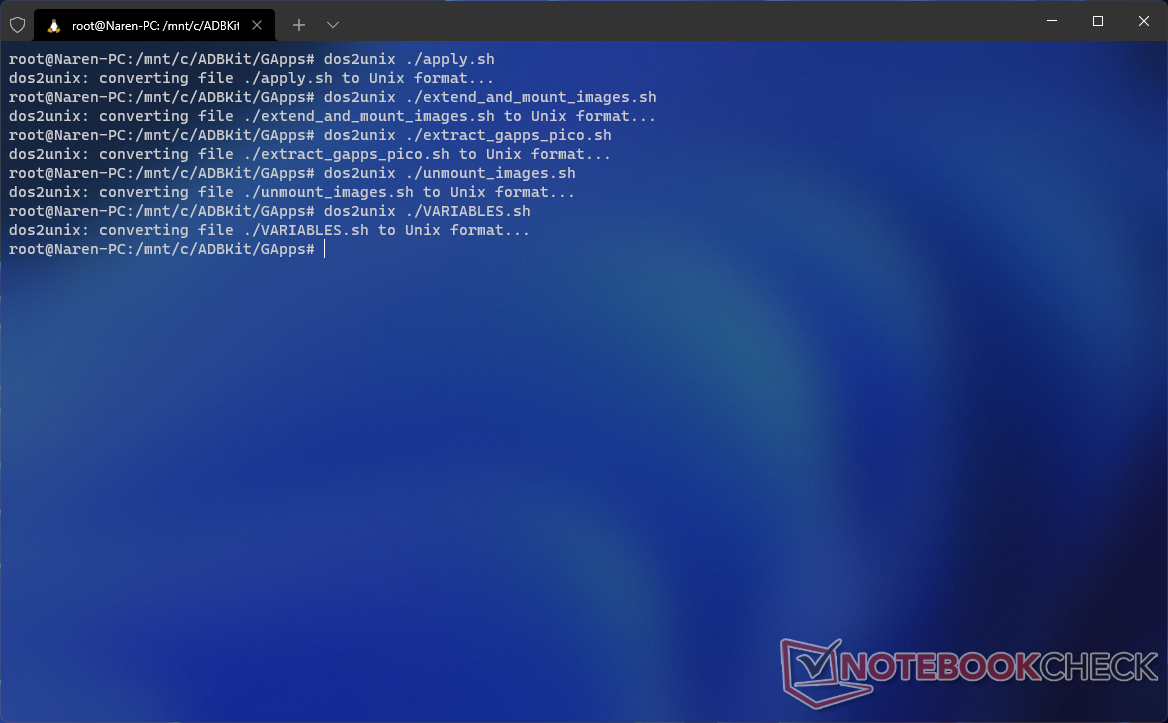
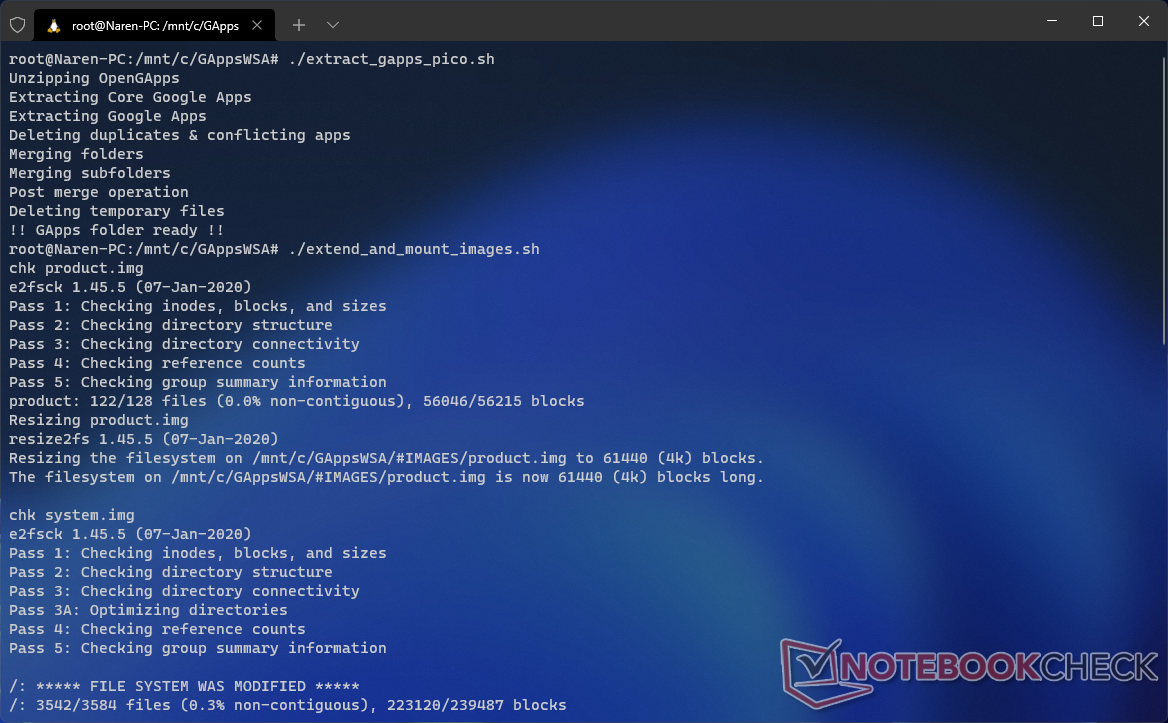
The prerequisites for this procedure include having WSL 2 with any Linux distro of choice installed along with a handy file archiver such as 7-zip. You will also need scripts from ADeltaX's WSAGAScript GitHub repo. In the WSL 2 distro, you will need to install the lzip, unzip, and dos2unix tools.
The entire process is well-detailed in the embedded video below, so we are not reproducing them again. Broadly, the steps include:
- Removing the app signature from the MSIXBUNDLE that we had downloaded from Adguard
- Modifying the Android partitions that are part of the WSA image
- Integrating GApps into the system partition and applying root and SELinux
- Unmounting and copying the Android partitions back into the WSA install folder
- Replacing the default kernel with the one from the GitHub repo folder
- Installing this homebrew WSA via PowerShell
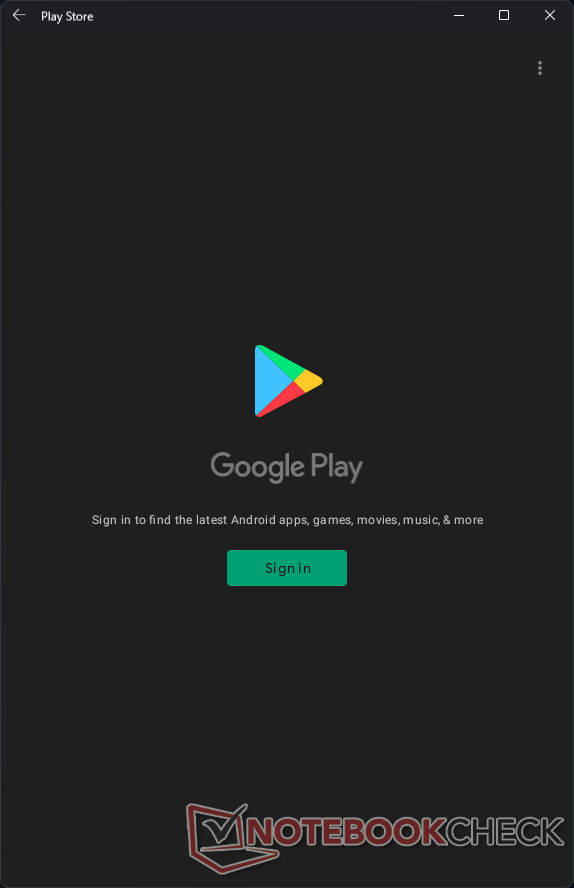
There's one more step...
After installing the modified WSA image via PowerShell, the Play Store app should be visible in the Start menu. However, it does not allow signing in to a Google account just yet. As a workaround, enabling sign in requires temporarily disabling SELinux.
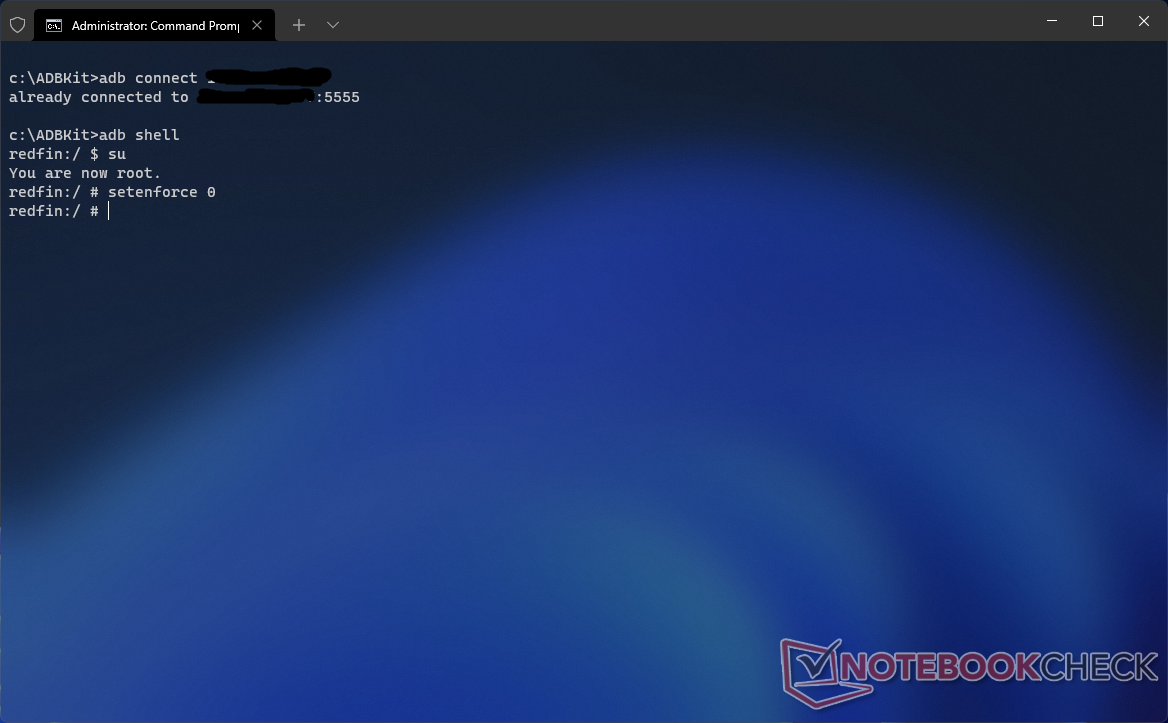
- Go to your ADB folder and connect to the WSA instance by launching a command prompt and using adb connect <IP address>.
- Access the shell by typing adb shell.
- Type su to get root access.
- At the root prompt, enter setenforce 0 to disable SELinux
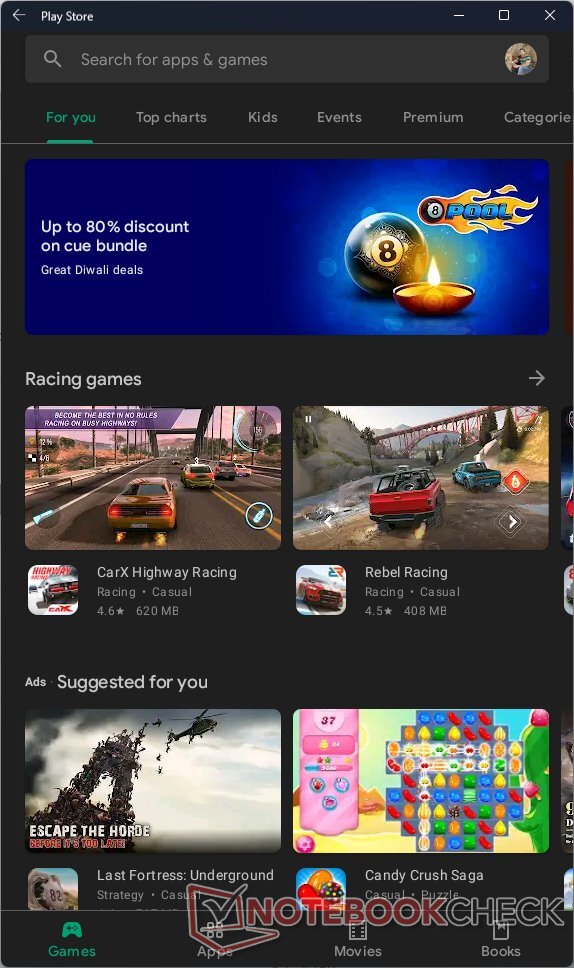
- Now you can sign in to the Play Store and setup your account just like how you would do an Android phone.
Now that we are done with the need for a rooted kernel, it is important to replace the rooted kernel with the default one that comes with WSA. Assuming you've followed the video instructions above,
- Turn off WSA from the WSA Settings app
- Navigate to the C:\WindowsSubsystemAndroid folder where the WSA package was extracted earlier and enter the Tools directory.
- Rename the current kernel as kernel_root and rename the original kernel_bak back to kernel. You can reuse the rooted kernel whenever root access is needed.
- Restart WSA and enjoy the Play Store.
A word of caution, though. Modifying UWP apps outside the sandbox environment presents a security risk, so we recommend not downloading other homebrew WSA packages. Only use this method locally with a legit original package from Microsoft.
Conclusion: Baby steps, but we're getting there
The availability of Windows Subsystem for Android is advantageous for Amazon, Microsoft, and the end-user in more ways than one. Like the Windows Subsystem for Linux, enabling a seamless experience between Android and Windows is truly an admirable feat of software engineering. While solutions such as BlueStacks have been existed since long, they are quite resource heavy, use older Android versions, and do not work when Windows features such as Hyper-V are enabled (unless you use a special version that works with Hyper-V).
With WSA, Android apps get a first-class, native experience without users having to fiddle with VMs or other apps. However, not all is rosy at the moment.
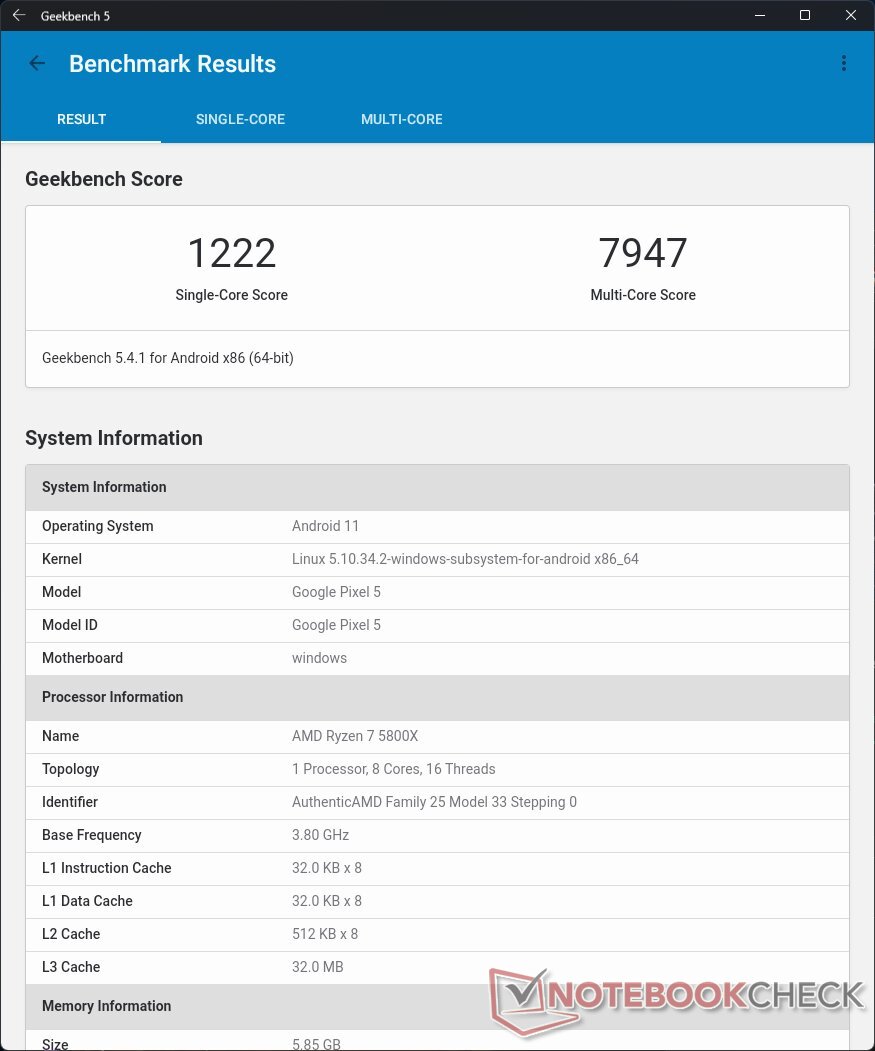
The performance of the Android subsystem needs improvement. We have not tested this on an Intel machine, but there are ample moments of sluggish behavior on an AMD Ryzen 7 5800X-powered system with 32 GB of RAM and a 1 TB PCI Gen 4 NVMe SSD.
It is not fully clear how mouse and keyboard inputs would map to a touch-first interface. While regular apps and even 2D platformers shouldn't be much of an issue, complex 3D games may exhibit wonky behavior. Bluestacks, on the other hand, allows mapping touch inputs to mouse and keyboard quite easily.
Also, not all apps are immediately visible in a normal Play Store search so that means you will still have to sideload an APK if needed. For example, the Microsoft Launcher does not show up in the WSA Play Store. Optimizations are also needed to reduce the time taken for first startup of the WSA instance.
It is without doubt that someone will eventually develop a one-click solution for enabling Play Store functionality and even optimize performance down the line. Till then, the prospect of running Android on Windows is an exciting one, and it couldn't have come at a better time.


